

Clean your house in an hour? Sounds impossible, right? I used to think so too! But trust me, with a few clever strategies and a dash of motivation, you can transform your living space from chaotic to clean in just 60 minutes. Forget spending your entire weekend scrubbing and dusting; this DIY guide is all about efficiency and reclaiming your precious time.
The desire for a clean and organized home isn’t new. Throughout history, cultures have placed immense value on cleanliness, often associating it with prosperity, health, and even spiritual well-being. While our ancestors might not have had the same time constraints we face today, the underlying principle remains the same: a clean home contributes to a happier and more productive life.
In today’s fast-paced world, who has time for endless chores? That’s where this DIY cleaning guide comes in. We all crave a tidy space, but the thought of dedicating hours to cleaning can be overwhelming. This article provides practical, time-saving tips and tricks to clean your house in an hour, allowing you to enjoy a sparkling home without sacrificing your valuable free time. Learn how to prioritize, streamline your cleaning routine, and utilize simple hacks to achieve a spotless result. So, are you ready to clean your house in an hour and reclaim your weekend? Let’s get started!
Conquer the Clutter: My One-Hour House Cleaning Blitz!
Okay, let’s be real. We all have those days (or weeks!) where the house looks like a tornado went through it. But fear not! I’ve perfected a system to get your home looking presentable in just one hour. It’s not about deep cleaning every nook and cranny, but rather a strategic blitz to tackle the biggest offenders and create a sense of calm. Ready to reclaim your space? Let’s dive in!
The Pre-Game: Setting Yourself Up for Success
Before the timer starts, a little prep work goes a long way. This is crucial for maximizing your cleaning efficiency.
* Gather Your Supplies: Nothing is worse than running around searching for cleaning supplies mid-blitz. I keep a cleaning caddy stocked with all my essentials.
* Open Windows: Fresh air makes everything feel cleaner and less stuffy. Plus, it helps with ventilation while you’re using cleaning products.
* Put on Some Music: Upbeat music will keep you motivated and energized. Think of it as your cleaning soundtrack!
* Set a Timer: This is key! Knowing you only have an hour will keep you focused and prevent you from getting sidetracked.
The Cleaning Caddy Essentials: What You’ll Need
Here’s what I keep in my cleaning caddy:
* All-purpose cleaner
* Glass cleaner
* Bathroom cleaner (or a multi-surface cleaner that works well in bathrooms)
* Microfiber cloths (lots of them!)
* Paper towels
* Dusting spray or wipes
* A small scrub brush
* Garbage bags
* Vacuum cleaner (or a cordless stick vacuum for quick cleanups)
* Mop (or a spray mop)
Phase 1: The Quick Declutter (10 Minutes)
This is all about tackling the visible clutter that makes the biggest impact.
1. Grab a Laundry Basket: Use this as your “catch-all” for anything that doesn’t belong in the room you’re starting in. Don’t worry about putting things away perfectly yet; just get them out of sight.
2. Focus on Surfaces: Clear off countertops, tables, and any other flat surfaces. Pile everything into your laundry basket.
3. Tackle Obvious Trash: Quickly scan the room for any trash, like empty wrappers, junk mail, or used tissues. Toss them in a garbage bag.
4. Move to the Next Room: Repeat steps 1-3 in each room of your house. The goal is to quickly declutter each space, not to organize it completely.
Phase 2: The Kitchen Blitz (15 Minutes)
The kitchen is often the heart of the home, and also the messiest! Let’s get it sparkling.
1. Load the Dishwasher: If you have a dishwasher, load it up with any dirty dishes. If not, quickly wash the most essential items.
2. Wipe Down Countertops: Spray your all-purpose cleaner on the countertops and wipe them down with a microfiber cloth. Pay special attention to areas where food has been prepared.
3. Clean the Sink: Scrub the sink with your scrub brush and all-purpose cleaner. Rinse thoroughly.
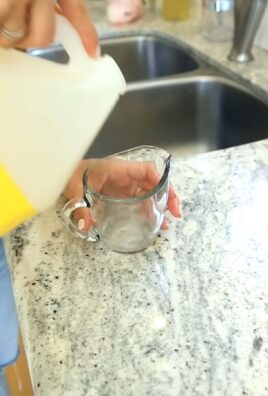
4. Microwave Magic: If your microwave is looking grimy, heat a cup of water with a tablespoon of vinegar for a few minutes. The steam will loosen the grime, making it easy to wipe clean.
5. Quick Floor Sweep: Quickly sweep or vacuum the kitchen floor to remove any crumbs or spills.
Phase 3: Bathroom Refresh (10 Minutes)
A clean bathroom can make a huge difference in how your home feels.
1. Spray and Soak: Spray your bathroom cleaner on the toilet bowl, shower/tub, and sink. Let it sit for a few minutes to loosen grime.
2. Wipe Down Surfaces: While the cleaner is soaking, wipe down the mirror, countertops, and any other surfaces with a microfiber cloth and glass cleaner.
3. Scrub and Rinse: Scrub the toilet bowl, shower/tub, and sink with your scrub brush. Rinse thoroughly.
4. Quick Toilet Clean: Use a toilet bowl cleaner and brush to quickly clean the toilet bowl.
5. Fresh Towels: Hang up fresh towels to instantly brighten up the space.
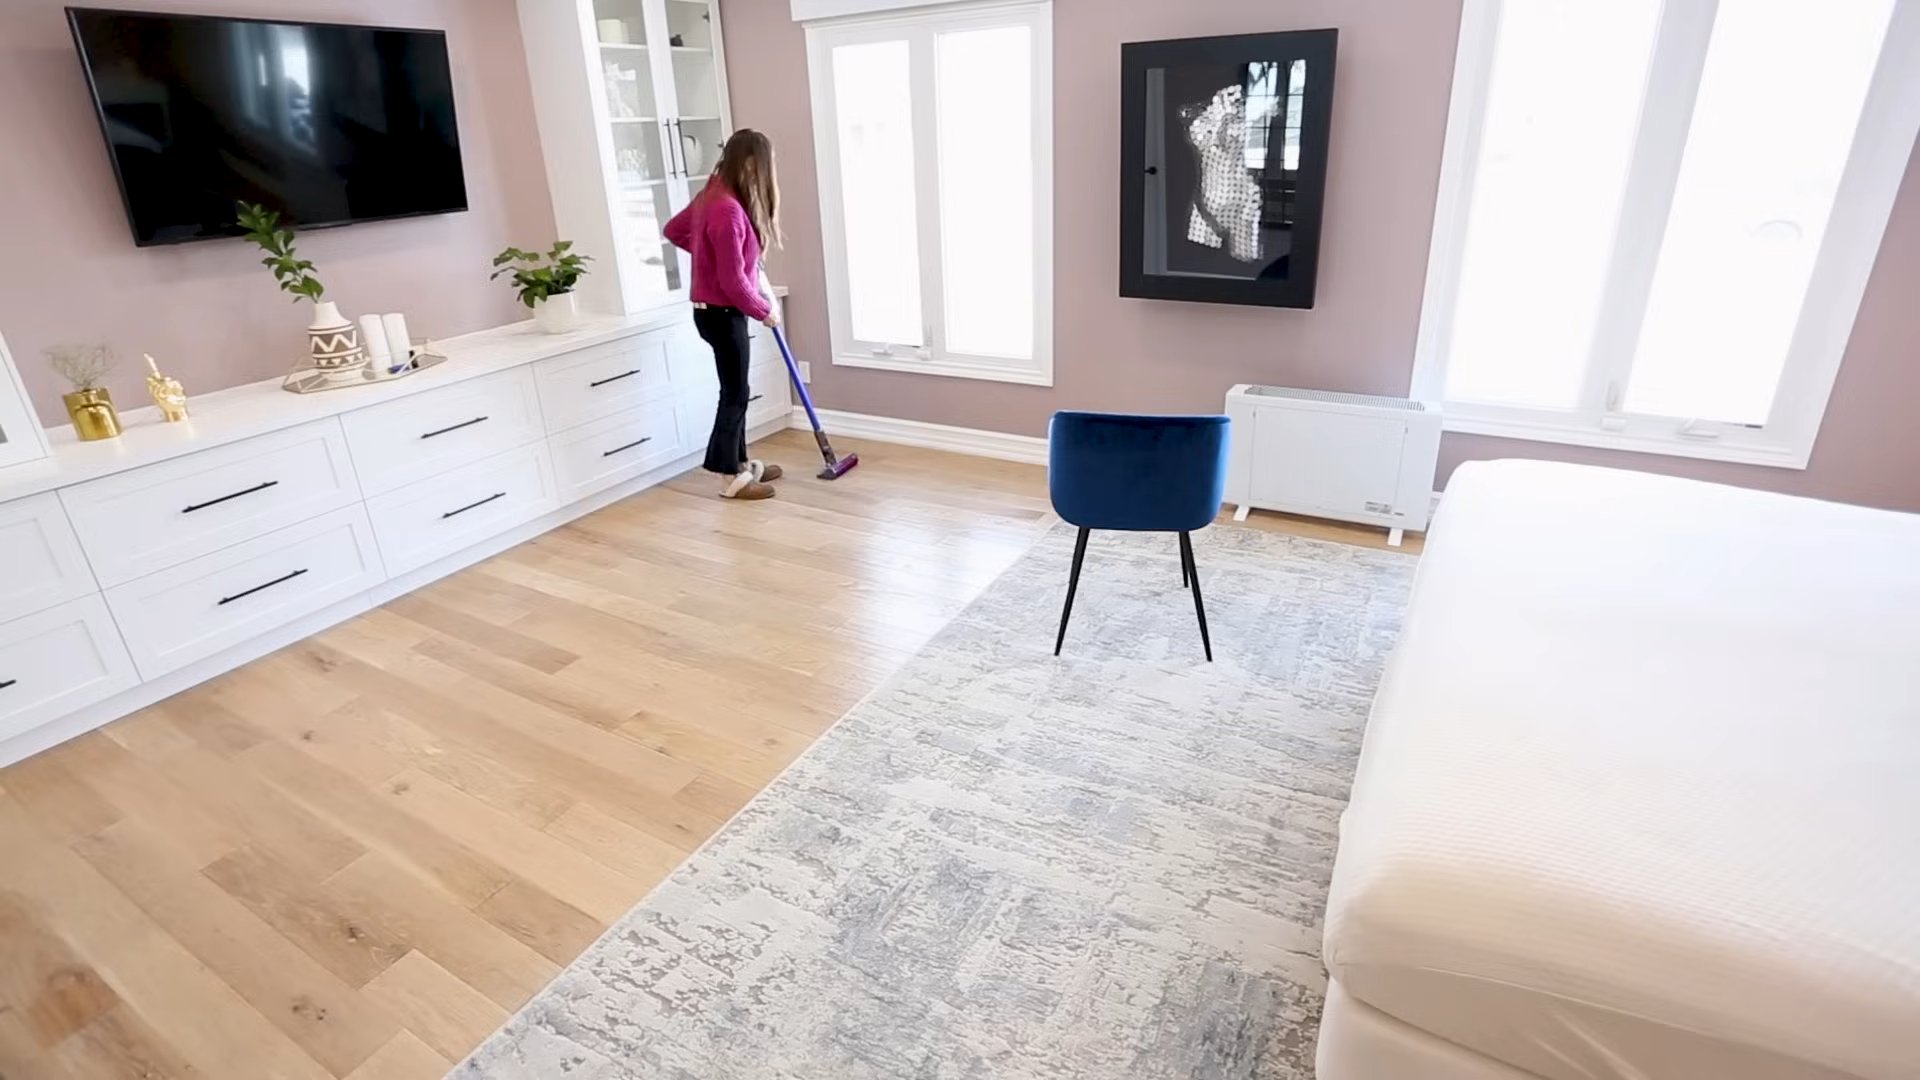
Phase 4: Living Room/Common Area Tidy (15 Minutes)
This is where you’ll focus on making the main living area presentable.
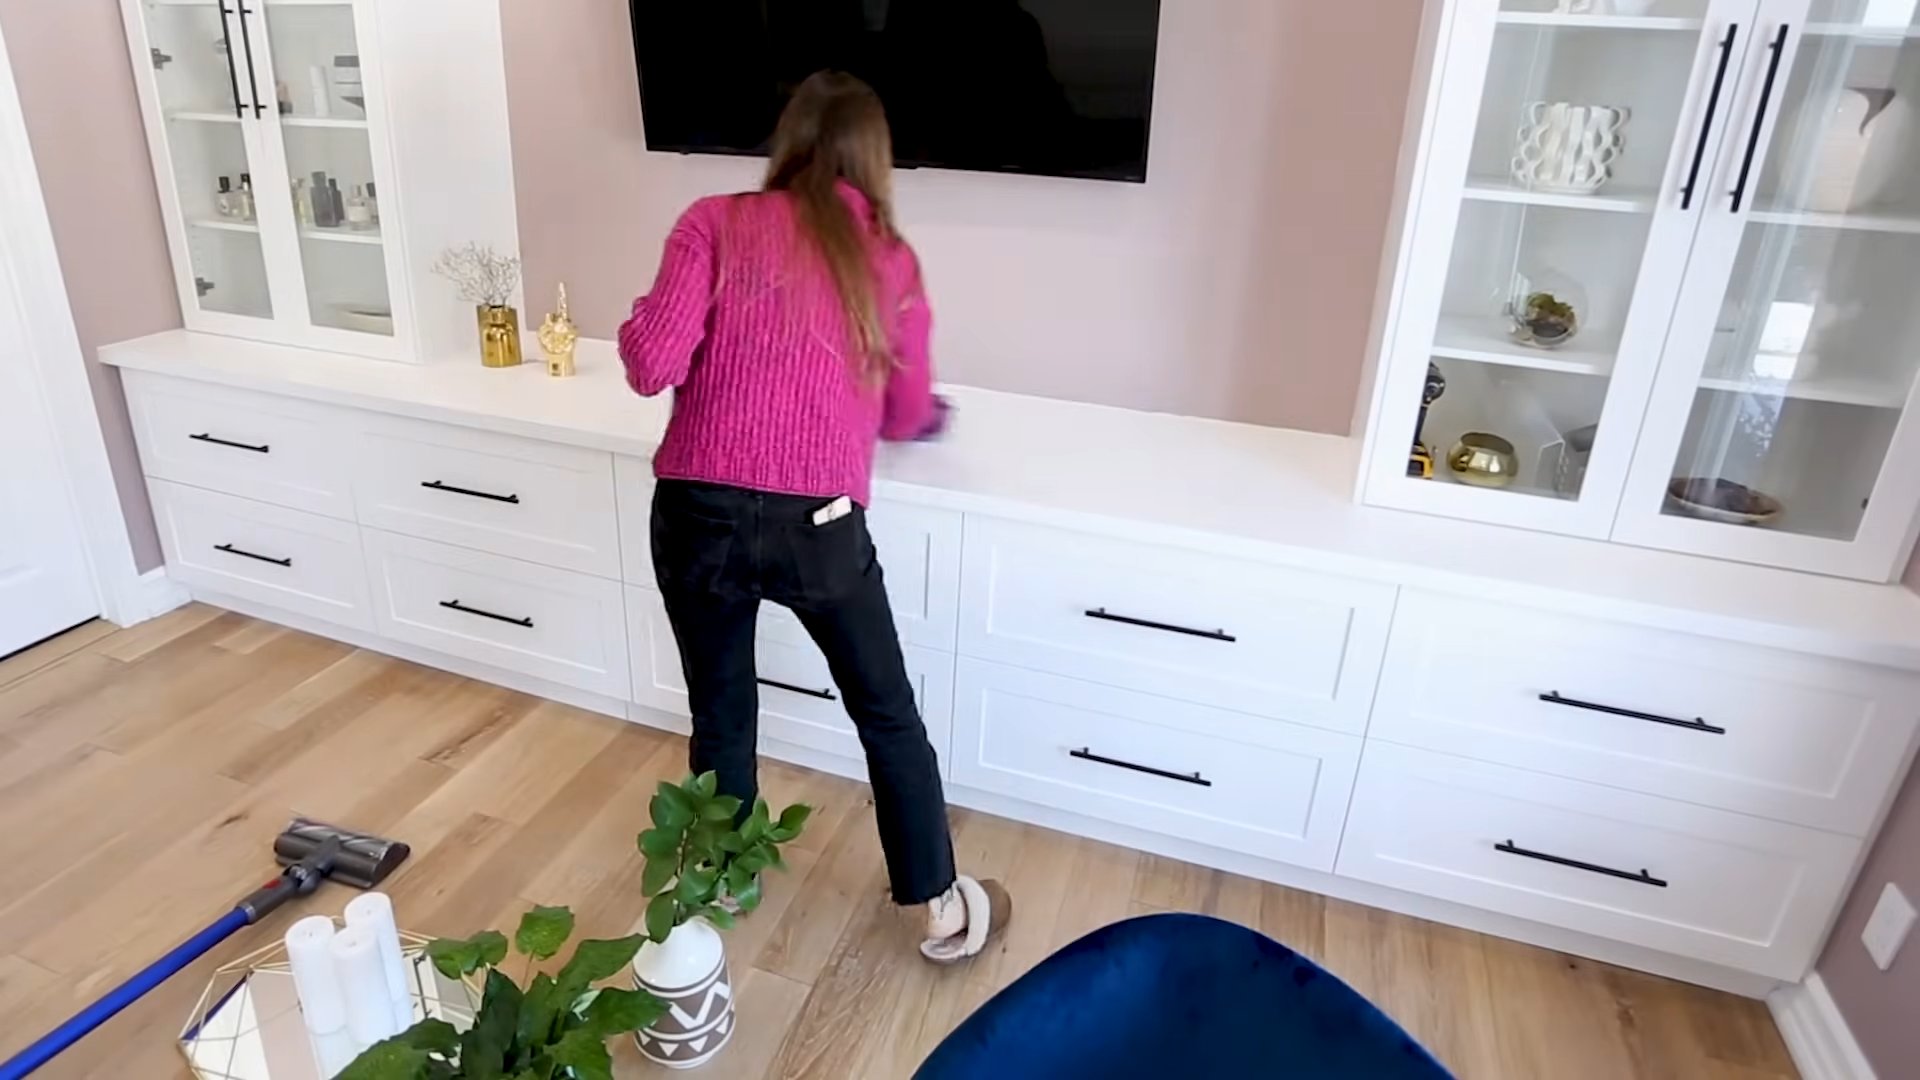
1. Dusting Duty: Quickly dust any surfaces, such as coffee tables, shelves, and entertainment centers. Use dusting spray or wipes for best results.
2. Fluff and Arrange: Fluff the pillows on your sofa and chairs. Arrange any throw blankets neatly.
3. Straighten Up: Straighten up any magazines, books, or other items on tables or shelves.
4. Vacuum or Sweep: Quickly vacuum or sweep the floor to remove any dust, dirt, or crumbs.
5. Empty Trash Cans: Empty any trash cans in the living room.
Phase 5: The Final Touches (10 Minutes)
This is where you tie everything together and address any lingering issues.
1. Put Away the Laundry Basket: Now it’s time to tackle that laundry basket full of clutter. Quickly put away the items in their designated places. Don’t strive for perfection; just get them out of sight.
2. Spot Clean: Take a quick walk through your house and spot clean any areas that need extra attention, such as spills or smudges.
3. Make the Beds: Making the beds instantly makes a bedroom look cleaner and more organized.
4. Take Out the Trash: Take out the garbage bags you’ve collected.
5. Light a Candle or Diffuse Essential Oils: A pleasant scent can make your home feel even cleaner and more inviting.
Important Considerations for Future Cleaning Success
Maintenance is Key: This one-hour blitz is a great way to quickly get your house looking presentable, but it’s not a substitute for regular cleaning. Try to dedicate a few minutes each day to tidying up and preventing clutter from accumulating.
Delegate Tasks: If you live with others, involve them in the cleaning process. Assign tasks to each person to make the workload more manageable.
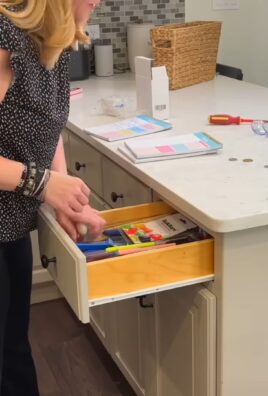
Invest in Storage Solutions: Having adequate storage solutions can help you keep your home organized and prevent clutter from piling up.
Don’t Be Afraid to Purge: Regularly declutter your belongings to get rid of items you no longer need or use. This will make it easier to keep your home clean and organized.
Adjust to Your Needs: This is just a guide, feel free to adjust the time allocated to each phase based on your specific needs and the condition of your home. If your bathroom is particularly messy, you might want to spend a few extra minutes there.
Celebrate Your Success! Once the timer goes off, take a moment to appreciate your hard work. You’ve successfully conquered the clutter and created a cleaner, more inviting space in just one hour! Now, relax and enjoy your sparkling (or at least, much tidier) home!
Conclusion
So, there you have it! Mastering the art of cleaning your house in an hour isn’t just about speed; it’s about efficiency, strategy, and reclaiming your precious time. We’ve armed you with a powerful arsenal of techniques, from the initial power tidy to the focused cleaning blitz, all designed to transform your living space from chaotic to calm in a single, well-orchestrated hour.
But why is this DIY cleaning trick a must-try? Because it’s more than just cleaning; it’s about mental clarity. A clean home contributes to a clearer mind, reduced stress, and an overall sense of well-being. It’s about creating a sanctuary where you can relax and recharge, rather than feeling overwhelmed by clutter and grime. It’s about taking control of your environment and, in turn, taking control of your life.
This method is also incredibly adaptable. Feel free to tailor it to your specific needs and preferences. For example, if your bathroom tends to accumulate more grime than your kitchen, allocate a bit more time to that area. If you prefer using natural cleaning products, swap out the commercial cleaners for your favorite DIY solutions. You could even incorporate aromatherapy by adding a few drops of essential oils to your cleaning solutions for an extra boost of freshness and relaxation.
Consider these variations to further personalize your cleaning routine:
* Themed Cleaning Days: Dedicate specific days to focus on particular areas. For instance, Mondays could be for bathrooms, Tuesdays for kitchens, and so on. This helps break down the task into manageable chunks and prevents any one area from becoming too overwhelming.
* Family Cleaning Challenge: Turn cleaning into a fun activity by challenging your family members to see who can clean their assigned area the fastest and most effectively. Offer a small reward to the winner to incentivize participation.
* Seasonal Deep Cleans: While the hourly cleaning routine keeps things tidy on a regular basis, schedule quarterly deep cleans to tackle those often-overlooked areas, such as cleaning out closets, washing curtains, and scrubbing baseboards.
Remember, the key to success with this method is consistency. The more you practice it, the faster and more efficient you’ll become. Don’t get discouraged if it takes you a little longer at first. With each attempt, you’ll refine your technique and discover what works best for you.
We wholeheartedly encourage you to give this DIY cleaning trick a try. Experience the satisfaction of a sparkling clean home without sacrificing hours of your precious time. And most importantly, we want to hear about your experience! Share your tips, tricks, and triumphs in the comments below. Let us know what worked for you, what challenges you faced, and any modifications you made to the routine. Your feedback will not only help us improve this guide but also inspire others to embrace the power of efficient cleaning. So, grab your cleaning supplies, set your timer, and get ready to transform your home in just one hour! We can’t wait to hear your success stories!
Frequently Asked Questions (FAQ)
Q: What if my house is extremely messy? Will this still work?
A: Absolutely! While the “clean your house in an hour” method is designed for maintenance cleaning, it can still be effective for tackling a messier home. The key is to prioritize. Start with the power tidy, focusing on decluttering and removing visible messes. Then, concentrate on the high-impact areas like the kitchen and bathrooms. You might need to spend a bit more than an hour initially, but the goal is to establish a baseline level of cleanliness that you can then maintain with regular hourly sessions. Consider breaking down the cleaning into smaller, more manageable tasks spread over a couple of days if needed. For example, dedicate one hour to decluttering, another to cleaning the kitchen, and another to the bathrooms. Once you’ve completed the initial deep clean, maintaining the cleanliness with the hourly method will become much easier.
Q: What cleaning supplies do I need?
A: The essential cleaning supplies include:
* All-purpose cleaner
* Bathroom cleaner
* Glass cleaner
* Dusting spray or wipes
* Microfiber cloths
* Sponges
* Toilet bowl cleaner
* Vacuum cleaner
* Mop and bucket (or a spray mop)
* Trash bags
You can also customize your cleaning supplies based on your preferences and the specific needs of your home. For example, if you prefer natural cleaning products, you can use vinegar, baking soda, and lemon juice as alternatives to commercial cleaners. Having all your supplies readily available in a cleaning caddy will save you time and effort during your cleaning sessions.
Q: How often should I do this hourly cleaning routine?
A: The frequency depends on your lifestyle and the level of cleanliness you desire. Ideally, performing this routine 2-3 times per week will help maintain a consistently clean home. However, if you have a busy schedule or a smaller living space, once a week might suffice. Experiment to find the frequency that works best for you. You can also adjust the routine based on your needs. For example, if you know you’ll be having guests over, you might want to do a more thorough cleaning session beforehand.
Q: What if I have pets?
A: Cleaning up after pets requires a few extra steps. Keep a lint roller handy for removing pet hair from furniture and clothing. Vacuum frequently, paying special attention to areas where your pets spend the most time. Consider using a pet-specific cleaning solution to neutralize odors and remove stains. You might also want to invest in a good quality air purifier to help reduce pet dander and allergens in your home.
Q: How can I involve my family in the cleaning process?
A: Involving your family can make cleaning less of a chore and more of a team effort. Assign age-appropriate tasks to each family member. For example, younger children can help with dusting or putting away toys, while older children can vacuum or clean bathrooms. Make it fun by playing music or turning it into a game. You can also create a chore chart and reward system to incentivize participation. Remember to be patient and understanding, and focus on teaching your children valuable life skills.
Q: What if I get interrupted during my cleaning session?
A: Interruptions are inevitable, especially if you have children or a busy household. The key is to be flexible and adaptable. If you get interrupted, simply pause your timer and resume cleaning when you’re able to. Don’t get discouraged if you don’t finish everything on your list. Just focus on completing the most important tasks and pick up where you left off during your next cleaning session.
Q: How can I make cleaning more enjoyable?
A: Cleaning doesn’t have to be a dreaded chore. Here are a few tips to make it more enjoyable:
* Listen to music or podcasts: Put on your favorite tunes or an engaging podcast to make the time fly by.
* Reward yourself: Treat yourself to something you enjoy after you finish cleaning, such as a relaxing bath or a cup of coffee.
* Focus on the benefits: Remind yourself of the positive impact a clean home has on your mental and physical well-being.
* Make it a mindful activity: Pay attention to the sensations of cleaning, such as the smell of the cleaning products and the feeling of the clean surfaces.
* Invite a friend: Cleaning with a friend can make the task more social and enjoyable.
Q: Can this method be adapted for apartment cleaning?
A: Absolutely! The “clean your house in an hour” method is perfectly adaptable for apartment cleaning. In fact, it might be even more effective in smaller spaces, as there’s less area to cover. Simply adjust the time allocation for each task based on the size of your apartment. For example, you might only need 10 minutes to clean the bathroom in a small apartment. The principles of decluttering, prioritizing, and focusing on high-impact areas remain the same.
Q: What are some eco-friendly cleaning alternatives I can use?
A: There are many eco-friendly cleaning alternatives you can use to reduce your environmental impact. Here are a few popular options:
* Vinegar: A versatile cleaner that can be used to disinfect surfaces, remove stains, and clean windows.
* Baking soda: A natural abrasive that can be used to scrub surfaces, deodorize carpets, and unclog drains.
* Lemon juice: A natural disinfectant and degreaser that can be used to clean countertops, remove hard water stains, and freshen the air.
* Castile soap: A gentle and effective cleaner that can be used for a variety of tasks, from washing dishes to cleaning floors.
* Essential oils: Add a few drops of essential oils to your cleaning solutions for a natural fragrance and added cleaning power.
By using these eco-friendly alternatives, you can clean your home effectively while minimizing your impact on the environment.
Leave a Comment