

Clean Pillows At Home: Is your bed starting to feel a little less like a cloud and a little more like a…well, something less pleasant? Let’s face it, we all love sinking into our pillows after a long day, but those beloved cushions can quickly become breeding grounds for dust mites, allergens, and even that dreaded yellow tinge. Before you resign yourself to buying new ones, I’m here to tell you there’s a better way! This DIY guide will walk you through simple, effective methods to revitalize your pillows and restore them to their fluffy, fresh glory.
Throughout history, pillows have been symbols of comfort and luxury. From the elaborate, embroidered cushions of ancient Egypt to the simple straw-filled pillows of medieval Europe, people have always sought a soft place to rest their heads. But regardless of the materials used, one thing remains constant: the need to keep them clean! In today’s busy world, who has time for complicated cleaning routines? That’s where these DIY tricks come in.
Many people underestimate the importance of regularly cleaning their pillows. Not only does it improve hygiene and reduce allergens, but it can also extend the lifespan of your pillows, saving you money in the long run. Plus, a clean pillow simply feels better! Imagine drifting off to sleep knowing you’re resting on a fresh, clean surface. In this article, I’ll share my favorite, easy-to-follow methods to clean pillows at home, using ingredients you probably already have in your pantry. Get ready to say goodbye to dingy pillows and hello to a more restful night’s sleep!
DIY Pillow Cleaning: A Comprehensive Guide to Fresh, Fluffy Dreams
Hey there, fellow DIY enthusiasts! Are your pillows looking a little… sad? Stained? Maybe even a little *flat*? Don’t worry, you’re not alone! We often forget about our pillows, but they’re a breeding ground for dust mites, dead skin cells, and all sorts of other icky things. But fear not! I’m here to guide you through the process of cleaning your pillows at home, saving you money and ensuring you’re resting your head on a truly clean surface.
Before we dive in, it’s important to note that different pillow types require different cleaning methods. This guide will cover the most common types: down, feather, and synthetic fill. Always check the care label on your pillow before proceeding, as some may have specific instructions.
Understanding Your Pillow Type
Knowing what your pillow is made of is crucial for successful cleaning. Here’s a quick rundown:
* **Down Pillows:** These are filled with the soft undercoating of ducks or geese. They’re known for their luxurious feel and excellent support.
* **Feather Pillows:** Similar to down pillows, but filled with larger, coarser feathers. They tend to be less expensive than down and can be a bit firmer.
* **Synthetic Fill Pillows:** These are filled with polyester fibers. They’re hypoallergenic, affordable, and easy to care for.
General Supplies You’ll Need
Regardless of your pillow type, you’ll need these basic supplies:
* **Washing Machine:** A front-loading washing machine is ideal, as top-loading machines with agitators can be rough on pillows. If you only have a top-loader, use the gentle cycle and consider placing the pillows in a mesh laundry bag.
* **Laundry Detergent:** Use a mild, liquid detergent. Powdered detergents can sometimes leave residue.
* **Bleach (Optional):** For white pillows only, you can use a small amount of chlorine bleach or oxygen bleach to brighten them.
* **Tennis Balls or Dryer Balls:** These help to fluff the pillows during drying and prevent clumping.
* **Clean Towels:** To help absorb excess moisture during drying.
* **Clothes Dryer:** Essential for drying pillows thoroughly.
* **Sunshine (Optional):** Air drying in the sun can help to further freshen and disinfect pillows.
Cleaning Down and Feather Pillows
Down and feather pillows require a bit more care than synthetic pillows, but the effort is well worth it.
1. **Pre-Treat Stains:** Before washing, inspect your pillows for any stains. Gently rub a small amount of detergent directly onto the stain and let it sit for about 15-20 minutes.
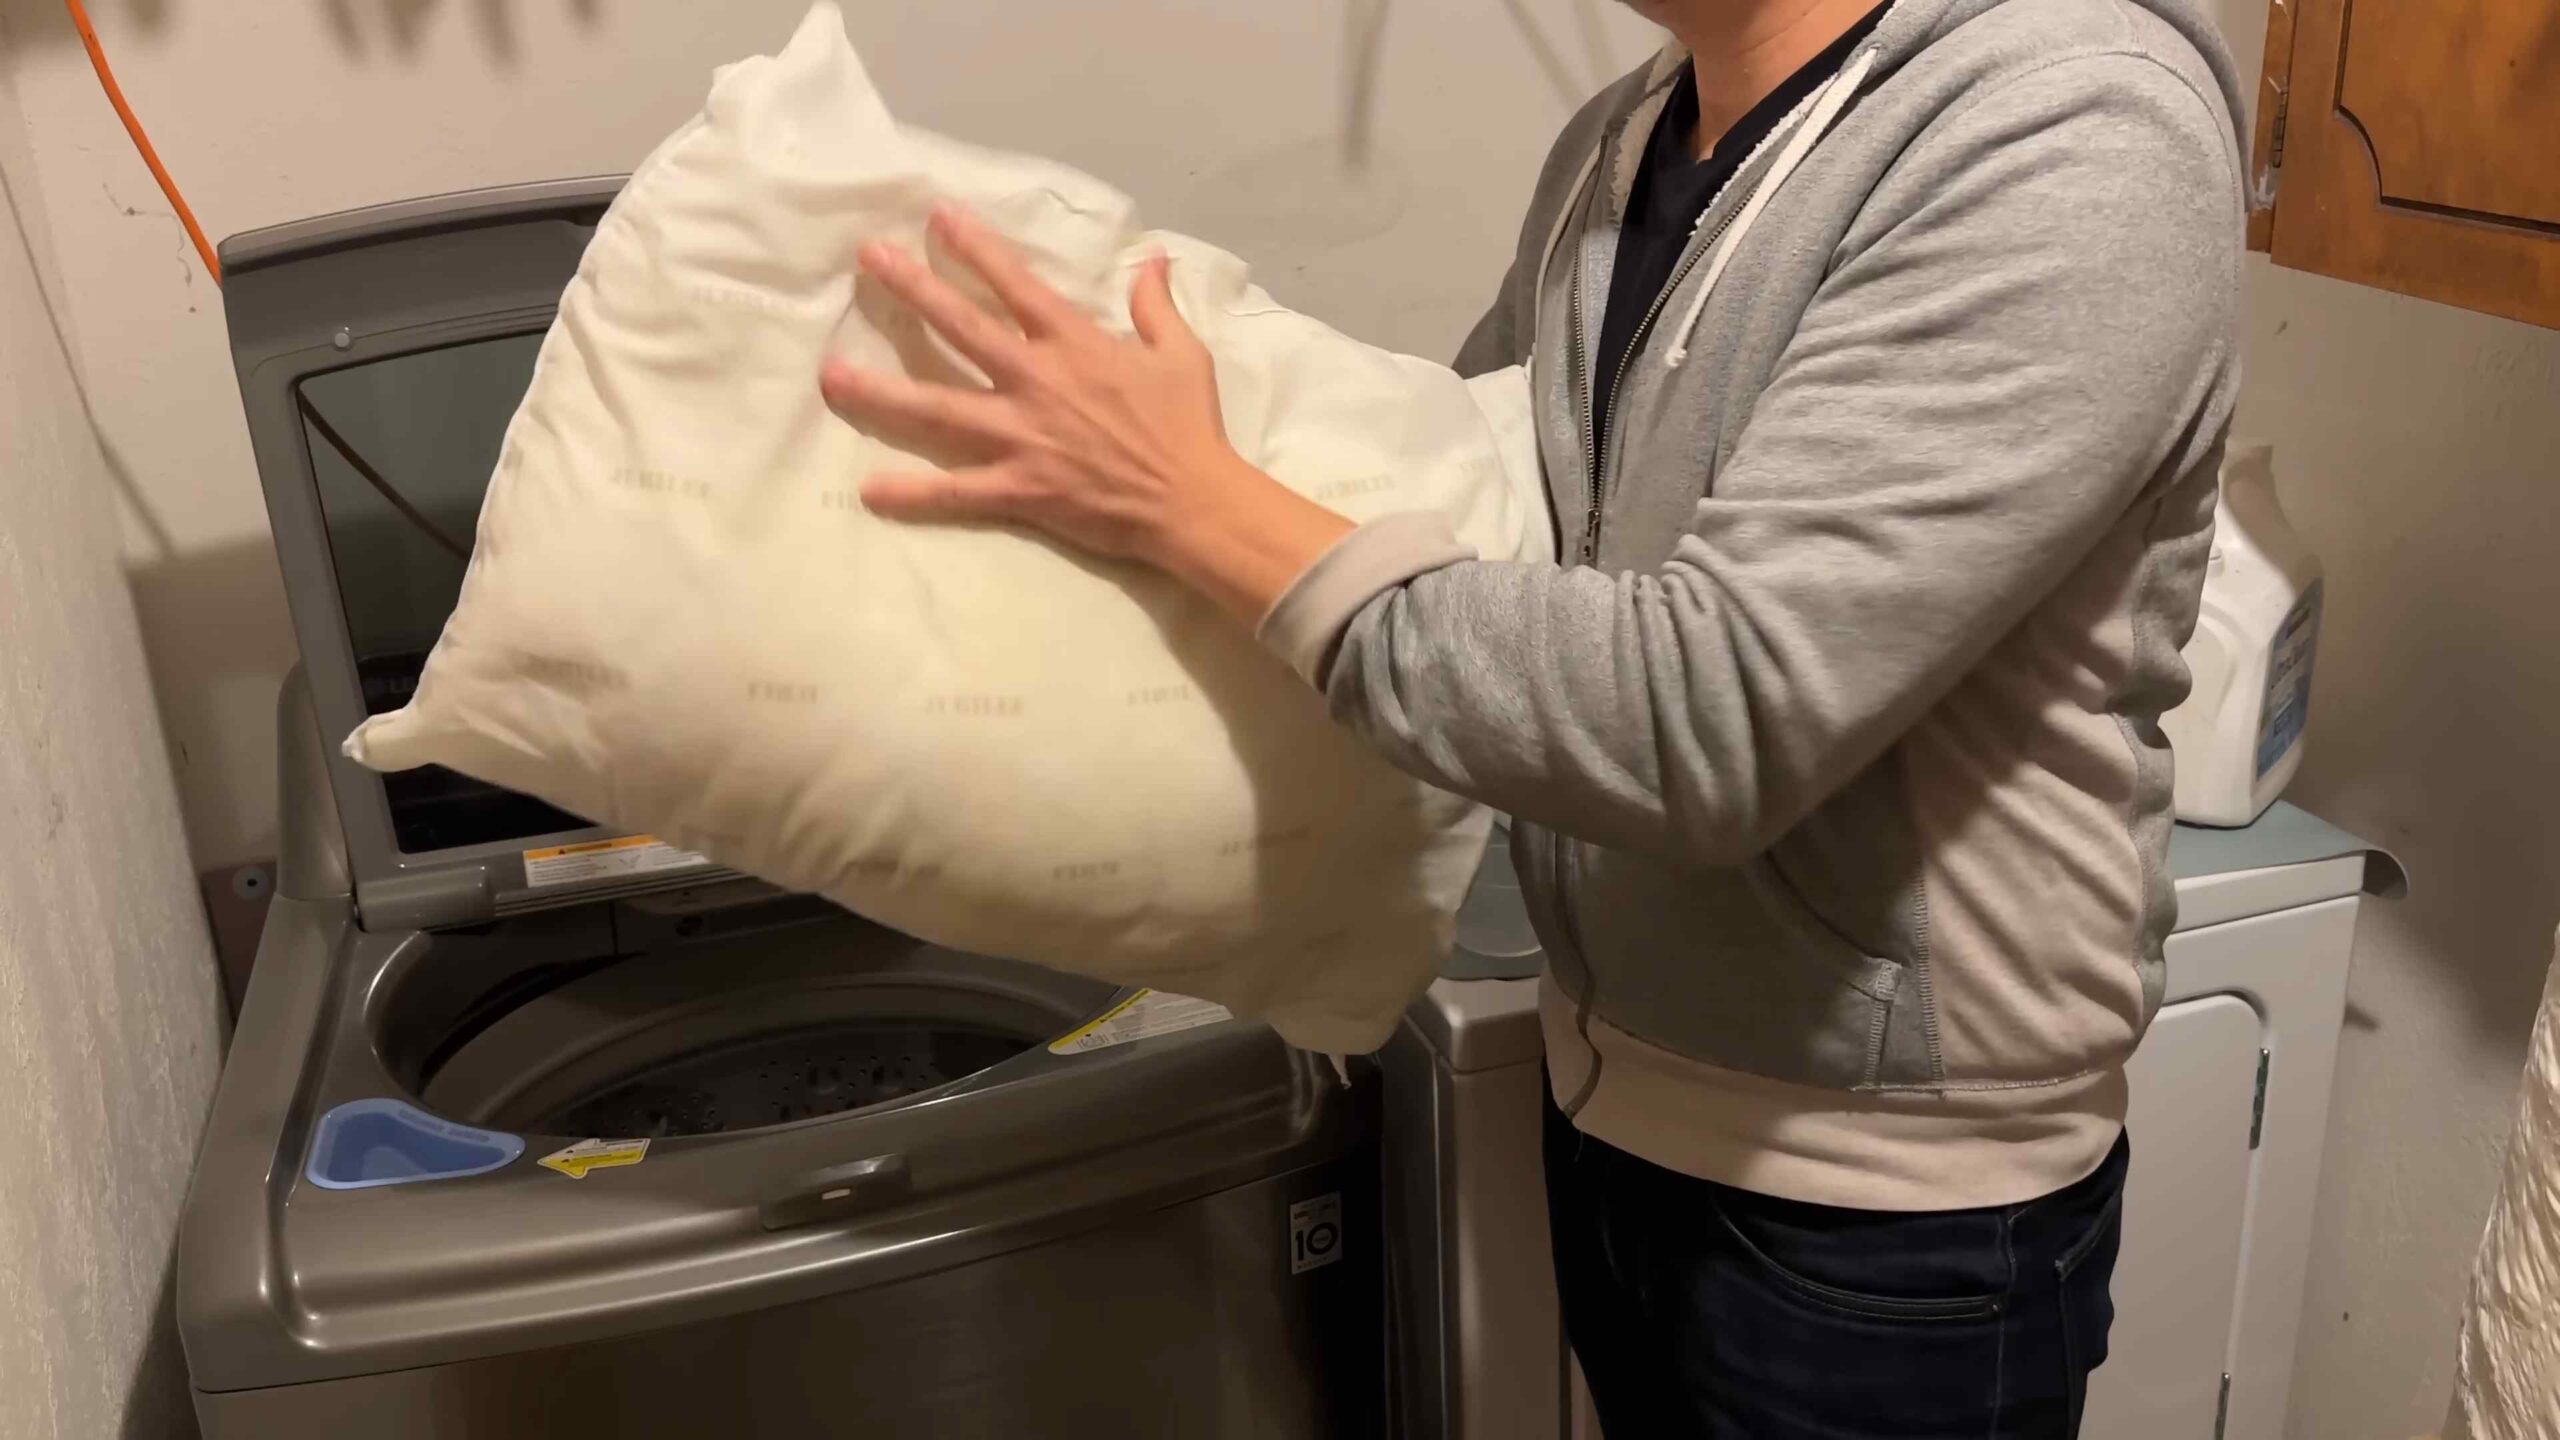
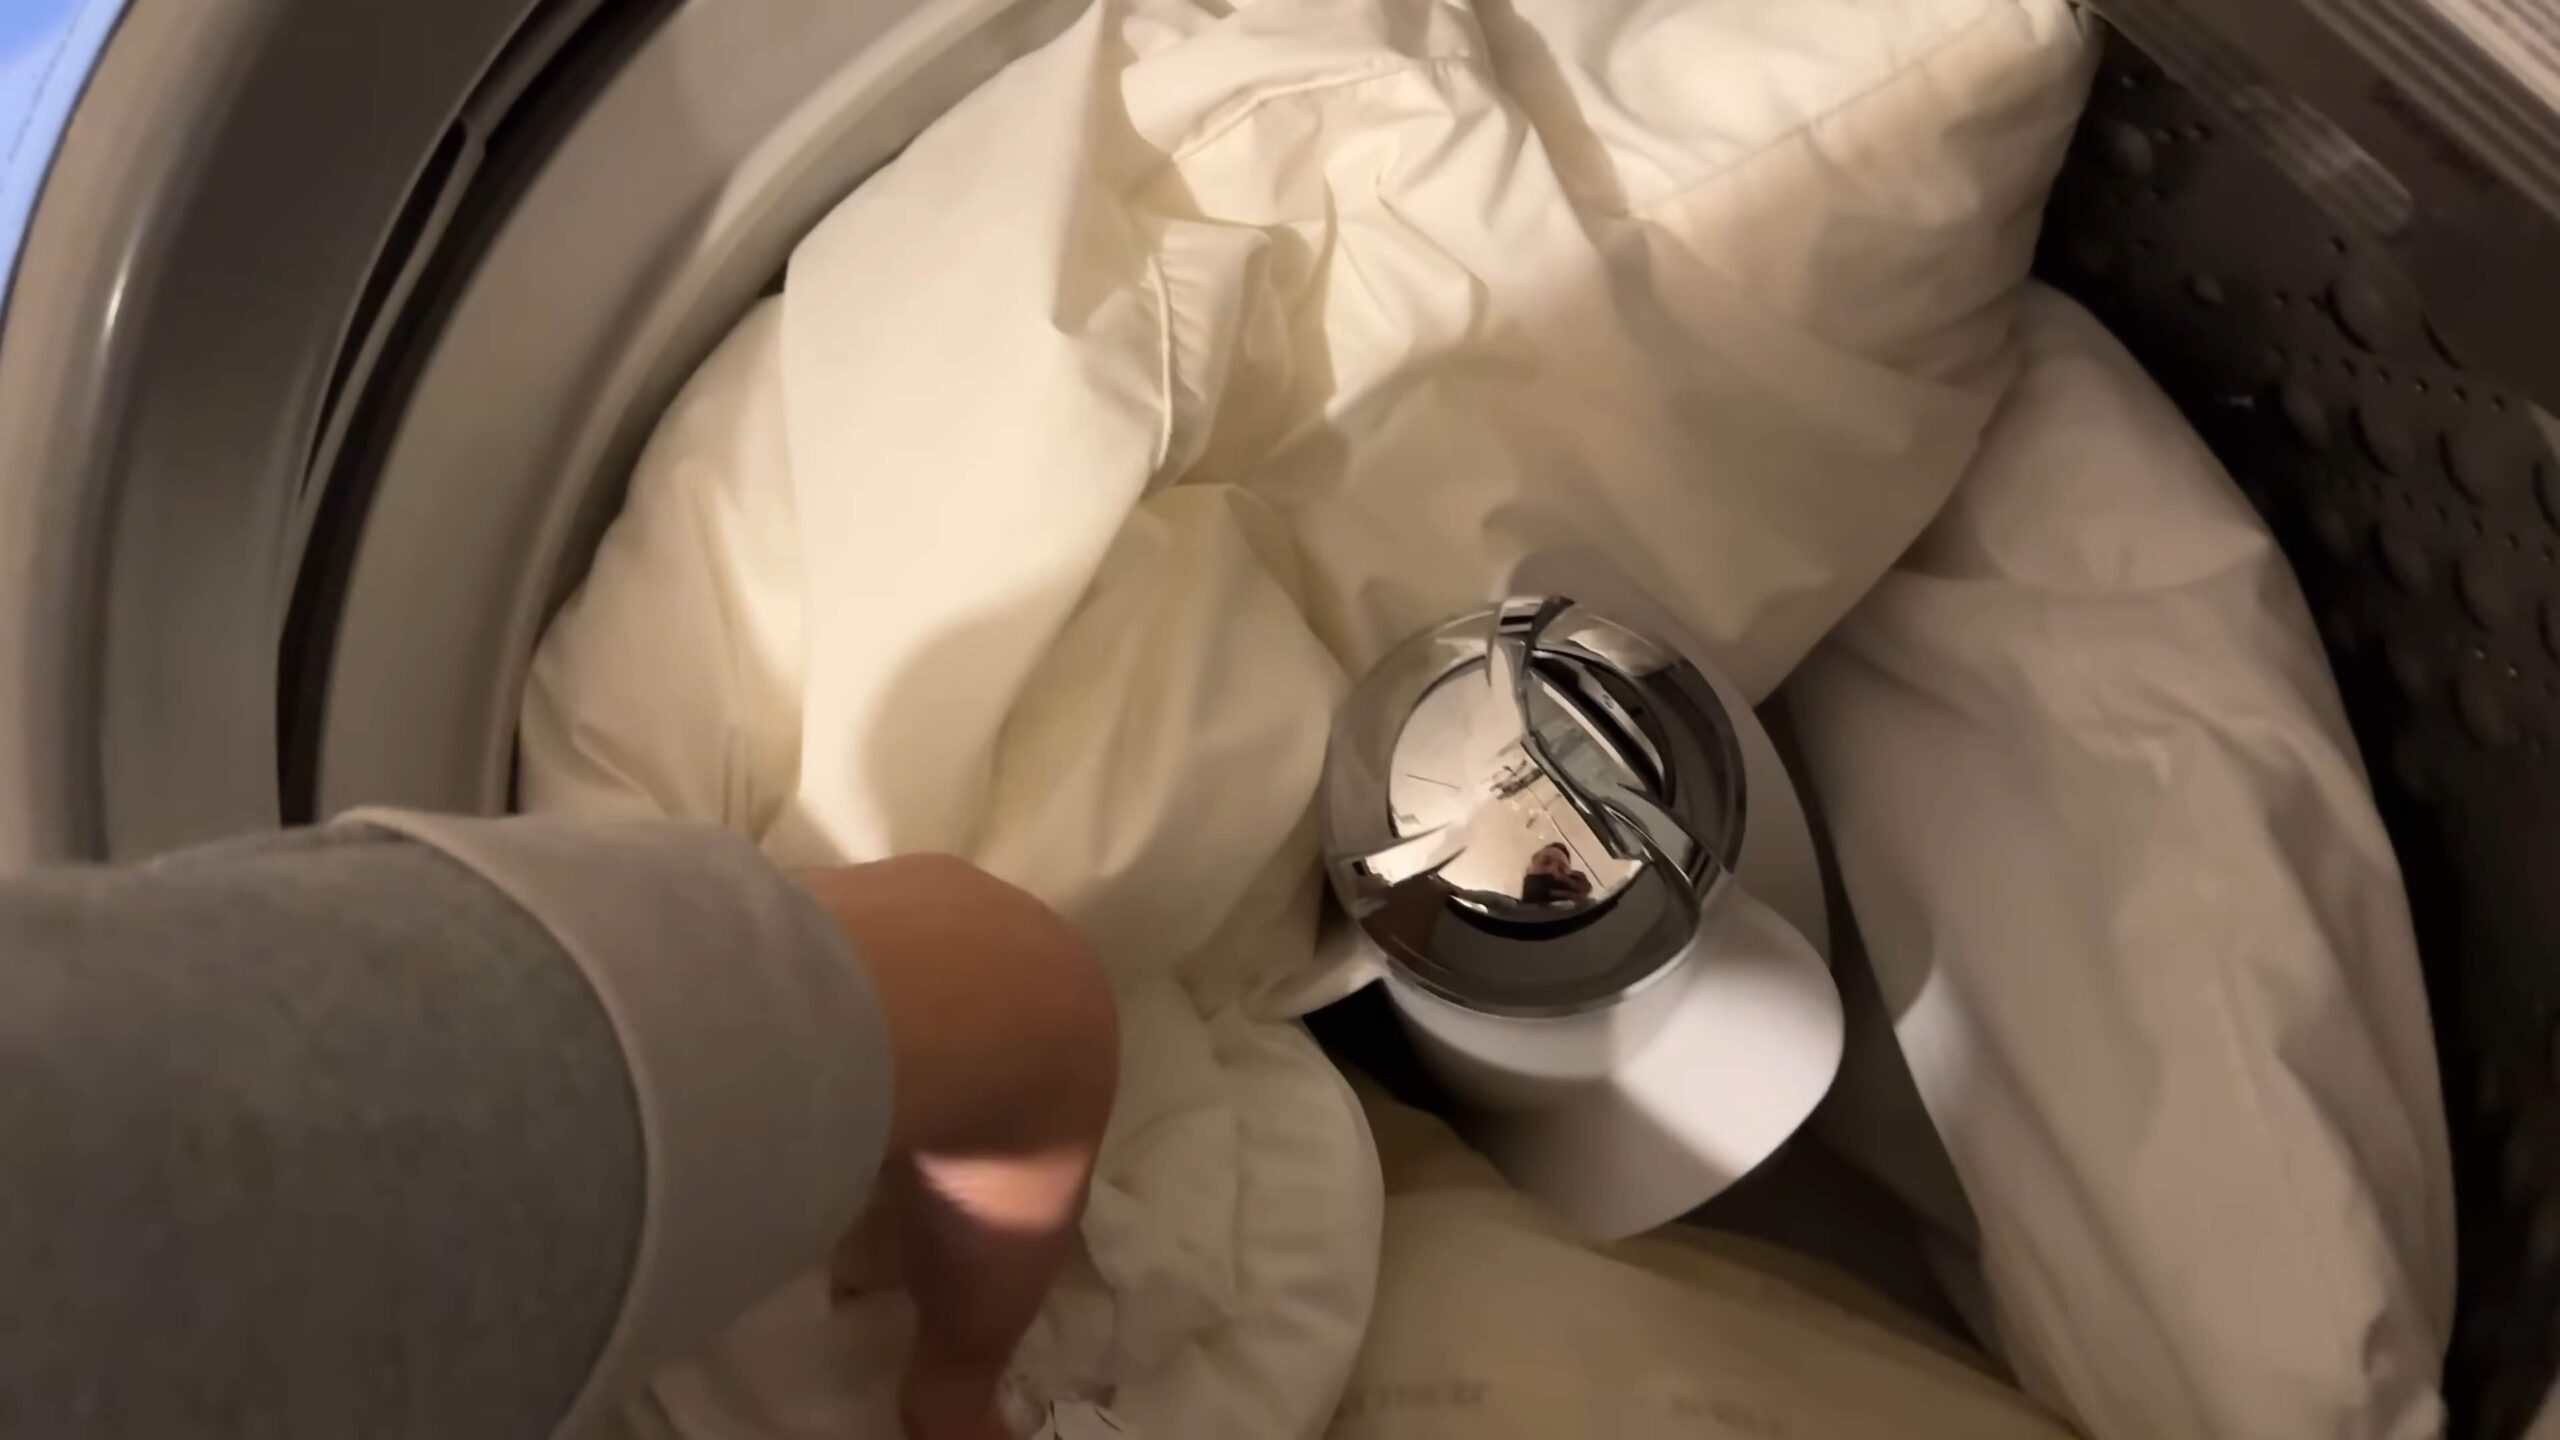
2. **Load the Washing Machine:** Place two pillows in the washing machine to balance the load. This will help prevent the machine from becoming unbalanced and potentially damaging your pillows.
3. **Add Detergent:** Use a small amount of mild, liquid detergent – about one tablespoon should be sufficient. Too much detergent can leave residue and make the pillows difficult to rinse.
4. **Wash on Gentle Cycle:** Select the gentle or delicate cycle and use cold or lukewarm water. Hot water can damage the down or feathers.
5. **Extra Rinse Cycle:** Run an extra rinse cycle to ensure all the detergent is completely removed. This is especially important for down and feather pillows, as detergent residue can cause clumping.
6. **Carefully Remove Pillows:** Gently remove the pillows from the washing machine. They will be heavy and waterlogged, so handle them with care.
7. **Dry on Low Heat:** Place the pillows in the dryer with a few clean tennis balls or dryer balls. The tennis balls will help to fluff the pillows and prevent the down or feathers from clumping together.
8. **Dry Thoroughly:** Dry the pillows on low heat for several cycles, stopping periodically to fluff them by hand. This can take several hours, so be patient! It’s crucial to dry down and feather pillows completely to prevent mold and mildew growth.
9. **Check for Clumps:** Throughout the drying process, check for any clumps of down or feathers. If you find any, gently break them apart by hand.
10. **Air Dry (Optional):** Once the pillows are mostly dry, you can air dry them in the sun for a few hours to further freshen them and ensure they are completely dry.
Cleaning Synthetic Fill Pillows
Synthetic fill pillows are generally easier to clean than down and feather pillows.
1. **Pre-Treat Stains:** As with down and feather pillows, pre-treat any stains with a small amount of detergent.
2. **Load the Washing Machine:** Place two pillows in the washing machine to balance the load.
3. **Add Detergent:** Use a small amount of mild, liquid detergent – about one tablespoon should be sufficient.
4. **Wash on Gentle Cycle:** Select the gentle or delicate cycle and use cold or lukewarm water.
5. **Extra Rinse Cycle:** Run an extra rinse cycle to ensure all the detergent is completely removed.
6. **Carefully Remove Pillows:** Gently remove the pillows from the washing machine.
7. **Dry on Low Heat:** Place the pillows in the dryer with a few clean tennis balls or dryer balls.
8. **Dry Thoroughly:** Dry the pillows on low heat until they are completely dry. This may take a few cycles.
9. **Check for Flat Spots:** Throughout the drying process, check for any flat spots. If you find any, gently fluff the pillows by hand.
Dealing with Stubborn Stains
Sometimes, pillows have stubborn stains that require extra attention. Here are a few tips for dealing with them:
* **Yellow Stains:** Yellow stains are often caused by sweat and body oils. To remove them, try soaking the pillows in a solution of warm water and oxygen bleach before washing.
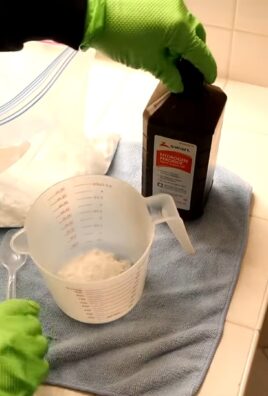
* **Blood Stains:** For blood stains, soak the pillows in cold water with a small amount of hydrogen peroxide.
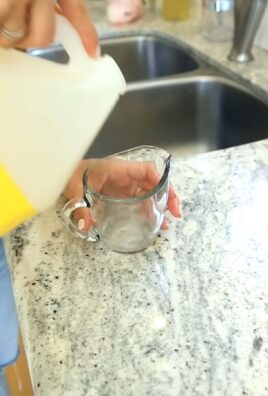
* **Mold and Mildew:** If your pillows have mold or mildew, you may need to use a stronger cleaning solution. Mix equal parts water and white vinegar and spray it onto the affected areas. Let it sit for about 30 minutes, then wash the pillows as usual. **Important:** Always test any cleaning solution on a small, inconspicuous area of the pillow first to ensure it doesn’t damage the fabric.
Maintaining Your Pillows for Longevity
Cleaning your pillows regularly is essential, but there are also other things you can do to keep them fresh and extend their lifespan:
* **Use Pillow Protectors:** Pillow protectors are zippered covers that go over your pillows and under your pillowcases. They provide an extra layer of protection against dust mites, allergens, and stains.
* **Wash Pillowcases Regularly:** Wash your pillowcases at least once a week in hot water to kill dust mites and bacteria.
* **Fluff Your Pillows Daily:** Fluffing your pillows daily helps to redistribute the filling and prevent them from becoming flat.
* **Air Out Your Pillows Regularly:** Occasionally, take your pillows outside and air them out in the sun. The sunlight will help to kill bacteria and freshen them up.
* **Replace Your Pillows Regularly:** Even with proper care, pillows eventually wear out and lose their support. It’s generally recommended to replace your pillows every one to two years.
Extra Tips and Tricks
* Don’t Overload Your Washing Machine: Overloading the washing machine can damage your pillows and prevent them from getting properly cleaned.
* Use a Mesh Laundry Bag: If you have a top-loading washing machine with an agitator, use a mesh laundry bag to protect your pillows.
* Be Patient with Drying: Drying pillows thoroughly is crucial to prevent mold and mildew growth. Don’t rush the process!
* Consider Professional Cleaning: If you’re unsure about cleaning your pillows yourself, or if they are particularly delicate, consider taking them to a professional cleaner.
By following these tips and tricks, you can keep your pillows clean, fresh, and comfortable for years to come. Happy cleaning, and sweet dreams!
Conclusion
So, there you have it! Ditching those dingy, lifeless pillows and embracing the fresh, fluffy comfort you deserve is entirely within your reach, and without breaking the bank. This DIY method for cleaning pillows at home isn’t just about saving money; it’s about taking control of your sleep environment and ensuring you’re resting your head on something truly clean and healthy. Think about it: dust mites, dead skin cells, oils – all those unwelcome guests accumulate in our pillows over time. Regular washing, especially using this simple yet effective technique, is crucial for maintaining hygiene and promoting better sleep quality.
But the benefits extend beyond just cleanliness. A properly cleaned and fluffed pillow provides better support, which can alleviate neck pain and improve your overall posture while you sleep. Who knew a simple wash could have such a profound impact?
Now, let’s talk variations. While the basic recipe we’ve outlined is fantastic for most pillows, you can easily adapt it to suit your specific needs. For instance, if you have down or feather pillows, consider adding a few dryer balls to the drying cycle. These will help to break up any clumps and ensure the feathers dry evenly, preventing that dreaded mildew smell. Alternatively, for those with sensitive skin or allergies, opt for a fragrance-free, hypoallergenic detergent. You can even add a few drops of essential oils like lavender or eucalyptus to the wash for a subtle, calming scent. Just be sure to use pure essential oils and test a small area first to ensure you don’t have any adverse reactions.
Another variation involves the drying process. While air-drying is a gentler option, it can take significantly longer. If you’re using a dryer, be sure to use a low heat setting to prevent damage to the pillow fibers. And remember to fluff the pillows periodically throughout the drying cycle to ensure they dry evenly.
This DIY pillow cleaning method is more than just a chore; it’s an investment in your well-being. It’s about creating a healthier, more comfortable sleep environment that promotes restful nights and energized mornings. It’s about extending the life of your pillows and reducing waste. And it’s about empowering you to take control of your home and your health.
We wholeheartedly encourage you to give this DIY trick a try. You’ll be amazed at the difference it makes. And once you’ve experienced the joy of sleeping on a freshly cleaned, fluffy pillow, we want to hear all about it! Share your experiences, tips, and variations in the comments below. Let’s create a community of clean-pillow enthusiasts and help each other achieve the best sleep possible. Don’t forget to share this article with your friends and family so they too can experience the benefits of this simple yet effective DIY method for cleaning pillows at home. Sweet dreams!
Frequently Asked Questions (FAQ)
How often should I wash my pillows?
This is a common question, and the answer depends on a few factors, including your lifestyle and allergies. As a general rule, you should aim to wash your pillows at least every six months. However, if you have allergies, asthma, or tend to sweat a lot during the night, you might want to wash them more frequently, perhaps every three months. Think of it like this: the more you use your pillows, the more often they need to be cleaned. Regular washing helps to remove dust mites, allergens, and body oils that can accumulate over time and impact your sleep quality.
What type of detergent should I use?
Choosing the right detergent is crucial for effectively cleaning your pillows without damaging them. We recommend using a mild, gentle detergent that is free of harsh chemicals and dyes. Look for detergents specifically designed for delicate fabrics or those labeled as hypoallergenic. Avoid using bleach, as it can weaken the pillow fibers and cause discoloration. If you have sensitive skin, opt for a fragrance-free detergent to minimize the risk of irritation. Powdered detergents can sometimes leave residue, so liquid detergents are generally preferred.
Can I wash all types of pillows using this method?
While this DIY method is suitable for most types of pillows, including cotton, down, feather, and synthetic fill pillows, it’s always a good idea to check the care label before washing. Some pillows may require special cleaning instructions or professional cleaning. For example, memory foam pillows should typically not be machine washed, as the agitation can damage the foam. Instead, spot clean them with a mild detergent and water. If you’re unsure about the best way to clean your pillows, consult the manufacturer’s instructions or contact a professional cleaner.
How do I dry my pillows properly?
Proper drying is just as important as washing when it comes to cleaning your pillows. The goal is to ensure that the pillows are completely dry to prevent mold and mildew growth. You can either air-dry your pillows or use a dryer. If air-drying, place the pillows in a well-ventilated area, preferably outdoors in direct sunlight. Turn them regularly to ensure even drying. If using a dryer, use a low heat setting to prevent damage to the pillow fibers. Add a few dryer balls to help fluff the pillows and break up any clumps. Check the pillows periodically throughout the drying cycle to ensure they are drying evenly. It may take several hours for the pillows to dry completely, so be patient.
What if my pillows have stubborn stains?
Stubborn stains can be a challenge to remove, but don’t despair! Before washing your pillows, try pre-treating the stains with a stain remover or a mixture of baking soda and water. Apply the stain remover to the affected area and let it sit for about 30 minutes before washing. For tougher stains, you may need to repeat the process or try a different stain remover. Avoid using harsh chemicals or bleach, as they can damage the pillow fibers. If the stains persist after washing, consider taking your pillows to a professional cleaner.
How can I prevent my pillows from getting dirty in the first place?
Prevention is always better than cure! To keep your pillows clean and fresh for longer, use pillow protectors. Pillow protectors are zippered covers that go over your pillows and under your pillowcases. They provide a barrier against dust mites, allergens, and body oils, helping to keep your pillows clean and hygienic. Wash your pillow protectors regularly, along with your pillowcases. Also, avoid eating or drinking in bed, as spills can lead to stains and odors. Finally, fluff your pillows regularly to help maintain their shape and prevent them from becoming flat and lumpy.
My pillows smell musty after washing. What did I do wrong?
A musty smell after washing usually indicates that the pillows weren’t dried completely. Moisture trapped inside the pillow can lead to mold and mildew growth, which causes the unpleasant odor. To remedy this, re-wash the pillows and ensure they are thoroughly dried. If using a dryer, use a low heat setting and add dryer balls to help fluff the pillows. If air-drying, place the pillows in a well-ventilated area and turn them regularly. You can also try placing the pillows in direct sunlight, as sunlight has natural disinfecting properties. To prevent this from happening in the future, always make sure your pillows are completely dry before using them.
How do I know when it’s time to replace my pillows?
Even with regular washing, pillows eventually wear out and need to be replaced. A good rule of thumb is to replace your pillows every one to two years. However, the lifespan of your pillows depends on the type of fill and how well you care for them. If your pillows are flat, lumpy, or no longer provide adequate support, it’s time to replace them. You can also perform the “fold test” to check the condition of your pillows. Fold the pillow in half and see if it springs back into shape. If it stays folded, it’s time for a new pillow. Investing in new pillows is an investment in your sleep quality and overall health.

Leave a Comment