

Clean grease kitchen cabinets – just the thought can send shivers down your spine, right? I get it! We’ve all been there, staring at those sticky, grimy cabinets, wondering how on earth we’re going to tackle that mess. But fear not, my friend! This isn’t just another cleaning article; it’s your ultimate DIY guide to reclaiming your kitchen from the clutches of grease.
For generations, keeping a clean and welcoming kitchen has been a cornerstone of a happy home. Think about it – kitchens have always been the heart of family gatherings, the place where delicious meals are created and cherished memories are made. But let’s be honest, the constant cooking and frying often leave behind a stubborn residue of grease that seems impossible to remove.
That’s where these DIY tricks come in! You don’t need harsh chemicals or expensive cleaning services to achieve sparkling clean cabinets. I’m going to share simple, effective, and budget-friendly methods that use ingredients you probably already have in your pantry. Learning how to clean grease kitchen cabinets effectively not only improves the look of your kitchen but also creates a healthier and more pleasant cooking environment. So, let’s roll up our sleeves and get ready to transform those greasy cabinets into a shining testament to your DIY prowess!
DIY Guide: Banish Grease from Your Kitchen Cabinets!
Hey there! Are your kitchen cabinets looking a little…slick? Let’s be honest, grease buildup is a kitchen nemesis. But don’t worry, you don’t need harsh chemicals or a professional cleaning service to get them sparkling again. I’m going to walk you through a few DIY methods that are effective, budget-friendly, and use ingredients you probably already have in your pantry. Let’s get those cabinets looking brand new!
What You’ll Need: The Arsenal Against Grease
Before we dive in, let’s gather our supplies. Having everything ready will make the process much smoother.
* Microfiber cloths: These are your best friends for cleaning. They’re gentle, absorbent, and won’t leave streaks. Get a few!
* Soft sponges: For scrubbing those stubborn spots. Make sure they’re non-abrasive to avoid scratching your cabinets.
* Spray bottles: Essential for applying your cleaning solutions.
* Warm water: The base for most of our cleaning mixtures.
* Dish soap: A classic grease fighter. Choose a mild, grease-cutting formula.
* Baking soda: A natural abrasive that’s great for tackling tough grime.
* White vinegar: A powerful degreaser and disinfectant.
* Vegetable oil: Yes, you read that right! It’s surprisingly effective for dissolving grease.
* Lemon essential oil (optional): Adds a fresh scent and has some degreasing properties.
* Old toothbrush: Perfect for getting into those hard-to-reach corners and crevices.
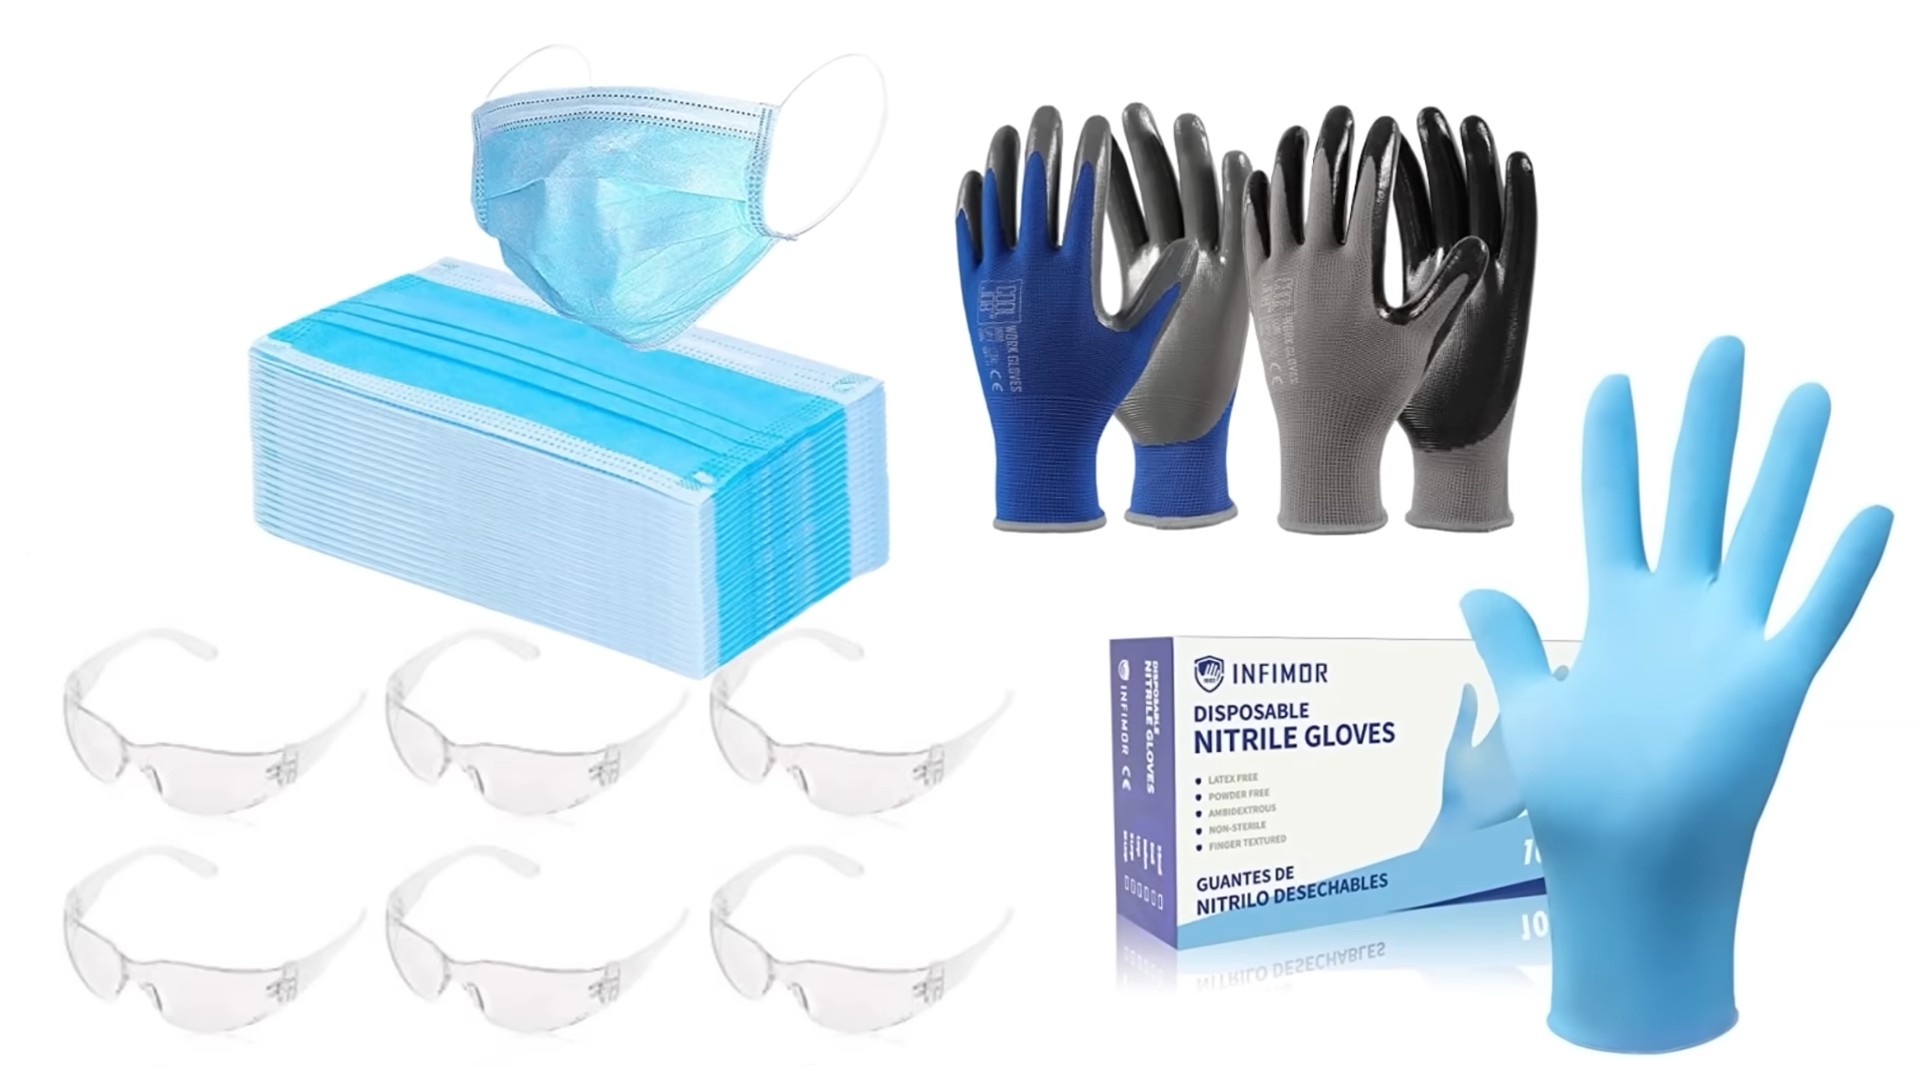
* Protective gloves: To keep your hands clean and protected.
* Safety glasses (optional): To protect your eyes, especially when spraying.
* Drop cloth or old towels: To protect your countertops and floors from drips.
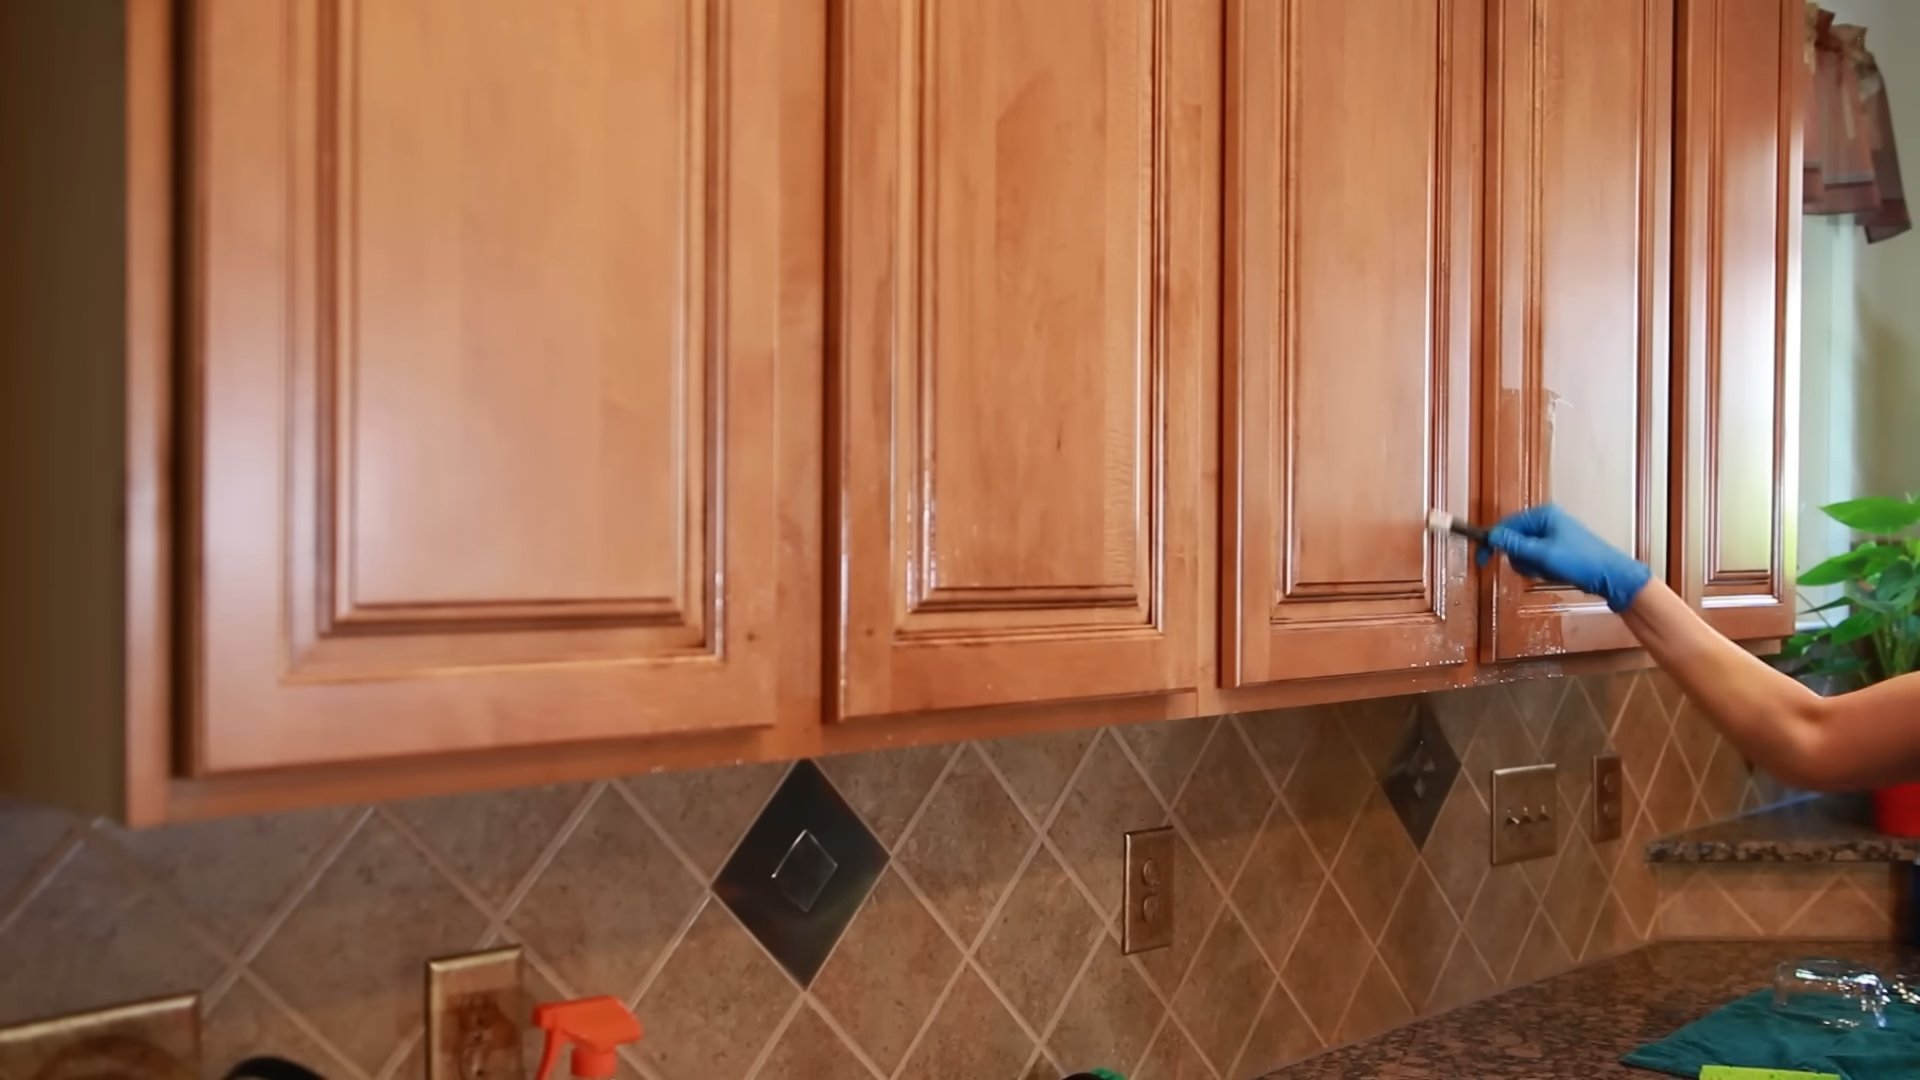
Method 1: The Classic Dish Soap Solution
This is my go-to method for general cleaning and light grease buildup. It’s simple, effective, and gentle on your cabinets.
Step-by-Step Instructions:
1. Prepare the Solution: In a spray bottle, mix about 1 tablespoon of mild dish soap with 2 cups of warm water. Shake gently to combine. Avoid creating too many bubbles.
2. Test in an Inconspicuous Area: Before applying the solution to the entire cabinet, test it on a small, hidden area (like inside a cabinet door) to ensure it doesn’t damage the finish.
3. Spray and Wipe: Lightly spray the solution onto a section of the cabinet. Don’t saturate the wood.
4. Wipe with a Damp Cloth: Immediately wipe the sprayed area with a clean, damp microfiber cloth. Use gentle pressure to remove the grease and grime.
5. Rinse with Clean Water: Dampen another clean microfiber cloth with plain warm water and wipe the cabinet to remove any soap residue.
6. Dry Thoroughly: Use a dry microfiber cloth to dry the cabinet completely. This is crucial to prevent water spots and damage to the wood.
7. Repeat: Repeat steps 3-6 for the remaining sections of your cabinets, working in small areas at a time.
8. Tackle Stubborn Spots: For tougher grease spots, let the dish soap solution sit for a few minutes before wiping. You can also use a soft sponge to gently scrub the area.
Method 2: Baking Soda Power for Stubborn Grease
When dish soap isn’t enough, baking soda is my secret weapon. Its mild abrasive properties help to lift stubborn grease without scratching.
Step-by-Step Instructions:
1. Create a Baking Soda Paste: In a small bowl, mix baking soda with a little water to form a thick paste. The consistency should be similar to toothpaste.
2. Apply the Paste: Apply the baking soda paste directly to the greasy areas of your cabinets.
3. Let it Sit: Allow the paste to sit for 5-10 minutes to soften the grease.
4. Scrub Gently: Using a soft sponge or an old toothbrush, gently scrub the area in a circular motion. Avoid applying too much pressure, as baking soda can be abrasive.
5. Rinse Thoroughly: Rinse the area with a clean, damp microfiber cloth to remove all traces of the baking soda paste.
6. Dry Completely: Dry the cabinet with a clean, dry microfiber cloth.
7. Repeat if Necessary: If the grease is particularly stubborn, repeat the process.
Method 3: Vinegar’s Degreasing Magic
Vinegar is a natural degreaser and disinfectant, making it a great option for cleaning greasy kitchen cabinets. However, it’s important to dilute it properly to avoid damaging the finish.
Step-by-Step Instructions:
1. Prepare the Vinegar Solution: In a spray bottle, mix equal parts white vinegar and warm water.
2. Test in an Inconspicuous Area: As with the dish soap solution, test the vinegar solution on a hidden area of your cabinet before applying it to the entire surface.
3. Spray and Wipe: Lightly spray the vinegar solution onto a section of the cabinet.
4. Wipe with a Damp Cloth: Immediately wipe the sprayed area with a clean, damp microfiber cloth.
5. Rinse with Clean Water: Dampen another clean microfiber cloth with plain warm water and wipe the cabinet to remove any vinegar residue.
6. Dry Thoroughly: Use a dry microfiber cloth to dry the cabinet completely.
7. Address Lingering Odor: If you’re concerned about the vinegar smell, you can add a few drops of lemon essential oil to the solution. The lemon oil will help to mask the vinegar scent and add a fresh, clean fragrance.
8. Repeat: Repeat steps 3-6 for the remaining sections of your cabinets.
Method 4: The Surprising Power of Vegetable Oil
This might sound counterintuitive, but vegetable oil can actually dissolve grease! It works by breaking down the grease molecules, making them easier to remove.
Step-by-Step Instructions:
1. Apply Vegetable Oil: Dip a clean microfiber cloth into a small amount of vegetable oil.
2. Rub onto Greasy Areas: Gently rub the oil onto the greasy areas of your cabinets.
3. Let it Sit: Allow the oil to sit for a few minutes to loosen the grease.
4. Wipe Away the Oil: Use a clean microfiber cloth to wipe away the oil and dissolved grease.
5. Clean with Dish Soap: Follow up with the dish soap solution (Method 1) to remove any remaining oil residue.
6. Rinse and Dry: Rinse the cabinet with clean water and dry thoroughly with a clean microfiber cloth.
Extra Tips and Tricks for Sparkling Cabinets
* Clean Hardware Separately: Remove cabinet knobs and pulls and soak them in warm, soapy water. Use an old toothbrush to scrub away any grime. Rinse and dry thoroughly before reattaching.
* Don’t Forget the Tops of Cabinets: The tops of cabinets are often overlooked, but they can accumulate a lot of dust and grease. Use a vacuum cleaner with a brush attachment to remove loose debris, then wipe with your chosen cleaning solution.
* Protect Your Cabinets: After cleaning, consider applying a furniture polish or wax to protect the finish and make it easier to clean in the future.
* Regular Maintenance is Key: The best way to keep your cabinets clean is to wipe them down regularly with a damp cloth. This will prevent grease from building up and make cleaning much easier.
* For Painted Cabinets: Be extra gentle when cleaning painted cabinets, as the paint can be more susceptible to damage. Avoid using abrasive cleaners or scrub brushes.
* For Wood Cabinets: Always wipe in the direction of the wood grain to avoid scratching.
* Always Test First: I can’t stress this enough! Always test your cleaning solution in an inconspicuous area before applying it to the entire cabinet.
Safety First!
* Ventilation: Make sure your kitchen is well-ventilated when cleaning, especially when using vinegar or other strong-smelling solutions.
* Gloves: Wear protective gloves to protect your hands from harsh chemicals and prolonged exposure to water.
* Eye Protection: Consider wearing safety glasses to protect your eyes from splashes.
* Keep Out of Reach of Children and Pets: Store cleaning solutions out of reach of children and pets.
Cleaning your kitchen cabinets doesn’t have to be a daunting task. With these DIY methods and a little elbow grease, you can get them looking sparkling clean in no time! Remember to be patient, work in small sections, and always test your cleaning solutions first. Happy cleaning!
Conclusion
So, there you have it! This simple, yet incredibly effective DIY trick to clean grease kitchen cabinets is a game-changer for anyone battling stubborn grime. We’ve walked you through the process, highlighting the ease and affordability of using readily available ingredients to achieve professional-level results. Forget spending a fortune on harsh chemicals or hours scrubbing tirelessly. This method is not only budget-friendly but also kinder to your cabinets and the environment.
The beauty of this DIY approach lies in its adaptability. While we’ve outlined a specific recipe, feel free to experiment with variations to suit your specific needs and preferences. For instance, if you have particularly stubborn grease buildup, consider letting the cleaning solution sit for a longer period before wiping it away. You could also add a few drops of your favorite essential oil, like lemon or orange, to the mixture for an extra boost of freshness and a pleasant scent that lingers in your kitchen.
Another variation to consider is the type of abrasive you use. While a soft sponge or microfiber cloth is generally recommended to avoid scratching, you might find that a slightly more abrasive scrub brush is necessary for heavily soiled areas. Just be sure to test it on an inconspicuous spot first to ensure it doesn’t damage the finish of your cabinets.
Furthermore, remember that prevention is always better than cure. Regularly wiping down your cabinets with a damp cloth after cooking can significantly reduce the buildup of grease and grime, making future cleaning sessions much easier. Consider investing in a good quality range hood to vent cooking fumes and grease away from your cabinets.
But the real magic happens when you put this DIY trick into action. Don’t just take our word for it – try it out for yourself! We’re confident that you’ll be amazed by the results. Imagine the satisfaction of seeing your kitchen cabinets sparkling clean, free from the sticky residue that’s been plaguing them for so long. Think of the time and money you’ll save by ditching those expensive, chemical-laden cleaners.
We truly believe that this DIY method is a must-try for anyone looking for an effective, affordable, and eco-friendly way to clean grease kitchen cabinets. It’s a simple solution to a common problem, and we’re excited for you to experience the difference it can make in your kitchen.
Once you’ve tried this DIY trick, we’d love to hear about your experience! Share your before-and-after photos, your tips and tricks, and any variations you’ve discovered in the comments section below. Let’s create a community of clean cabinet enthusiasts and help each other keep our kitchens looking their best! Your feedback is invaluable and will help us refine and improve this method for everyone. So, go ahead, give it a try, and let us know what you think! We can’t wait to see your sparkling clean cabinets!
Frequently Asked Questions (FAQ)
What type of cabinets is this DIY cleaning solution safe for?
This DIY cleaning solution is generally safe for most types of kitchen cabinets, including those made of wood, laminate, and painted surfaces. However, it’s always a good idea to test the solution on an inconspicuous area of your cabinet first to ensure it doesn’t cause any discoloration or damage. Pay particular attention to cabinets with delicate finishes or antique details. If you’re unsure about the type of finish on your cabinets, consult with a professional before proceeding. For example, cabinets with a shellac finish might be more sensitive to certain ingredients.
How often should I clean my kitchen cabinets to prevent grease buildup?
The frequency of cleaning depends on how often you cook and the amount of grease that accumulates in your kitchen. As a general rule, it’s recommended to wipe down your cabinets with a damp cloth after each cooking session to remove any splatters or spills. A more thorough cleaning with the DIY solution should be done every 1-2 weeks, or more frequently if you notice significant grease buildup. Regular maintenance will prevent the grease from hardening and becoming more difficult to remove.
Can I use this solution on other greasy surfaces in my kitchen?
Yes, this DIY cleaning solution can be used on other greasy surfaces in your kitchen, such as your stovetop, backsplash, and range hood. However, be sure to test the solution on a small, inconspicuous area first to ensure it doesn’t damage the surface. Avoid using it on delicate surfaces like stainless steel appliances, as it may leave streaks. For stainless steel, use a dedicated stainless steel cleaner.
What if the grease is really stubborn and doesn’t come off easily?
If you’re dealing with particularly stubborn grease buildup, there are a few things you can try. First, let the cleaning solution sit on the grease for a longer period of time, up to 15-20 minutes, to allow it to penetrate and loosen the grime. You can also try using a slightly more abrasive scrub brush or sponge, but be careful not to scratch the surface of your cabinets. Another option is to make a paste of baking soda and water and apply it to the greasy areas. Let it sit for a few minutes, then scrub gently and rinse with water. For extremely stubborn grease, you might consider using a commercial degreaser, but be sure to follow the manufacturer’s instructions carefully and test it on an inconspicuous area first.
What are some alternative ingredients I can use in this DIY cleaning solution?
While the recipe we provided is effective, you can experiment with alternative ingredients to suit your preferences and what you have on hand. For example, you can substitute white vinegar for apple cider vinegar, or use a different type of dish soap. Some people also like to add a few drops of essential oils, such as lemon or orange, for a fresh scent. If you don’t have baking soda, you can try using washing soda instead, but be sure to wear gloves as it can be irritating to the skin. Remember to always test any new ingredient on an inconspicuous area first to ensure it doesn’t damage your cabinets.
How do I prevent grease from building up on my kitchen cabinets in the first place?
Preventing grease buildup is key to keeping your kitchen cabinets clean and looking their best. Here are a few tips to help you minimize grease accumulation:
* Use a range hood while cooking to vent fumes and grease away from your cabinets.
* Wipe down your cabinets with a damp cloth after each cooking session to remove any splatters or spills.
* Avoid frying foods too often, as this can generate a lot of grease.
* Keep your kitchen well-ventilated to prevent grease from settling on surfaces.
* Consider using a splatter screen when cooking to prevent grease from splattering onto your cabinets.
* Regularly clean your range hood filters to ensure they are working effectively.
Is this DIY cleaning solution environmentally friendly?
Yes, this DIY cleaning solution is generally considered to be more environmentally friendly than commercial cleaners, as it uses natural ingredients that are less harmful to the environment. Baking soda and vinegar are biodegradable and non-toxic, making them a safer alternative to harsh chemicals. However, it’s important to dispose of the cleaning solution properly and avoid pouring it down the drain if it contains large amounts of grease. You can also choose to use eco-friendly dish soap to further reduce the environmental impact of your cleaning routine.
Can I use this solution on my wooden furniture?
While this solution is generally safe for wood, it’s crucial to test it on an inconspicuous area first. Different types of wood and finishes react differently to cleaning solutions. Avoid using it on antique or delicate wooden furniture without consulting a professional. For wooden furniture, a gentler approach with a damp cloth and mild soap might be more suitable.


Leave a Comment