

Bottle Gourd Growing Tips are what you need to unlock a bountiful harvest right in your backyard! Have you ever dreamed of strolling through your garden, plucking fresh, homegrown bottle gourds for delicious curries, refreshing juices, or even crafting unique, eco-friendly containers? I know I have! For centuries, the bottle gourd, also known as calabash, has been a staple in cultures across the globe, from ancient Egypt where it was used as a water vessel to India where it’s a beloved ingredient in traditional cuisine.
But let’s be honest, growing these fascinating gourds can sometimes feel like a challenge. Maybe your vines are struggling, the fruits are small, or you’re just not sure where to start. That’s where these DIY tricks and hacks come in! I’m here to share my tried-and-true secrets to successful Bottle Gourd Growing Tips, ensuring you enjoy a thriving garden and a plentiful supply of these versatile vegetables. Forget complicated gardening jargon and expensive equipment; we’re focusing on simple, effective methods that anyone can implement. Get ready to transform your garden into a bottle gourd paradise!
Growing Bottle Gourds: A Comprehensive DIY Guide
Hey there, fellow gardening enthusiasts! I’m so excited to share my experience and tips on growing bottle gourds. These fascinating plants are not only fun to cultivate but also incredibly versatile. You can use the dried gourds for crafting, making birdhouses, or even creating unique musical instruments. Let’s dive into the process, step-by-step!
Choosing the Right Variety and Preparing Your Garden
Before we get our hands dirty, it’s crucial to select the right bottle gourd variety for your climate and intended use. There are many shapes and sizes available, from the classic bowling pin shape to the dipper gourd and even the swan gourd.
* Consider your climate: Bottle gourds thrive in warm weather, so make sure your growing season is long enough.
* Think about the end use: Are you planning to make birdhouses, bowls, or musical instruments? This will influence the shape and size you choose.
* Check for disease resistance: Some varieties are more resistant to common gourd diseases, which can save you a lot of trouble later on.
Once you’ve chosen your variety, it’s time to prepare your garden bed. Bottle gourds are heavy feeders, so rich, well-drained soil is essential.
* Sunlight is key: Select a location that receives at least 6-8 hours of direct sunlight per day.
* Soil preparation: Amend the soil with plenty of compost or well-rotted manure. This will provide the nutrients the gourds need to flourish. Aim for a slightly acidic to neutral pH (around 6.0-7.0).
* Drainage is crucial: Bottle gourds don’t like soggy feet, so ensure the soil drains well. If you have heavy clay soil, consider adding sand or perlite to improve drainage.
* Space is important: These vines can get HUGE! Give each plant at least 4-6 feet of space to spread out.
Starting Your Seeds (Indoors or Outdoors)
You can start bottle gourd seeds indoors or directly sow them in the garden, depending on your climate and growing season. I usually prefer starting them indoors to get a head start.
Starting Seeds Indoors:
1. Soak the seeds: Before planting, soak the seeds in warm water for 24-48 hours. This helps soften the seed coat and improves germination.
2. Prepare your seed starting mix: Use a well-draining seed starting mix. Avoid using garden soil, as it can be too heavy and may contain diseases.
3. Plant the seeds: Sow the seeds about 1 inch deep in individual pots or seed trays.
4. Provide warmth and moisture: Keep the soil consistently moist but not waterlogged. Use a heat mat to maintain a soil temperature of around 70-80°F (21-27°C).
5. Provide light: Once the seedlings emerge, provide them with plenty of light. A sunny windowsill or grow lights will work well.
6. Harden off the seedlings: Before transplanting the seedlings outdoors, gradually acclimate them to outdoor conditions over a period of 7-10 days. This process is called hardening off. Start by placing them in a sheltered location for a few hours each day, gradually increasing the amount of time they spend outdoors.
Direct Sowing Seeds Outdoors:
1. Wait for warm weather: Make sure the soil temperature is consistently above 65°F (18°C) before direct sowing.
2. Prepare the soil: Amend the soil with compost or well-rotted manure.
3. Plant the seeds: Sow the seeds about 1 inch deep and 4-6 feet apart.
4. Water gently: Keep the soil consistently moist until the seedlings emerge.
5. Protect from pests: Young seedlings are vulnerable to pests like slugs and snails. Use appropriate pest control measures to protect them.
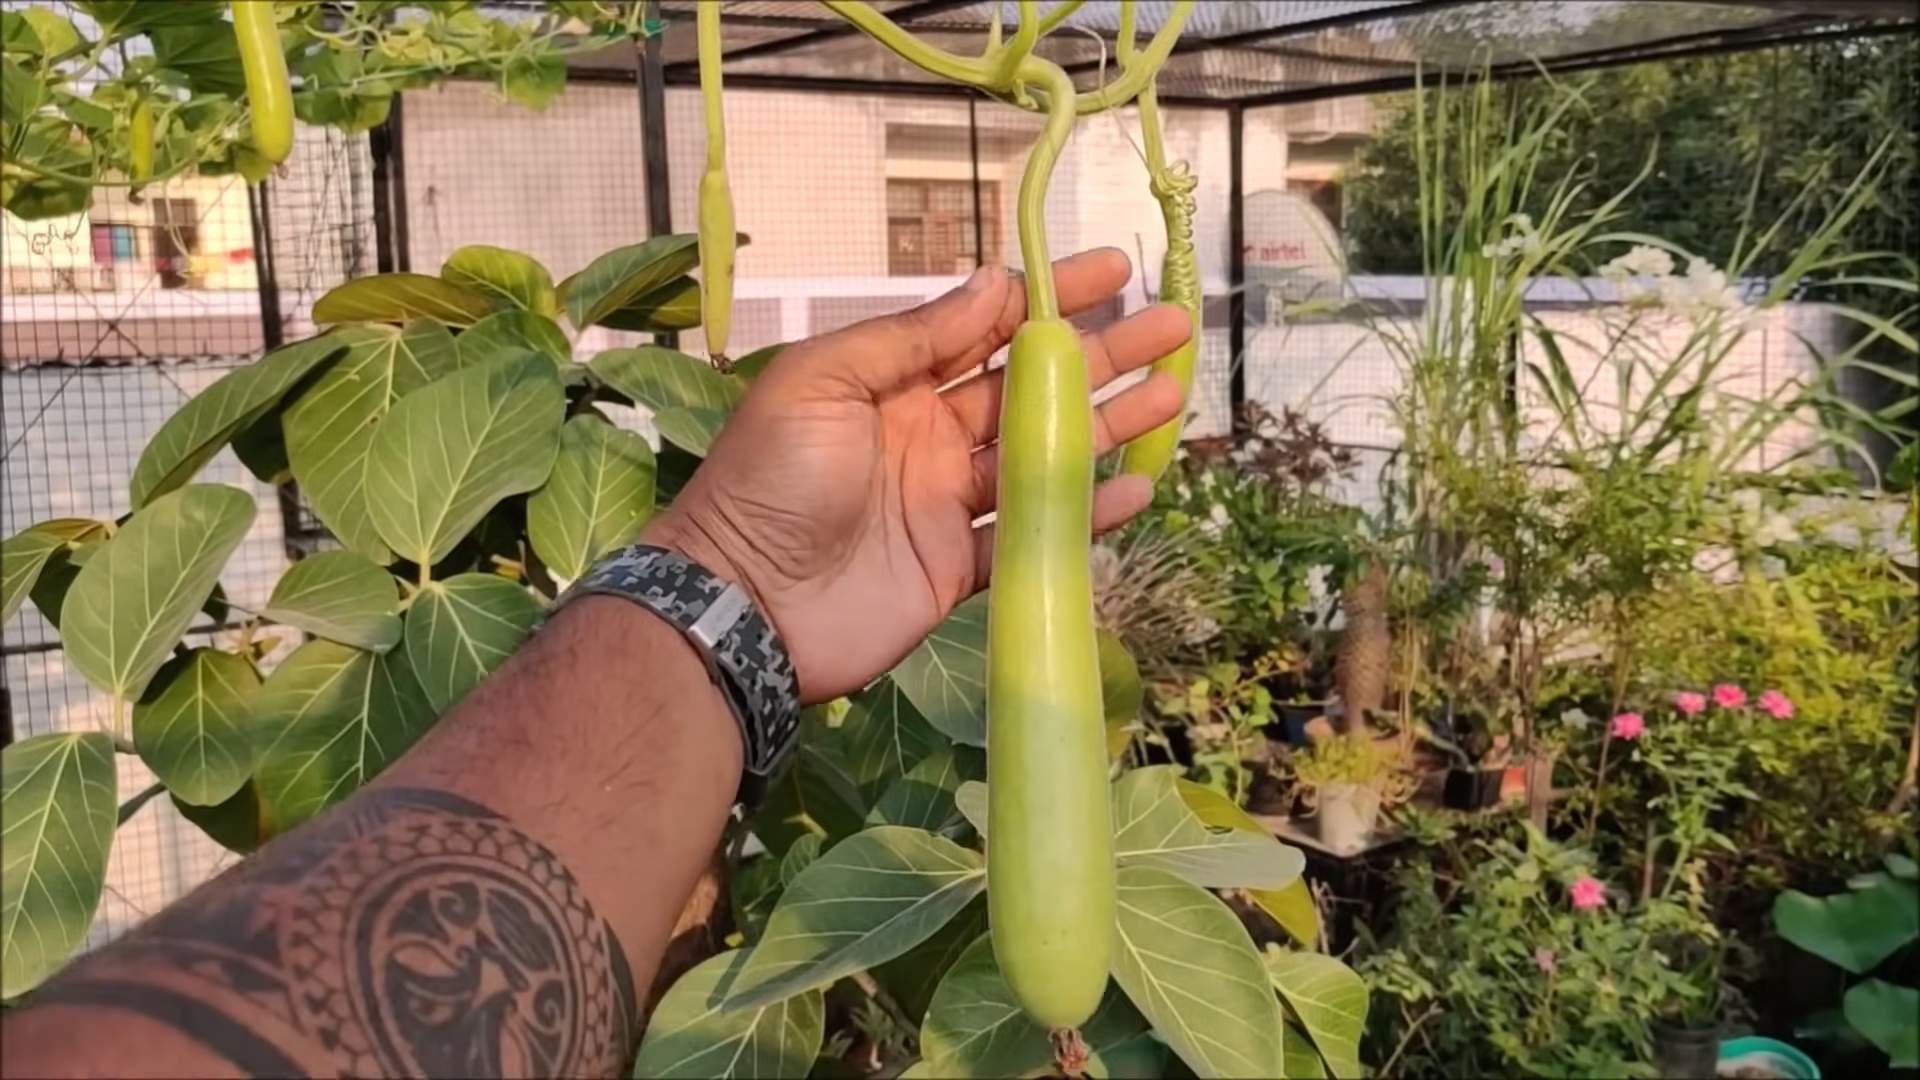
Providing Support and Training Your Vines
Bottle gourd vines are vigorous climbers and need strong support to grow properly. Without adequate support, the gourds can become misshapen and may even rot on the ground.
* Choose a sturdy trellis or arbor: A strong trellis, arbor, or fence is essential for supporting the heavy vines and gourds. Make sure the structure is tall enough to accommodate the full growth of the vines. I’ve even seen people use old swing sets!
* Train the vines: As the vines grow, gently guide them onto the support structure. You may need to tie them loosely with twine or plant ties.
* Prune the vines (optional): Pruning can help control the size of the vines and encourage more fruit production. Remove any excessive growth or side shoots that are not producing flowers or gourds.
Watering and Fertilizing
Consistent watering and fertilization are crucial for healthy growth and abundant gourd production.
* Water deeply and regularly: Water the plants deeply and regularly, especially during hot, dry weather. Aim to keep the soil consistently moist but not waterlogged.
* Fertilize regularly: Feed the plants with a balanced fertilizer every 2-3 weeks. You can also use a liquid seaweed fertilizer for an extra boost of nutrients.
* Avoid over-fertilizing: Over-fertilizing can lead to excessive vine growth and reduced fruit production. Follow the instructions on the fertilizer label carefully.
Pollination and Fruit Development
Bottle gourds produce separate male and female flowers on the same plant. The female flowers need to be pollinated in order to develop into gourds.
* Hand-pollination (if needed): If you’re not seeing enough gourd development, you may need to hand-pollinate the flowers. Use a small paintbrush to transfer pollen from the male flowers to the female flowers. The female flowers have a small gourd-like structure at the base of the flower.
* Attract pollinators: Plant flowers that attract pollinators, such as bees and butterflies, near your bottle gourd plants.
* Protect developing gourds: As the gourds develop, you may need to protect them from pests and diseases. You can use netting or burlap bags to protect them from insects and birds.
Dealing with Pests and Diseases
Bottle gourds are generally resistant to pests and diseases, but they can be susceptible to certain problems, especially in humid climates.
* Common pests: Aphids, squash bugs, and vine borers can attack bottle gourd plants. Use insecticidal soap or neem oil to control these pests.
* Common diseases: Powdery mildew and downy mildew are common fungal diseases that can affect bottle gourds. Use a fungicide to prevent or treat these diseases.
* Prevention is key: Practice good garden hygiene to prevent pests and diseases. Remove any diseased or infested plant material promptly. Ensure good air circulation around the plants.
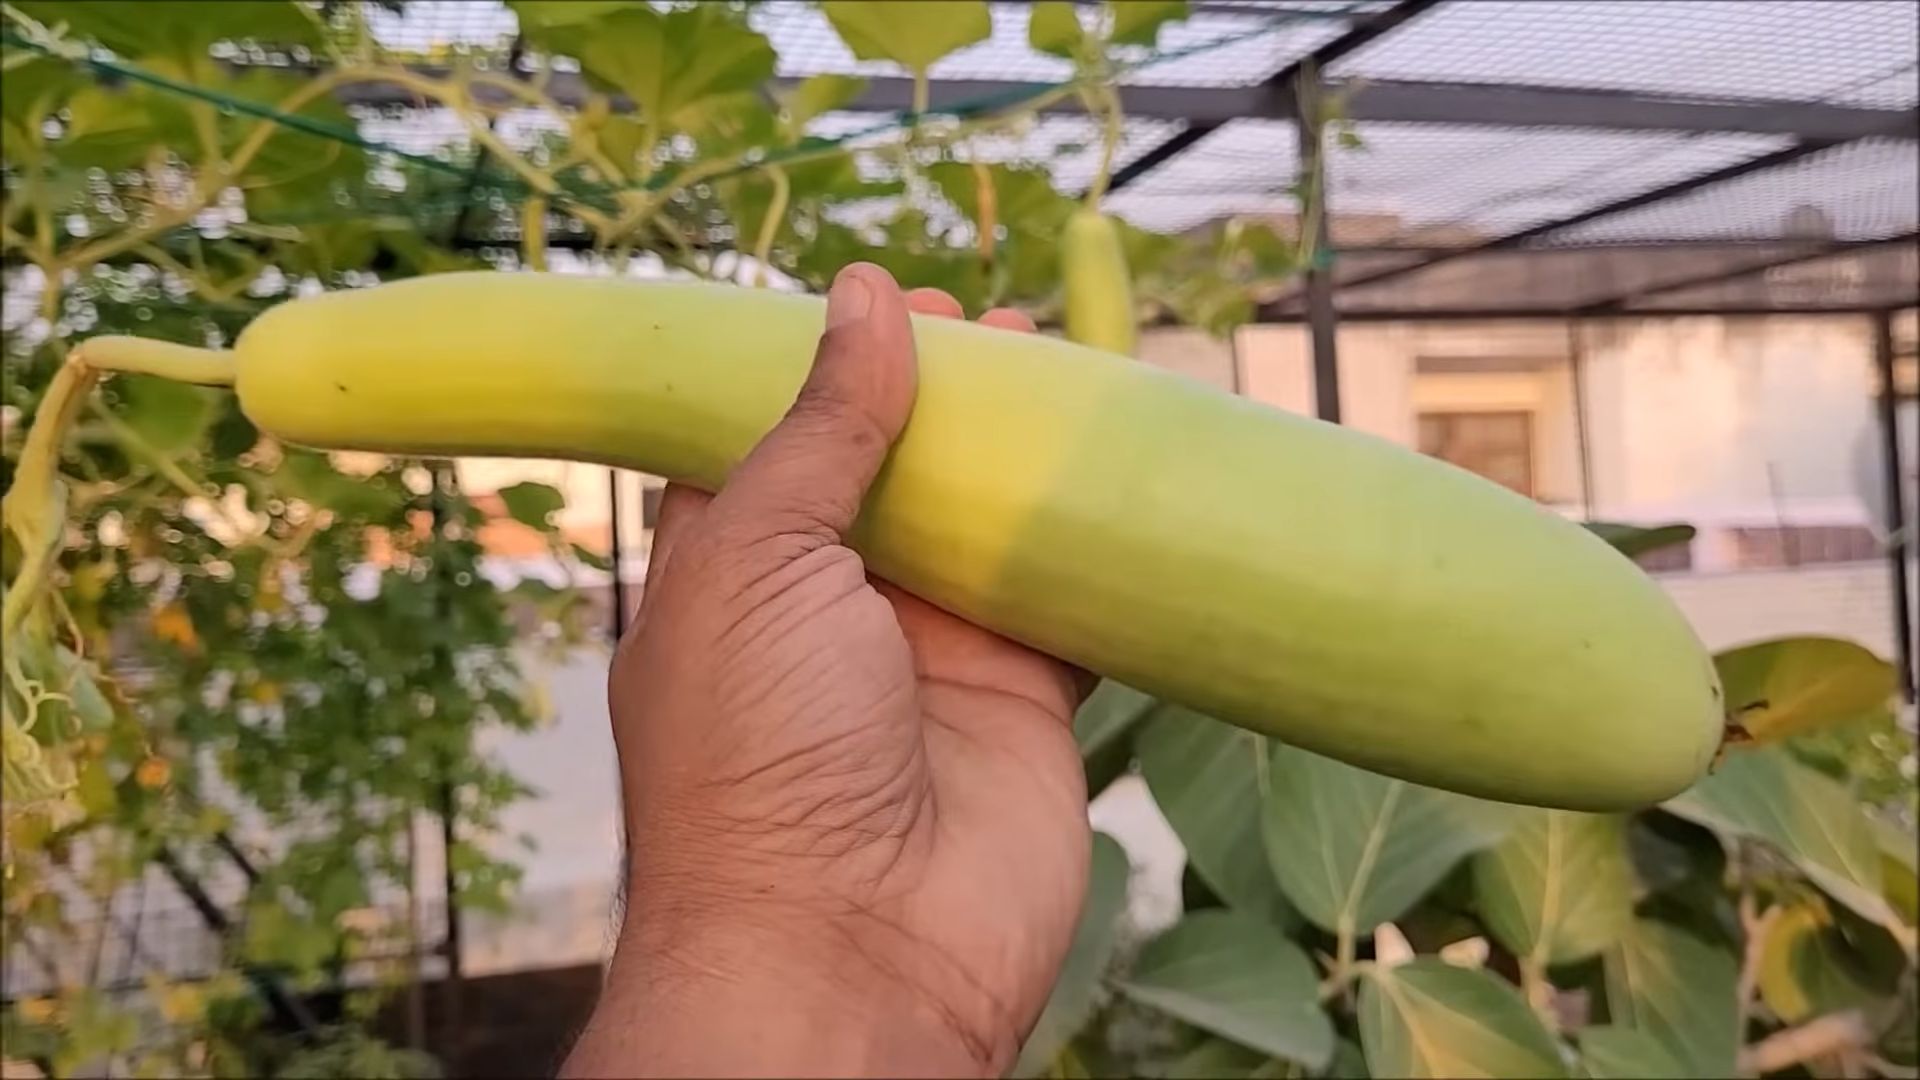
Harvesting and Curing Your Gourds
Harvesting and curing are essential steps in preparing your bottle gourds for crafting or other uses.
* Harvest when mature: Harvest the gourds when they are fully mature and the stems have dried and turned brown. The skin should be hard and tough.
* Cut the gourds carefully: Use a sharp knife or pruning shears to cut the gourds from the vine, leaving a few inches of stem attached.
* Wash the gourds: Wash the gourds with soap and water to remove any dirt or debris.
* Curing process: The curing process is crucial for drying the gourds properly and preventing them from rotting.
1. Choose a well-ventilated location: Select a dry, well-ventilated location for curing the gourds. A shed, garage, or attic works well.
2. Elevate the gourds: Place the gourds on a rack or pallets to allow air to circulate around them.
3. Monitor the gourds: Check the gourds regularly for signs of rot or mold. Remove any damaged gourds promptly.
4. Be patient: The curing process can take several weeks or even months, depending on the size of the gourds and the humidity levels. The gourds are fully cured when they are lightweight and the seeds rattle inside.
* Cleaning the cured gourds: Once the gourds are fully cured, you can clean them by soaking them in water and scrubbing off the outer skin. You can also use sandpaper to smooth the surface.
Crafting with Bottle Gourds
Now for the fun part! Once your gourds are cured and cleaned, you can use them for a variety of crafts.
* Birdhouses: Bottle gourds make excellent birdhouses. Simply drill a hole for the entrance and add a perch.
* Bowls and containers: Cut the gourds in half and hollow them out to create unique bowls and containers.
* Musical instruments: Bottle gourds can be used to make a variety of musical instruments, such as rattles and drums.
* Decorative items: Paint, carve, or decorate the gourds to create beautiful decorative items
Conclusion
So, there you have it! Growing your own bottle gourds doesn’t have to be a daunting task. By implementing these simple yet effective DIY tricks, you’re well on your way to harvesting a bountiful crop of these versatile vegetables. We’ve covered everything from seed preparation and soil enrichment to trellising techniques and pest control, all designed to maximize your yield and minimize potential problems.
The beauty of this approach lies in its adaptability. Feel free to experiment with different composting materials to find what works best for your local soil conditions. Perhaps you’ll discover that adding coffee grounds to your compost mix gives your bottle gourds an extra boost. Or maybe you’ll find that a specific type of organic mulch helps retain moisture more effectively in your climate. Don’t be afraid to tweak the trellising system to suit your garden’s layout and your personal preferences. Some gardeners prefer a simple A-frame trellis, while others opt for a more elaborate overhead structure. The key is to provide ample support for the heavy vines and developing gourds.
One exciting variation to consider is growing different varieties of bottle gourds. From the classic long, slender types to the rounder, more bulbous shapes, there’s a bottle gourd variety to suit every culinary and crafting need. Imagine crafting beautiful birdhouses from your homegrown gourds or using them to create unique musical instruments. The possibilities are truly endless!
Why is this DIY approach a must-try? Because it empowers you to take control of your food source, reduce your reliance on commercially grown produce, and connect with nature in a meaningful way. Plus, there’s nothing quite like the satisfaction of harvesting a vegetable that you’ve nurtured from seed to maturity. And let’s not forget the cost savings! Growing your own bottle gourds can significantly reduce your grocery bill, especially if you’re a frequent consumer of this nutritious vegetable.
But the benefits extend beyond the practical. Gardening is a therapeutic activity that can reduce stress, improve your mood, and provide a sense of accomplishment. It’s also a great way to get some exercise and fresh air. And when you grow your own food, you know exactly what you’re putting into your body. You can avoid harmful pesticides and herbicides and ensure that your vegetables are grown in healthy, nutrient-rich soil.
We’re confident that these bottle gourd growing tips will help you achieve success in your garden. But remember, gardening is a learning process. Don’t be discouraged if you encounter challenges along the way. Every mistake is an opportunity to learn and improve.
So, what are you waiting for? Grab some bottle gourd seeds, prepare your soil, and get ready to embark on a rewarding gardening adventure. We encourage you to try these DIY tricks and share your experiences with us. Let us know what works best for you, what challenges you face, and what creative ways you’ve found to use your homegrown bottle gourds. Share your photos and stories on social media using #BottleGourdDIY and let’s build a community of passionate bottle gourd growers! We can’t wait to see what you create!
Frequently Asked Questions (FAQ)
Q: How long does it take for bottle gourds to mature?
A: Bottle gourds typically take between 90 and 120 days to mature from seed to harvest. However, this can vary depending on the variety, climate, and growing conditions. Warmer temperatures and consistent moisture will generally lead to faster growth. Be patient and monitor your gourds regularly for signs of ripeness, such as a hardened skin and a hollow sound when tapped.
Q: What are the best soil conditions for growing bottle gourds?
A: Bottle gourds thrive in well-drained, fertile soil that is rich in organic matter. The ideal soil pH is between 6.0 and 7.0. Before planting, amend your soil with compost, aged manure, or other organic materials to improve its fertility and drainage. Avoid heavy clay soils, as they can become waterlogged and inhibit root growth. If you have clay soil, consider growing your bottle gourds in raised beds or containers.
Q: How often should I water my bottle gourd plants?
A: Bottle gourds require consistent moisture, especially during hot, dry weather. Water deeply and regularly, aiming to keep the soil consistently moist but not waterlogged. A good rule of thumb is to water when the top inch of soil feels dry to the touch. Mulching around the base of the plants can help retain moisture and reduce the need for frequent watering. During periods of heavy rainfall, you may need to reduce watering to prevent root rot.
Q: What are some common pests and diseases that affect bottle gourds?
A: Bottle gourds can be susceptible to various pests and diseases, including squash bugs, squash vine borers, aphids, powdery mildew, and downy mildew. Regularly inspect your plants for signs of infestation or disease. Use organic pest control methods, such as insecticidal soap or neem oil, to control pests. Ensure good air circulation around your plants to prevent fungal diseases. Remove any infected leaves or vines promptly to prevent the spread of disease. Crop rotation can also help reduce the risk of soilborne diseases.
Q: How do I know when my bottle gourds are ready to harvest?
A: Bottle gourds are ready to harvest when the skin is hard and the stem is dry and brown. Gently tap the gourd; it should sound hollow. Use a sharp knife or pruning shears to cut the gourd from the vine, leaving a few inches of stem attached. Handle the gourds carefully to avoid bruising or damaging the skin. After harvesting, cure the gourds in a dry, well-ventilated area for several weeks to allow the skin to harden further.
Q: Can I eat bottle gourds?
A: Yes, young bottle gourds are edible and can be used in a variety of culinary dishes. They have a mild, slightly sweet flavor and a tender texture. Bottle gourds can be boiled, steamed, stir-fried, or added to soups and stews. However, it’s important to note that mature bottle gourds are generally not eaten, as they can become bitter and fibrous. Always harvest bottle gourds for consumption when they are young and tender.
Q: How can I use mature bottle gourds?
A: Mature bottle gourds are commonly used for crafting and decorative purposes. They can be dried and used to make birdhouses, bowls, musical instruments, and other decorative items. The hard, durable skin of the dried gourd makes it an ideal material for carving, painting, and other artistic techniques. Before using mature bottle gourds for crafting, they must be properly dried and cured to prevent rotting.
Q: What are some tips for drying bottle gourds?
A: To dry bottle gourds, first wash them thoroughly with soap and water. Then, drill a few small holes in the bottom of the gourd to allow for drainage. Hang the gourds in a dry, well-ventilated area, such as a garage or shed. Avoid direct sunlight, as it can cause the gourds to crack. The drying process can take several weeks or even months, depending on the size and thickness of the gourd. Check the gourds regularly for signs of mold or rot. If mold appears, wipe it off with a solution of bleach and water. The gourds are fully dried when they are lightweight and the seeds rattle inside.
Q: Can I save seeds from my bottle gourds for future planting?
A: Yes, you can save seeds from your bottle gourds for future planting. Allow a few gourds to fully mature on the vine. Once the gourds are dry, cut them open and remove the seeds. Wash the seeds thoroughly and spread them out on a paper towel to dry completely. Store the dried seeds in an airtight container in a cool, dark place. Bottle gourd seeds can remain viable for several years if stored properly.
Q: What are some companion plants for bottle gourds?
A: Companion planting can help improve the growth and health of your bottle gourd plants. Some good companion plants for bottle gourds include marigolds, nasturtiums, and basil, which can help repel pests. Corn can provide support for the vines, while beans can help fix nitrogen in the soil. Avoid planting bottle gourds near members of the cabbage family, such as broccoli and cauliflower, as they can compete for nutrients.
Leave a Comment