

Bathroom cleaning tips – let’s be honest, nobody *loves* cleaning the bathroom, right? But what if I told you there were simple, DIY tricks that could transform this dreaded chore into a breeze? Imagine a sparkling clean bathroom, achieved with minimal effort and using ingredients you probably already have in your pantry. Sounds good, doesn’t it?
For centuries, maintaining hygiene in our living spaces has been a cornerstone of health and well-being. From ancient Roman bathhouses to the communal wash areas of early civilizations, the need for clean bathing spaces has always been recognized. While the methods have evolved, the underlying principle remains the same: a clean bathroom is a healthy bathroom.
In today’s busy world, who has hours to spend scrubbing tiles and battling stubborn stains? That’s where these bathroom cleaning tips come in! I’m going to share some of my favorite DIY hacks that will save you time, money, and a whole lot of elbow grease. We’ll tackle everything from soap scum to toilet bowl stains, using natural and effective solutions. Get ready to say goodbye to harsh chemicals and hello to a sparkling, fresh bathroom you’ll actually enjoy spending time in!
DIY Bathroom Cleaning Hacks: Sparkling Clean on a Budget!
Okay, let’s face it, cleaning the bathroom is nobody’s favorite chore. But a sparkling clean bathroom? That’s something we can all appreciate! I’m going to share some of my favorite DIY bathroom cleaning hacks that are not only effective but also super budget-friendly. Get ready to ditch those harsh chemicals and embrace a cleaner, fresher bathroom using ingredients you probably already have at home!
Getting Started: Your Cleaning Arsenal
Before we dive into the nitty-gritty, let’s gather our supplies. Having everything ready will make the process much smoother. Here’s what you’ll need:
* Baking Soda: This is your all-purpose cleaning champion. It’s abrasive enough to scrub away grime but gentle enough not to scratch surfaces.
* White Vinegar: The acidic power of vinegar cuts through soap scum, hard water stains, and mildew like a boss.
* Dish Soap: A little dish soap goes a long way in breaking down grease and grime.
* Hydrogen Peroxide: This is a fantastic disinfectant and stain remover.
* Lemon Juice: Not only does it smell amazing, but lemon juice is also a natural disinfectant and brightener.
* Essential Oils (Optional): Add a few drops of your favorite essential oil (like tea tree, lavender, or eucalyptus) for an extra boost of freshness and antibacterial power.
* Spray Bottles: You’ll need at least two – one for vinegar and one for your all-purpose cleaner.
* Microfiber Cloths: These are your best friends for streak-free cleaning.
* Scrub Brush: A good scrub brush is essential for tackling tough stains and grout.
* Old Toothbrush: Perfect for getting into those hard-to-reach corners and crevices.
* Rubber Gloves: Protect your hands from harsh chemicals (even if they’re natural!).
* Squeegee: Keep your shower doors and walls sparkling clean.
* Toilet Bowl Brush: A must-have for obvious reasons!
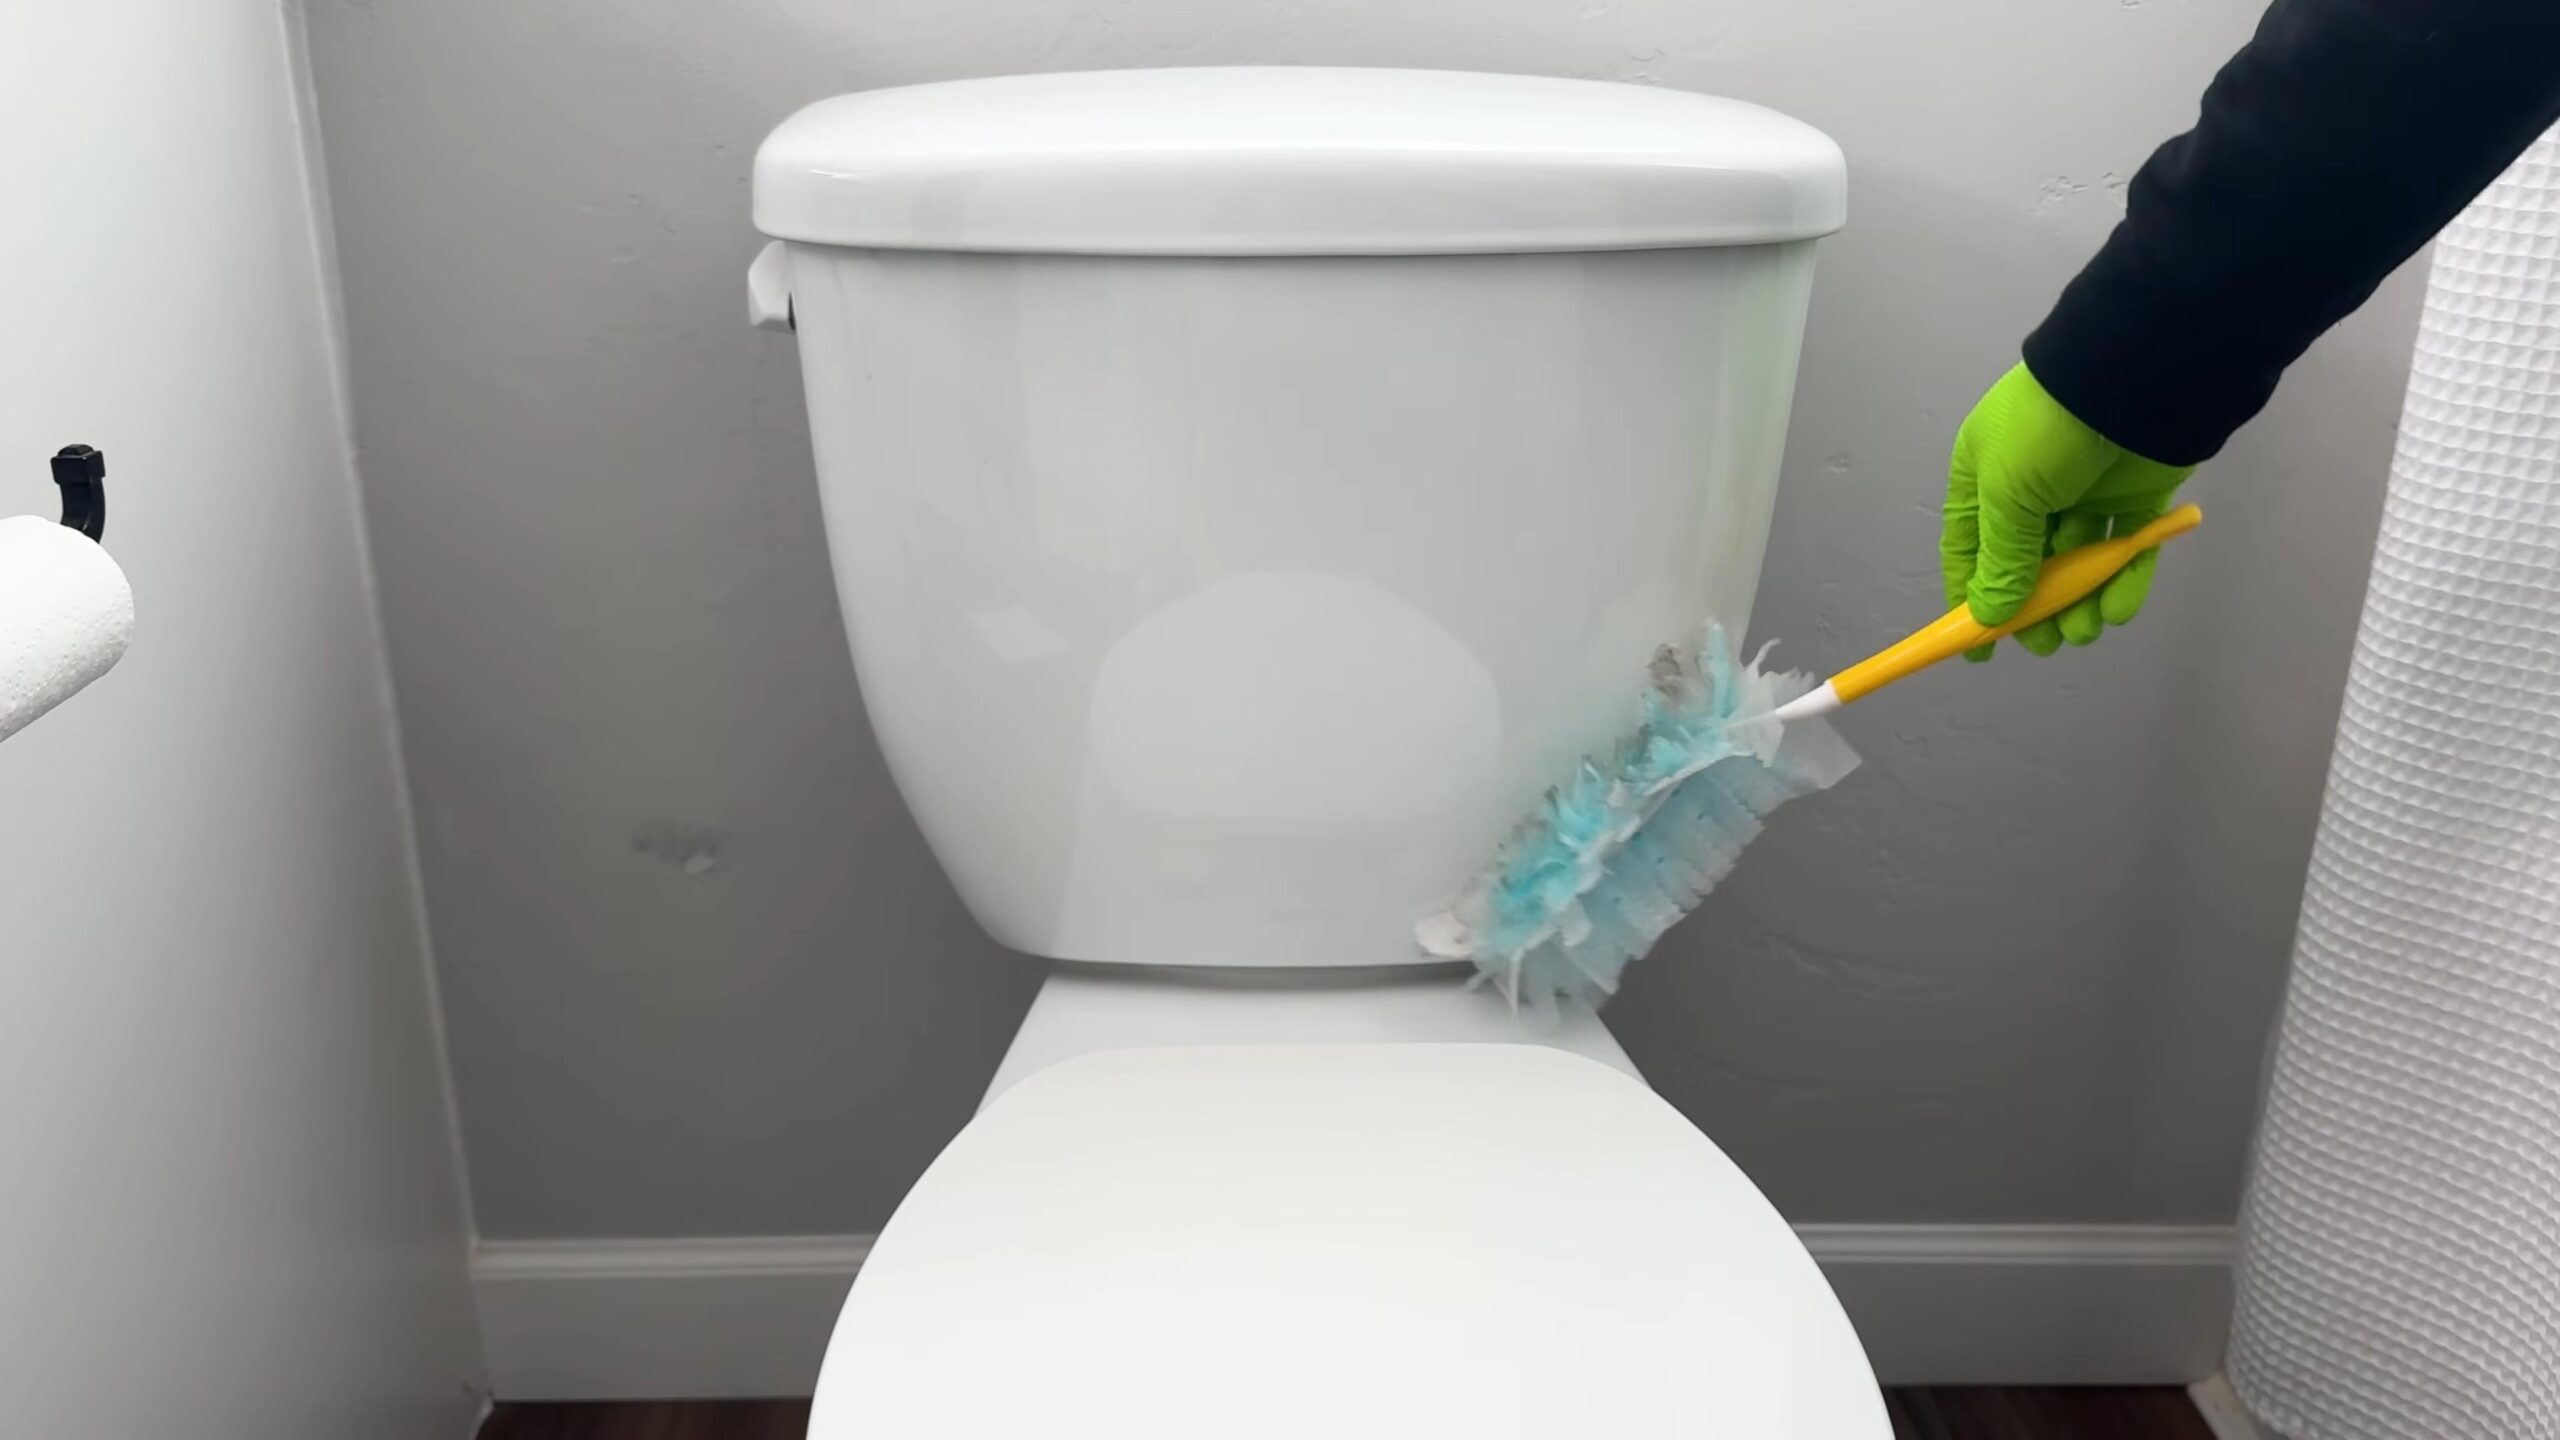
Tackling the Toilet: Sparkling Clean Throne
The toilet is often the most dreaded part of bathroom cleaning, but it doesn’t have to be! Here’s how I get mine sparkling clean:
1. Flush the Toilet: Start with a fresh bowl.
2. Apply Baking Soda: Sprinkle about 1/2 cup of baking soda into the toilet bowl. Let it sit for at least 30 minutes (or even overnight for tough stains). The baking soda will help loosen any grime and stains.
3. Add Vinegar: Pour about 1 cup of white vinegar into the bowl. You’ll see a fizzing reaction – that’s the baking soda and vinegar working their magic!
4. Scrub-a-dub-dub: Use your toilet bowl brush to scrub the entire bowl, paying special attention to any stains or rings.
5. Flush Again: Flush the toilet to rinse away the baking soda and vinegar.
6. Clean the Exterior: Mix a solution of equal parts water and vinegar in a spray bottle. Spray the exterior of the toilet (including the seat, lid, and base) and wipe clean with a microfiber cloth.
7. Disinfect (Optional): For extra disinfecting power, spray the exterior of the toilet with hydrogen peroxide and let it sit for a few minutes before wiping clean.
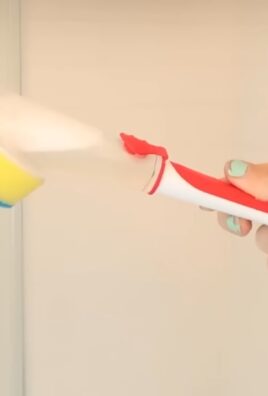
Shower Power: Banishing Soap Scum and Mildew
Soap scum and mildew are the bane of every bathroom cleaner’s existence. But fear not! These DIY hacks will help you conquer them:
1. Ventilate the Bathroom: Open a window or turn on the exhaust fan to improve ventilation. This will help prevent mildew growth.
2. Vinegar Shower Spray: Fill a spray bottle with equal parts white vinegar and water.
3. Spray and Soak: Spray the shower walls, door, and floor with the vinegar solution. Let it sit for at least 30 minutes (or longer for stubborn soap scum).
4. Scrub-a-dub-dub (Again!): Use a scrub brush or sponge to scrub away the soap scum and mildew. For tough spots, sprinkle some baking soda on the area and scrub again.
5. Rinse Thoroughly: Rinse the shower with hot water to remove all traces of vinegar and baking soda.
6. Squeegee After Each Use: This is the key to preventing soap scum buildup! After each shower, use a squeegee to remove excess water from the walls and door.
7. Deep Clean Grout: For grout that’s looking a little worse for wear, make a paste of baking soda and water. Apply the paste to the grout lines and let it sit for a few minutes. Then, scrub with an old toothbrush and rinse with water.
8. Hydrogen Peroxide for Stubborn Mildew: If you have stubborn mildew stains, spray them with hydrogen peroxide and let it sit for a few minutes before scrubbing and rinsing.
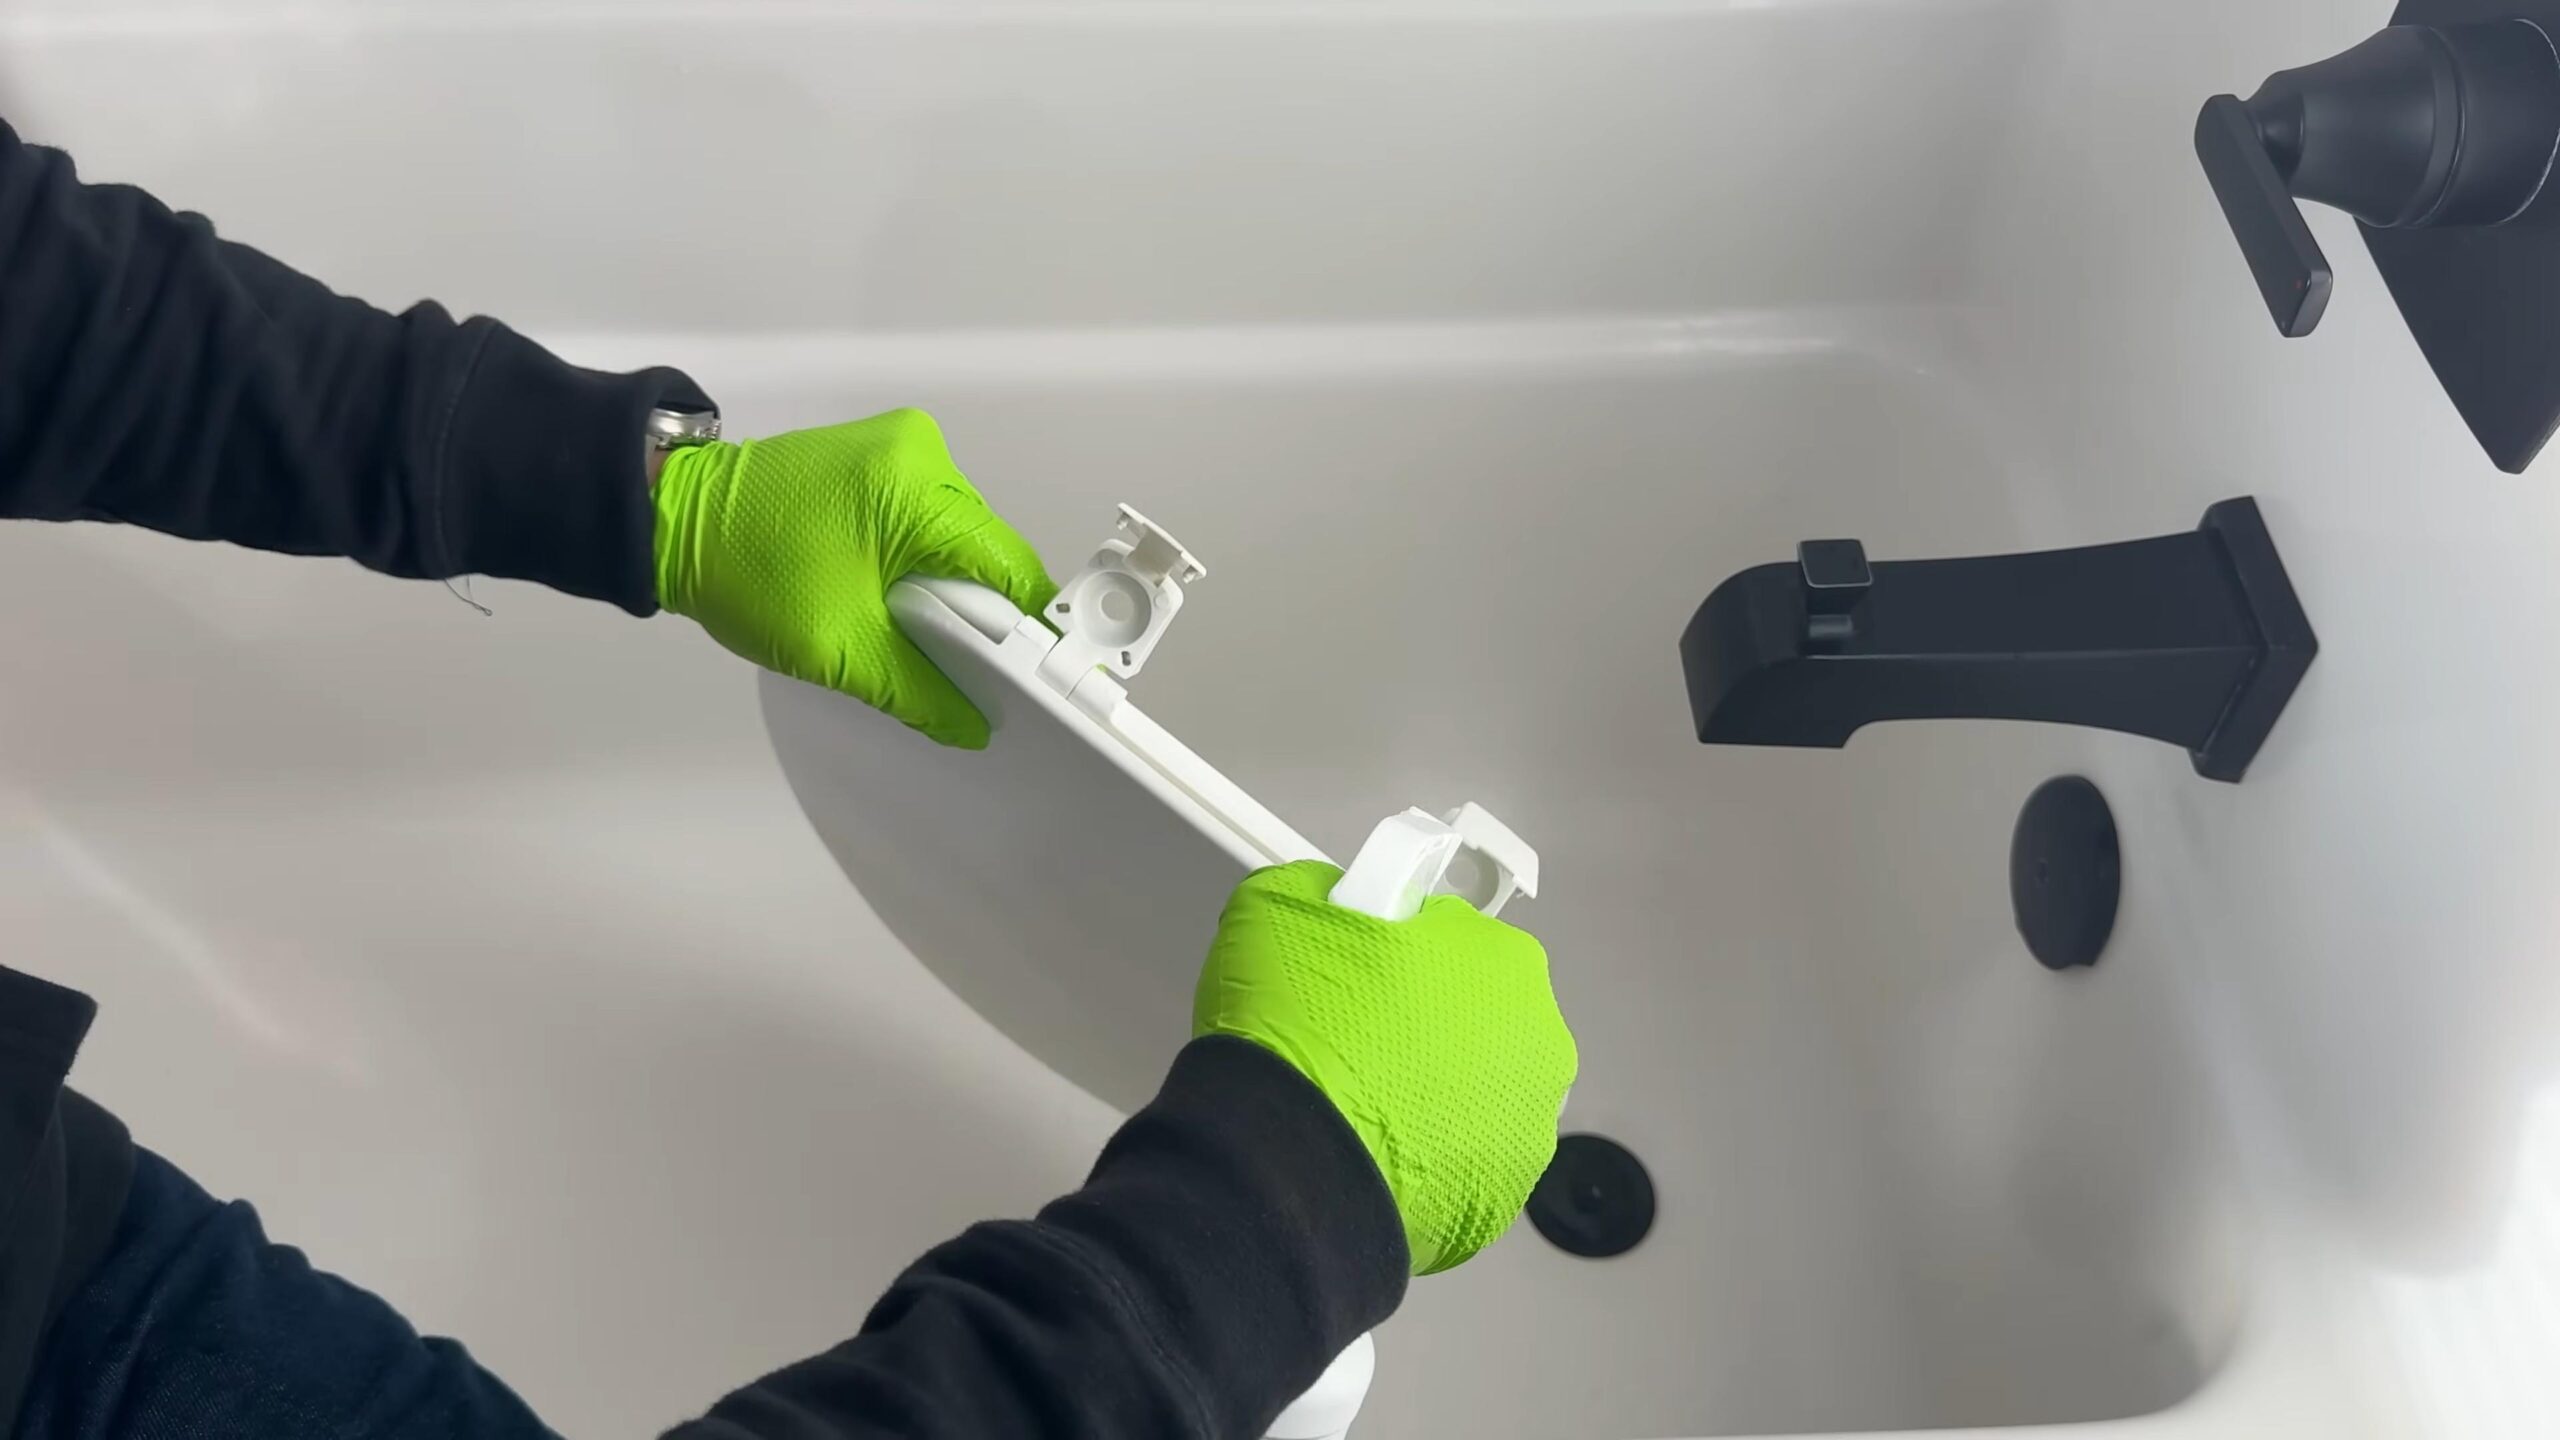
Sink and Countertop Sparkle: Removing Water Spots and Grime
The sink and countertops are often the first things people see in your bathroom, so keeping them clean is essential.
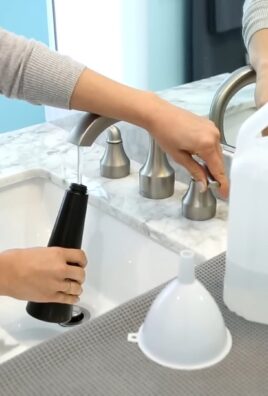
1. All-Purpose Cleaner: In a spray bottle, mix 1 cup of water, 1/4 cup of white vinegar, and a few drops of dish soap. Add a few drops of your favorite essential oil for a pleasant scent.
2. Spray and Wipe: Spray the sink and countertops with the all-purpose cleaner and wipe clean with a microfiber cloth.
3. Remove Water Spots: For stubborn water spots, rub a lemon wedge over the area and let it sit for a few minutes before wiping clean. The citric acid in the lemon juice will help dissolve the mineral deposits.
4. Shine the Faucet: To make your faucet shine, rub it with a microfiber cloth dampened with white vinegar.
5. Clean the Drain: Pour 1/2 cup of baking soda down the drain, followed by 1 cup of white vinegar. Let it fizz for about 30 minutes, then flush with hot water. This will help clear any clogs and eliminate odors.
Mirror, Mirror on the Wall: Streak-Free Shine
Streaky mirrors can be frustrating, but here’s how to achieve a perfect, streak-free shine:
1. Vinegar Solution: Mix equal parts white vinegar and water in a spray bottle.
2. Spray Lightly: Lightly spray the mirror with the vinegar solution. Avoid over-saturating the mirror, as this can cause streaks.
3. Wipe with Microfiber Cloth: Wipe the mirror clean with a clean, dry microfiber cloth. Use a circular motion to remove any streaks.
4. Buff to Shine: Buff the mirror with a clean, dry microfiber cloth to achieve a sparkling shine.
Floor Cleaning: From Grimy to Gleaming
Don’t forget about the floor! Here’s how to keep your bathroom floor clean and sanitary:
1. Sweep or Vacuum: Start by sweeping or vacuuming the floor to remove any loose dirt and debris.
2. Mop with Vinegar Solution: Mix 1/2 cup of white vinegar with 1 gallon of warm water.
3. Mop the Floor: Mop the floor with the vinegar solution, making sure to get into all the corners and crevices.
4. Rinse (Optional): If you prefer, you can rinse the floor with clean water after mopping with the vinegar solution.
5. Dry the Floor: Allow the floor to air dry or use a clean towel to dry it.
Preventative Measures: Keeping Your Bathroom Cleaner Longer
Cleaning is great, but preventing messes in the first place is even better! Here are a few tips to keep your bathroom cleaner for longer:
* Squeegee After Each Shower: As mentioned earlier, this is the single most effective way to prevent soap scum buildup.
* Wipe Down Surfaces Regularly: Wipe down the sink and countertops after each use to prevent water spots and grime from accumulating.
* Ventilate the Bathroom: Always run the exhaust fan or open a window after showering to prevent mildew growth.
* Use a Shower Curtain Liner: A shower curtain liner will help protect your shower curtain from mildew and soap scum.
* Store Toiletries Properly: Keep your toiletries organized and stored away to prevent clutter and make cleaning easier.
* Regularly Clean Your Showerhead: Mineral deposits can build up in your showerhead, reducing water pressure and affecting the spray. To clean your showerhead, soak it in a bag filled with white vinegar for a few hours or overnight.
Extra Tips and Tricks:
* Lemon Power: Place a halved lemon in your bathroom to absorb odors and freshen the air.
* Baking Soda Air Freshener: Place a small bowl of baking soda in your bathroom to absorb odors. Add a few drops of essential
Conclusion
So, there you have it! Transforming your bathroom cleaning routine with this simple, yet incredibly effective DIY trick is more than just a cleaning hack; it’s a game-changer for your home and your peace of mind. We’ve shown you how to harness the power of readily available ingredients to create a sparkling clean bathroom without the harsh chemicals and exorbitant costs of commercial cleaners.
Why is this a must-try? Because it’s efficient, eco-friendly, and economical. You’re not just cleaning; you’re contributing to a healthier environment by reducing your reliance on potentially harmful substances. You’re also saving money, which is always a win! And let’s be honest, who doesn’t love the satisfaction of creating something amazing with their own two hands? This DIY bathroom cleaning solution is a testament to the fact that simple solutions are often the best.
But the beauty of this method lies in its adaptability. Feel free to experiment with variations to suit your specific needs and preferences. For instance, if you’re dealing with particularly stubborn mildew, consider adding a few drops of tea tree oil to your solution for its potent antifungal properties. Lavender oil can add a calming fragrance, turning your cleaning routine into a mini aromatherapy session. For extra scrubbing power on tough stains, try using a paste of baking soda and water before applying the spray. Remember to always test any new additions on an inconspicuous area first to ensure they don’t damage the surface.
Don’t be afraid to get creative and customize this DIY bathroom cleaning solution to perfectly match your bathroom’s unique challenges and your personal preferences.
We wholeheartedly encourage you to give this DIY bathroom cleaning trick a try. We’re confident that you’ll be amazed by the results. Imagine stepping into a bathroom that not only looks clean but also smells fresh and feels genuinely healthy. That’s the power of this simple solution.
Once you’ve experienced the magic of this DIY bathroom cleaning solution, we’d love to hear about your experience! Share your tips, variations, and before-and-after photos with us. Let’s build a community of clean-bathroom enthusiasts who are passionate about creating healthy and happy homes. Your insights could inspire others to ditch the harsh chemicals and embrace a more natural and effective way to clean.
So, grab your ingredients, roll up your sleeves, and get ready to transform your bathroom cleaning routine. You won’t regret it!
Frequently Asked Questions (FAQ)
1. What exactly are the benefits of using a DIY bathroom cleaner compared to store-bought options?
DIY bathroom cleaners offer a multitude of advantages. Firstly, they are generally much more cost-effective. The ingredients are often items you already have in your pantry, such as vinegar, baking soda, and essential oils, which are significantly cheaper than specialized cleaning products. Secondly, DIY cleaners are environmentally friendly. They reduce your exposure to harsh chemicals, which can be harmful to your health and the environment. Many commercial cleaners contain volatile organic compounds (VOCs) that contribute to air pollution. By using natural ingredients, you minimize your environmental impact. Thirdly, you have complete control over the ingredients. This is particularly beneficial for individuals with allergies or sensitivities to certain chemicals commonly found in store-bought cleaners. You can tailor the recipe to suit your specific needs and avoid any potential irritants. Finally, making your own cleaner is empowering! It gives you a sense of accomplishment and allows you to be more mindful of the products you use in your home.
2. Are DIY bathroom cleaners as effective as commercial cleaners in killing germs and bacteria?
While DIY cleaners may not be as aggressively marketed as commercial disinfectants, they can be highly effective at killing germs and bacteria, especially when used correctly. Ingredients like vinegar and hydrogen peroxide possess natural antibacterial and antiviral properties. Vinegar, for example, contains acetic acid, which can kill many common household germs. However, it’s important to note that vinegar is not effective against all types of bacteria and viruses. For more robust disinfection, consider using a solution of diluted bleach (always handle bleach with care and follow safety precautions) or hydrogen peroxide. Remember that proper cleaning techniques, such as thorough scrubbing and allowing the cleaner to dwell on surfaces for a few minutes, are crucial for maximizing its effectiveness. For situations requiring hospital-grade disinfection, commercial disinfectants may be necessary, but for everyday bathroom cleaning, DIY options are often sufficient.
3. What surfaces are safe to clean with a DIY vinegar-based bathroom cleaner? Are there any surfaces I should avoid?
Vinegar is a versatile cleaner, but it’s not suitable for all surfaces. Avoid using vinegar on natural stone surfaces like marble, granite, and limestone, as the acidity can etch and damage them. It’s also best to avoid using vinegar on waxed wood floors, as it can dull the finish. Cast iron tubs can also be damaged by vinegar. Generally, vinegar is safe to use on ceramic tile, porcelain, glass, stainless steel, and plastic. Always test the cleaner on an inconspicuous area first to ensure it doesn’t cause any discoloration or damage. For delicate surfaces, consider using a milder cleaning solution, such as a mixture of baking soda and water.
4. How long can I store a homemade bathroom cleaner, and how should I store it?
The shelf life of a homemade bathroom cleaner depends on the ingredients used. Generally, a vinegar-based cleaner can be stored for several months in a cool, dark place. However, if you add fresh ingredients like lemon peels or herbs, the shelf life may be shorter. It’s best to store the cleaner in a clean, airtight spray bottle labeled with the ingredients and date. This will help prevent contamination and ensure you know what you’re using. Avoid storing the cleaner in direct sunlight or extreme temperatures, as this can degrade the ingredients. If the cleaner develops an unusual odor or appearance, discard it.
5. Can I add essential oils to my DIY bathroom cleaner, and if so, which ones are best?
Absolutely! Adding essential oils to your DIY bathroom cleaner not only enhances its scent but also provides additional cleaning and disinfecting benefits. Some of the best essential oils for bathroom cleaning include tea tree oil (known for its antifungal and antibacterial properties), lavender oil (for its calming scent and antiseptic properties), lemon oil (for its degreasing and disinfecting abilities), eucalyptus oil (for its refreshing scent and antibacterial properties), and peppermint oil (for its invigorating scent and antibacterial properties). When adding essential oils, start with a few drops and adjust to your preference. Be sure to use pure, high-quality essential oils for the best results. Always test the cleaner on an inconspicuous area first to ensure the essential oils don’t damage the surface.
Leave a Comment