

Bathroom cleaning hacks – who doesn’t need them? Let’s be honest, tackling the bathroom is nobody’s favorite chore. It’s the one space we all dread, conjuring images of stubborn stains, lingering odors, and endless scrubbing. But what if I told you that conquering your bathroom doesn’t have to be a Herculean task? What if I shared secrets that transform this dreaded chore into a breeze?
For centuries, people have sought ingenious ways to maintain cleanliness and hygiene. From ancient Roman bathhouses meticulously cleaned with natural oils and herbs to the modern-day obsession with sparkling surfaces, the quest for a pristine bathroom is a timeless pursuit. But in our busy lives, who has time for elaborate cleaning rituals? That’s where these DIY bathroom cleaning hacks come in!
This article is your ultimate guide to reclaiming your bathroom and your precious time. I’m going to share simple, effective, and often surprising bathroom cleaning hacks using ingredients you probably already have in your pantry. Forget harsh chemicals and back-breaking labor. We’re talking about smart solutions that will leave your bathroom gleaming and smelling fresh, without the stress. Get ready to discover the secrets to a sparkling clean bathroom, the easy way!
DIY Bathroom Cleaning Hacks: Sparkling Clean with Minimal Effort
Hey there, fellow cleaning enthusiasts! Let’s face it, nobody *loves* cleaning the bathroom. But a sparkling clean bathroom is a joy, and I’m here to share some of my favorite DIY cleaning hacks that will make the process faster, easier, and even a little bit fun (okay, maybe not fun, but definitely less dreadful!). These hacks use common household ingredients, saving you money and reducing harsh chemicals in your home.
Hack 1: The Powerful Paste for Grimy Grout
Grout can be a real pain. It’s porous, absorbs everything, and seems to attract dirt like a magnet. But fear not! This simple paste will lift that grime right out.
What you’ll need:
* Baking soda
* Hydrogen peroxide
* An old toothbrush or grout brush
* Water (optional, if needed to adjust consistency)
Step-by-step instructions:
1. Mix the paste: In a small bowl, combine baking soda and hydrogen peroxide. Start with about ½ cup of baking soda and slowly add hydrogen peroxide until you achieve a thick paste consistency. It should be thick enough to stick to the grout lines. If it’s too thick, add a tiny bit of water.
2. Apply the paste: Using your old toothbrush or grout brush, apply the paste liberally to the grout lines. Make sure to really get it in there.
3. Let it sit: This is the magic part! Let the paste sit on the grout for at least 10-15 minutes. For really stubborn stains, you can let it sit for up to 30 minutes. The longer it sits, the more time the baking soda and hydrogen peroxide have to work their magic.
4. Scrub, scrub, scrub: After the waiting period, grab your toothbrush or grout brush and scrub the grout lines. You’ll see the grime start to lift away. Don’t be afraid to put some elbow grease into it!
5. Rinse thoroughly: Rinse the area with clean water. You can use a spray bottle or a damp cloth to remove any remaining paste.
6. Dry and admire: Dry the area with a clean towel. Step back and admire your sparkling clean grout!
Hack 2: Sparkling Showerhead with Vinegar Power
Hard water deposits can clog your showerhead, reducing water pressure and making your shower less enjoyable. This vinegar soak will dissolve those deposits and restore your showerhead to its former glory.
What you’ll need:
* White vinegar
* A plastic bag (a Ziploc bag works great)
* A rubber band or twist tie
* An old toothbrush (optional, for scrubbing stubborn spots)
Step-by-step instructions:
1. Fill the bag with vinegar: Pour enough white vinegar into the plastic bag to completely submerge the showerhead.
2. Secure the bag: Carefully position the bag over the showerhead, ensuring the showerhead is fully immersed in the vinegar. Use a rubber band or twist tie to secure the bag tightly around the shower arm.
3. Soak overnight: Let the showerhead soak in the vinegar overnight (or for at least several hours). This gives the vinegar plenty of time to dissolve the mineral deposits.
4. Remove the bag: Carefully remove the bag and discard the vinegar.
5. Rinse and scrub (if needed): Turn on the shower and let the water run for a few minutes to flush out any remaining vinegar and loosened deposits. If you still see some stubborn spots, use an old toothbrush to gently scrub them away.
6. Enjoy your improved shower: Enjoy your shower with improved water pressure and a sparkling clean showerhead!
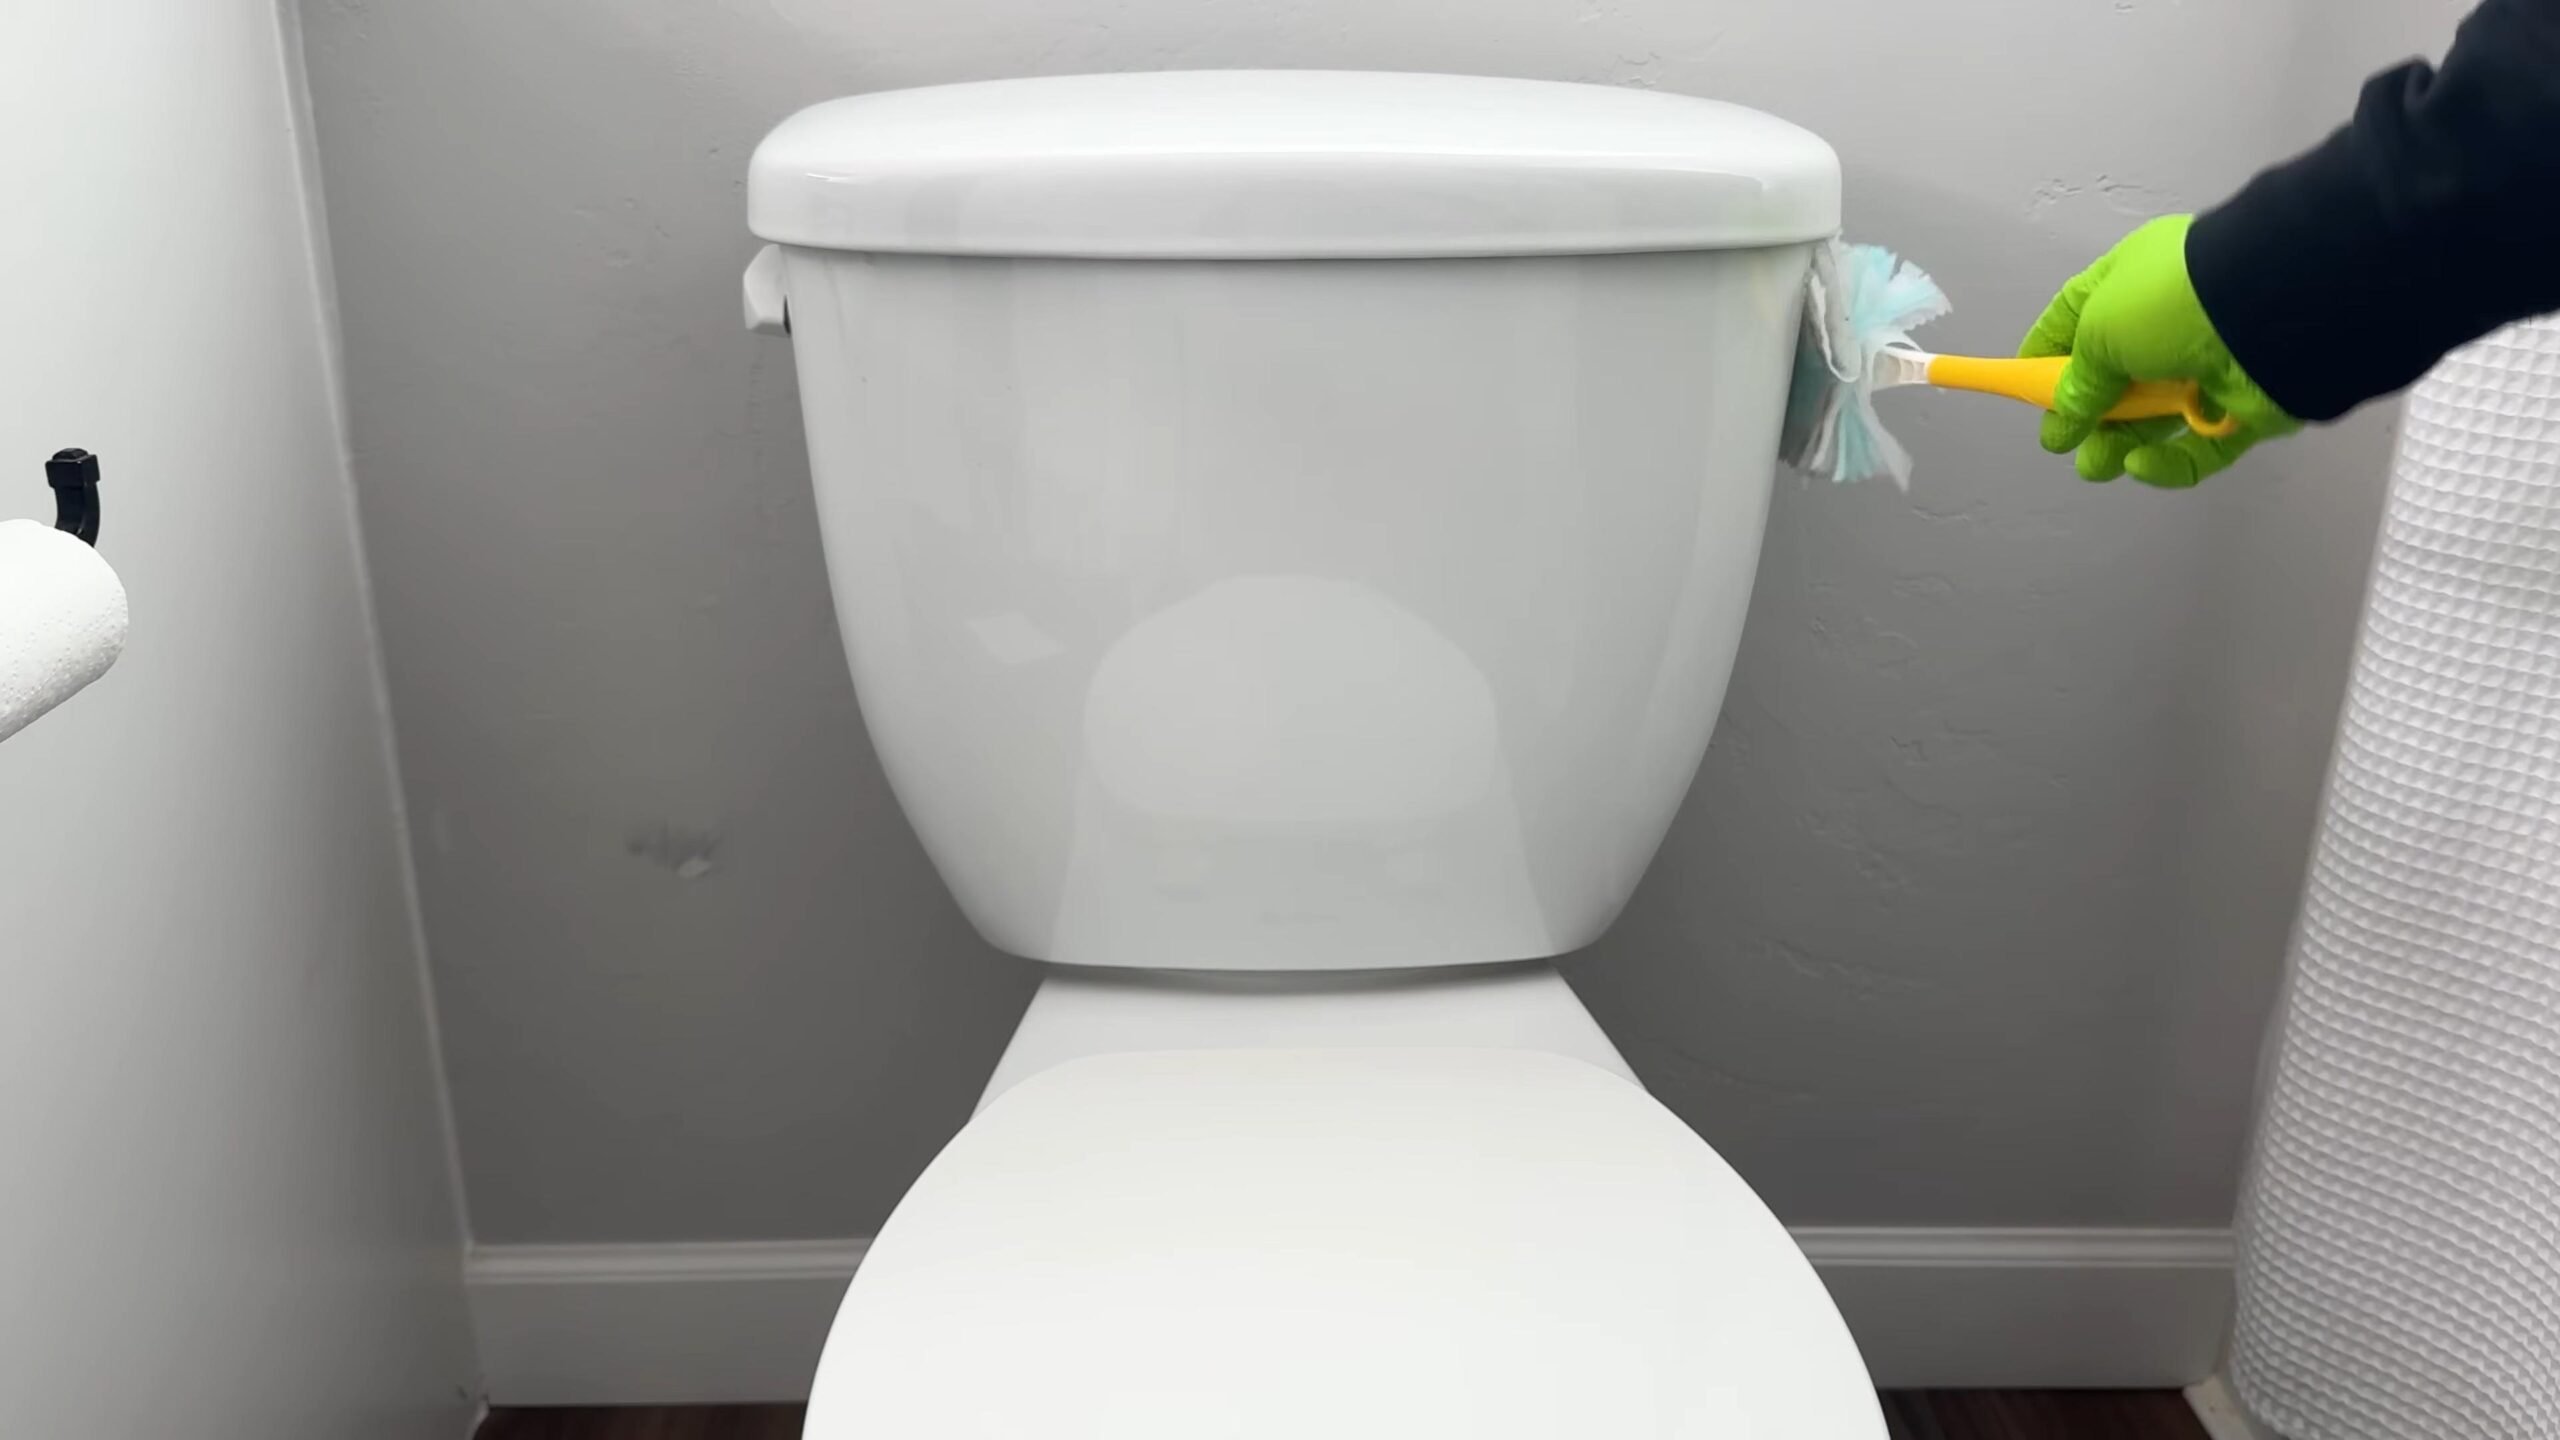
Hack 3: Toilet Bowl Cleaning with Fizzing Power
This hack uses the power of baking soda and vinegar (again!) to clean and deodorize your toilet bowl. It’s a natural and effective alternative to harsh chemical cleaners.
What you’ll need:
* Baking soda
* White vinegar
* Toilet brush
Step-by-step instructions:
1. Sprinkle baking soda: Sprinkle about 1 cup of baking soda into the toilet bowl, making sure to coat the sides as well as the bottom.
2. Add vinegar: Slowly pour about 1-2 cups of white vinegar into the toilet bowl. You’ll see it fizz – that’s the chemical reaction working to loosen dirt and grime.
3. Let it fizz: Let the mixture fizz for about 30 minutes. This gives the baking soda and vinegar time to break down stains and odors.
4. Scrub and flush: After 30 minutes, use your toilet brush to scrub the bowl thoroughly, paying attention to any stains or rings. Flush the toilet to rinse away the cleaning mixture.
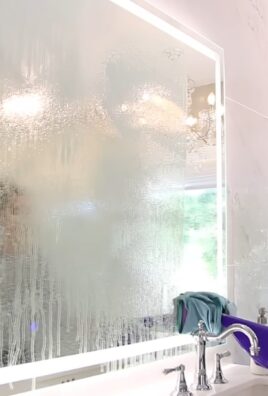
Hack 4: Mirror, Mirror, on the Wall: Streak-Free Shine
Achieving a streak-free shine on your bathroom mirror can be tricky. This simple solution uses just two ingredients and a microfiber cloth for perfect results.
What you’ll need:
* White vinegar
* Water
* A spray bottle
* A clean microfiber cloth
Step-by-step instructions:
1. Mix the solution: In a spray bottle, combine equal parts white vinegar and water. For example, ½ cup of vinegar and ½ cup of water.
2. Spray the mirror: Lightly spray the mirror with the vinegar and water solution. Don’t over-saturate it.
3. Wipe with a microfiber cloth: Immediately wipe the mirror with a clean, dry microfiber cloth. Use a circular motion to remove the solution and then buff the mirror to a streak-free shine.
4. Admire your reflection: Enjoy your sparkling clean, streak-free mirror!
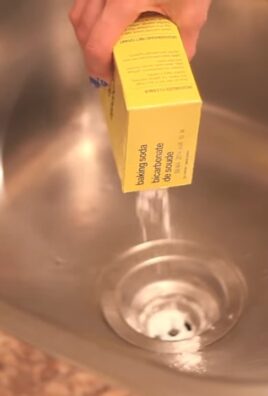
Hack 5: Drain Cleaning with Baking Soda and Vinegar (The Dynamic Duo!)
Slow drains are a common bathroom problem, often caused by hair, soap scum, and other debris. This baking soda and vinegar method is a safe and effective way to unclog your drains without harsh chemicals.
What you’ll need:
* Baking soda
* White vinegar
* Hot water
Step-by-step instructions:
1. Pour baking soda down the drain: Pour about ½ cup of baking soda down the drain. Try to get it as far down the drain as possible.
2. Add vinegar: Pour about 1 cup of white vinegar down the drain after the baking soda.
3. Let it fizz: You’ll hear the mixture fizzing – this is the chemical reaction breaking down the clog. Let it fizz for about 30 minutes.
4. Flush with hot water: After 30 minutes, flush the drain with a pot of boiling water (or very hot tap water). The hot water will help to flush away the loosened debris.
5. Repeat if necessary: If the drain is still slow, repeat the process. For particularly stubborn clogs, you may need to repeat it several times.
Hack 6: Soap Scum Removal on Shower Doors
Soap scum is a stubborn residue that can build up on shower doors and walls. This simple solution will help you remove it without harsh scrubbing.
What you’ll need:
* Dish soap (Dawn works well)
* White vinegar
* A spray bottle
* A sponge or microfiber cloth
Step-by-step instructions:
1. Heat the vinegar: Heat the white vinegar in the microwave for about 1-2 minutes, until it’s warm but not boiling. Be careful when handling hot vinegar.
2. Mix the solution: In a spray bottle, combine equal parts warm vinegar and dish soap. Gently swirl to mix, avoiding excessive shaking which can create too many bubbles.
3. Spray the shower doors: Spray the solution liberally onto the shower doors, covering all areas affected by soap scum.
4. Let it sit: Let the solution sit on the shower doors for about 10-15 minutes. This allows the vinegar and dish soap to break down the soap scum.
5. Wipe and rinse: Use a sponge or microfiber cloth to wipe away the soap scum. You may need to scrub lightly in some areas. Rinse the shower doors thoroughly with water.
6. Dry and admire: Dry the shower doors with a clean towel or squeegee to prevent water spots.
Hack 7: Freshening Up with Essential Oils
After cleaning, add a few drops of your favorite essential oil to a cotton ball and tuck it behind the toilet or in a corner of the bathroom for a subtle, refreshing scent. Lavender, eucalyptus, and tea tree oil are all great choices. You can also add a few drops to a spray bottle filled with water and lightly mist the air.
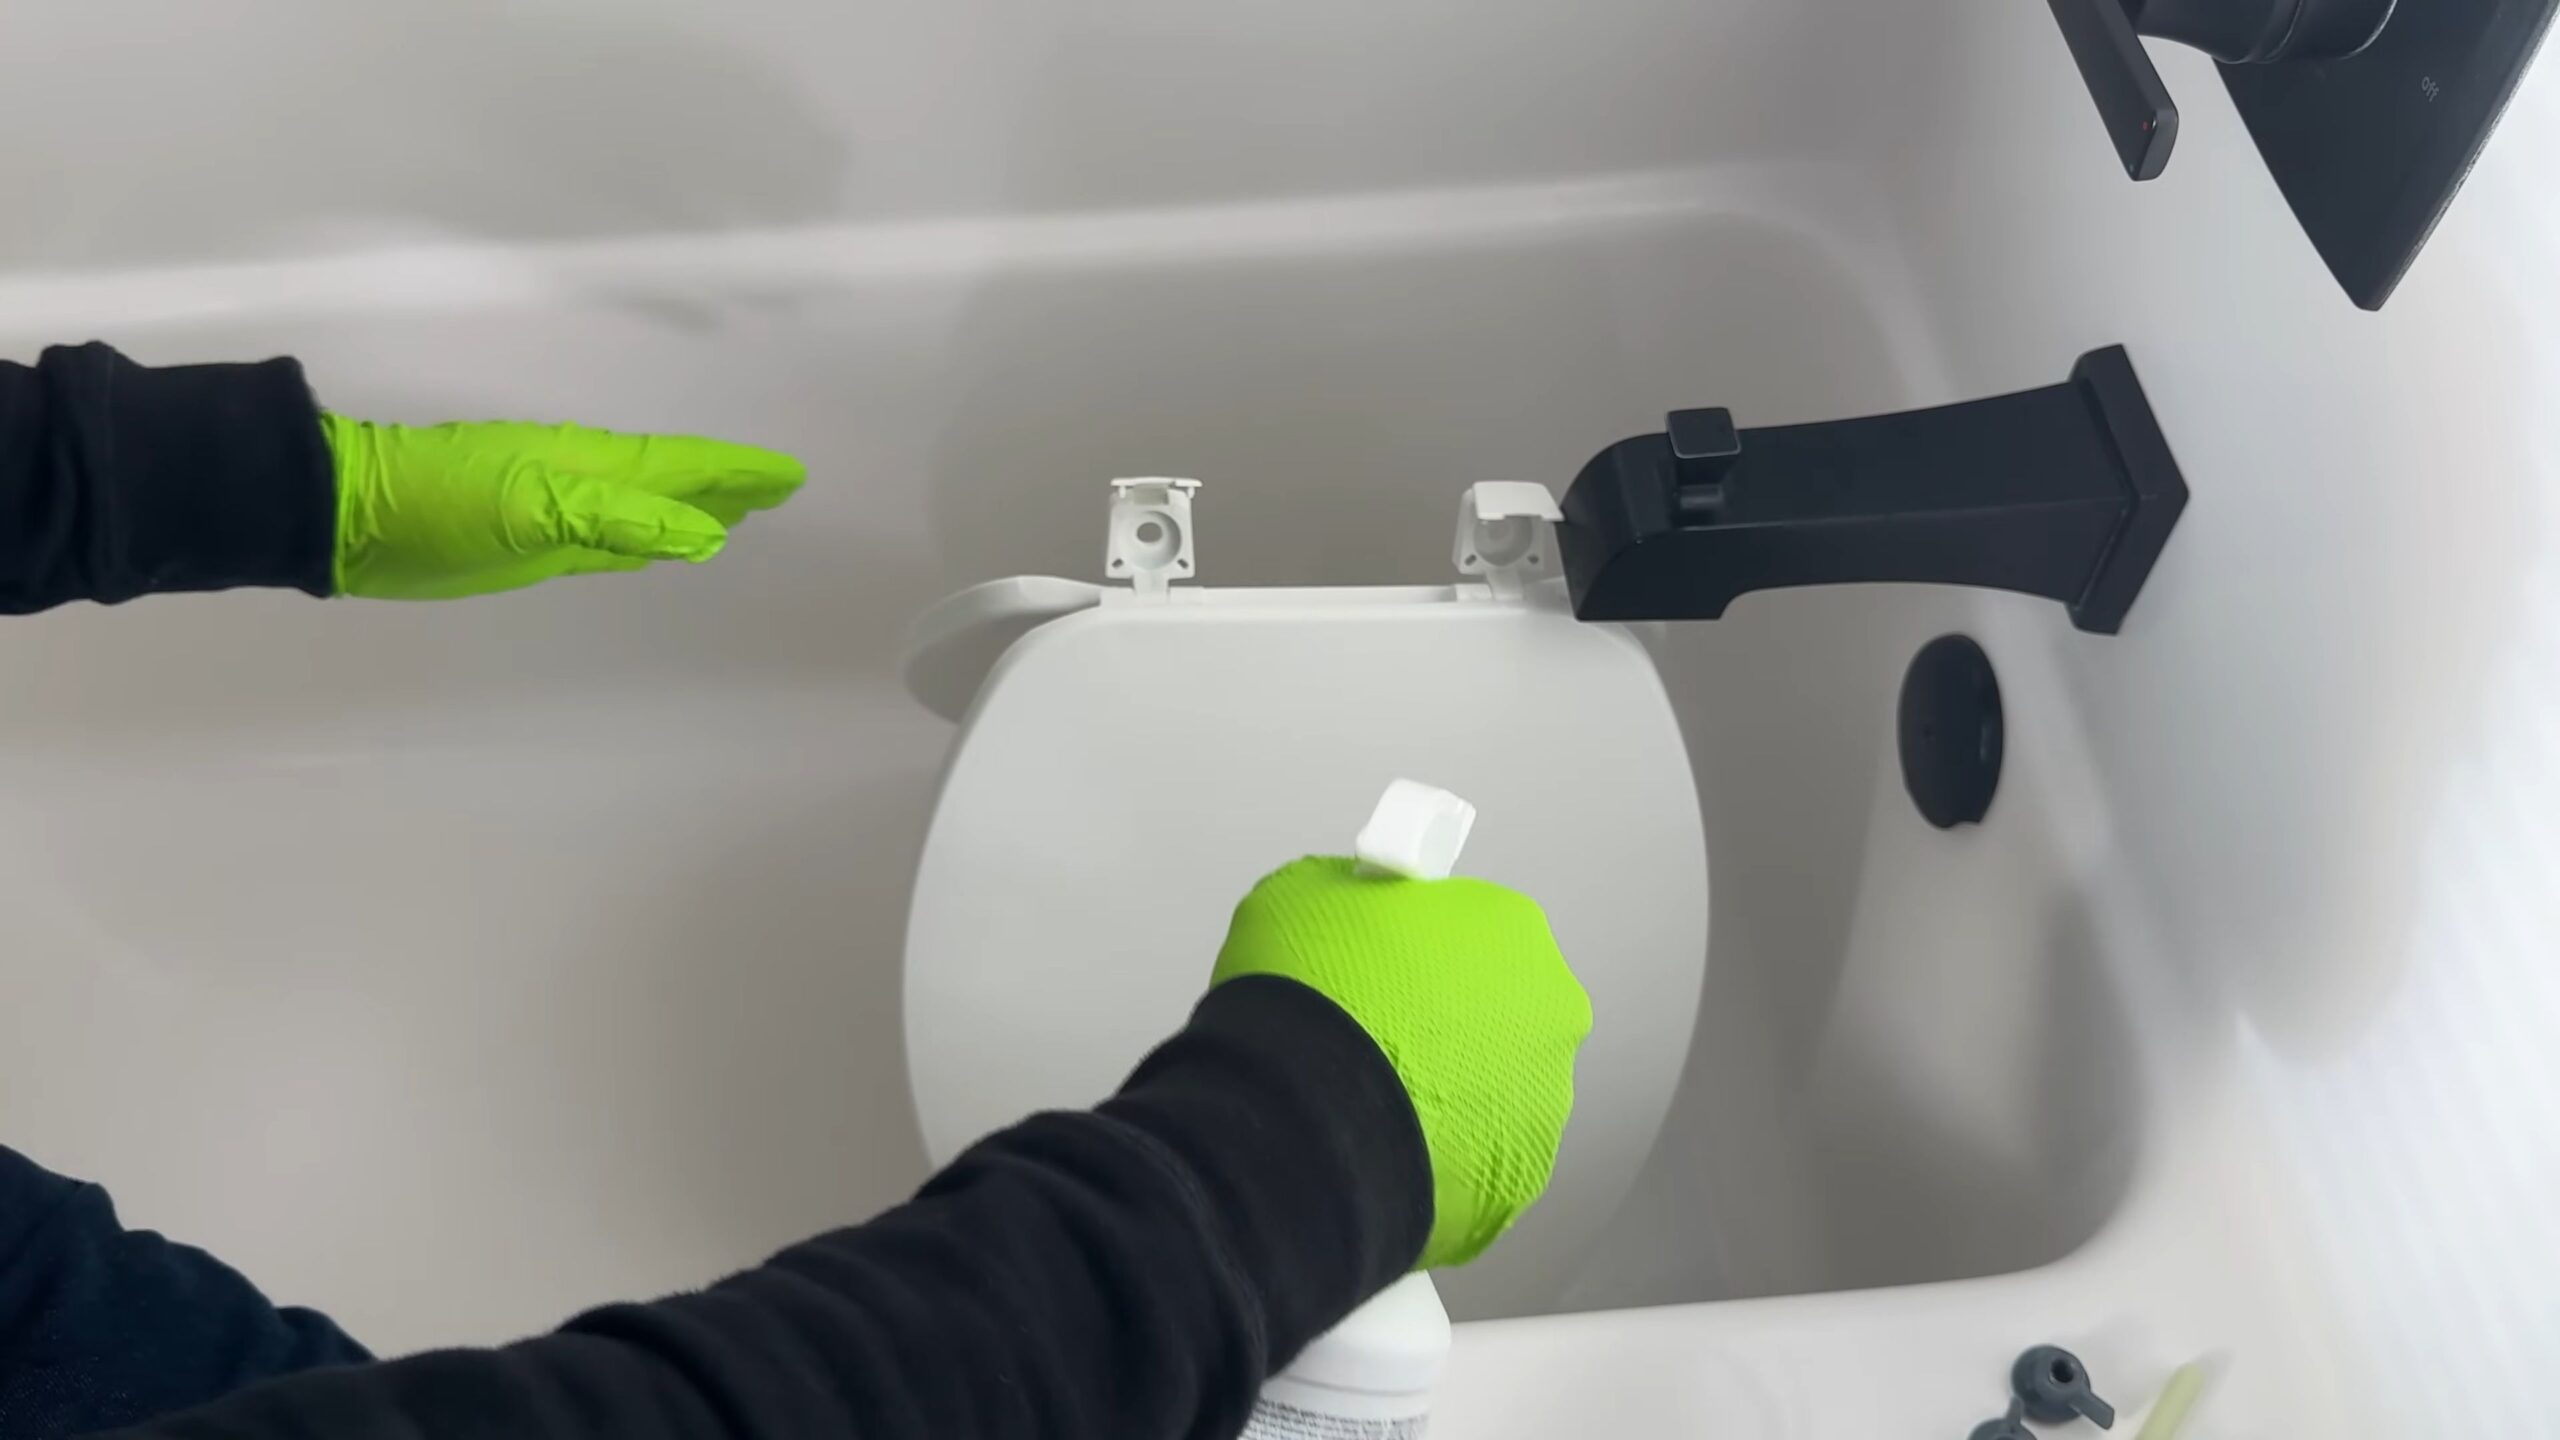
Hack 8: Cleaning the Toilet Tank
While you’re cleaning the toilet bowl, don’t forget about the tank! A
Conclusion
So, there you have it! These DIY bathroom cleaning hacks are not just about saving money; they’re about reclaiming control over the cleanliness and hygiene of your bathroom with simple, effective, and often surprising solutions. We’ve explored how everyday ingredients can transform into powerful cleaning agents, tackling everything from stubborn soap scum to grimy grout.
Why is this a must-try? Because it’s empowering! You’re no longer reliant on harsh chemicals with long, unpronounceable names. You’re creating a healthier environment for yourself and your family, all while minimizing your environmental impact. Plus, let’s be honest, there’s a certain satisfaction in knowing you’ve conquered a cleaning challenge with ingenuity and resourcefulness.
But the beauty of these DIY bathroom cleaning hacks lies in their adaptability. Feel free to experiment with variations to suit your specific needs and preferences. For instance, if you’re sensitive to vinegar, try using lemon juice as a substitute. Its citric acid offers similar cleaning power with a fresher scent. Or, if you’re dealing with particularly stubborn mildew, add a few drops of tea tree oil to your cleaning solution for its natural antifungal properties.
Consider these additional suggestions to elevate your bathroom cleaning routine:
* Infuse your cleaning solutions with essential oils: Lavender, eucalyptus, and peppermint not only add a pleasant aroma but also offer antibacterial benefits.
* Use old toothbrushes for detailed cleaning: They’re perfect for scrubbing grout lines, faucets, and other hard-to-reach areas.
* Don’t forget about ventilation: Open a window or turn on the exhaust fan while cleaning to prevent the buildup of fumes and moisture.
* Regular maintenance is key: A quick wipe-down after each shower can prevent the accumulation of soap scum and mildew, making your deep cleaning sessions much easier.
We’ve covered a range of solutions, from tackling hard water stains with vinegar to brightening grout with baking soda paste. Remember, the key to success with these DIY methods is consistency and a willingness to experiment. Don’t be afraid to adjust the ratios of ingredients to find what works best for your bathroom and the specific cleaning challenges you face.
Ultimately, the goal is to create a bathroom that is not only sparkling clean but also a sanctuary of relaxation and well-being. By embracing these DIY bathroom cleaning hacks, you’re taking a proactive step towards achieving that goal.
Now, it’s your turn! We encourage you to try these DIY bathroom cleaning hacks and share your experience with us. What worked best for you? Did you discover any new variations or tips? Let us know in the comments below! Your insights could help other readers transform their bathrooms into sparkling havens. We are confident that you will find these methods effective and rewarding. Happy cleaning!
Frequently Asked Questions (FAQ)
1. Are these DIY bathroom cleaning hacks safe for all bathroom surfaces?
Generally, yes, but it’s always a good idea to test any cleaning solution in an inconspicuous area first, especially on delicate surfaces like natural stone or antique fixtures. Vinegar, while effective, can etch some surfaces if left on for too long. Baking soda is mildly abrasive, so avoid using it on easily scratched materials. When in doubt, dilute the cleaning solution or use a gentler alternative. For example, a mild dish soap solution is generally safe for most surfaces. Always read the manufacturer’s instructions for your specific bathroom fixtures and surfaces.
2. How often should I use these DIY bathroom cleaning hacks?
The frequency depends on how often you use your bathroom and how quickly it gets dirty. For general cleaning, aim for once a week. However, you can spot-clean as needed to address spills, soap scum buildup, or mildew growth. Regular maintenance, such as wiping down surfaces after each shower, can significantly reduce the need for frequent deep cleaning.
3. Can I mix different DIY cleaning ingredients together?
It’s generally not recommended to mix different cleaning ingredients, especially bleach with vinegar or ammonia. These combinations can create toxic fumes that are harmful to your health. Stick to using one cleaning solution at a time and rinse thoroughly before applying another. If you’re unsure about the compatibility of two ingredients, it’s best to err on the side of caution and avoid mixing them.
4. What’s the best way to remove stubborn soap scum?
Stubborn soap scum can be a challenge, but a combination of vinegar and baking soda often works wonders. First, spray the affected area with vinegar and let it sit for a few minutes to loosen the soap scum. Then, sprinkle baking soda on top and scrub with a non-abrasive sponge or brush. The fizzing action of the vinegar and baking soda helps to break down the soap scum. Rinse thoroughly with water. For particularly stubborn areas, you may need to repeat the process or use a stronger cleaning solution.
5. How can I prevent mildew from growing in my bathroom?
Mildew thrives in damp, poorly ventilated environments. To prevent mildew growth, ensure adequate ventilation by opening a window or turning on the exhaust fan after each shower. Wipe down wet surfaces, such as shower walls and doors, to remove excess moisture. You can also spray a solution of vinegar and water on these surfaces to inhibit mildew growth. Regularly clean your bathroom with a mildew-killing cleaner, such as bleach or a natural alternative like tea tree oil.
6. Are these DIY bathroom cleaning hacks environmentally friendly?
Yes, these DIY bathroom cleaning hacks are generally more environmentally friendly than using commercial cleaning products. They rely on natural ingredients like vinegar, baking soda, and lemon juice, which are biodegradable and less harmful to the environment. By making your own cleaning solutions, you can reduce your reliance on plastic bottles and other packaging materials. However, it’s important to dispose of cleaning solutions properly and avoid pouring them down the drain if they contain harmful substances.
7. Can I use these DIY cleaning solutions on my toilet?
Yes, many of these DIY cleaning solutions are safe and effective for cleaning your toilet. Vinegar can be used to remove hard water stains and mineral deposits. Baking soda can be used to scrub the bowl and remove odors. For a more powerful cleaning solution, you can combine vinegar and baking soda. However, avoid using bleach in combination with other cleaning products, as this can create toxic fumes.
8. What if I have allergies or sensitivities to certain ingredients?
If you have allergies or sensitivities to certain ingredients, such as vinegar or essential oils, it’s important to choose alternative cleaning solutions that are safe for you. Lemon juice can be used as a substitute for vinegar. You can also use mild dish soap or baking soda as a general-purpose cleaner. Always read the labels of cleaning products carefully and test them in an inconspicuous area before using them on a larger surface. If you experience any adverse reactions, discontinue use immediately and consult with a healthcare professional.
9. How do I clean shower heads with DIY methods?
Mineral buildup can clog shower heads. To clean them, fill a plastic bag with vinegar and secure it around the shower head so the head is submerged. Let it soak for several hours or overnight. Remove the bag and scrub away any remaining residue with an old toothbrush. Rinse thoroughly with water. For stubborn buildup, you can use a small pin to clear any clogged nozzles.
10. What are some alternatives to harsh chemical drain cleaners?
Harsh chemical drain cleaners can be damaging to your pipes and the environment. A safer alternative is to pour a cup of baking soda down the drain, followed by a cup of vinegar. Let it fizz for 30 minutes, then flush with hot water. This can help to break down clogs caused by hair and grease. You can also use a drain snake or plunger to manually remove clogs. For persistent clogs, consider calling a professional plumber.

Leave a Comment