

Bathroom cleaning benefits extend far beyond just a sparkling, fresh-smelling space! Let’s be honest, tackling the bathroom isn’t usually anyone’s favorite chore. But what if I told you that regularly cleaning your bathroom could significantly improve your health, boost your mood, and even save you money in the long run? Intrigued?
For centuries, cultures around the world have recognized the importance of hygiene and sanitation. From the elaborate bathhouses of ancient Rome to the meticulously clean homes of Japan, a clean bathroom has always been associated with well-being and respect. While our modern bathrooms are a far cry from those ancient structures, the underlying principle remains the same: a clean bathroom is a healthier bathroom.
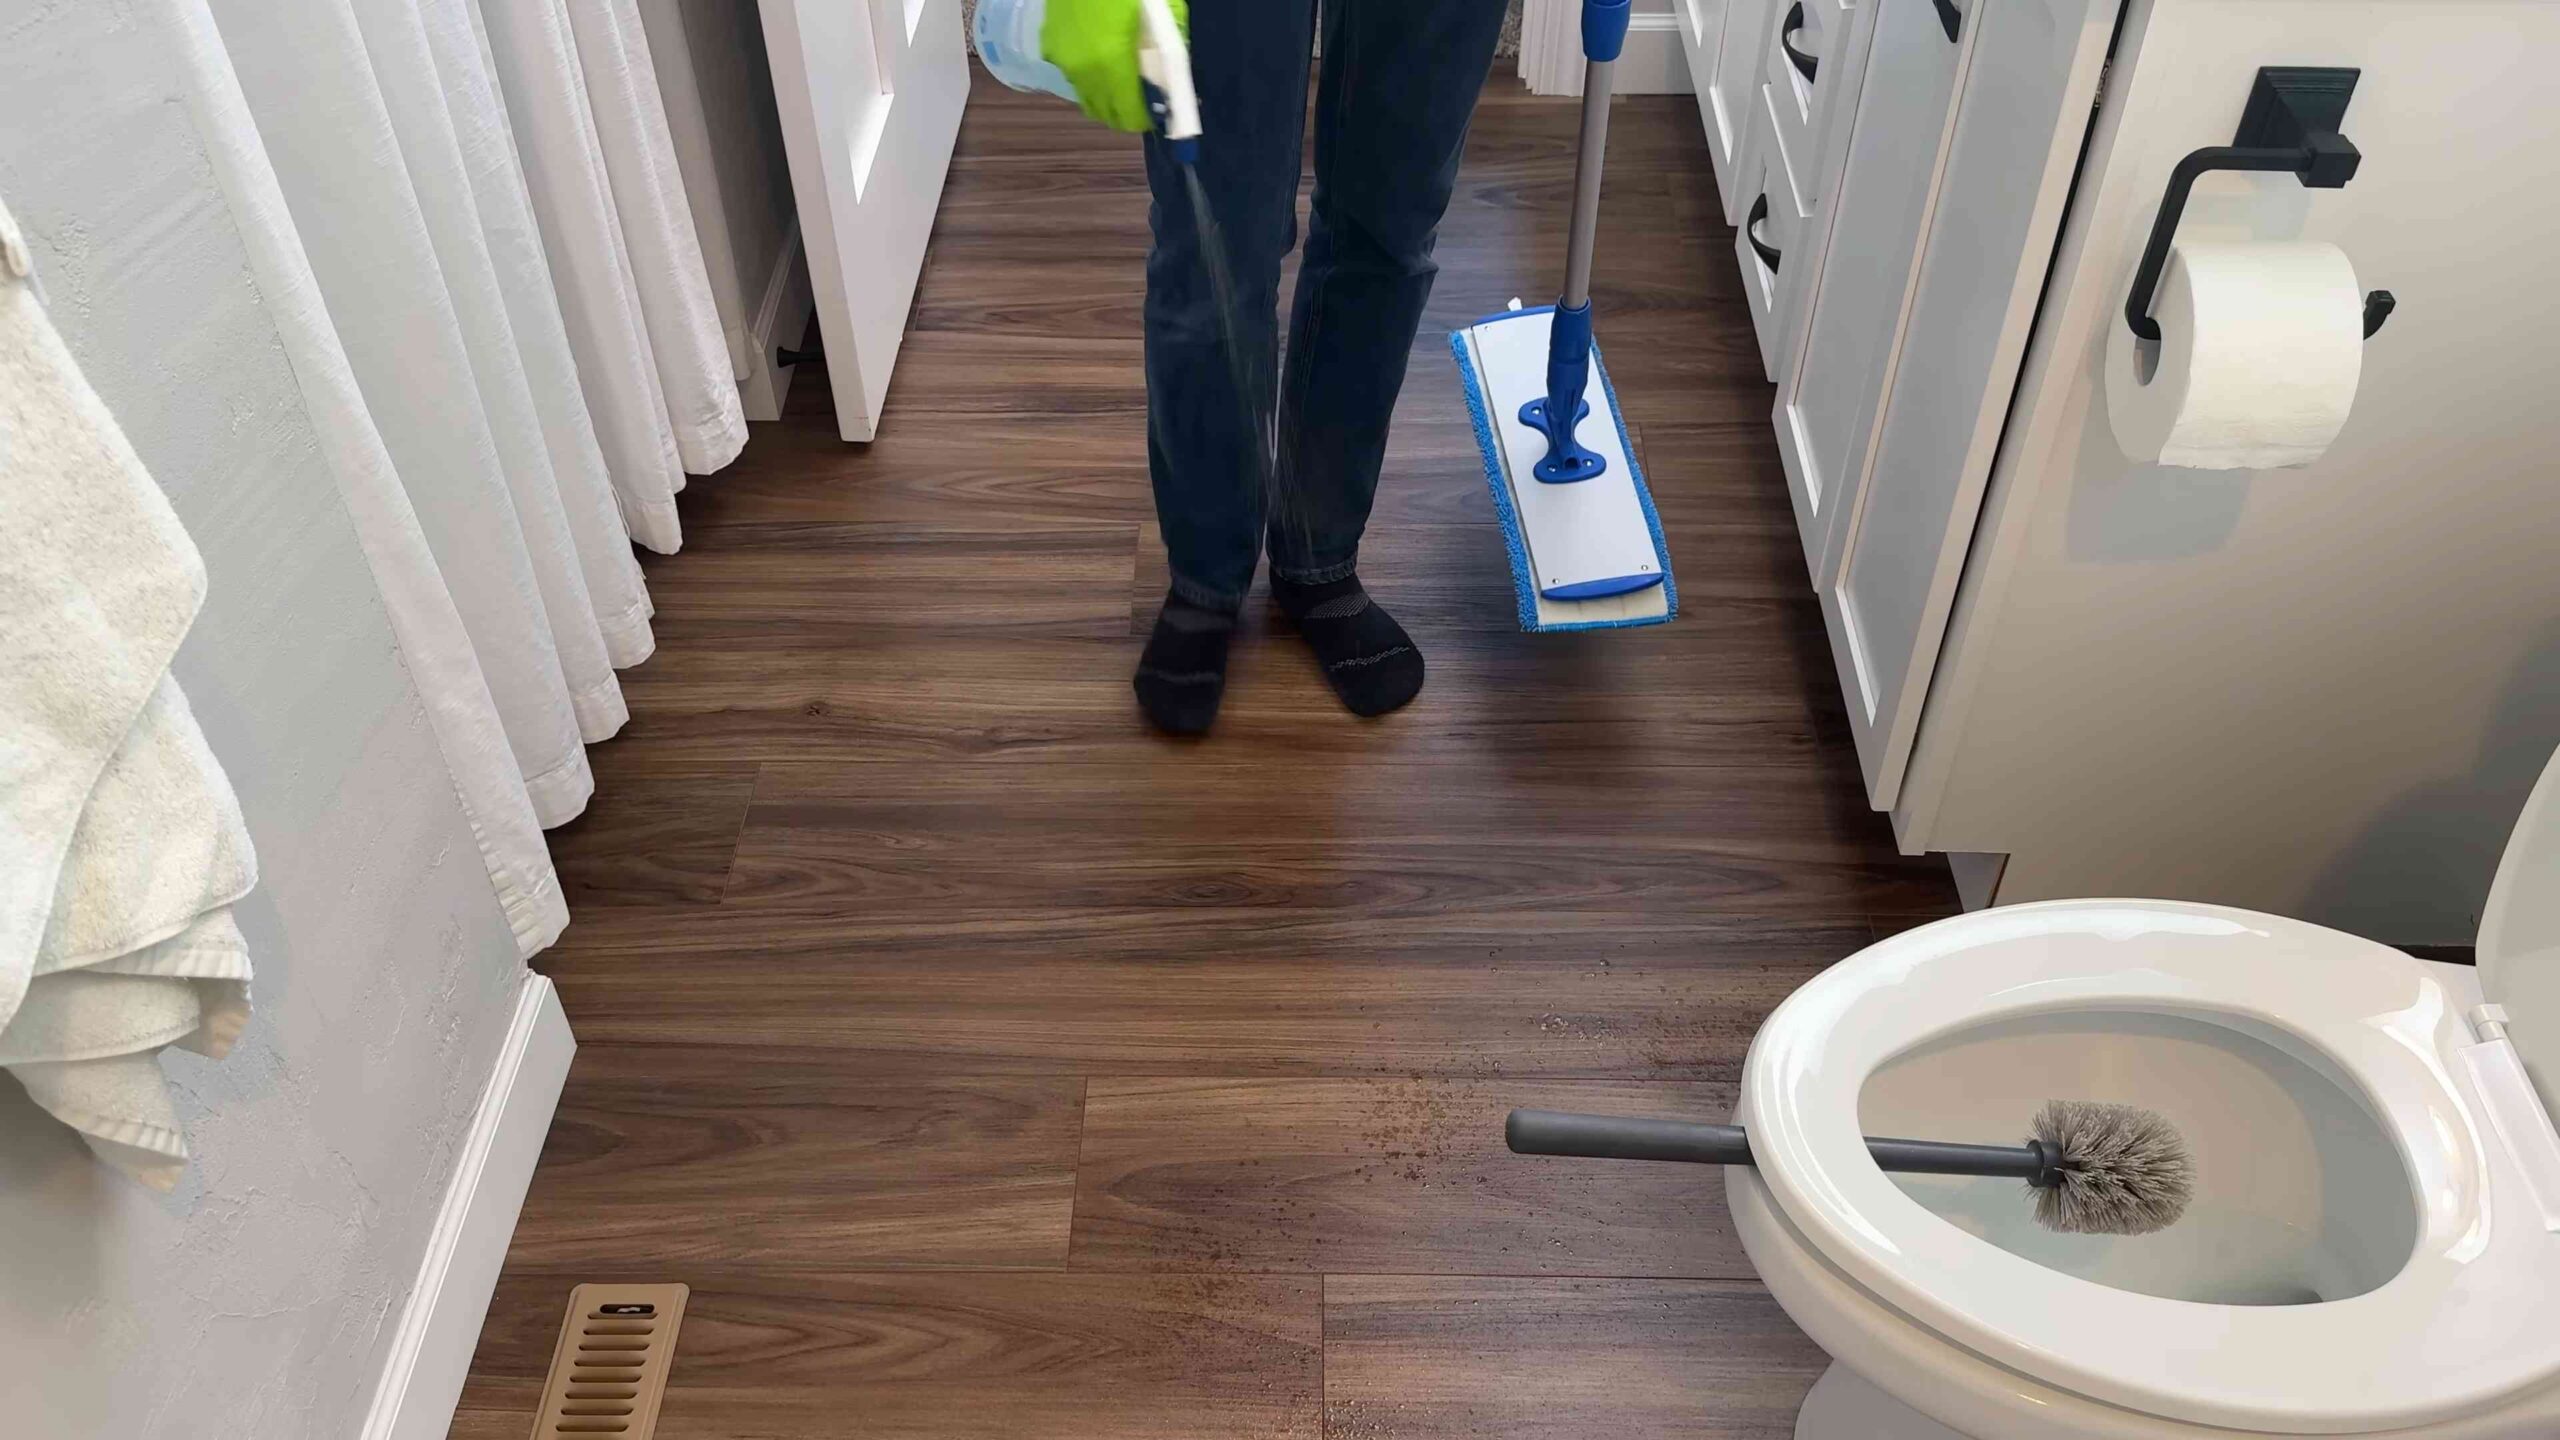
In today’s busy world, it’s easy to let bathroom cleaning slide. But neglecting this essential task can lead to a buildup of mold, mildew, and bacteria, which can trigger allergies, asthma, and other respiratory problems. Plus, a grimy bathroom is simply unpleasant to use! That’s why I’m excited to share some simple yet effective DIY tricks and hacks that will make bathroom cleaning benefits accessible to everyone. I’ll show you how to achieve a sparkling clean bathroom without spending hours scrubbing or relying on harsh chemicals. Get ready to transform your bathroom into a sanctuary of cleanliness and well-being!
DIY Bathroom Cleaning Power-Up: Transforming Your Routine
Okay, let’s face it, cleaning the bathroom isn’t exactly anyone’s favorite pastime. But a sparkling clean bathroom? That’s a whole different story! Not only does it look and smell amazing, but it’s also a healthier space for you and your family. We’re talking fewer germs, less mold, and an overall more pleasant experience. So, let’s dive into some DIY hacks that will make your bathroom cleaning routine more effective and, dare I say, even a little bit enjoyable!
Why Bother with DIY Bathroom Cleaning?
Before we get into the nitty-gritty, let’s quickly touch on why going the DIY route is a fantastic idea.
* Save Money: Store-bought cleaning products can be expensive, especially if you’re buying specialized cleaners for every surface. DIY solutions often use ingredients you already have at home, like vinegar, baking soda, and lemon juice.
* Reduce Harsh Chemicals: Many commercial cleaners contain harsh chemicals that can be harmful to your health and the environment. DIY alternatives are generally gentler and safer.
* Customizable Solutions: You can tailor your cleaning solutions to your specific needs and preferences. For example, if you’re sensitive to certain scents, you can easily adjust the essential oils you use.
* Effective Cleaning: Don’t let the “DIY” label fool you. These solutions are incredibly effective at tackling grime, soap scum, and hard water stains.
Hack #1: The Ultimate Shower Scum Buster
Shower scum is the bane of every bathroom cleaner’s existence. But fear not! This DIY solution will make quick work of it.
What You’ll Need:
* Spray bottle
* White vinegar
* Dish soap (Dawn works great!)
* Scrub brush or sponge
* Microfiber cloth
Step-by-Step Instructions:
1. Mix the Solution: In your spray bottle, combine equal parts white vinegar and dish soap. I usually do about 1 cup of each, but adjust the amount based on the size of your shower. Gently swirl to mix – avoid shaking vigorously, as this can create excessive suds.
2. Warm It Up (Optional): For extra cleaning power, you can microwave the vinegar for about a minute before mixing it with the dish soap. Be careful when handling hot vinegar!
3. Spray It On: Generously spray the solution onto all the surfaces of your shower, including the walls, floor, and shower door.
4. Let It Sit: Allow the solution to sit for at least 30 minutes. For stubborn scum, you can let it sit for up to an hour. This gives the vinegar and dish soap time to break down the grime.
5. Scrub-a-dub-dub: Using your scrub brush or sponge, scrub all the surfaces of your shower. You’ll be amazed at how easily the scum comes off!
6. Rinse Thoroughly: Rinse the shower with hot water until all the soap and vinegar residue is gone.
7. Dry and Shine: Use a microfiber cloth to dry the shower surfaces. This will prevent water spots and leave your shower sparkling clean.
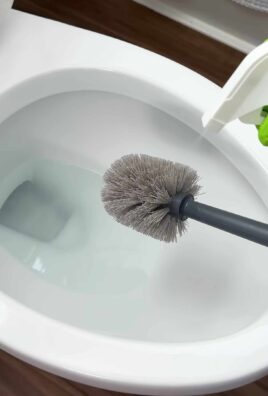
Hack #2: Toilet Bowl Transformation
A clean toilet bowl is essential for a hygienic bathroom. This DIY solution is simple, effective, and uses ingredients you probably already have.
What You’ll Need:
* Baking soda
* White vinegar
* Toilet brush
Step-by-Step Instructions:
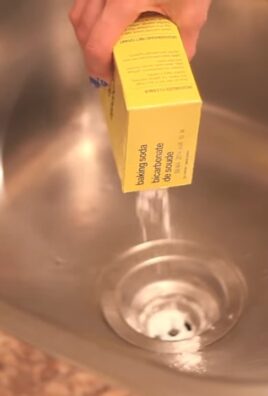
1. Sprinkle Baking Soda: Pour about 1 cup of baking soda into the toilet bowl, making sure to coat the sides as well as possible.
2. Add Vinegar: Slowly pour about 2 cups of white vinegar into the bowl. You’ll see a fizzing reaction – this is perfectly normal and helps to loosen the grime.
3. Let It Fizz: Allow the mixture to fizz and sit for at least 30 minutes. For heavily soiled toilets, you can let it sit overnight.
4. Scrub and Flush: Use your toilet brush to scrub the bowl thoroughly, paying attention to any stains or buildup.
5. Flush Away: Flush the toilet to rinse away the baking soda and vinegar. Your toilet bowl should be noticeably cleaner!
Hack #3: Grout Whitening Wonder
Grime and mildew love to hide in grout lines, making them look dingy and discolored. This DIY paste will help restore your grout to its former glory.
What You’ll Need:
* Baking soda
* Hydrogen peroxide
* Old toothbrush or grout brush
Step-by-Step Instructions:
1. Make the Paste: In a small bowl, mix baking soda and hydrogen peroxide to form a thick paste. The consistency should be similar to toothpaste. I usually start with about 1/2 cup of baking soda and add hydrogen peroxide a little at a time until I get the right consistency.
2. Apply the Paste: Using an old toothbrush or grout brush, apply the paste to the grout lines. Make sure to cover all the grout thoroughly.
3. Let It Sit: Allow the paste to sit for at least 15-20 minutes. For stubborn stains, you can let it sit for up to an hour.
4. Scrub Away: Using the toothbrush or grout brush, scrub the grout lines to remove the grime and mildew.
5. Rinse and Wipe: Rinse the grout with water and wipe away any remaining paste with a damp cloth. You’ll be amazed at how much brighter your grout looks!
Hack #4: Mirror, Mirror on the Wall, Who’s the Cleanest of Them All?
Streaky mirrors can make your whole bathroom look dirty. This simple DIY solution will leave your mirrors sparkling and streak-free.
What You’ll Need:
* Spray bottle
* White vinegar
* Water
* Microfiber cloth
Step-by-Step Instructions:
1. Mix the Solution: In your spray bottle, combine equal parts white vinegar and water.
2. Spray the Mirror: Lightly spray the mirror with the solution. Avoid oversaturating the mirror, as this can cause streaks.
3. Wipe Clean: Use a clean microfiber cloth to wipe the mirror dry. Use a circular motion to remove any streaks.
4. Buff to Shine: For an extra-sparkly finish, buff the mirror with a dry microfiber cloth.
Hack #5: Drain De-Clogging Delight
Slow drains are a common bathroom problem. This DIY solution is a safe and effective way to clear clogged drains without using harsh chemicals.
What You’ll Need:
* Baking soda
* White vinegar
* Boiling water
Step-by-Step Instructions:
1. Pour Baking Soda: Pour about 1/2 cup of baking soda down the drain.
2. Add Vinegar: Pour about 1 cup of white vinegar down the drain. You’ll see a fizzing reaction – this is perfectly normal.
3. Let It Fizz: Allow the mixture to fizz and sit for at least 30 minutes.
4. Flush with Boiling Water: Carefully pour a pot of boiling water down the drain. This will help to flush away any remaining debris.
5. Repeat if Necessary: If the drain is still slow, repeat the process.
Hack #6: Freshen Up with Essential Oils
Now that your bathroom is clean, let’s make it smell amazing! Essential oils are a natural and effective way to freshen up your bathroom.
What You’ll Need:
* Essential oils (lavender, eucalyptus, tea tree, and lemon are great choices)
* Diffuser (optional)
* Spray bottle (optional)
* Cotton balls (optional)
Ways to Use Essential Oils:
* Diffuser: Add a few drops of your favorite essential oil to a diffuser to fill your bathroom with a pleasant aroma.
* DIY Air Freshener: In a spray bottle, combine water and a few drops of essential oil. Spray the mixture into the air to freshen up the bathroom.
* Toilet Paper Roll: Add a few drops of essential oil to the inside of your toilet paper roll. The scent will be released each time you use the toilet paper.
* Cotton Balls: Place a few drops of essential oil on a cotton ball and tuck it behind the toilet or in a corner of the bathroom.
Extra Tips and Tricks for a Sparkling Bathroom
* Ventilate: Always ventilate your bathroom while cleaning to prevent the buildup of fumes. Open a window or turn on the exhaust fan.
* Wear Gloves: Protect your hands by wearing gloves while cleaning.
* Test First: Before using any DIY cleaning solution on a delicate surface, test it in an inconspicuous area to make sure it doesn’t cause any damage.

Conclusion
So, there you have it! This simple yet incredibly effective DIY bathroom cleaning solution is more than just a way to save money; it’s a pathway to a sparkling clean bathroom, a healthier home, and a reduced environmental footprint. We’ve explored how to create a powerful cleaner using ingredients you likely already have in your pantry, bypassing harsh chemicals and embracing a more natural approach to bathroom maintenance.
Why is this DIY trick a must-try? Because it’s a game-changer. It’s not just about cleaning; it’s about creating a healthier living space for you and your family. Commercial bathroom cleaners often contain volatile organic compounds (VOCs) that can irritate your lungs, skin, and eyes. By making your own cleaner, you eliminate these harmful chemicals and replace them with safe, natural alternatives. Plus, you’ll be amazed at how effective this homemade solution is at tackling soap scum, hard water stains, and general grime.
But the benefits extend beyond just health and safety. Think about the cost savings! No more expensive trips to the store for specialized bathroom cleaners. You’re using ingredients you already have, or that are significantly cheaper than their commercial counterparts. This DIY approach is a budget-friendly way to maintain a pristine bathroom without breaking the bank.
And let’s not forget the environmental impact. By reducing your reliance on commercially produced cleaners, you’re also reducing plastic waste and the carbon footprint associated with manufacturing and transportation. It’s a small change that can make a big difference for the planet.
Looking for variations? Absolutely! Feel free to experiment with different essential oils to customize the scent of your cleaner. Lavender, tea tree, and eucalyptus are all excellent choices for their antibacterial and antifungal properties, as well as their pleasant aromas. You can also add a bit of borax for extra cleaning power, especially for stubborn stains. For a more abrasive scrub, consider adding a small amount of baking soda to your cleaning paste. Remember to always test any new variations on a small, inconspicuous area first to ensure they don’t damage the surface.
Another variation involves the application method. While a spray bottle is convenient for general cleaning, a paste made with baking soda and vinegar can be incredibly effective for tackling grout stains. Simply apply the paste, let it sit for a few minutes, and then scrub with a brush. You can also use an old toothbrush for those hard-to-reach areas.
We encourage you to give this DIY bathroom cleaning trick a try. You’ll be amazed at the results. Not only will your bathroom be sparkling clean, but you’ll also feel good knowing that you’re using a safe, effective, and environmentally friendly solution.
Don’t just take our word for it! We want to hear about your experiences. Share your results, variations, and tips in the comments below. Let’s create a community of DIY cleaning enthusiasts who are committed to a cleaner, healthier, and more sustainable lifestyle. What essential oils did you use? Did you find a particular ratio of ingredients that worked best for you? What surfaces did you find it most effective on? Your feedback is invaluable and will help others discover the power of this simple yet transformative DIY bathroom cleaning solution. So, go ahead, give it a try, and let us know what you think! We’re confident that you’ll be pleasantly surprised.
FAQ
What exactly are the benefits of using a DIY bathroom cleaner compared to store-bought options?
DIY bathroom cleaners offer a multitude of advantages. Firstly, they are significantly cheaper, utilizing common household ingredients like vinegar, baking soda, and essential oils. Secondly, they are much safer for your health and the environment. Commercial cleaners often contain harsh chemicals, such as bleach, ammonia, and phthalates, which can cause respiratory irritation, skin allergies, and even long-term health problems. DIY cleaners, on the other hand, are made with natural ingredients that are less likely to cause adverse reactions. Finally, DIY cleaners are more environmentally friendly, reducing plastic waste and the release of harmful chemicals into the ecosystem. You control the ingredients and can often reuse spray bottles, further minimizing your environmental impact.
Is vinegar safe to use on all bathroom surfaces?
While vinegar is a powerful cleaning agent, it’s not suitable for all surfaces. Avoid using vinegar on natural stone surfaces like marble, granite, and limestone, as the acidity can etch and damage them. It’s also best to avoid using vinegar on waxed wood surfaces, as it can strip the wax. For these surfaces, a mild soap and water solution is a better option. Always test any cleaning solution on a small, inconspicuous area first to ensure it doesn’t cause any damage or discoloration. When in doubt, consult the manufacturer’s recommendations for cleaning specific surfaces.
How do I get rid of stubborn soap scum with a DIY cleaner?
Stubborn soap scum can be a challenge, but a DIY cleaner can tackle it effectively. For heavy soap scum buildup, create a paste of baking soda and water (or vinegar for non-stone surfaces). Apply the paste to the affected area, let it sit for 15-20 minutes to soften the soap scum, and then scrub vigorously with a brush or sponge. For particularly stubborn areas, you can use an old toothbrush to get into the grout lines. Rinse thoroughly with water and dry with a clean cloth. You can also try heating vinegar in the microwave (be careful not to boil it) and spraying it on the soap scum. The heat will help to loosen the buildup, making it easier to scrub away.
Can I use essential oils other than lavender, tea tree, and eucalyptus?
Absolutely! Feel free to experiment with different essential oils to find your favorite scent and cleaning properties. Lemon essential oil is a great choice for its degreasing and disinfecting properties. Orange essential oil is uplifting and also has degreasing abilities. Peppermint essential oil can help to freshen the air and has some antibacterial properties. However, be mindful of using essential oils around pets, as some can be toxic to animals. Always research the safety of essential oils before using them around your furry friends. When using essential oils, start with a small amount (5-10 drops per batch of cleaner) and adjust to your preference.
How often should I clean my bathroom using this DIY method?
The frequency of cleaning depends on how often the bathroom is used and how quickly it gets dirty. As a general guideline, aim to do a quick wipe-down of surfaces like the sink, countertop, and toilet seat every few days to prevent buildup. A more thorough cleaning, including scrubbing the shower, toilet, and floor, should be done at least once a week. If you have a busy household or notice that your bathroom gets dirty quickly, you may need to clean it more frequently. Regular cleaning with a DIY solution will help to prevent the buildup of soap scum, mildew, and other grime, making it easier to maintain a sparkling clean bathroom.
What is the best way to store my DIY bathroom cleaner?
Store your DIY bathroom cleaner in a clean, labeled spray bottle or container. It’s important to label the container clearly to avoid any confusion or accidental misuse. Keep the cleaner in a cool, dark place away from direct sunlight and heat, as these can degrade the ingredients over time. If you’re using essential oils, store the cleaner in a dark-colored bottle to protect the oils from light exposure. Most DIY bathroom cleaners will last for several weeks or even months if stored properly. However, it’s always a good idea to make a fresh batch every few months to ensure optimal effectiveness.
My DIY cleaner seems less effective than store-bought cleaners. What am I doing wrong?
If your DIY cleaner isn’t performing as well as you’d hoped, there are a few things you can try. First, make sure you’re using the correct ratios of ingredients. Too much or too little of any ingredient can affect the cleaner’s effectiveness. Second, ensure that you’re allowing the cleaner to sit on the surface for a few minutes before scrubbing. This gives the ingredients time to break down the dirt and grime. Third, use a good quality scrub brush or sponge to agitate the surface and remove stubborn stains. Finally, consider adding a small amount of borax to your cleaner for extra cleaning power. Borax is a natural mineral that can help to boost the effectiveness of your DIY cleaner.
Leave a Comment