

Grow Kale Indoors Outdoors: Imagine stepping into your kitchen, not to grab ingredients from the fridge, but to harvest fresh, vibrant kale leaves right from your windowsill! Or picture your outdoor garden bursting with this superfood, even if you only have a small balcony or patio. Sounds dreamy, right? Well, it’s absolutely achievable, and I’m here to show you how!
Kale, a nutritional powerhouse, has been cultivated for over 2,000 years, with roots tracing back to the eastern Mediterranean. It was a staple in Roman diets and has since become a beloved leafy green worldwide. But you don’t need a sprawling farm to enjoy its benefits. Whether you’re a seasoned gardener or a complete beginner, growing your own kale, both indoors and outdoors, is easier than you think.
In today’s busy world, access to fresh, healthy produce can be a challenge. Store-bought kale can be expensive and sometimes lacks the vibrant flavor of homegrown varieties. That’s where these DIY tricks and hacks come in! I’m going to share simple, effective methods to grow kale indoors outdoors, regardless of your space or experience. From choosing the right containers and soil to understanding lighting and watering needs, I’ll guide you through every step. Get ready to enjoy a continuous supply of fresh, delicious kale, right at your fingertips!
Growing Kale: Your Ultimate Guide to Bountiful Harvests, Indoors and Out!
Hey there, fellow gardening enthusiasts! I’m so excited to share my knowledge and experience on growing kale, that leafy green powerhouse, both indoors and outdoors. Kale is incredibly versatile, packed with nutrients, and surprisingly easy to grow once you get the hang of it. Whether you have a sprawling garden or just a sunny windowsill, you can enjoy fresh, homegrown kale. Let’s dive in!
Choosing Your Kale Variety
Before we get our hands dirty, let’s talk about kale varieties. There’s more to kale than just the curly stuff you see at the grocery store! Each variety has a unique flavor and texture, so choosing the right one is key. Here are a few of my favorites:
* **Curly Kale (Scotch Kale):** This is the classic kale with tightly curled leaves. It’s slightly bitter but holds up well in cooking.
* **Lacinato Kale (Dinosaur Kale, Tuscan Kale):** My personal favorite! It has long, dark green, almost black leaves with a slightly bumpy texture. It’s milder and sweeter than curly kale.
* **Red Russian Kale:** This variety has flat, fringed leaves with reddish-purple stems. It’s tender and slightly sweet, perfect for salads.
* **Redbor Kale:** A beautiful ornamental kale with deeply ruffled, purple leaves. It’s edible, but often grown for its visual appeal.
* **Chinese Kale (Gai Lan):** While technically a different species, it’s often referred to as kale. It has thick stems and broad, flat leaves, and a slightly bitter flavor.
Growing Kale Outdoors: A Step-by-Step Guide
Growing kale outdoors is relatively straightforward, especially if you live in a cooler climate. Kale thrives in cooler temperatures and can even tolerate frost!
Section 1: Preparing Your Garden Bed
1. **Choose the Right Location:** Kale needs at least 6 hours of sunlight per day. Pick a spot in your garden that gets plenty of sun.
2. **Test Your Soil:** Kale prefers slightly acidic soil with a pH between 6.0 and 7.0. You can buy a soil testing kit at your local garden center or send a sample to your local agricultural extension office.
3. **Amend Your Soil:** Kale is a heavy feeder, so it needs nutrient-rich soil. Amend your soil with plenty of compost, well-rotted manure, or other organic matter. This will improve drainage and provide essential nutrients. I usually add a generous layer of compost, about 2-3 inches thick, and work it into the top 6-8 inches of soil.
4. **Clear the Area:** Remove any weeds, rocks, or debris from the planting area. Weeds compete with your kale for nutrients and water, so it’s important to get rid of them before planting.
5. **Consider Raised Beds:** If your soil is poor or poorly drained, consider growing kale in raised beds. Raised beds provide better drainage and allow you to control the soil quality.
Section 2: Planting Your Kale
1. **Starting from Seed (Recommended):** I prefer to start my kale from seed indoors about 4-6 weeks before the last expected frost. This gives the seedlings a head start. You can also direct sow seeds outdoors after the last frost, but the plants may take longer to mature.
* **Indoor Seed Starting:** Sow seeds about 1/4 inch deep in seed starting trays or small pots filled with seed starting mix. Keep the soil moist but not soggy. Place the trays in a warm, sunny location or under grow lights. Once the seedlings have a few sets of true leaves, you can transplant them into larger pots.
* **Direct Sowing:** Sow seeds about 1/2 inch deep and 1 inch apart in rows. Thin the seedlings to 12-18 inches apart once they are a few inches tall.
2. **Transplanting Seedlings:** If you started your kale indoors, harden off the seedlings before transplanting them outdoors. Hardening off involves gradually exposing the seedlings to outdoor conditions over a period of 1-2 weeks. Start by placing the seedlings in a sheltered location for a few hours each day, gradually increasing the amount of time they spend outdoors.
3. **Planting Spacing:** Space kale plants 12-18 inches apart in rows that are 2-3 feet apart. This will give them enough room to grow and allow for good air circulation.
4. **Water Thoroughly:** After planting, water the kale plants thoroughly. This will help them establish their roots.
Section 3: Caring for Your Kale
1. **Watering:** Kale needs consistent moisture, especially during hot, dry weather. Water deeply whenever the top inch of soil feels dry. Avoid overwatering, as this can lead to root rot.
2. **Fertilizing:** Kale is a heavy feeder, so it benefits from regular fertilization. Fertilize every 2-3 weeks with a balanced organic fertilizer or compost tea.
3. **Weeding:** Keep the area around your kale plants free of weeds. Weeds compete with kale for nutrients and water.
4. **Pest Control:** Kale can be susceptible to pests such as aphids, cabbage worms, and flea beetles. Inspect your plants regularly for signs of pests.
* **Aphids:** Spray aphids with a strong stream of water or use insecticidal soap.
* **Cabbage Worms:** Handpick cabbage worms off the plants or use Bacillus thuringiensis (Bt), a natural insecticide.
* **Flea Beetles:** Cover your kale plants with row covers to prevent flea beetles from reaching them. You can also use diatomaceous earth, a natural insecticide.
5. **Mulching:** Apply a layer of mulch around your kale plants to help retain moisture, suppress weeds, and regulate soil temperature. I like to use straw or shredded leaves.
6. **Protecting from Frost:** Kale is frost-tolerant, but extreme cold can damage the leaves. If you live in an area with harsh winters, protect your kale plants with row covers or a cold frame.
Section 4: Harvesting Your Kale
1. **When to Harvest:** You can start harvesting kale leaves when they are about 6-8 inches long.
2. **How to Harvest:** Harvest the outer leaves first, leaving the inner leaves to continue growing. This will allow you to harvest kale continuously throughout the growing season.
3. **Harvesting Technique:** Use a sharp knife or scissors to cut the leaves off the plant.
4. **Post-Harvest Care:** Wash the kale leaves thoroughly and store them in the refrigerator in a plastic bag or container. Kale will keep for several days in the refrigerator.
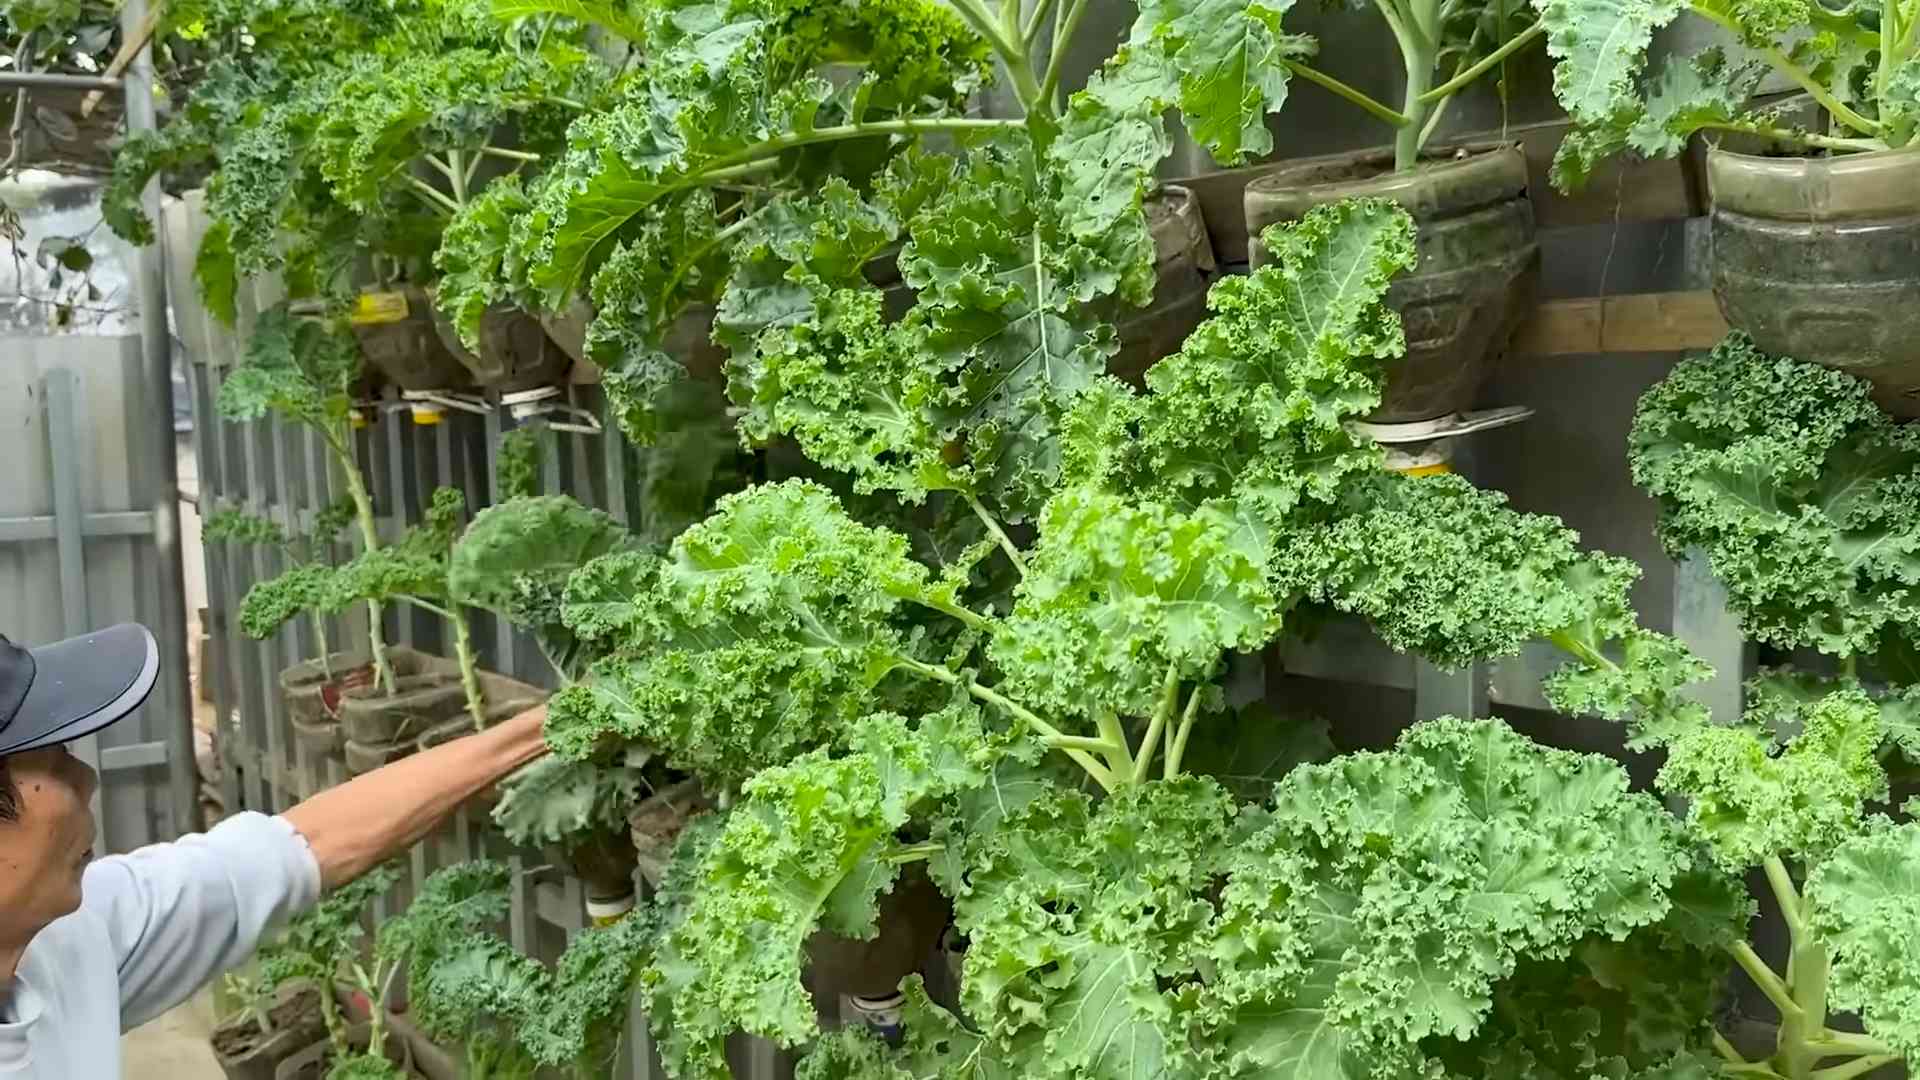
Growing Kale Indoors: A Cozy Green Corner
Don’t have a garden? No problem! You can absolutely grow kale indoors. It’s a great way to have fresh greens year-round.
Section 1: Setting Up Your Indoor Kale Garden
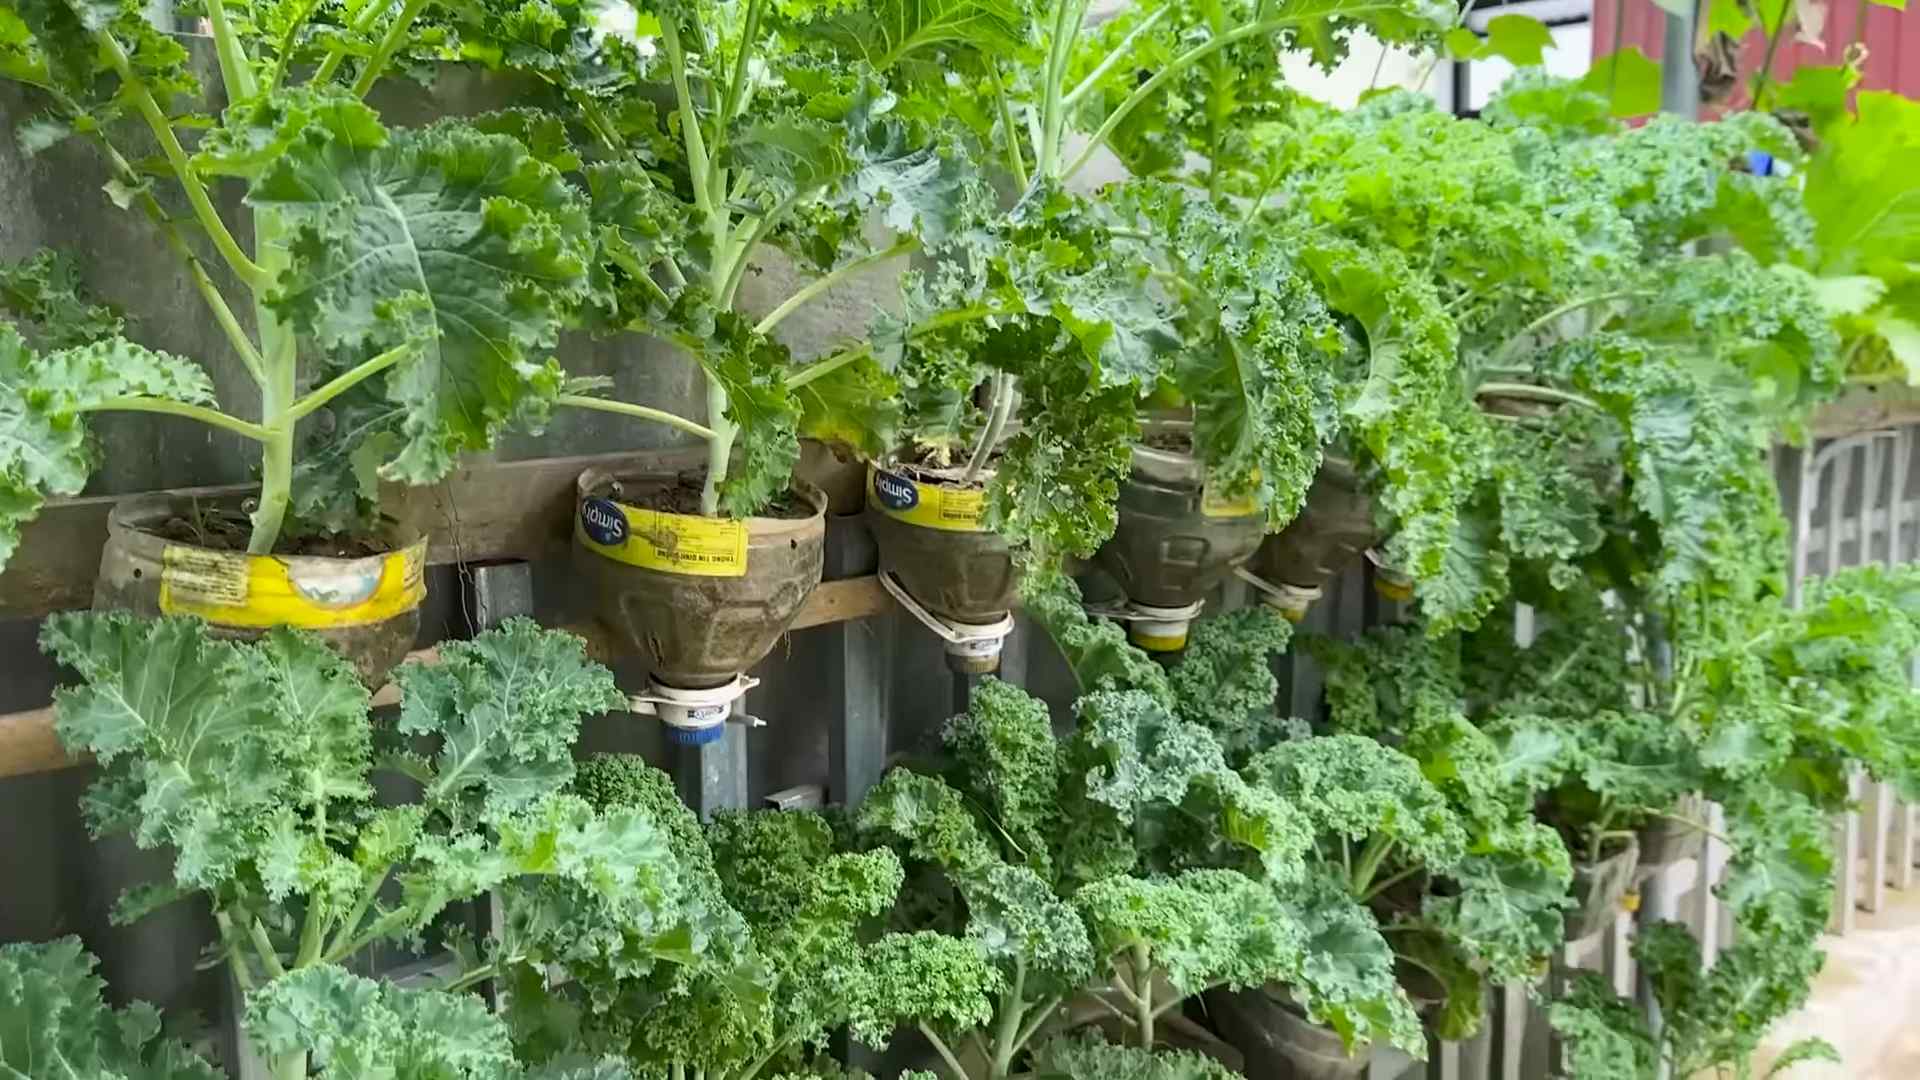
1. **Choose the Right Container:** Select a pot that is at least 8-12 inches in diameter and has drainage holes. Kale needs plenty of room for its roots to grow.
2. **Use High-Quality Potting Mix:** Don’t use garden soil for indoor gardening. It’s too heavy and doesn’t drain well. Use a high-quality potting mix that is specifically designed for container gardening.
3. **Provide Adequate Light:** Kale needs at least 6 hours of sunlight per day. Place your kale plant near a sunny window that faces south or west. If you don’t have enough natural light, you can use grow lights. I’ve had great success with LED grow lights.
4. **Maintain Proper Temperature:** Kale prefers cooler temperatures, between 60-75°F (15-24°C). Avoid placing your kale plant near a heat source, such as a radiator or fireplace.
Section 2: Planting and Caring for Your Indoor Kale
1. **Planting Seeds or Seedlings:** You can start kale from seed indoors or purchase seedlings from a garden center. Follow the same planting instructions as for outdoor kale.
2. **Watering:** Water your kale plant whenever the top inch of soil feels dry. Avoid overwatering, as this can lead to root rot. Make sure the pot has good drainage.
3. **Fertilizing:** Fertilize your kale plant every 2-3 weeks with a balanced organic fertilizer or compost tea.
4. **Air Circulation:** Good air circulation is important for preventing fungal diseases. Make sure your kale plant has plenty of space around it and that the air is circulating freely. You can also use a small fan to improve air circulation.
5. **Pest Control:** Indoor kale plants are less likely to be affected by pests than outdoor plants, but they can still be susceptible to aphids and spider mites. Inspect your plants regularly for signs of pests.
* **Aphids:** Spray aphids with a strong stream of water or use insecticidal soap.
* **Spider Mites:** Increase humidity around the plant by misting it regularly or placing it on a tray filled with pebbles and water. You can also use insecticidal soap.
Section
Conclusion
So, there you have it! Growing kale, whether indoors or outdoors, is not only achievable but also incredibly rewarding. We’ve explored the ins and outs of cultivating this nutritional powerhouse, from selecting the right variety to troubleshooting common problems. But why should you take the plunge and try to grow kale indoors outdoors yourself?
Simply put, the benefits are undeniable. Imagine having a constant supply of fresh, organic kale right at your fingertips. No more trips to the grocery store, no more worrying about pesticides or questionable growing practices. You’ll know exactly where your kale comes from and how it was grown, ensuring the highest quality and nutritional value. Plus, the satisfaction of harvesting your own food is a feeling that’s hard to beat.
Beyond the practical advantages, growing kale can be a fun and educational experience. It’s a chance to connect with nature, learn about plant life cycles, and develop a deeper appreciation for the food we eat. It’s also a fantastic activity for families, teaching children about responsibility, patience, and the importance of healthy eating.
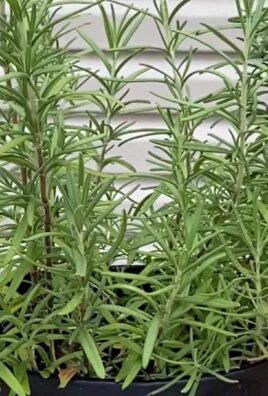
Don’t be afraid to experiment! Try different varieties of kale to find your favorites. Lacinato (dinosaur) kale, curly kale, and Red Russian kale all offer unique flavors and textures. Consider companion planting to deter pests and improve growth. Marigolds, for example, are known to repel aphids, while dill attracts beneficial insects.
For those growing indoors, explore different lighting options. While a sunny windowsill can work, supplemental grow lights can significantly boost yields and ensure consistent growth, especially during the darker months. Hydroponic systems offer another exciting avenue for indoor kale cultivation, allowing you to grow kale without soil.
And for outdoor growers, consider succession planting to extend your harvest season. By planting new kale seedlings every few weeks, you can enjoy a continuous supply of fresh greens throughout the spring, summer, and fall. Protect your kale from extreme weather conditions, such as frost or intense heat, with row covers or shade cloth.
We encourage you to give this DIY trick a try. Start small, be patient, and don’t be afraid to make mistakes. Gardening is a learning process, and every challenge is an opportunity to grow (pun intended!).
Most importantly, we want to hear about your experiences! Share your tips, tricks, and triumphs in the comments below. Let us know what varieties of kale you’re growing, what challenges you’ve faced, and what successes you’ve achieved. Together, we can create a community of kale-loving gardeners and inspire others to embrace the joys of growing their own food. So, grab your seeds, get your hands dirty, and start growing kale today! You won’t regret it.
FAQ
What are the best kale varieties to grow indoors?
While most kale varieties can be grown indoors, some are better suited than others due to their size and growth habits. Dwarf varieties like ‘Dwarf Blue Curled Vates’ are excellent choices for indoor containers as they don’t require as much space. ‘Red Russian’ kale is another popular option, known for its tender leaves and attractive color. ‘Lacinato’ (dinosaur) kale can also be grown indoors, but it may require a larger container and more support as it matures. When selecting a variety, consider the amount of space you have available and your personal preferences for taste and texture. Remember to provide adequate lighting and nutrients to ensure healthy growth, regardless of the variety you choose.
How much sunlight does kale need when grown indoors?
Kale thrives in bright light, requiring at least 6-8 hours of direct sunlight per day. When growing kale indoors, a south-facing window is ideal, as it provides the most sunlight. However, if you don’t have access to a south-facing window, you can supplement natural light with artificial grow lights. Fluorescent or LED grow lights are excellent options, providing the necessary spectrum of light for healthy plant growth. Position the grow lights a few inches above the kale plants and adjust the height as they grow. Monitor your kale plants closely for signs of insufficient light, such as leggy growth or pale leaves. If you notice these symptoms, increase the amount of light they receive.
What are the common pests and diseases that affect kale, and how can I prevent them?
Kale, like other leafy greens, can be susceptible to various pests and diseases. Common pests include aphids, cabbage worms, flea beetles, and whiteflies. To prevent pest infestations, inspect your kale plants regularly for signs of damage. Handpick any pests you find or use insecticidal soap or neem oil to control them. Row covers can also be used to protect your kale plants from pests. Common diseases that affect kale include black rot, clubroot, and downy mildew. To prevent these diseases, practice good sanitation by removing any infected plant debris. Ensure proper air circulation around your kale plants and avoid overwatering. Rotate your crops each year to prevent soilborne diseases from building up. If you notice signs of disease, remove the infected plants immediately to prevent the spread of the disease.
How often should I water kale, and what type of soil is best?
Kale prefers consistently moist soil but doesn’t like to be waterlogged. Water your kale plants when the top inch of soil feels dry to the touch. Avoid overwatering, as this can lead to root rot. When watering, water deeply, ensuring that the entire root zone is moistened. The best type of soil for kale is well-draining and rich in organic matter. A mix of potting soil, compost, and perlite is ideal for indoor containers. For outdoor gardens, amend the soil with compost or other organic matter to improve drainage and fertility. A slightly acidic to neutral soil pH of 6.0 to 7.0 is optimal for kale growth.
Can I grow kale in containers, and what size container should I use?
Yes, kale can be successfully grown in containers, making it an excellent option for those with limited space. Choose a container that is at least 12 inches deep and 12 inches wide to allow ample room for root growth. Larger containers are generally better, as they provide more space for the roots to spread and retain moisture for longer. Ensure that the container has drainage holes to prevent waterlogging. Fill the container with a well-draining potting mix and plant your kale seedlings or seeds. Place the container in a sunny location or under grow lights. Water regularly and fertilize as needed.
How do I harvest kale, and when is the best time to harvest it?
You can begin harvesting kale leaves once they reach a usable size, typically around 4-6 inches long. The best time to harvest kale is in the morning, after the dew has dried. To harvest, simply cut or snap off the outer leaves, leaving the inner leaves to continue growing. Avoid harvesting more than one-third of the plant at a time to ensure continued growth. Kale leaves are most tender and flavorful when they are young and small. As the leaves mature, they can become tougher and more bitter. Regular harvesting encourages new growth and extends the harvest season.
How can I extend the kale growing season?
There are several ways to extend the kale growing season and enjoy fresh kale for a longer period. Succession planting, as mentioned earlier, involves planting new kale seedlings every few weeks to ensure a continuous supply of fresh greens. You can also use row covers or cold frames to protect your kale plants from frost and extend the growing season into the fall and winter. In colder climates, you can overwinter kale by mulching around the plants with straw or leaves to insulate the roots. Kale is surprisingly cold-hardy and can often survive temperatures as low as 20°F. By taking these steps, you can enjoy fresh kale from spring through fall and even into the winter months.
Leave a Comment