

Grow Basil at Home – and unlock a world of flavor and fragrance right outside your door! Have you ever dreamed of snipping fresh, vibrant basil leaves just moments before adding them to your pasta sauce or pesto? I know I have! For centuries, basil has been more than just a culinary herb; it’s been a symbol of love, good fortune, and even protection in various cultures around the globe. From ancient Greece, where it was associated with royalty, to India, where it’s considered a sacred plant, basil boasts a rich and fascinating history.
But let’s be honest, sometimes getting that perfect, bountiful basil crop feels like a challenge. That’s where these simple, yet effective, DIY tricks and hacks come in. I’m going to share my secrets to help you grow basil at home successfully, even if you have limited space or a less-than-green thumb. Imagine the satisfaction of harvesting your own fragrant basil, knowing exactly where it came from and how it was grown. Not only will you save money on store-bought herbs, but you’ll also enjoy the unparalleled taste of freshly picked basil. Plus, it’s incredibly rewarding! So, let’s dive in and transform your home into a basil-growing haven!
Grow Your Own Delicious Basil: A Beginner’s Guide
Hey there, fellow plant enthusiasts! I’m so excited to share my tried-and-true method for growing vibrant, fragrant basil right in your own home. Forget those wilted, overpriced bunches at the grocery store – with a little love and these simple steps, you’ll be snipping fresh basil for your pasta, pesto, and pizzas in no time. Let’s get started!
What You’ll Need
Before we dive in, let’s gather our supplies. This is a pretty straightforward project, so you probably have a lot of these items already.
* **Basil Seeds:** You can find these at any garden center or online. I personally love Genovese basil for its classic flavor, but feel free to experiment with different varieties like Thai basil or lemon basil.
* **Seed Starting Tray or Small Pots:** These will be your basil’s first home. Make sure they have drainage holes!
* **Seed Starting Mix:** This is a light, airy soil specifically formulated for seedlings. Don’t use regular potting soil at this stage – it’s too heavy and can suffocate the delicate roots.
* **Spray Bottle:** For gently watering your seedlings.
* **Grow Lights (Optional but Recommended):** Especially if you don’t have a sunny windowsill.
* **Potting Soil:** Once your seedlings are big enough, you’ll need potting soil for their permanent pots.
* **Larger Pots (4-6 inches in diameter):** These will be your basil’s final home.
* **Watering Can or Cup:** For watering your mature basil plants.
* **Scissors or Pruning Shears:** For harvesting your basil.
* **A Sunny Spot or Grow Lights:** Basil loves sunshine!
Starting Your Basil Seeds
This is where the magic begins! We’re going to coax those tiny seeds into becoming beautiful, fragrant basil plants.
1. **Prepare Your Seed Starting Tray or Pots:** Fill your seed starting tray or small pots with seed starting mix. Gently pat it down to remove any air pockets, but don’t pack it too tightly.
2. **Sow the Seeds:** Sprinkle a few basil seeds on top of the soil in each cell or pot. I usually aim for 2-3 seeds per cell, just in case some don’t germinate.
3. **Cover the Seeds:** Lightly cover the seeds with a thin layer of seed starting mix. Basil seeds need light to germinate, so don’t bury them too deep. A very light dusting is all you need.
4. **Water Gently:** Use your spray bottle to mist the soil thoroughly. You want the soil to be moist, but not soggy.
5. **Provide Warmth and Light:** Place your seed starting tray or pots in a warm location. The ideal temperature for basil germination is between 70-80°F (21-27°C). If you don’t have a naturally warm spot, you can use a heat mat designed for seed starting. If you’re using grow lights, position them a few inches above the soil surface.
6. **Maintain Moisture:** Keep the soil consistently moist by misting it regularly with your spray bottle. Don’t let the soil dry out completely, but also avoid overwatering, which can lead to fungal diseases.
7. **Wait Patiently:** Basil seeds typically germinate within 5-10 days. Once you see those tiny green sprouts emerge, you’ll know your efforts are paying off!
Transplanting Your Basil Seedlings
Once your seedlings have developed a few sets of true leaves (the leaves that look like miniature basil leaves, not just the initial seed leaves), it’s time to transplant them into larger pots.
1. **Prepare Your Larger Pots:** Fill your 4-6 inch pots with potting soil. Again, gently pat it down to remove air pockets.
2. **Carefully Remove the Seedlings:** Gently loosen the soil around the seedlings in the seed starting tray or pots. You can use a small spoon or fork to help you lift them out. Be very careful not to damage the delicate roots.
3. **Separate the Seedlings (If Necessary):** If you planted multiple seeds in each cell or pot, you’ll need to gently separate the seedlings. Try to tease the roots apart as carefully as possible. If the roots are too tangled, it’s better to sacrifice one seedling than to damage both.
4. **Plant the Seedlings:** Make a small hole in the center of the potting soil in each pot. Gently place the seedling into the hole, making sure the top of the root ball is level with the soil surface.
5. **Fill in the Hole:** Gently fill in the hole around the seedling with potting soil.
6. **Water Thoroughly:** Water the newly transplanted seedlings thoroughly.
7. **Provide Light and Warmth:** Place the pots in a sunny spot or under grow lights. Basil needs at least 6-8 hours of sunlight per day to thrive.
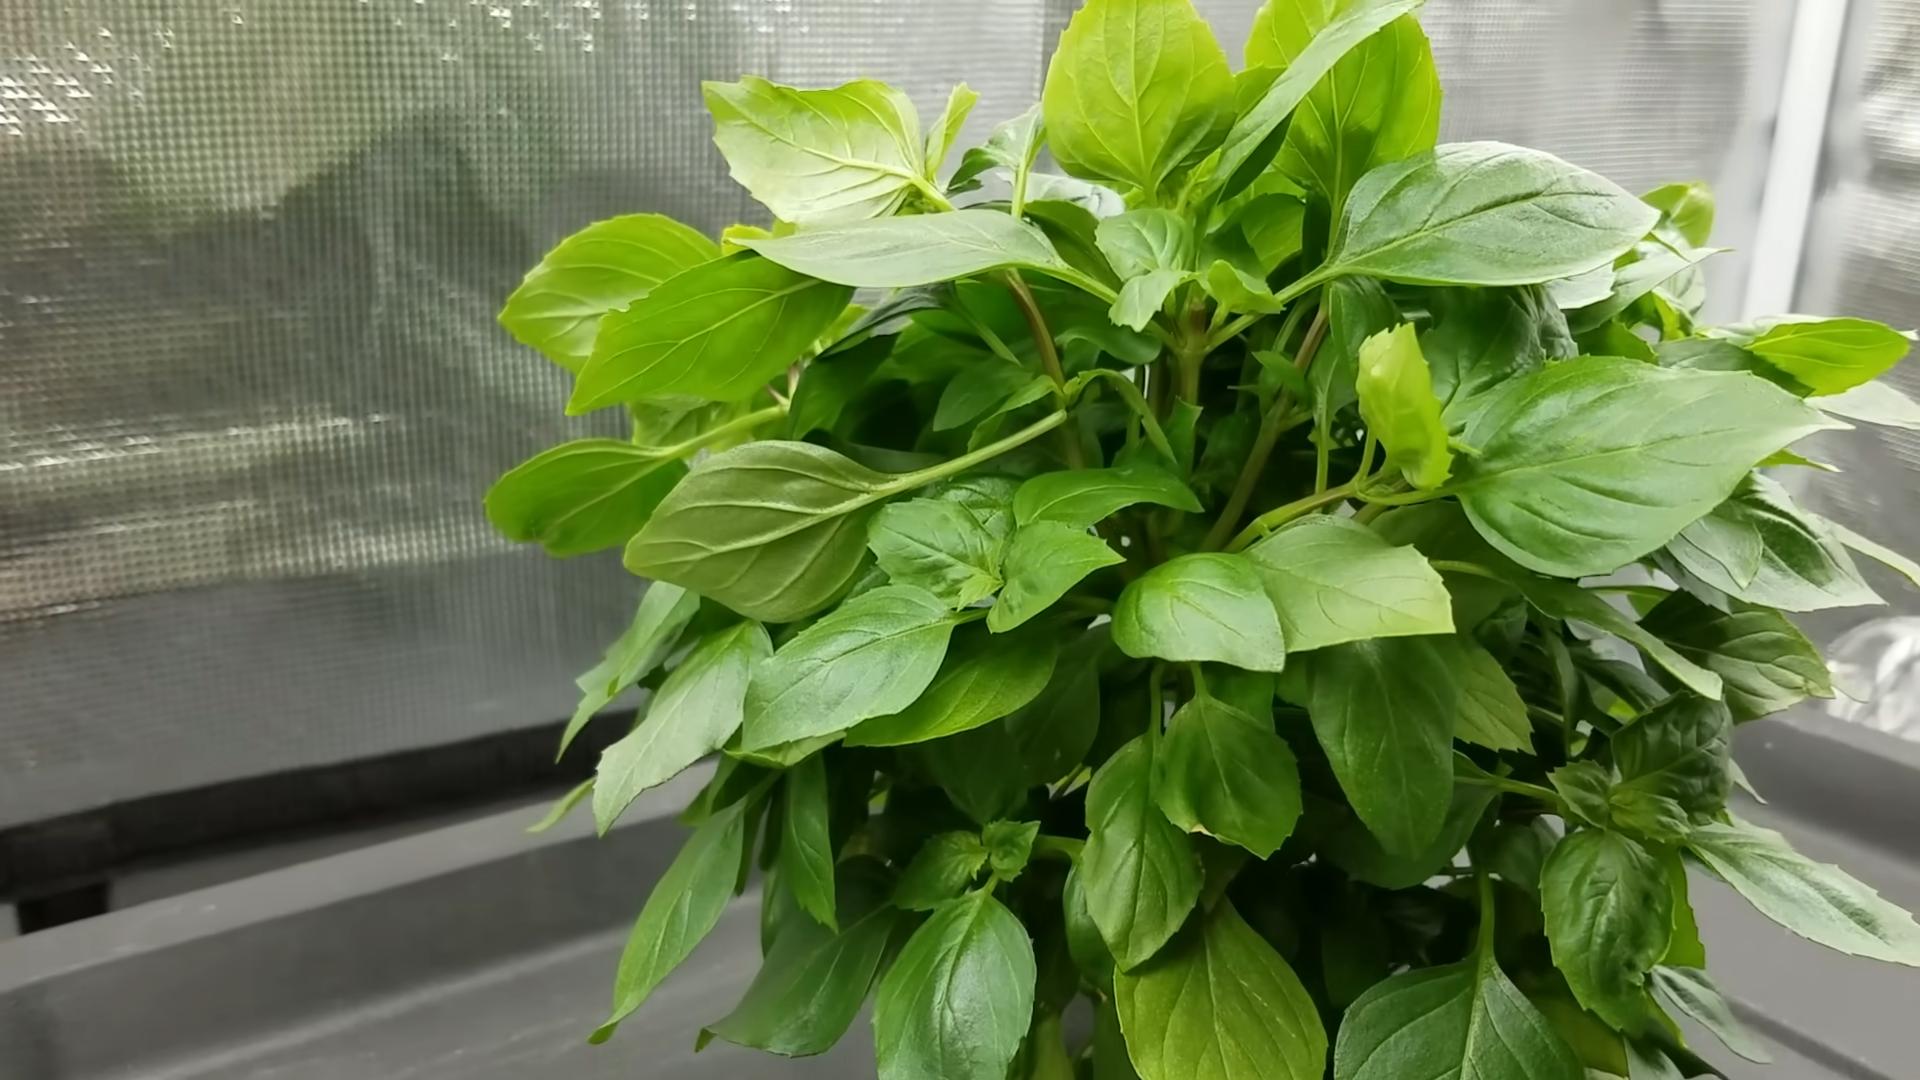
Caring for Your Mature Basil Plants
Now that your basil plants are established in their permanent pots, it’s time to focus on providing them with the care they need to flourish.
1. **Watering:** Water your basil plants regularly, especially during hot weather. The soil should be kept consistently moist, but not soggy. Check the soil moisture by sticking your finger into the soil. If the top inch feels dry, it’s time to water.
2. **Fertilizing:** Basil is a heavy feeder, so it benefits from regular fertilization. Use a balanced liquid fertilizer diluted to half strength every 2-3 weeks.
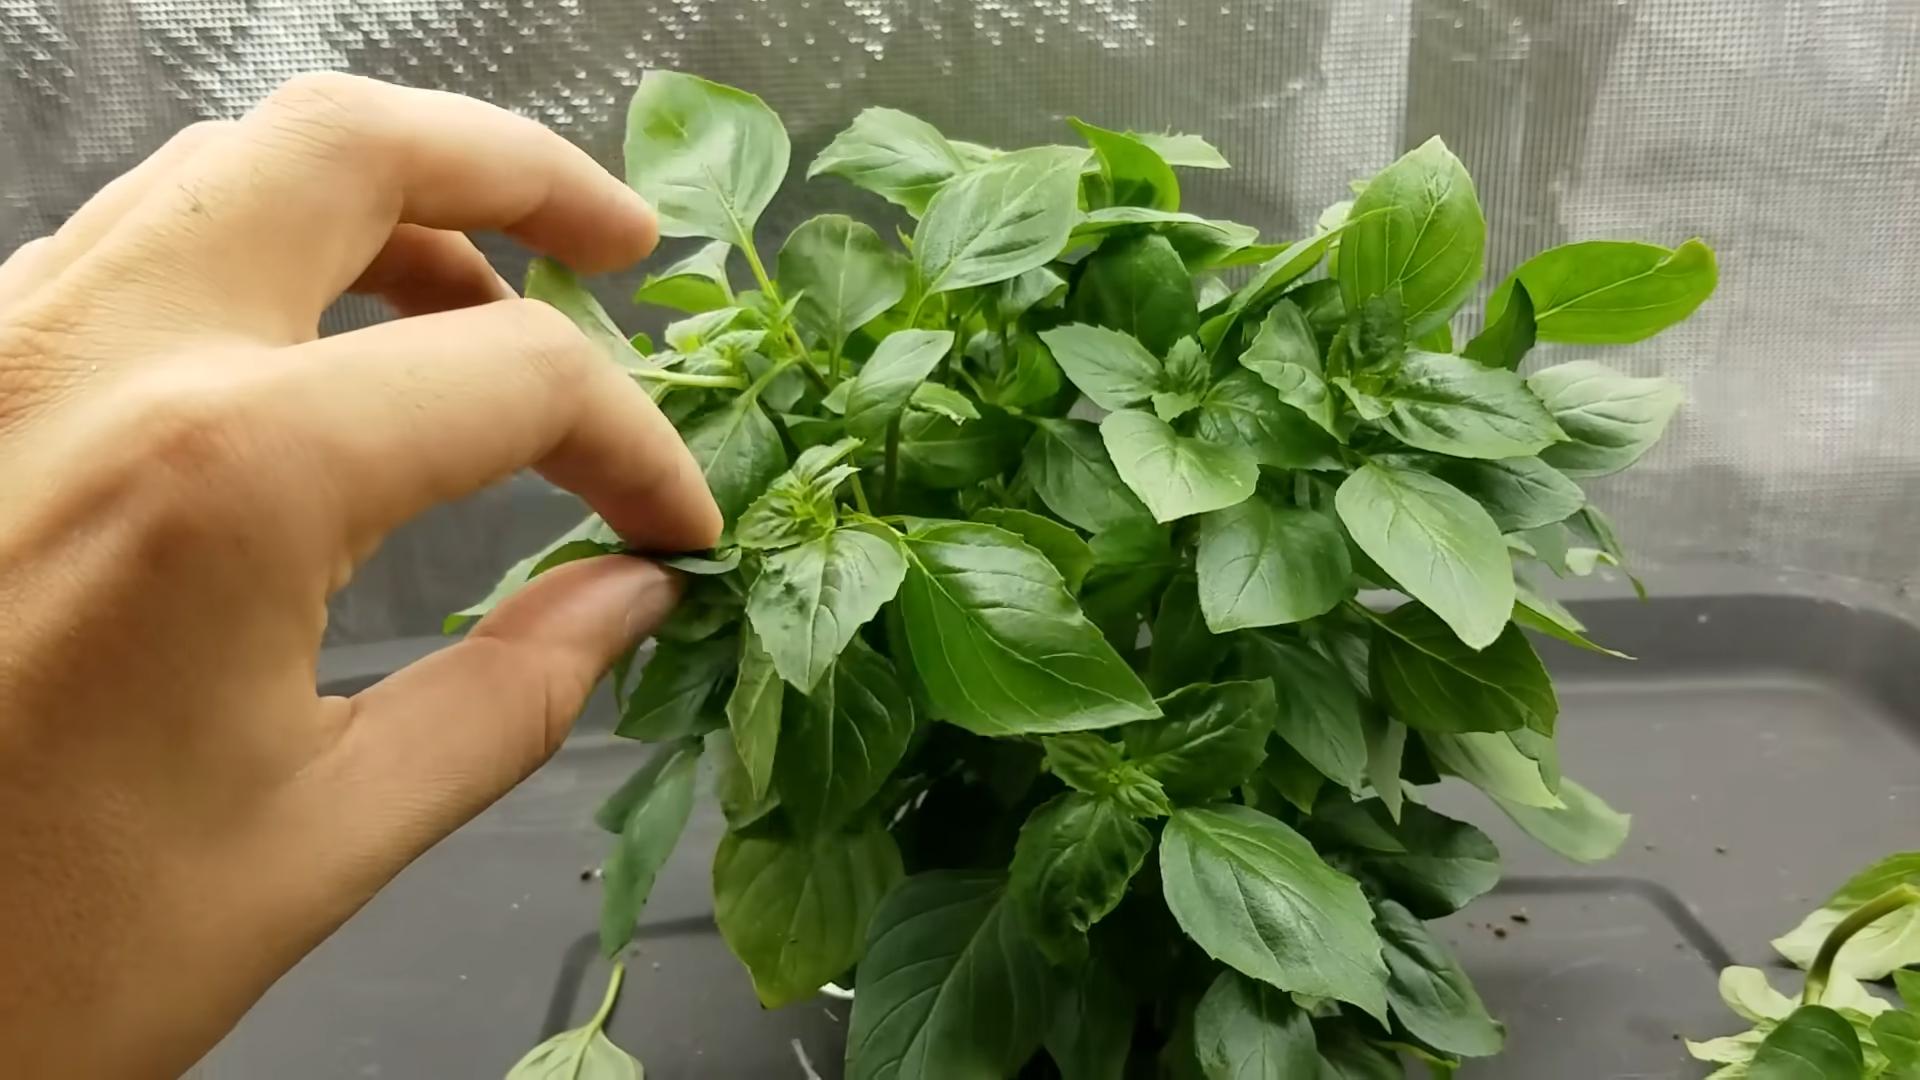
3. **Pinching and Pruning:** This is crucial for encouraging bushy growth and preventing your basil plants from flowering too early. When your basil plants are about 6 inches tall, pinch off the top set of leaves just above a leaf node (the point where leaves grow out of the stem). This will encourage the plant to branch out and produce more leaves. Continue to pinch off the top sets of leaves regularly as the plant grows.
4. **Preventing Flowering:** Basil plants will eventually flower, which can reduce the flavor of the leaves. To prevent flowering, pinch off any flower buds as soon as you see them.
5. **Providing Support (Optional):** If your basil plants become very tall and top-heavy, you may need to provide them with some support. You can use small stakes or tomato cages to help them stay upright.
6. **Pest Control:** Keep an eye out for pests like aphids, spider mites, and whiteflies. If you notice any pests, you can try spraying your plants with insecticidal soap or neem oil.
7. **Rotating Your Plants:** If you’re growing your basil plants indoors, rotate them regularly to ensure that all sides receive equal amounts of light.
Harvesting Your Basil
The best part! Harvesting your basil regularly will encourage it to grow even more.
1. **When to Harvest:** You can start harvesting basil leaves as soon as the plant is about 6 inches tall.
2. **How to Harvest:** Use scissors or pruning shears to snip off the top sets of leaves, cutting just above a leaf node.
3. **Harvest Regularly:** Don’t be afraid to harvest your basil frequently! The more you harvest, the more it will grow.
4. **Store Your Basil:** Freshly harvested basil is best used immediately. However, you can store it in the refrigerator for a few days. To store basil, wrap the stems in a damp paper towel and place them in a plastic bag. You can also freeze basil leaves for longer storage. To freeze basil, blanch the leaves in boiling water for a few seconds, then plunge them into ice water. Drain the leaves and pat them dry, then freeze them in a single layer on a baking sheet. Once frozen, transfer the leaves to a freezer bag.
Troubleshooting
Even with the best care, sometimes things can go wrong. Here are a few common problems you might encounter and how to fix them:
* **Yellowing Leaves:** This can be caused by overwatering, underwatering, or nutrient deficiencies. Check the soil moisture and adjust your watering accordingly. If you suspect a nutrient deficiency, fertilize your plants with a balanced liquid fertilizer.
* **Leggy Growth:** This is usually caused by insufficient light. Move your plants to a sunnier location or provide them with grow lights.
* **Wilting Leaves:** This can be caused by underwatering or root rot. Check the soil moisture and adjust your watering accordingly. If you suspect root rot, repot your plants in fresh potting soil.
* **Pests:** As mentioned earlier, keep an eye out for pests and treat them promptly with insecticidal soap or neem oil.
Enjoy Your Homegrown Basil!
And there you have it! You’re now equipped with the knowledge and skills to grow your own delicious basil at home. With a little patience and care, you’ll be enjoying fresh, fragrant basil all season long. Happy gardening! I hope you found this guide helpful, and I can’t wait to hear about your basil-growing adventures. Don’t hesitate to reach out if you have any questions. Happy growing!
Conclusion
So, there you have it! Growing basil at home, especially using our simple DIY propagation trick, is not just a fun project; it’s a gateway to fresher, more flavorful meals and a more sustainable lifestyle. Forget those wilting, overpriced bunches from the grocery store. Imagine stepping into your kitchen and snipping off vibrant, fragrant basil leaves whenever you need them. The difference in taste and aroma between store-bought and homegrown basil is truly remarkable.
This DIY method is a must-try because it’s incredibly easy, cost-effective, and rewarding. You don’t need a green thumb or a large garden to succeed. All you need are a few basil stems, some water, and a little patience. Within weeks, you’ll have a thriving basil plant ready to enhance your culinary creations.
But the benefits extend beyond just fresh herbs. Growing your own basil reduces your reliance on commercially grown produce, which often involves pesticides and long-distance transportation. It’s a small step towards a more environmentally friendly way of living. Plus, tending to your basil plant can be a therapeutic and enjoyable experience.
Ready to take your basil game to the next level? Consider these variations:
* Experiment with different basil varieties: From sweet basil to Thai basil to lemon basil, each variety offers a unique flavor profile. Try propagating a few different types to create a diverse herb garden.
* Use different containers: While a simple glass of water works perfectly, you can also use mason jars, repurposed plastic containers, or even a dedicated propagation station.
* Add rooting hormone: While not strictly necessary, dipping the cut ends of the basil stems in rooting hormone can speed up the rooting process.
* Transplant into different mediums: Once your basil cuttings have developed roots, you can transplant them into pots filled with soil, coco coir, or even a hydroponic system.
* Grow indoors year-round: With the help of a grow light, you can enjoy fresh basil even during the winter months.
We’re confident that you’ll love this DIY basil propagation trick. It’s a simple yet effective way to grow basil at home and enjoy all the benefits of fresh, homegrown herbs.
Don’t just take our word for it – give it a try! We encourage you to embark on this exciting journey of growing basil at home. Once you’ve successfully propagated your own basil plants, we’d love to hear about your experience. Share your photos, tips, and stories in the comments below. Let’s create a community of basil-loving gardeners! What challenges did you face? What worked particularly well for you? Your insights can help others succeed in their own basil-growing endeavors. Happy growing!
FAQ
What is the best time of year to propagate basil?
While you can propagate basil indoors year-round, the best time to propagate basil outdoors is during the spring and summer months. The warmer temperatures and longer daylight hours promote faster root growth. However, if you’re growing basil indoors, you can propagate it any time of year as long as you provide adequate light and warmth.
How long does it take for basil cuttings to root?
Generally, basil cuttings will start to develop roots within 7-14 days. However, the exact time can vary depending on factors such as temperature, humidity, and the variety of basil. Keep an eye on your cuttings and change the water every few days to prevent bacterial growth. Once the roots are about an inch long, you can transplant the cuttings into soil.
What kind of water should I use to propagate basil?
It’s best to use filtered or distilled water to propagate basil. Tap water can contain chlorine and other chemicals that can inhibit root growth. If you only have access to tap water, let it sit out for 24 hours to allow the chlorine to evaporate before using it.
How much light do basil cuttings need?
Basil cuttings need bright, indirect light to root properly. Avoid placing them in direct sunlight, as this can scorch the leaves. A spot near a sunny window or under a grow light is ideal. If you’re using a grow light, keep it about 6-12 inches away from the cuttings.
What kind of soil should I use to transplant basil cuttings?
Use a well-draining potting mix to transplant your basil cuttings. A mix of peat moss, perlite, and vermiculite is a good option. You can also add some compost to the mix to provide extra nutrients. Avoid using garden soil, as it can be too heavy and may contain pests or diseases.
How often should I water my basil plants after transplanting?
Water your basil plants regularly, keeping the soil consistently moist but not waterlogged. Check the soil moisture level by sticking your finger into the soil. If the top inch of soil feels dry, it’s time to water. Avoid overwatering, as this can lead to root rot.
How do I prevent basil from getting leggy?
To prevent basil from getting leggy, pinch off the top sets of leaves regularly. This encourages the plant to grow bushier and produce more leaves. You should also make sure your basil plant is getting enough light. If it’s not getting enough light, it will stretch towards the light source, resulting in a leggy appearance.
Can I grow basil indoors year-round?
Yes, you can grow basil indoors year-round with the help of a grow light. Basil needs at least 6 hours of sunlight per day to thrive. If you don’t have a sunny window, a grow light can provide the necessary light.
What are some common pests and diseases that affect basil?
Some common pests that affect basil include aphids, spider mites, and whiteflies. Common diseases include fungal diseases like powdery mildew and downy mildew. Inspect your basil plants regularly for signs of pests or diseases and take action promptly to prevent them from spreading.
How do I harvest basil leaves?
To harvest basil leaves, pinch or cut them off just above a leaf node (the point where leaves grow from the stem). This encourages the plant to branch out and produce more leaves. Avoid harvesting more than one-third of the plant at a time, as this can stress the plant.
Can I propagate basil from store-bought basil?
Yes, you can often propagate basil from store-bought basil, but it’s not always guaranteed to work. Choose basil stems that are healthy and have not been refrigerated for too long. Look for stems that are firm and have vibrant green leaves. Avoid stems that are wilted, discolored, or have signs of damage.
What if my basil cuttings don’t root?
If your basil cuttings don’t root, there could be several reasons why. Make sure the cuttings are getting enough light and warmth. Change the water regularly to prevent bacterial growth. You can also try using rooting hormone to encourage root development. If all else fails, try propagating new cuttings from a different source.
Leave a Comment