

Grow Pechay at Home and unlock the secrets to a thriving, delicious garden right outside your door! Have you ever dreamed of snipping fresh, vibrant greens for your dinner salad just moments before you eat? Or perhaps you’re looking for a rewarding and sustainable hobby that connects you with nature? Well, you’re in the right place! This DIY guide is your passport to cultivating your very own pechay patch, even if you’re a complete beginner.
Pechay, also known as Chinese cabbage, has a rich history deeply rooted in Asian cuisine. For centuries, it’s been a staple in countless dishes, prized for its mild, slightly sweet flavor and crisp texture. Beyond its culinary appeal, growing your own pechay offers a fantastic way to reduce your carbon footprint, save money on groceries, and ensure you’re consuming fresh, pesticide-free produce.
In today’s fast-paced world, many of us crave a connection to something real and tangible. Grow Pechay at Home is more than just a gardening project; it’s an opportunity to nurture life, learn new skills, and enjoy the satisfaction of harvesting your own food. Plus, who wouldn’t want to impress their friends and family with their green thumb? Let’s dive in and discover the simple steps to transforming your space into a flourishing pechay paradise!
Grow Your Own Delicious Pechay at Home: A Beginner’s Guide
Hey there, fellow gardening enthusiasts! I’m so excited to share my experience growing pechay (also known as bok choy) right in my backyard. It’s surprisingly easy, even if you’re a complete beginner like I was. Fresh, homegrown pechay tastes amazing and is packed with nutrients. Let’s dive in!
Choosing the Right Variety and Starting Seeds
First things first, you need to decide which type of pechay you want to grow. There are a few popular varieties, each with slightly different characteristics:
* Shanghai Green: This is a common variety with light green stems and spoon-shaped leaves. It’s known for its mild flavor and quick growth.
* Canton White: This variety has white stems and dark green leaves. It has a slightly stronger flavor than Shanghai Green.
* Choy Sum: While technically a different vegetable, Choy Sum is closely related to pechay and often grown similarly. It has yellow flowers and a slightly sweeter taste.
I personally prefer Shanghai Green because of its mild flavor and how quickly it matures.
Now, let’s talk about starting seeds. You have two options: direct sowing or starting seeds indoors. I prefer starting seeds indoors because it gives me more control over the growing environment, especially during unpredictable weather.
Here’s how I start my pechay seeds indoors:
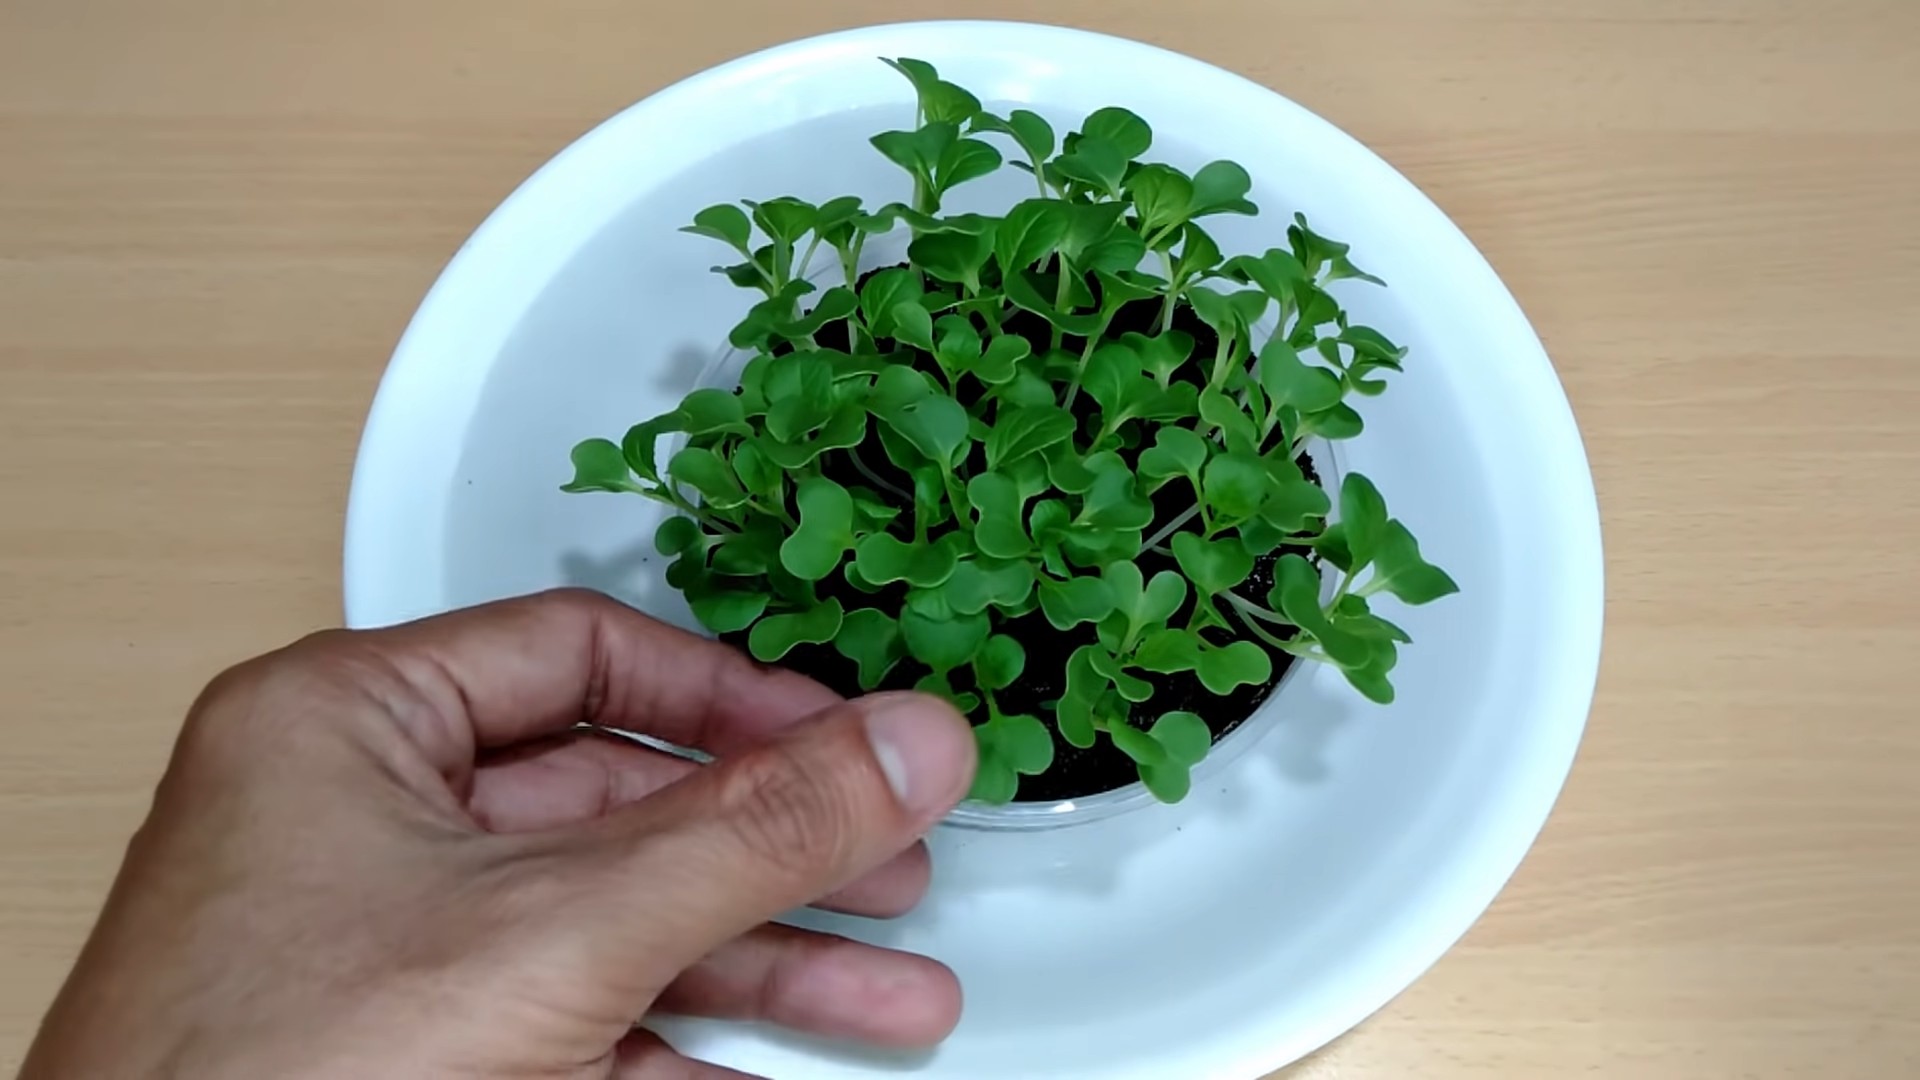
1. Gather Your Supplies: You’ll need seed starting trays or small pots, seed starting mix (I recommend a peat-based mix), pechay seeds, a spray bottle, and a warm, sunny location or a grow light.
2. Prepare the Seed Starting Mix: Moisten the seed starting mix with water until it’s damp but not soggy.
3. Sow the Seeds: Fill the seed starting trays or pots with the moistened mix. Make a small indentation (about 1/4 inch deep) in the center of each cell or pot. Place 2-3 seeds in each indentation.
4. Cover the Seeds: Gently cover the seeds with a thin layer of seed starting mix.
5. Water Gently: Use a spray bottle to mist the surface of the soil. Avoid overwatering, as this can cause the seeds to rot.
6. Provide Warmth and Light: Place the seed starting trays or pots in a warm, sunny location or under a grow light. If using a grow light, keep it about 2-4 inches above the soil surface.
7. Keep the Soil Moist: Check the soil moisture daily and mist with water as needed to keep it consistently moist.
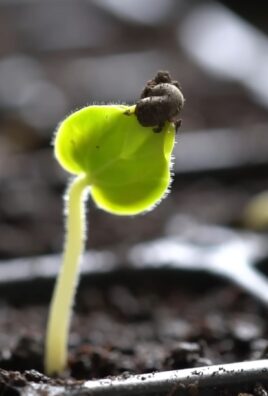
8. Thin the Seedlings: Once the seedlings have developed their first true leaves (the leaves that look like miniature pechay leaves), thin them to one seedling per cell or pot. Choose the strongest, healthiest-looking seedling and gently snip off the others at the soil line.
Preparing the Garden Bed
While your seeds are germinating indoors, it’s time to prepare your garden bed. Pechay thrives in well-drained soil that’s rich in organic matter.
Here’s how I prepare my garden bed for pechay:
1. Choose a Sunny Location: Pechay needs at least 4-6 hours of sunlight per day.
2. Clear the Area: Remove any weeds, rocks, or debris from the garden bed.
3. Amend the Soil: This is the most important step! I like to add plenty of compost or well-rotted manure to the soil to improve its fertility and drainage. You can also add other organic amendments like bone meal or blood meal to provide essential nutrients.
4. Till the Soil: Use a garden fork or tiller to loosen the soil to a depth of at least 12 inches. This will help the roots of the pechay plants to grow easily.
5. Level the Soil: Rake the soil to create a smooth, even surface.
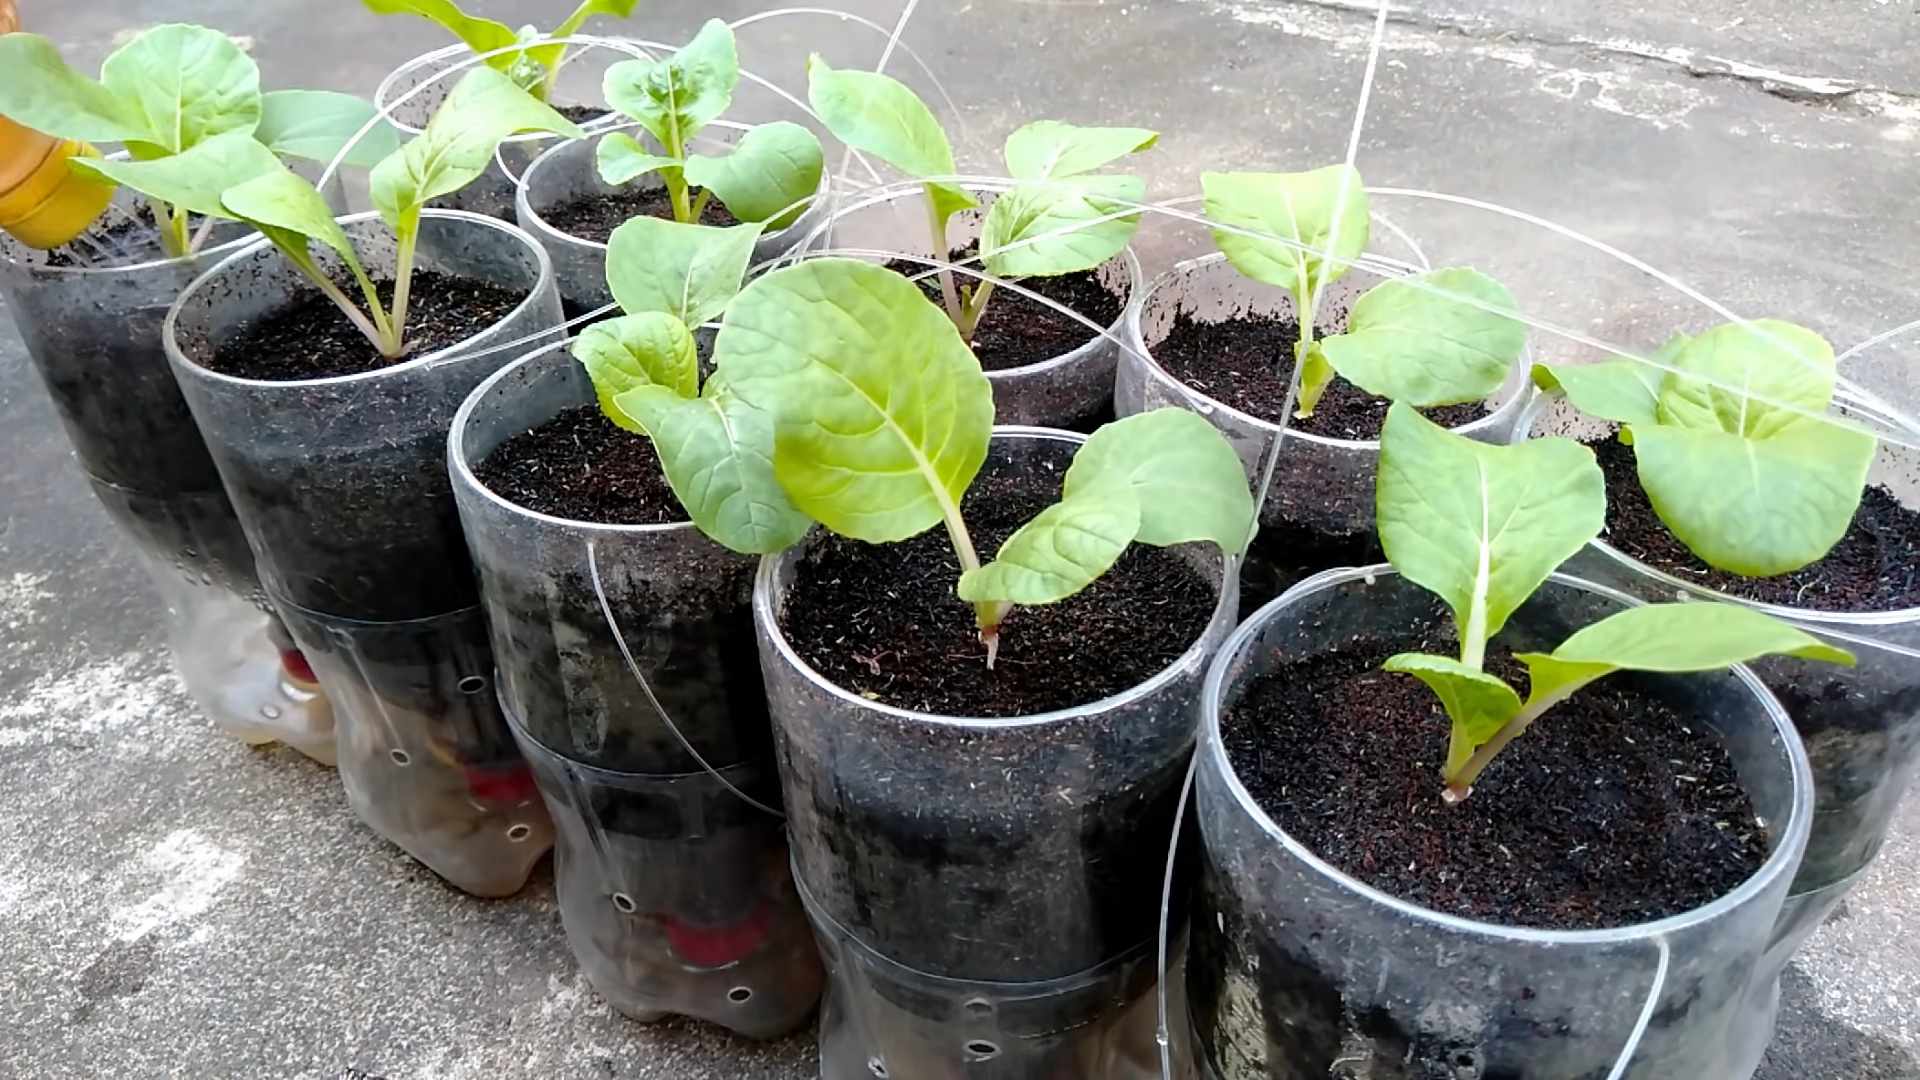
Transplanting the Seedlings
Once your seedlings have developed several sets of true leaves and are about 3-4 inches tall, they’re ready to be transplanted into the garden bed.
Here’s how I transplant my pechay seedlings:
1. Harden Off the Seedlings: Before transplanting, you need to “harden off” the seedlings. This means gradually exposing them to outdoor conditions over a period of 7-10 days. Start by placing the seedlings in a sheltered location outdoors for a few hours each day, gradually increasing the amount of time they spend outside. This will help them to adjust to the sun, wind, and temperature changes.
2. Choose a Cloudy Day: Transplanting on a cloudy day will help to reduce stress on the seedlings.
3. Dig Holes: Dig holes in the garden bed that are slightly larger than the root balls of the seedlings. Space the holes about 6-8 inches apart.
4. Remove the Seedlings from the Trays or Pots: Gently remove the seedlings from their trays or pots. Be careful not to damage the roots.
5. Plant the Seedlings: Place the seedlings in the holes and gently backfill with soil. Make sure the top of the root ball is level with the soil surface.
6. Water Thoroughly: Water the seedlings thoroughly after transplanting.
Caring for Your Pechay Plants
Now that your pechay plants are in the ground, it’s important to provide them with the care they need to thrive.
Here’s what I do to care for my pechay plants:
1. Water Regularly: Pechay needs consistent moisture to grow well. Water the plants deeply whenever the soil feels dry to the touch. Avoid overwatering, as this can lead to root rot.
2. Fertilize: Pechay is a heavy feeder, so it needs regular fertilization. I like to use a balanced organic fertilizer every 2-3 weeks. You can also side-dress the plants with compost or well-rotted manure.
3. Weed Regularly: Weeds can compete with pechay plants for nutrients and water. Be sure to weed the garden bed regularly.
4. Protect from Pests: Pechay can be susceptible to pests like aphids, cabbage worms, and flea beetles. I like to use organic pest control methods, such as insecticidal soap or neem oil, to keep these pests at bay. You can also cover the plants with row covers to prevent pests from reaching them.
5. Mulch: Applying a layer of mulch around the plants can help to retain moisture, suppress weeds, and regulate soil temperature. I like to use straw or shredded leaves as mulch.
Harvesting Your Pechay
Pechay is a fast-growing vegetable, so you can usually start harvesting it within 45-60 days of planting.
Here’s how I harvest my pechay:
1. Harvest When Young and Tender: Pechay is best harvested when the leaves are young and tender.
2. Cut the Entire Plant: You can harvest the entire plant at once by cutting it off at the base.
3. Harvest Individual Leaves: Alternatively, you can harvest individual leaves as needed. Simply cut off the outer leaves, leaving the inner leaves to continue growing.
4. Wash and Store: Wash the harvested pechay thoroughly and store it in the refrigerator. It will keep for several days.
Troubleshooting Common Problems
Even with the best care, you may encounter some problems when growing pechay. Here are some common issues and how to address them:
* Bolting: Bolting is when the plant prematurely flowers and goes to seed. This can happen if the weather is too hot or if the plant is stressed. To prevent bolting, choose a bolt-resistant variety, provide shade during hot weather, and water regularly.
* Aphids: Aphids are small, sap-sucking insects that can infest pechay plants. They can cause the leaves to become distorted and yellow. To control aphids, spray the plants with insecticidal soap or neem oil.
* Cabbage Worms: Cabbage worms are the larvae of cabbage butterflies. They can chew holes in the leaves of pechay plants. To control cabbage worms, handpick them off the plants or spray the plants with Bacillus thuringiensis (Bt).
* Flea Beetles: Flea beetles are small, jumping insects that can chew small holes in the leaves of pechay plants. To control flea beetles, cover the plants with row covers or spray the plants with insecticidal soap or neem oil.
* Root Rot: Root rot is a fungal disease that can cause the roots of pechay plants to rot. It is often caused by overwatering or poor drainage. To prevent root rot, make sure the soil is well-drained and avoid overwatering.
Enjoying Your Homegrown Pechay
The best part about growing your own pechay is enjoying the delicious, fresh flavor
Conclusion
So, there you have it! Growing your own pechay at home is not only achievable, but it’s also incredibly rewarding. From the vibrant green leaves gracing your garden to the fresh, crisp flavor enhancing your meals, the benefits are undeniable. This DIY trick, meticulously detailed above, offers a simple, cost-effective, and sustainable way to enjoy this nutritious vegetable right from your backyard.
Why is this a must-try? Because it puts you in control. You know exactly what goes into your food – no harmful pesticides, no mysterious additives, just pure, homegrown goodness. Plus, it’s a fantastic way to connect with nature, de-stress, and learn a new skill. Imagine the satisfaction of harvesting your own pechay and knowing you nurtured it from seed to table. It’s a feeling that store-bought vegetables simply can’t replicate.
But the beauty of this DIY project lies in its adaptability. Feel free to experiment with different varieties of pechay. Try the dwarf varieties for container gardening if you have limited space, or explore the larger, more robust types if you have a dedicated garden bed. You can also adjust the soil mix to suit your specific climate and growing conditions. Consider adding organic fertilizers like compost tea or worm castings to boost growth and enhance the flavor of your pechay.
Another exciting variation is to explore companion planting. Planting herbs like basil or mint near your pechay can help deter pests naturally. Marigolds are also excellent companions, adding a splash of color to your garden while repelling unwanted insects.
Don’t be afraid to get creative with your growing setup. If you live in an area with harsh winters, consider using a cold frame or greenhouse to extend your growing season. You can also use grow lights to supplement natural sunlight, especially during the shorter days of the year.
Ultimately, the key to successful home gardening is experimentation and observation. Pay attention to your plants, learn their needs, and adjust your approach accordingly. And remember, even if you encounter challenges along the way, don’t give up! Every mistake is a learning opportunity, and with a little patience and persistence, you’ll be harvesting your own delicious pechay in no time.
We wholeheartedly encourage you to try this DIY trick for growing pechay at home. It’s a simple, satisfying, and sustainable way to enjoy fresh, healthy vegetables. Once you’ve given it a try, we’d love to hear about your experience! Share your tips, tricks, and photos in the comments below. Let’s build a community of home gardeners and inspire others to grow their own food. Your success story could be the motivation someone else needs to start their own pechay-growing journey. So, grab your seeds, get your hands dirty, and let’s grow some pechay!
Frequently Asked Questions (FAQ)
What is the best time of year to plant pechay?
Pechay thrives in cooler weather, making it an ideal crop for spring and fall planting. In most regions, you can start seeds indoors 4-6 weeks before the last expected frost in spring, or directly sow seeds outdoors after the danger of frost has passed. For a fall harvest, sow seeds 6-8 weeks before the first expected frost. In warmer climates, you can grow pechay year-round, but be mindful of providing shade during the hottest parts of the day to prevent bolting (premature flowering).
How much sunlight does pechay need?
Pechay requires at least 4-6 hours of direct sunlight per day to thrive. However, in hotter climates, providing some afternoon shade can help prevent the leaves from scorching. If you’re growing pechay indoors, use grow lights to supplement natural sunlight and ensure adequate light exposure.
What kind of soil is best for growing pechay?
Pechay prefers well-drained, fertile soil that is rich in organic matter. A slightly acidic to neutral pH (6.0-7.0) is ideal. Before planting, amend your soil with compost, aged manure, or other organic materials to improve drainage, fertility, and water retention. You can also add a slow-release fertilizer to provide essential nutrients throughout the growing season.
How often should I water pechay?
Pechay needs consistent moisture to thrive, especially during hot weather. Water deeply and regularly, aiming to keep the soil consistently moist but not waterlogged. Check the soil moisture regularly and water when the top inch feels dry to the touch. Avoid overhead watering, as this can increase the risk of fungal diseases. Instead, water at the base of the plants.
What are some common pests and diseases that affect pechay?
Pechay can be susceptible to various pests and diseases, including aphids, cabbage worms, flea beetles, and fungal diseases like downy mildew and clubroot. To prevent pest and disease problems, practice good garden hygiene, such as removing weeds and debris, and rotating crops regularly. You can also use organic pest control methods, such as insecticidal soap, neem oil, or diatomaceous earth, to control pests. For fungal diseases, ensure good air circulation and avoid overhead watering. If necessary, use a copper-based fungicide to control the spread of the disease.
How do I harvest pechay?
You can harvest pechay at any stage of growth, depending on your preference. For baby greens, harvest when the leaves are about 4-6 inches long. For mature heads, harvest when the leaves are fully developed and the head is firm. To harvest, simply cut the entire head at the base of the plant with a sharp knife. You can also harvest individual leaves as needed, allowing the plant to continue producing new leaves.
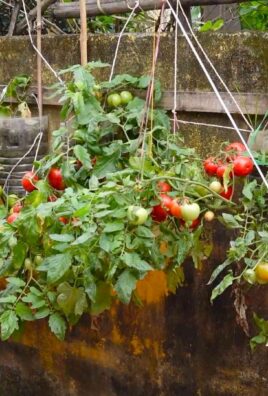
Can I grow pechay in containers?
Yes, pechay grows well in containers, making it a great option for gardeners with limited space. Choose a container that is at least 12 inches deep and wide to allow for adequate root growth. Use a well-draining potting mix and provide regular watering and fertilization. Place the container in a sunny location that receives at least 4-6 hours of direct sunlight per day.
How do I prevent pechay from bolting?
Bolting, or premature flowering, can occur when pechay is exposed to high temperatures or stress. To prevent bolting, plant pechay during cooler months, provide shade during hot weather, and ensure consistent watering and fertilization. You can also choose bolt-resistant varieties of pechay.
How do I store harvested pechay?
To store harvested pechay, wash the leaves thoroughly and pat them dry. Wrap the leaves in a damp paper towel and store them in a plastic bag in the refrigerator. Pechay can be stored for up to a week in the refrigerator.
Can I save seeds from my pechay plants?
Yes, you can save seeds from your pechay plants, but it requires allowing the plants to bolt and produce flowers. However, be aware that pechay can cross-pollinate with other members of the Brassica family, so the seeds may not be true to type. If you want to save seeds, isolate your pechay plants from other Brassicas and allow them to flower and produce seed pods. Once the seed pods are dry and brown, harvest them and extract the seeds. Store the seeds in a cool, dry place.
Leave a Comment