

Planting radishes indoors might sound like a quirky idea, but trust me, it’s a game-changer for fresh, peppery goodness all year round! Forget those bland, store-bought radishes – imagine biting into a crisp, vibrant radish you nurtured yourself, right in your own home. For centuries, humans have cultivated food indoors, from ancient Roman greenhouses to modern hydroponic systems. This DIY project taps into that rich history, bringing the joy of gardening to even the smallest apartments.
Why should you bother with this DIY trick? Well, for starters, it’s incredibly rewarding. There’s something magical about watching a tiny seed sprout and transform into a delicious vegetable. Plus, planting radishes indoors allows you to control the growing environment, ensuring a consistent harvest free from pests and harsh weather. I know, I know, you’re thinking, “Radishes? Really?” But hear me out! They’re fast-growing, require minimal space, and add a delightful zing to salads, sandwiches, and even tacos. This article will guide you through every step, from choosing the right container to harvesting your first batch of homegrown radishes. Get ready to unleash your inner gardener and enjoy the freshest radishes imaginable!
Planting Radishes Indoors: A Beginner’s Guide to Crunchy Success
Okay, so you want to grow radishes indoors? Awesome! Radishes are super rewarding because they grow fast, and that little peppery bite is just fantastic in salads or as a crunchy snack. I’m going to walk you through everything you need to know to get your own indoor radish garden going. Trust me, it’s easier than you think!
What You’ll Need
Before we get our hands dirty, let’s gather our supplies. Here’s a checklist to make sure you’re all set:
* Radish Seeds: Choose a variety that’s known for doing well indoors. I personally love ‘Cherry Belle’ and ‘French Breakfast’ for indoor growing. They mature quickly and are pretty reliable.
* Containers: You’ll need containers that are at least 6 inches deep. Radishes need room to grow downwards. I like using plastic pots or even repurposed yogurt containers (just make sure to clean them well!).
* Potting Mix: Don’t use garden soil! It’s too heavy and doesn’t drain well. Opt for a good quality potting mix that’s light and airy.
* Watering Can or Spray Bottle: You’ll need something to water your radishes gently.
* Grow Lights (Optional, but Recommended): While radishes can grow indoors with enough sunlight, grow lights will give you the best results, especially during the darker months.
* Small Shovel or Trowel: For filling your containers with soil.
* Labels and a Marker: To keep track of what you’ve planted. Trust me, you’ll thank yourself later!
Getting Started: Preparing Your Containers
This is a crucial step, so let’s take our time and do it right.
1. Clean Your Containers: If you’re using old containers, give them a good scrub with soap and water to remove any dirt or residue.
2. Ensure Drainage: Radishes hate sitting in soggy soil. Make sure your containers have drainage holes at the bottom. If they don’t, you’ll need to drill some.
3. Fill with Potting Mix: Now, fill your containers with potting mix, leaving about an inch of space at the top. Gently pat down the soil to remove any large air pockets, but don’t compact it too much. We want it to be nice and loose for the radish roots.
Planting Your Radish Seeds
Okay, the fun part! Let’s get those seeds in the ground.
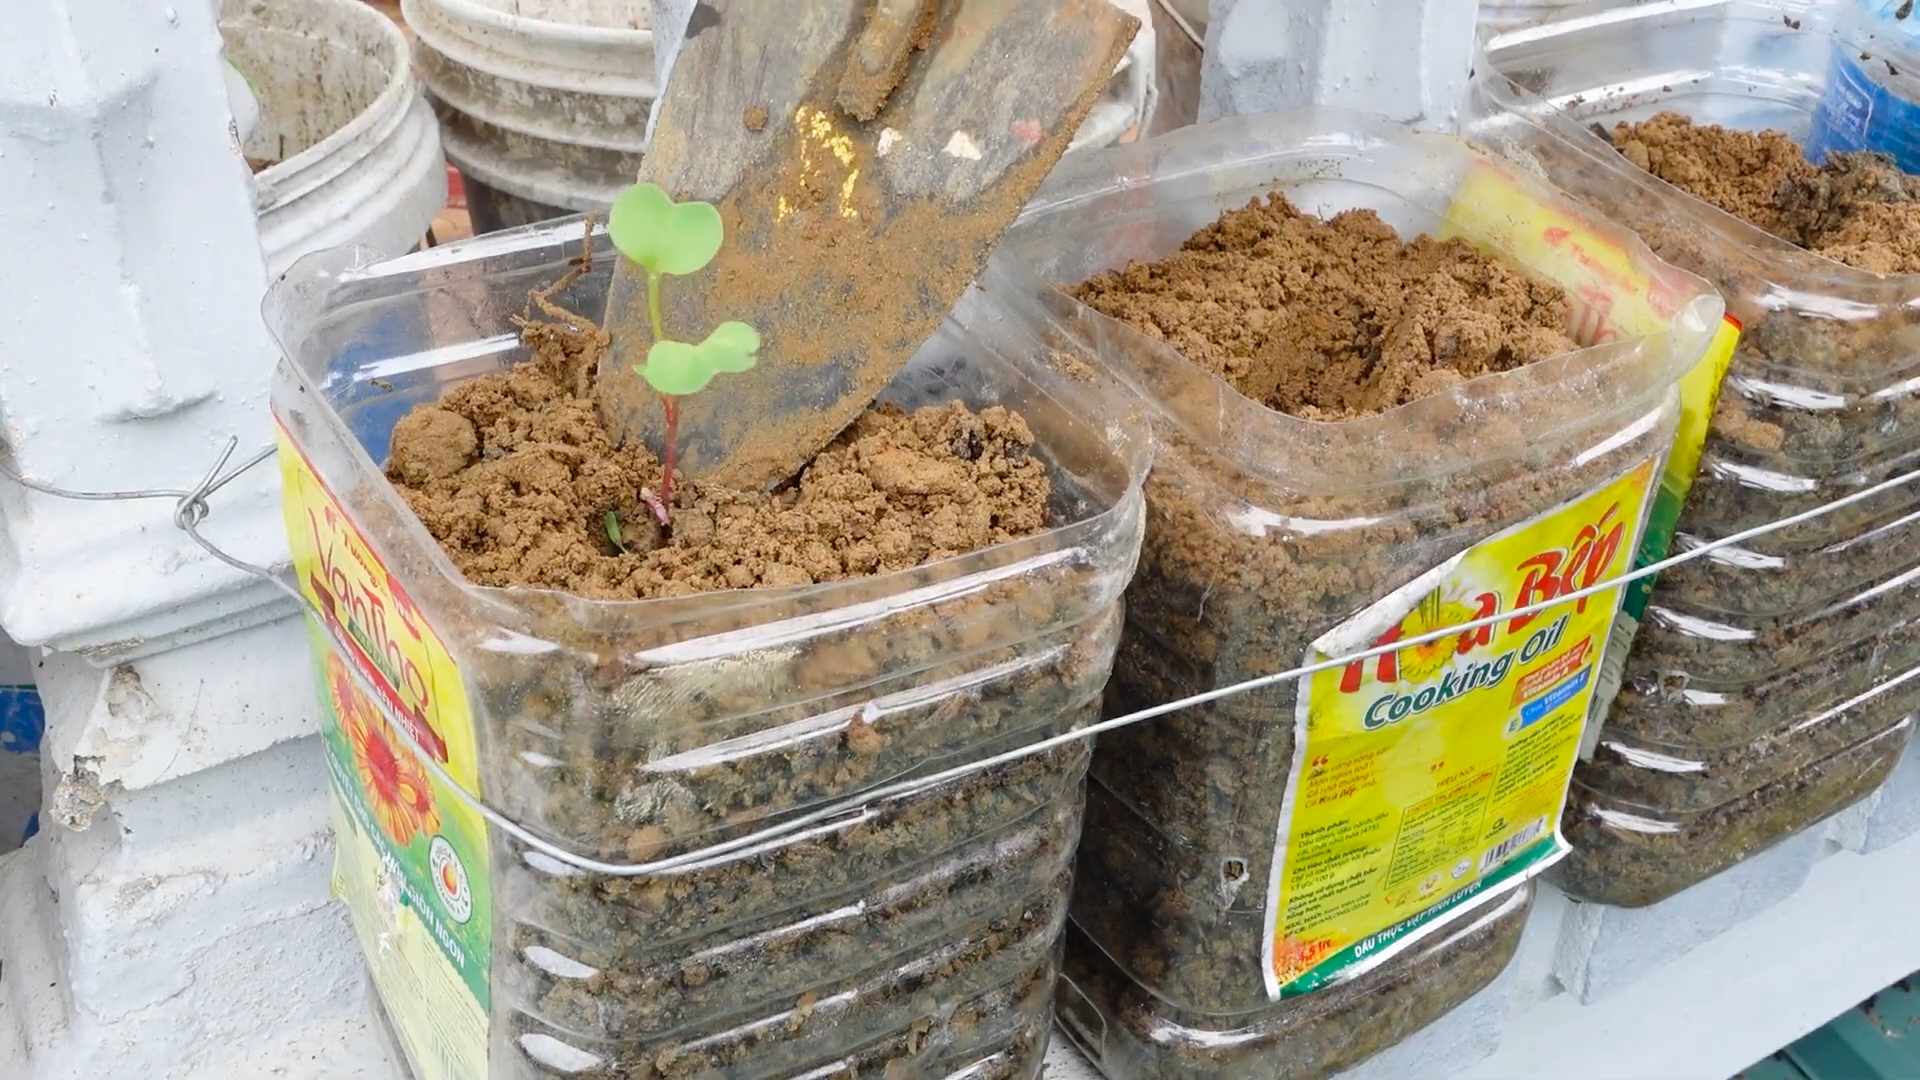
1. Sow the Seeds: Radish seeds are small, so you don’t need to plant them too deep. Make small indentations in the soil, about ½ inch deep and 1 inch apart. I like to use my finger to make the little holes.
2. Place the Seeds: Drop one or two seeds into each indentation. Planting two seeds increases your chances of germination. If both seeds sprout, you can always thin them out later.
3. Cover the Seeds: Gently cover the seeds with potting mix.
4. Water Gently: Use your watering can or spray bottle to water the soil thoroughly. You want the soil to be moist, but not soaking wet.
5. Label Your Containers: Don’t forget to label your containers with the date and the type of radish you planted.
Providing the Right Environment
Radishes are pretty easygoing, but they do have some specific needs.
1. Light: Radishes need at least 6 hours of sunlight per day. If you don’t have a sunny windowsill, use grow lights. Position the lights about 6-12 inches above the plants. I usually keep my grow lights on for about 14-16 hours a day.
2. Temperature: Radishes prefer cooler temperatures, ideally between 50°F and 65°F (10°C and 18°C). Avoid placing them near heat sources like radiators.
3. Watering: Keep the soil consistently moist, but not waterlogged. Check the soil moisture daily by sticking your finger into the soil. If the top inch feels dry, it’s time to water.
4. Air Circulation: Good air circulation helps prevent fungal diseases. Make sure your radishes have enough space between them and that there’s some airflow in the room. A small fan can help if needed.
Thinning Your Seedlings
If you planted more than one seed per hole, you’ll need to thin out the seedlings once they’ve sprouted.
1. Wait for True Leaves: Wait until the seedlings have developed their first set of true leaves (the leaves that look like miniature radish leaves, not just the initial seed leaves).
2. Choose the Strongest Seedling: Select the strongest and healthiest-looking seedling in each spot.
3. Remove the Weaker Seedling: Gently pinch off the weaker seedling at the soil line. Be careful not to disturb the roots of the remaining seedling.
Harvesting Your Radishes
This is the best part! Radishes are usually ready to harvest in about 3-4 weeks, depending on the variety.
1. Check for Maturity: Gently brush away some of the soil around the base of the radish to check its size. Radishes are typically ready to harvest when they’re about 1 inch in diameter.
2. Harvest Carefully: Gently pull the radish from the soil, holding it by the base of the leaves. If the soil is dry, you may need to loosen it first with a small trowel.
3. Wash and Enjoy: Wash your freshly harvested radishes and enjoy them in salads, as a snack, or however you like!
Troubleshooting Common Problems
Even with the best care, you might encounter some problems. Here are a few common issues and how to deal with them:
* Leggy Seedlings: If your seedlings are tall and spindly, they’re not getting enough light. Move them to a sunnier location or use grow lights.
* Yellowing Leaves: Yellowing leaves can be a sign of overwatering or underwatering. Check the soil moisture and adjust your watering accordingly. It could also be a nutrient deficiency, so consider using a diluted liquid fertilizer.
* Cracked Radishes: Cracked radishes are usually caused by inconsistent watering. Make sure to keep the soil consistently moist.
* Pests: Indoor radishes are less likely to be affected by pests than outdoor radishes, but you might still encounter aphids or spider mites. Inspect your plants regularly and treat any infestations with insecticidal soap or neem oil.
Choosing the Right Radish Variety for Indoors
Not all radishes are created equal, especially when it comes to indoor growing. Some varieties are simply better suited for containers and limited space. Here are a few of my top recommendations:
* ‘Cherry Belle’: This is a classic, reliable variety that’s perfect for beginners. It matures quickly (about 22 days) and produces small, round, bright red radishes with a mild flavor.
* ‘French Breakfast’: These radishes are elongated with a red top and a white tip. They have a slightly milder flavor than ‘Cherry Belle’ and mature in about 25 days.
* ‘Easter Egg’: If you want a colorful harvest, try ‘Easter Egg’ radishes. This variety produces a mix of red, pink, purple, and white radishes. They mature in about 28 days.
* ‘Sparkler’: Similar to ‘Cherry Belle,’ ‘Sparkler’ radishes are round and red with a white tip. They have a crisp texture and a slightly spicy flavor. They mature in about 25 days.
When choosing your radish variety, look for descriptions that mention “early maturing,” “good for containers,” or “suitable for small spaces.” These varieties are more likely to thrive in an indoor environment.
Extending Your Harvest
Want to keep the radish party going? Here are a few tips for extending your harvest:
* Succession Planting: Plant a new batch of radish seeds every 2-3 weeks. This will ensure a continuous supply of fresh radishes.
* Cool Temperatures: Radishes prefer cooler temperatures, so keep them in a cool room or basement if possible.
* Proper Watering: Consistent watering is key to a successful harvest. Avoid letting the soil dry out completely.
* Harvest Promptly: Don’t let your radishes get too big, as they can become woody and bitter. Harvest them when they’re about 1 inch in diameter.
Using Grow Lights Effectively
I mentioned grow lights earlier, but let’s dive a little deeper into how to use them effectively. Grow lights can make a huge difference in the success of your indoor radish garden, especially if you don’t have a lot of natural sunlight.
* Choose the Right Type of Light: LED grow lights are the most energy-efficient and long-lasting option. Fluorescent grow lights are also
Conclusion
So, there you have it! Planting radishes indoors is not only achievable, but it’s also a remarkably rewarding experience. Forget relying solely on fleeting spring and fall weather; with this simple DIY trick, you can enjoy the peppery crunch of fresh, homegrown radishes year-round, regardless of your outdoor space limitations. We’ve walked you through the process, from selecting the right container and soil to ensuring adequate light and consistent watering. The beauty of this method lies in its accessibility and adaptability.
Why is this a must-try? Because it empowers you to take control of your food source, even in the smallest of apartments. Imagine adding a vibrant, fresh element to your salads, tacos, or crudités platters, all thanks to your own indoor garden. Beyond the delicious outcome, indoor radish gardening offers a therapeutic connection to nature, a welcome respite from the digital world. It’s a chance to nurture something from seed to harvest, witnessing the miracle of growth firsthand.
But don’t stop there! Experiment with different radish varieties. ‘Cherry Belle’ is a classic choice, but why not try ‘French Breakfast’ for a milder flavor or ‘Black Spanish’ for a bolder, more pungent bite? You can also explore companion planting. Consider adding some chives or parsley to your radish container; they not only deter pests but also enhance the overall aesthetic of your indoor garden. Another variation is to use different types of containers. While we recommended a standard pot, you could also try using a repurposed container like a plastic storage bin or even a fabric grow bag. Just ensure it has adequate drainage.
The key to success is consistent moisture and ample light. Don’t let the soil dry out completely, and if natural light is insufficient, invest in a grow light. Remember, radishes are fast growers, so you’ll be enjoying your harvest in just a few weeks!
We are confident that you’ll find this DIY trick for planting radishes indoors to be both easy and enjoyable. Now, it’s your turn to get your hands dirty! Gather your supplies, follow our guide, and prepare to be amazed by the speed and simplicity of growing your own radishes indoors.
We’re eager to hear about your experiences. Did you try a different variety? Did you encounter any challenges? What are your favorite ways to enjoy your homegrown radishes? Share your tips, tricks, and photos in the comments below. Let’s build a community of indoor radish gardeners and inspire others to embrace the joy of growing their own food, one radish at a time! Happy gardening!
Frequently Asked Questions (FAQ)
What kind of soil is best for planting radishes indoors?
Radishes thrive in well-draining, loose soil that is rich in organic matter. A good starting point is a commercial potting mix designed for vegetables. Avoid using garden soil, as it can be too heavy and compact, hindering root development. You can amend your potting mix with compost or well-rotted manure to improve its fertility and drainage. A slightly acidic to neutral pH (around 6.0 to 7.0) is ideal. Before planting, ensure the soil is evenly moist but not waterlogged.
How much light do indoor radishes need?
Radishes require at least 6 hours of direct sunlight per day to grow properly. If you don’t have a sunny windowsill, you’ll need to supplement with artificial light. A full-spectrum LED grow light is an excellent option. Position the light a few inches above the seedlings and adjust as they grow. Insufficient light can result in leggy, weak plants with small, underdeveloped radishes. Rotate the container regularly to ensure even light exposure on all sides.
How often should I water my indoor radishes?
Consistent moisture is crucial for radish growth. Water your radishes whenever the top inch of soil feels dry to the touch. Avoid overwatering, as this can lead to root rot. Ensure your container has adequate drainage holes to prevent water from pooling at the bottom. A good rule of thumb is to water deeply until you see water draining from the bottom of the pot. During warmer months or in drier climates, you may need to water more frequently. Check the soil moisture daily, especially during the early stages of growth.
How long does it take for radishes to grow indoors?
One of the best things about radishes is their rapid growth rate. Most varieties mature in just 3 to 4 weeks from planting. The exact time will depend on the specific variety, growing conditions, and temperature. Warmer temperatures generally promote faster growth. Keep an eye on your radishes and harvest them when they reach the desired size. Overripe radishes can become woody and bitter.
What size container is best for growing radishes indoors?
Choose a container that is at least 6 inches deep and wide. This will provide enough space for the radishes to develop properly. The container should also have drainage holes to prevent waterlogging. You can grow multiple radishes in a single container, but be sure to space them about 1 inch apart to allow for adequate growth. A rectangular container or a wide, shallow pot works well for growing radishes indoors.
What are some common problems when growing radishes indoors and how can I fix them?
Several issues can arise when growing radishes indoors. One common problem is leggy growth, which is usually caused by insufficient light. To fix this, provide more light, either by moving the container to a sunnier location or by using a grow light. Another problem is root rot, which is caused by overwatering. To prevent root rot, ensure your container has good drainage and avoid overwatering. Pests, such as aphids or flea beetles, can also attack radishes. Inspect your plants regularly and treat any infestations with insecticidal soap or neem oil. Finally, if your radishes are bitter, it could be due to inconsistent watering or high temperatures. Maintain consistent moisture levels and try to keep the temperature relatively cool.
Can I grow radishes indoors in the winter?
Yes, you can absolutely grow radishes indoors in the winter. In fact, it’s a great way to enjoy fresh vegetables during the colder months. The key is to provide adequate light and warmth. If you don’t have a sunny windowsill, you’ll need to use a grow light. Also, make sure to keep the temperature consistent, as radishes prefer cooler temperatures (around 60-70°F). With proper care, you can enjoy a continuous harvest of radishes throughout the winter.
How do I know when my radishes are ready to harvest?
Radishes are typically ready to harvest when they reach about 1 inch in diameter. You can gently brush away the soil around the base of the plant to check the size of the radish. If they are the desired size, gently pull them from the soil. Don’t wait too long to harvest, as overripe radishes can become woody and bitter. It’s better to harvest them a little early than too late.
Can I eat the radish greens?
Yes, radish greens are edible and nutritious! They have a peppery flavor similar to the radishes themselves. You can add them to salads, soups, or stir-fries. They can also be sautéed or steamed. Make sure to wash the greens thoroughly before eating them. Harvesting some of the outer leaves can also encourage the radishes to grow larger.
What are some good companion plants for radishes grown indoors?
Several plants make good companions for radishes. Carrots and radishes are classic companions, as radishes help to deter carrot root flies. Lettuce and spinach also grow well alongside radishes. Herbs like chives, mint, and rosemary can help to repel pests. Avoid planting radishes near hyssop, as it can inhibit their growth. Companion planting can help to improve the overall health and productivity of your indoor garden.
Leave a Comment