

Growing Leaf Mustard might sound intimidating, but trust me, it’s one of the easiest and most rewarding things you can cultivate in your own backyard! Forget those bland, pre-packaged greens from the supermarket. Imagine stepping outside and snipping fresh, peppery mustard leaves for your salad, stir-fry, or even a zesty pesto. That’s the magic of home gardening, and it’s totally within your reach.
Leaf mustard has a rich history, particularly in Asian cuisines, where it’s been enjoyed for centuries. From India to Japan, different varieties have been cultivated and celebrated for their unique flavors and nutritional benefits. It’s not just about taste, though. Growing your own food connects you to a tradition of self-sufficiency and sustainable living.
But why should you bother with growing leaf mustard? Well, for starters, it’s incredibly fast-growing, meaning you’ll see results in just a few weeks. Plus, it’s packed with vitamins and antioxidants, making it a healthy addition to your diet. And let’s be honest, in today’s world, knowing where your food comes from and having control over what you eat is more important than ever. This DIY guide will provide you with simple, effective tricks and hacks to ensure a bountiful harvest, even if you’re a complete beginner. So, grab your gardening gloves, and let’s get started!
Growing Leaf Mustard Greens: A Beginner’s Guide to a Spicy Harvest
Hey there, fellow garden enthusiasts! Today, I’m super excited to share my experience and guide you through growing your own delicious and peppery leaf mustard greens. Trust me, it’s easier than you think, and the reward of fresh, homegrown greens is totally worth it. Let’s get started!
Choosing Your Mustard Variety
First things first, you need to decide which type of mustard green you want to grow. There are tons of options, each with its own unique flavor and texture. Here are a few of my favorites:
* Southern Giant Curled: This is a classic variety, known for its large, frilly leaves and mild mustard flavor. It’s a great choice for beginners.
* Florida Broadleaf: Another popular option, Florida Broadleaf has smooth, broad leaves and a slightly stronger, more pungent flavor.
* Red Giant: If you’re looking for something a little different, Red Giant is a beautiful variety with deep reddish-purple leaves and a bold, spicy taste. It adds a pop of color to your garden and your plate!
* Mizuna: Technically a mustard green, Mizuna has a milder, slightly peppery flavor and feathery, serrated leaves. It’s a great addition to salads and stir-fries.
* Osaka Purple: This variety offers a beautiful contrast with its vibrant purple leaves and green veins. It has a strong, peppery flavor that’s perfect for adding a kick to your dishes.
Once you’ve chosen your variety, it’s time to gather your supplies.
Gathering Your Supplies
To successfully grow leaf mustard greens, you’ll need the following:
* Mustard Green Seeds: Obviously! Make sure you buy seeds from a reputable source to ensure good germination rates.
* Well-Draining Soil: Mustard greens prefer loose, fertile soil that drains well. You can use a good quality potting mix if you’re growing in containers, or amend your garden soil with compost or other organic matter.
* Sunlight: Mustard greens need at least 4-6 hours of sunlight per day. Choose a sunny spot in your garden or on your patio.
* Water: Consistent moisture is key to growing healthy mustard greens.
* Fertilizer (Optional): While not essential, a balanced fertilizer can help boost growth and yields.
* Gardening Tools: You’ll need a trowel, hand rake, and watering can or hose.
* Containers (Optional): If you’re growing in containers, choose pots that are at least 6 inches deep.
Now that you have everything you need, let’s get planting!
Planting Your Mustard Greens
Mustard greens are relatively easy to plant and grow. Here’s a step-by-step guide:
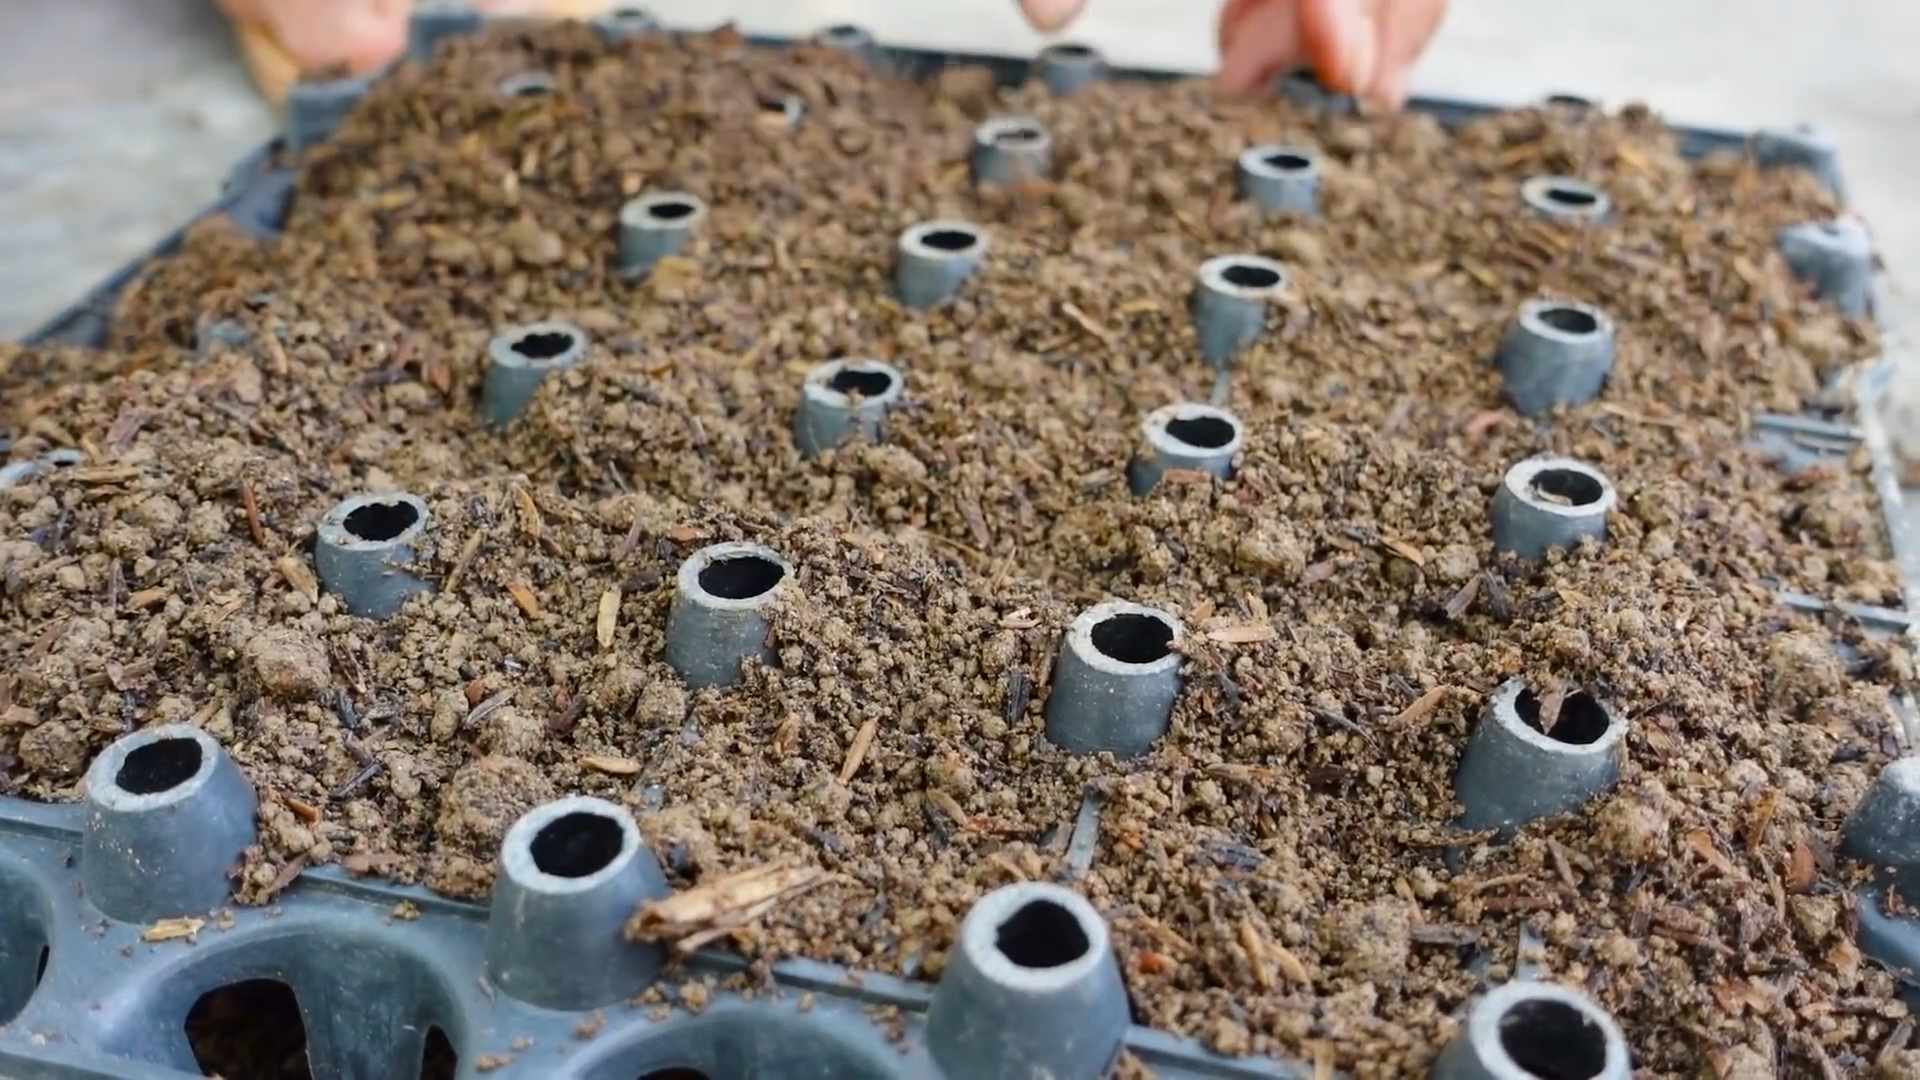
1. Prepare the Soil: Whether you’re planting in the ground or in containers, make sure the soil is loose and free of any large clumps or rocks. If you’re amending your garden soil, mix in compost or other organic matter to improve drainage and fertility.
2. Sow the Seeds: Mustard green seeds are small, so you don’t need to plant them very deep. Sow the seeds about 1/4 inch deep and 1 inch apart. If you’re planting in rows, space the rows about 12 inches apart.
3. Water Gently: After sowing the seeds, water the soil gently to avoid washing them away. Keep the soil consistently moist until the seeds germinate.
4. Thin Seedlings (If Necessary): Once the seedlings emerge (usually within 5-7 days), thin them out so that they are about 3-4 inches apart. This will give them enough room to grow and prevent overcrowding. I know it feels bad to pull out the little guys, but trust me, it’s for the best!
5. Mulch (Optional): Applying a layer of mulch around your mustard green plants can help retain moisture, suppress weeds, and regulate soil temperature. I like to use straw or shredded leaves.
Caring for Your Mustard Greens
Once your mustard greens are planted, it’s important to provide them with the proper care to ensure a healthy and abundant harvest.
1. Water Regularly: Mustard greens need consistent moisture, especially during hot, dry weather. Water deeply whenever the top inch of soil feels dry to the touch. Avoid overwatering, as this can lead to root rot.
2. Fertilize (Optional): If you want to give your mustard greens a boost, you can fertilize them every 2-3 weeks with a balanced fertilizer. Follow the instructions on the fertilizer package. I usually use a liquid fertilizer diluted to half strength.
3. Weed Regularly: Keep your mustard green patch free of weeds, as they can compete for nutrients and water. Hand-pull weeds carefully to avoid disturbing the roots of your mustard greens.
4. Pest Control: Mustard greens are generally pest-resistant, but they can sometimes be bothered by aphids, flea beetles, or cabbage worms. If you notice any pests, you can try spraying them with insecticidal soap or neem oil. I prefer to use organic pest control methods whenever possible.
5. Protect from Frost: Mustard greens are relatively cold-hardy, but they can be damaged by severe frost. If you’re expecting a frost, cover your plants with a frost blanket or row cover.
Harvesting Your Mustard Greens
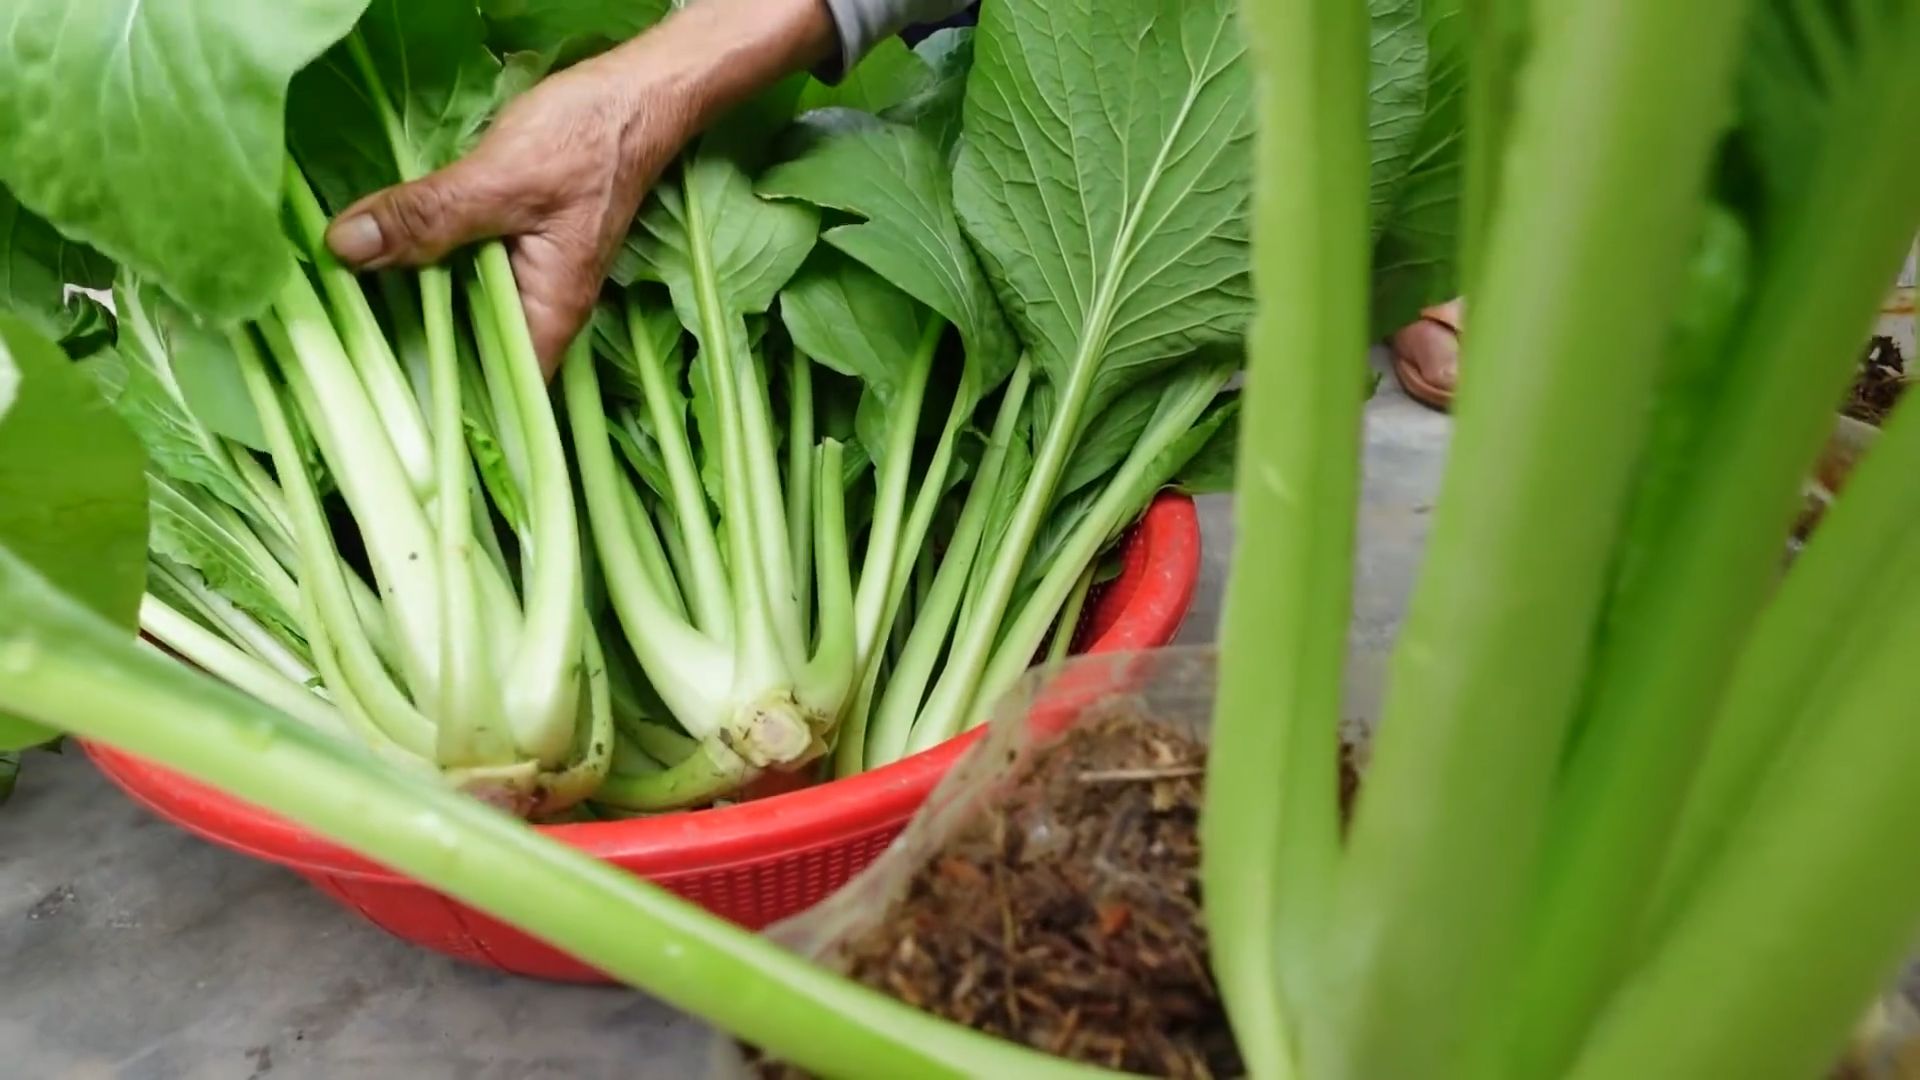
The best part about growing mustard greens is, of course, the harvest! You can start harvesting your mustard greens as soon as the leaves are large enough to eat, usually about 4-6 weeks after planting.
1. Cut Outer Leaves: To harvest, simply cut the outer leaves of the plant with a sharp knife or scissors, leaving the inner leaves to continue growing. This is known as the “cut-and-come-again” method, and it allows you to harvest multiple times from the same plant.
2. Harvest Regularly: Harvest your mustard greens regularly to encourage continued growth. The more you harvest, the more they will produce!
3. Avoid Over-Harvesting: Don’t harvest more than one-third of the plant at a time, as this can weaken it.
4. Wash and Store: After harvesting, wash your mustard greens thoroughly to remove any dirt or debris. Store them in a plastic bag in the refrigerator for up to a week.
Dealing with Common Problems
Even with the best care, you might encounter some problems while growing mustard greens. Here are a few common issues and how to address them:
* Bolting: Bolting is when the plant prematurely goes to seed, which can make the leaves bitter. This is often caused by hot weather or stress. To prevent bolting, try to plant your mustard greens in early spring or late summer, and provide them with plenty of water. If your plants do bolt, you can still harvest the leaves, but they may not taste as good.
* Yellowing Leaves: Yellowing leaves can be a sign of nutrient deficiency, overwatering, or disease. Check the soil moisture and nutrient levels, and adjust your watering and fertilizing accordingly. If you suspect a disease, consult a gardening expert or your local extension office.
* Pest Infestations: As mentioned earlier, mustard greens can sometimes be bothered by pests. Monitor your plants regularly and take action as soon as you notice any signs of infestation.
Enjoying Your Harvest
Now that you’ve harvested your delicious mustard greens, it’s time to enjoy them! There are countless ways to use mustard greens in your cooking. Here are a few of my favorite ideas:
* Salads: Add mustard greens to your salads for a peppery kick. They pair well with other greens, vegetables, and vinaigrette dressings.
* Stir-Fries: Mustard greens are a great addition to stir-fries. They cook quickly and add a delicious flavor to any dish.
* Soups and Stews: Add mustard greens to soups and stews for a boost of nutrients and flavor.
* Sautéed: Sauté mustard greens with garlic, olive oil, and a pinch of salt for a simple and delicious side dish.
* Pickled: Pickled mustard greens are a popular condiment in many cultures. They add a tangy and spicy flavor to sandwiches, tacos, and other dishes.
Extending Your Harvest
Want to keep enjoying fresh mustard greens for as long as possible? Here are a few tips for extending your harvest:
* Succession Planting: Sow new seeds every 2-3 weeks to ensure a continuous supply of mustard greens.
* Cold Frames or Greenhouses: If you live in a cold climate, you can extend your growing season by using cold frames or greenhouses.
* Overwintering: In mild climates, you can overwinter mustard greens by protecting them from frost.
Mustard Greens in Containers
Don’t have a garden? No problem! Mustard greens grow beautifully in containers. Here’s what you need to know
Conclusion
So, there you have it! Growing leaf mustard at home is not just a fun project; it’s a gateway to a world of fresh, peppery greens right at your fingertips. Forget those wilted, overpriced bunches at the grocery store. With minimal effort and a little bit of patience, you can cultivate a vibrant supply of this nutritious and flavorful ingredient.
Why is this DIY trick a must-try? Because it empowers you to control the quality and freshness of your food. You know exactly what goes into your leaf mustard – no pesticides, no hidden additives, just pure, unadulterated goodness. Plus, it’s incredibly rewarding to watch those tiny seeds sprout and transform into a lush, edible crop.
But the benefits don’t stop there. Growing your own leaf mustard is also a sustainable choice. You’re reducing your carbon footprint by eliminating the need for transportation and packaging. And let’s not forget the cost savings! A packet of seeds is far cheaper than repeatedly buying mustard greens from the store.
Ready to take your leaf mustard game to the next level? Consider these variations:
* Spicy Mix: Experiment with different varieties of leaf mustard seeds to create a custom blend of flavors. Some popular options include ‘Red Giant’ for its vibrant color and mild heat, ‘Florida Broadleaf’ for its classic mustard flavor, and ‘Osaka Purple’ for its beautiful purple foliage and slightly milder taste.
* Container Gardening: If you’re short on space, don’t worry! Leaf mustard thrives in containers. Choose a pot that’s at least 6 inches deep and wide, and use a well-draining potting mix. Place the container in a sunny spot, and water regularly.
* Succession Planting: To ensure a continuous harvest, sow a new batch of seeds every few weeks. This way, you’ll always have fresh leaf mustard on hand.
* Microgreens: Harvest your leaf mustard at the microgreen stage for an even more intense flavor and tender texture. Simply sow the seeds densely in a shallow tray, and harvest when the first true leaves appear.
Growing leaf mustard is a fantastic way to add fresh, healthy greens to your diet, connect with nature, and save money. It’s a win-win-win!
Don’t be intimidated if you’re a beginner gardener. Leaf mustard is one of the easiest greens to grow, making it the perfect starting point for your edible gardening journey. So, grab a packet of seeds, get your hands dirty, and experience the joy of harvesting your own homegrown goodness.
We’re confident that you’ll love the results. And we want to hear all about your experience! Share your photos, tips, and recipes with us in the comments below. Let’s create a community of leaf mustard enthusiasts! We can’t wait to see what you grow.
Frequently Asked Questions (FAQ)
What is the best time of year to plant leaf mustard?
Leaf mustard is a cool-season crop, meaning it thrives in cooler temperatures. The best time to plant it is in early spring or late summer/early fall. In spring, sow the seeds as soon as the soil is workable. In late summer/early fall, plant the seeds about 4-6 weeks before the first expected frost. Avoid planting during the hottest months of summer, as the heat can cause the leaves to become bitter. If you live in a region with mild winters, you may be able to grow leaf mustard throughout the year.
How much sunlight does leaf mustard need?
Leaf mustard prefers full sun, which means at least 6 hours of direct sunlight per day. However, it can also tolerate partial shade, especially in hotter climates. If you’re growing leaf mustard indoors, place it near a sunny window or use grow lights to provide adequate light. Insufficient sunlight can result in leggy growth and reduced flavor.
What kind of soil is best for growing leaf mustard?
Leaf mustard prefers well-draining soil that is rich in organic matter. Before planting, amend the soil with compost or other organic materials to improve its fertility and drainage. The ideal soil pH for leaf mustard is between 6.0 and 7.5. If your soil is acidic, you can add lime to raise the pH. Avoid planting in heavy clay soil, as it can become waterlogged and prevent the roots from growing properly.
How often should I water leaf mustard?
Leaf mustard needs consistent moisture to thrive. Water regularly, especially during dry periods. The soil should be kept consistently moist, but not waterlogged. Avoid overhead watering, as it can promote fungal diseases. Instead, water at the base of the plants. A good rule of thumb is to water when the top inch of soil feels dry to the touch.
How do I harvest leaf mustard?
You can begin harvesting leaf mustard when the leaves are about 4-6 inches long. Simply cut the outer leaves with a sharp knife or scissors, leaving the inner leaves to continue growing. This is known as a “cut-and-come-again” harvesting method. You can harvest leaf mustard multiple times throughout the growing season. For the best flavor, harvest in the morning, before the sun gets too hot.
What are some common pests and diseases that affect leaf mustard?
Leaf mustard is generally a pest-resistant crop, but it can be susceptible to certain pests and diseases, such as aphids, flea beetles, and downy mildew. To prevent pest and disease problems, practice good garden hygiene. Remove any weeds or debris that can harbor pests and diseases. Water at the base of the plants to avoid wetting the foliage. If you notice any pests or diseases, treat them promptly with organic pest control methods, such as insecticidal soap or neem oil.
Can I eat leaf mustard raw?
Yes, you can eat leaf mustard raw. The leaves have a peppery, slightly spicy flavor that adds a kick to salads, sandwiches, and wraps. However, some people find the flavor too strong when eaten raw. If you’re not a fan of the raw flavor, you can cook leaf mustard in a variety of ways, such as steaming, sautéing, or stir-frying.
How do I store leaf mustard?
To store leaf mustard, wash the leaves thoroughly and pat them dry with a paper towel. Wrap the leaves in a damp paper towel and place them in a plastic bag or container. Store in the refrigerator for up to a week. For longer storage, you can freeze leaf mustard. Blanch the leaves in boiling water for 2 minutes, then transfer them to an ice bath to stop the cooking process. Drain the leaves well and pack them into freezer bags or containers. Frozen leaf mustard can be stored for up to 6 months.
Can I grow leaf mustard indoors?
Yes, you can grow leaf mustard indoors, especially if you have a sunny window or grow lights. Use a well-draining potting mix and a container that is at least 6 inches deep and wide. Water regularly and fertilize every few weeks with a balanced fertilizer. Indoor-grown leaf mustard may not grow as quickly or as large as outdoor-grown leaf mustard, but it can still provide you with a fresh supply of greens.
Is leaf mustard good for you?
Yes, leaf mustard is a very nutritious vegetable. It is a good source of vitamins A, C, and K, as well as folate, calcium, and fiber. Leaf mustard also contains antioxidants, which can help protect your body against damage from free radicals. Eating leaf mustard can help boost your immune system, improve your bone health, and reduce your risk of chronic diseases.

Leave a Comment