

Cleaning tips for seniors – let’s face it, keeping a home sparkling can become more challenging as we gracefully age. But who says a clean and comfortable living space has to be a Herculean task? I’m here to share some fantastic DIY cleaning hacks specifically tailored for seniors, making your home a haven of freshness and tranquility without breaking a sweat!
Historically, cleanliness has always been associated with well-being and peace of mind. From ancient rituals to modern practices, maintaining a tidy environment has been a cornerstone of healthy living. These cleaning tips for seniors aren’t just about aesthetics; they’re about preserving independence, promoting safety, and boosting overall quality of life. Think about it – a clutter-free home reduces the risk of falls, improves air quality, and creates a more relaxing atmosphere.
Many seniors find that traditional cleaning methods are simply too strenuous. Bending, lifting, and scrubbing can put a strain on joints and muscles. That’s where these DIY tricks come in! I’ll guide you through simple, effective, and budget-friendly solutions that minimize physical exertion and maximize results. We’ll explore everything from easy-to-reach cleaning tools to natural, non-toxic cleaning agents. Get ready to rediscover the joy of a clean home, without the aches and pains!

DIY Cleaning Hacks for Seniors: Making Life Easier and Brighter!
Hey everyone! As we get a little older, some cleaning tasks can become a bit more challenging. But don’t worry, I’ve got you covered with some fantastic DIY cleaning hacks that will make your life easier and your home sparkling! These tips are designed to be gentle on your body and super effective. Let’s get started!
Cleaning the Bathroom with Ease
The bathroom can be a tricky area, but with these hacks, you’ll be able to keep it clean without breaking a sweat.
- Focus on Prevention: The best way to keep your bathroom clean is to prevent messes from happening in the first place. Wipe down surfaces after each use to prevent buildup.
- Use Long-Handled Tools: Invest in long-handled brushes and sponges to avoid bending and straining.
- Break Down Tasks: Don’t try to clean the entire bathroom in one go. Break it down into smaller, manageable tasks.
Cleaning the Shower and Tub
Soap scum and mildew can be a real pain. Here’s how to tackle them:
- Vinegar Power: Fill a spray bottle with equal parts white vinegar and water. Warm the vinegar slightly in the microwave (be careful not to boil it!). Spray the mixture onto the shower walls and tub. Let it sit for about 30 minutes. The vinegar will help loosen the soap scum and mildew.
- Gentle Scrubbing: Use a long-handled scrub brush or a sponge with a handle to scrub the surfaces. If you have stubborn stains, sprinkle some baking soda on the sponge for extra scrubbing power.
- Rinse Thoroughly: Rinse the shower and tub with warm water. Make sure to remove all traces of vinegar and baking soda.
- Squeegee After Each Use: To prevent soap scum buildup, squeegee the shower walls and door after each use. This simple step can save you a lot of cleaning time in the long run.
Cleaning the Toilet
Keeping the toilet clean is essential for hygiene.
- Toilet Bowl Cleaner: Pour a cup of white vinegar into the toilet bowl. Let it sit for at least 30 minutes, or even overnight for tough stains.
- Scrubbing Time: Use a toilet brush to scrub the bowl thoroughly, paying attention to the rim and any stains.
- Flush and Repeat: Flush the toilet to rinse. If necessary, repeat the process for stubborn stains.
- Toilet Seat and Exterior: Wipe down the toilet seat and exterior with a disinfectant wipe or a solution of warm water and mild soap.
Cleaning the Sink and Countertop
These surfaces are prone to water spots and toothpaste splatters.
- Daily Wipe-Down: Wipe down the sink and countertop with a damp cloth after each use to prevent buildup.
- Baking Soda Paste: For tougher stains, make a paste of baking soda and water. Apply the paste to the stain, let it sit for a few minutes, and then scrub gently with a soft cloth.
- Rinse and Dry: Rinse the sink and countertop with warm water and dry with a clean cloth.
Kitchen Cleaning Made Simple
The kitchen is another area that requires regular cleaning. These hacks will help you keep it sparkling without overexerting yourself.
- Clean as You Go: Wipe up spills and messes as soon as they happen to prevent them from hardening and becoming more difficult to clean.
- Use Appliance Aids: Let your appliances do some of the work for you. For example, use the self-cleaning function on your oven.
- Focus on High-Traffic Areas: Pay special attention to areas that get the most use, such as the stovetop and sink.
Cleaning the Stovetop
Burnt-on food can be a challenge, but these tips will help.
- Baking Soda and Vinegar: Sprinkle baking soda generously over the stovetop, especially on any burnt-on food. Then, spray white vinegar over the baking soda. Let it fizz for a few minutes.
- Gentle Scrubbing: Use a non-abrasive sponge or cloth to scrub the stovetop. The baking soda and vinegar will help loosen the burnt-on food.
- Wipe Clean: Wipe the stovetop clean with a damp cloth. If necessary, repeat the process for stubborn stains.
- For Electric Stovetops: Remove the burner grates and soak them in warm, soapy water. Scrub them with a brush to remove any food residue. Rinse and dry thoroughly before replacing them.
Cleaning the Microwave
Microwaves can get messy quickly. Here’s a simple cleaning method:
- Steam Cleaning: Fill a microwave-safe bowl with 1 cup of water and a few tablespoons of white vinegar or lemon juice.
- Microwave for 5 Minutes: Microwave the mixture on high for 5 minutes. The steam will loosen any splattered food.
- Let it Sit: Let the bowl sit in the microwave for another 5 minutes without opening the door. This will allow the steam to continue to work.
- Wipe Clean: Carefully remove the bowl (it will be hot!) and wipe down the inside of the microwave with a clean cloth. The splattered food should come off easily.
Cleaning the Sink
Keep your kitchen sink clean and fresh with these tips.
- Daily Rinse: Rinse the sink with warm water after each use to prevent food particles from accumulating.
- Baking Soda Scrub: Sprinkle baking soda in the sink and scrub with a sponge to remove stains and odors.
- Vinegar Rinse: Rinse the sink with white vinegar to disinfect and remove any remaining residue.
- Lemon Power: Cut a lemon in half and rub it around the sink to freshen the scent and remove stains.
Cleaning the Refrigerator
A clean refrigerator is essential for food safety.
- Empty the Refrigerator: Remove all food items from the refrigerator. Check expiration dates and discard any spoiled food.
- Remove Shelves and Drawers: Take out the shelves and drawers and wash them with warm, soapy water. Rinse and dry thoroughly before replacing them.
- Wipe Down Interior: Wipe down the interior of the refrigerator with a solution of warm water and baking soda. Pay attention to any spills or stains.
- Replace Items: Once the refrigerator is clean and dry, replace the shelves, drawers, and food items.
General Cleaning Tips for the Home
These tips will help you keep your entire home clean and comfortable.
- Dust Regularly: Dusting can help reduce allergens and improve air quality. Use a microfiber cloth or a duster with a long handle to reach high places.
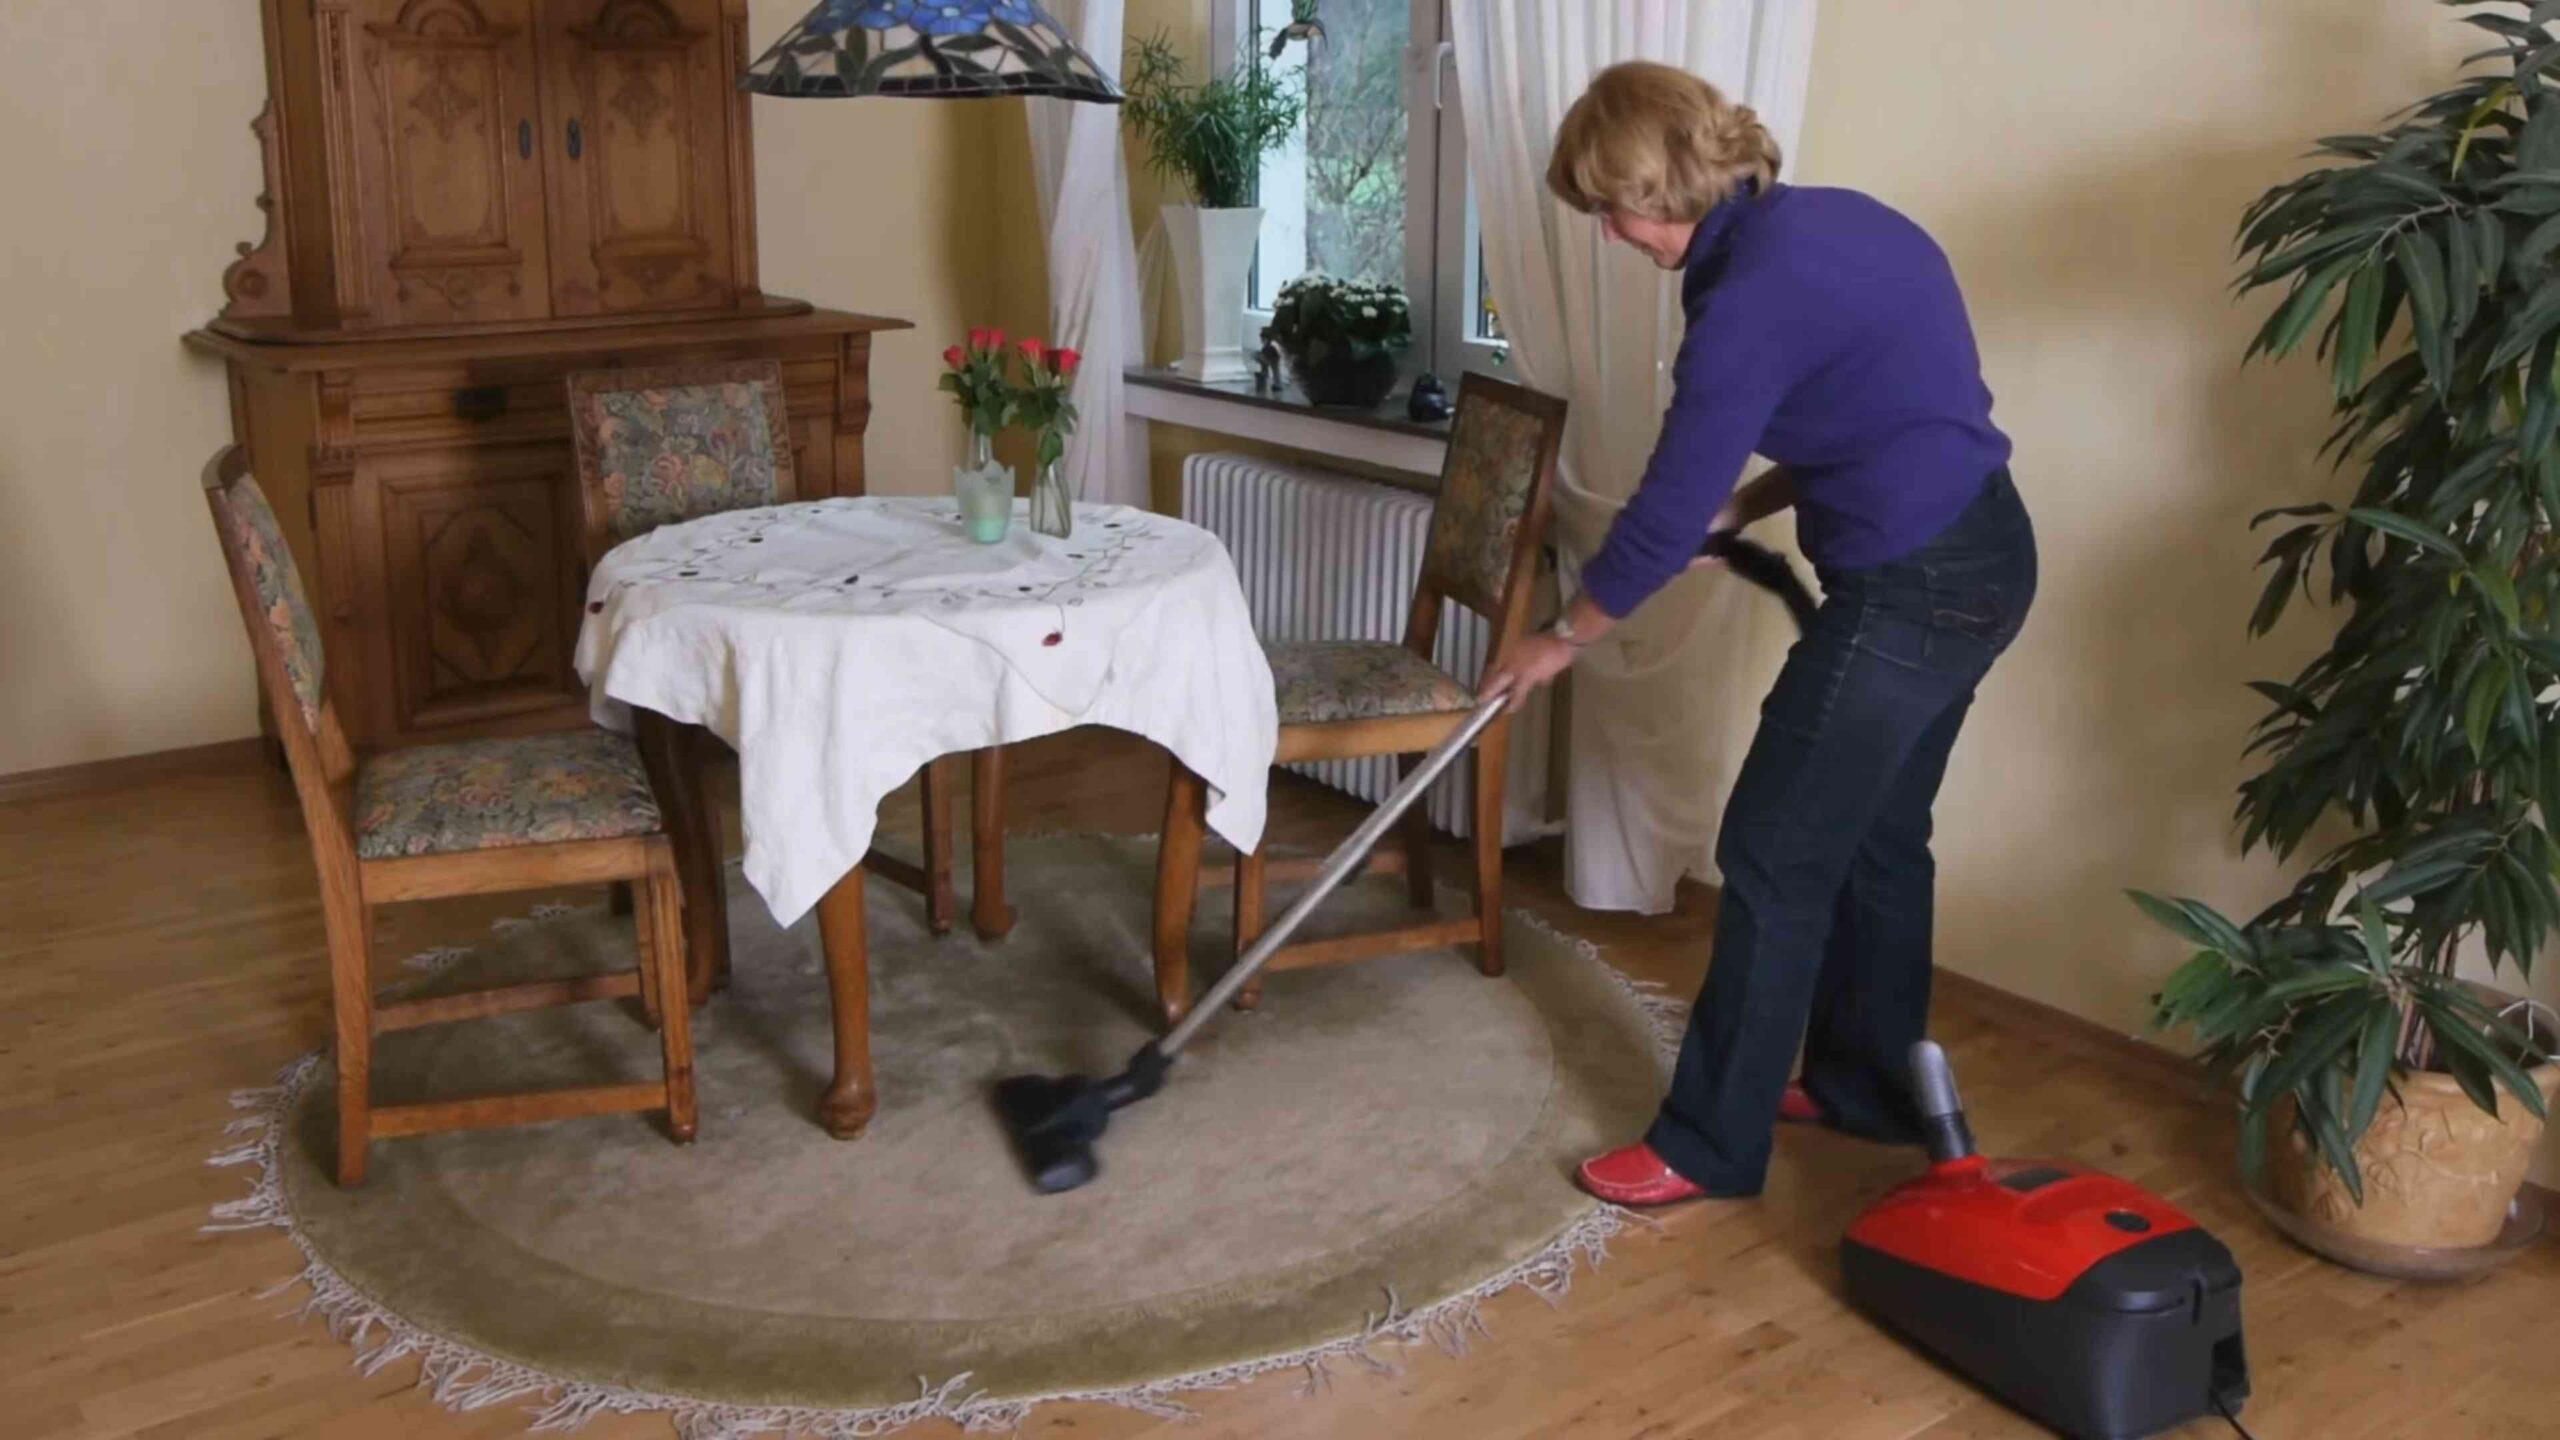
- Vacuum or Sweep Regularly: Vacuum or sweep your floors regularly to remove dirt and debris.
- Wash Windows: Clean windows can let in more natural light and brighten up your home.
Dusting Made Easy
Dusting doesn’t have to be a chore.
- Microfiber Cloths: Use microfiber cloths for dusting. They attract and trap dust effectively.
- Long-Handled Duster: Invest in a long-handled duster to reach high places without straining.
- Dust from Top to Bottom: Start dusting from the top of the room and work your way down to the floor. This will prevent dust from falling onto already cleaned surfaces.
Floor Cleaning
Keeping your floors clean is essential for a healthy home.
- Vacuuming: Vacuum carpets and rugs regularly to remove dirt and debris. Use a vacuum with a HEPA filter to trap allergens.
- Sweeping: Sweep hard floors regularly to remove dust and dirt.
- Mopping: Mop hard floors with a solution of warm water and mild soap. Be sure to wring out the mop thoroughly to prevent excess water from damaging the floor.
- Spot Cleaning: Clean up spills and stains immediately to prevent them from setting.
Window Cleaning
Clean windows can make a big difference in the brightness of your home.
- Vinegar Solution: Mix equal parts white vinegar and water in a spray bottle.
- Spray and Wipe: Spray the solution onto the windows and wipe with a clean microfiber cloth or paper towel.
- Dry Thoroughly: Dry the windows with a clean, dry cloth to prevent streaks.
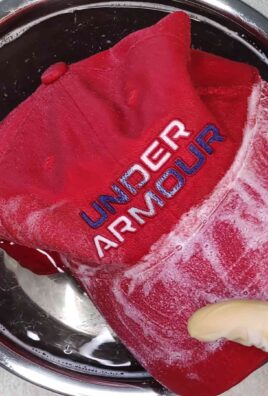
Laundry Hacks for Seniors
Laundry can be a challenging task, but these hacks will make it easier.
- Use Laundry Aids: Invest in laundry aids such as detergent pods and fabric softener sheets to simplify the process.
- Fold
Conclusion
So, there you have it! This simple yet effective DIY cleaning trick is a game-changer, especially for seniors looking to maintain a clean and comfortable living space with minimal strain and maximum efficiency. We understand that cleaning can become more challenging with age, and that’s precisely why we’ve focused on creating a solution that’s both accessible and impactful. This isn’t just about cleaning; it’s about empowering seniors to maintain their independence and enjoy a healthier, happier life in a sparkling clean environment.
Why is this a must-try? Because it addresses several key concerns simultaneously. First, it utilizes readily available, inexpensive ingredients, making it budget-friendly. Second, it minimizes the need for harsh chemicals, promoting a safer and healthier indoor environment, crucial for seniors who may be more sensitive to irritants. Third, it simplifies the cleaning process, reducing the physical exertion required, which is particularly beneficial for those with mobility issues or joint pain. Finally, the satisfaction of creating your own effective cleaning solution and seeing the results firsthand is incredibly rewarding.
But don’t just take our word for it! We encourage you to experiment and adapt this DIY cleaning trick to suit your specific needs and preferences. For instance, if you prefer a stronger scent, you could add a few drops of your favorite essential oil, such as lavender for relaxation or lemon for an invigorating boost. If you’re dealing with particularly stubborn stains, consider pre-treating the area with a paste made from baking soda and water before applying the cleaning solution. You can also adjust the ratios of ingredients to find the perfect balance for your cleaning needs. Remember, the key is to find what works best for you and your home.
We’re confident that this DIY cleaning trick will become an indispensable part of your cleaning routine. It’s a simple, effective, and affordable way to keep your home clean and healthy, allowing you to focus on the things you enjoy most. So, give it a try, and experience the difference for yourself! We’re eager to hear about your experiences and any variations you discover. Share your tips, tricks, and success stories in the comments below. Let’s build a community of empowered seniors who are taking control of their cleaning routines and enjoying the benefits of a sparkling clean home! Remember, maintaining a clean home is vital for seniors, and this DIY cleaning trick is a fantastic way to achieve that goal.
Frequently Asked Questions (FAQ)
What makes this DIY cleaning trick particularly suitable for seniors?
This DIY cleaning trick is designed with seniors in mind because it prioritizes ease of use, safety, and affordability. It minimizes the need for strenuous scrubbing and heavy lifting, which can be challenging for those with mobility issues or joint pain. The use of natural ingredients reduces exposure to harsh chemicals that can irritate sensitive skin or respiratory systems. Furthermore, the readily available and inexpensive ingredients make it a budget-friendly option for seniors on fixed incomes. It’s a holistic approach to cleaning that considers the unique needs and challenges faced by seniors.
What are the main ingredients, and why are they effective?
The main ingredients typically include items like vinegar, baking soda, and dish soap. Vinegar is a natural disinfectant and deodorizer, effective at cutting through grease and grime. Baking soda is a mild abrasive that helps to scrub away stains and dirt without scratching surfaces. Dish soap helps to lift and remove dirt and grease, leaving surfaces clean and shiny. The combination of these ingredients creates a powerful cleaning solution that is both effective and safe for use in most areas of the home.
Can I use this cleaning solution on all surfaces?
While this DIY cleaning solution is generally safe for most surfaces, it’s always a good idea to test it in an inconspicuous area first, especially on delicate or sensitive materials like wood, marble, or granite. Avoid using vinegar on natural stone surfaces, as it can etch and damage them over time. For wooden surfaces, ensure the solution is diluted and applied sparingly to prevent water damage. Always read the manufacturer’s instructions for cleaning specific surfaces and follow their recommendations.
How often should I use this cleaning solution?
The frequency of use depends on your individual cleaning needs and preferences. For general cleaning, using the solution once or twice a week is usually sufficient. For areas that require more frequent cleaning, such as kitchens and bathrooms, you may need to use it more often. Pay attention to the cleanliness of your home and adjust the frequency accordingly. Remember, consistency is key to maintaining a clean and healthy living environment.
What if I have allergies or sensitivities to certain ingredients?
If you have allergies or sensitivities to any of the ingredients, it’s crucial to avoid using them. Consider alternative natural cleaning agents that are safe for you. For example, if you’re allergic to vinegar, you could try using lemon juice as a substitute. Always read the labels of any cleaning products you use and consult with your doctor or allergist if you have any concerns. Your health and safety should always be your top priority.
Can I add essential oils to this cleaning solution?
Yes, adding essential oils to this cleaning solution can enhance its cleaning power and provide a pleasant aroma. Essential oils like tea tree, lavender, lemon, and eucalyptus have antibacterial, antifungal, and antiviral properties. Add a few drops of your favorite essential oil to the cleaning solution and shake well before use. However, be mindful of any allergies or sensitivities you may have to certain essential oils.
How should I store the cleaning solution?
Store the cleaning solution in a clean, airtight container, such as a spray bottle or a jar with a lid. Label the container clearly to avoid confusion. Keep the solution out of reach of children and pets. Store it in a cool, dry place away from direct sunlight and heat. The cleaning solution should be used within a reasonable timeframe, typically a few weeks, to ensure its effectiveness.
What are some variations of this DIY cleaning trick?
There are many variations of this DIY cleaning trick that you can try. For example, you can add borax to the solution for extra cleaning power. You can also use different types of vinegar, such as apple cider vinegar, depending on your preference. Experiment with different combinations of ingredients to find what works best for you. Remember to always test the solution in an inconspicuous area before using it on a larger surface.
How can I make this cleaning trick even easier for seniors with limited mobility?
To make this cleaning trick even easier for seniors with limited mobility, consider using lightweight cleaning tools, such as microfiber cloths and extendable handles. Use a spray bottle to apply the cleaning solution, which requires less physical exertion than scrubbing. Break down cleaning tasks into smaller, more manageable steps. Ask for help from family members or friends if needed. The goal is to make cleaning as easy and stress-free as possible.
What if I’m not satisfied with the results?
If you’re not satisfied with the results of this DIY cleaning trick, don’t give up! Try adjusting the ratios of ingredients or adding a different cleaning agent. You may also need to use a more abrasive cleaning tool or apply more pressure when scrubbing. If all else fails, consider consulting with a professional cleaning service. Remember, finding the right cleaning solution and technique may take some experimentation. The most important thing is to keep trying until you find what works best for you.

Leave a Comment