

Bathroom cleaning hacks – who doesn’t need them? Let’s be honest, cleaning the bathroom is nobody’s favorite chore. It’s right up there with doing taxes and going to the dentist! But what if I told you there were simple, effective, and even *fun* ways to tackle that grime and get your bathroom sparkling?
For centuries, people have been searching for the ultimate cleaning solutions. From ancient Romans using olive oil and ash to modern-day innovations, the quest for a spotless home is a timeless pursuit. But let’s face it, many commercial cleaners are harsh, expensive, and filled with chemicals we can barely pronounce. That’s where these DIY bathroom cleaning hacks come in!
I’m going to share some of my favorite, tried-and-true methods for banishing soap scum, conquering mildew, and making your bathroom a sanctuary of cleanliness. These aren’t just random tips; they’re practical solutions that will save you time, money, and a whole lot of elbow grease. So, ditch the harsh chemicals and get ready to discover the secrets to a sparkling clean bathroom, the easy way!
DIY Bathroom Cleaning Hacks: Sparkling Clean with Minimal Effort!
Hey everyone! I’m so excited to share some of my favorite bathroom cleaning hacks with you. Let’s be honest, cleaning the bathroom is nobody’s favorite chore. But with these tips and tricks, you can get a sparkling clean bathroom with minimal effort and using ingredients you probably already have at home! Get ready to say goodbye to stubborn stains and hello to a fresh, clean space.
Tackling Soap Scum and Hard Water Stains
Soap scum and hard water stains are the bane of every bathroom cleaner’s existence. But don’t worry, I’ve got you covered!
What You’ll Need:
* White vinegar
* Spray bottle
* Baking soda
* Old toothbrush or scrub brush
* Microfiber cloths
* Dish soap (optional, for extra cleaning power)
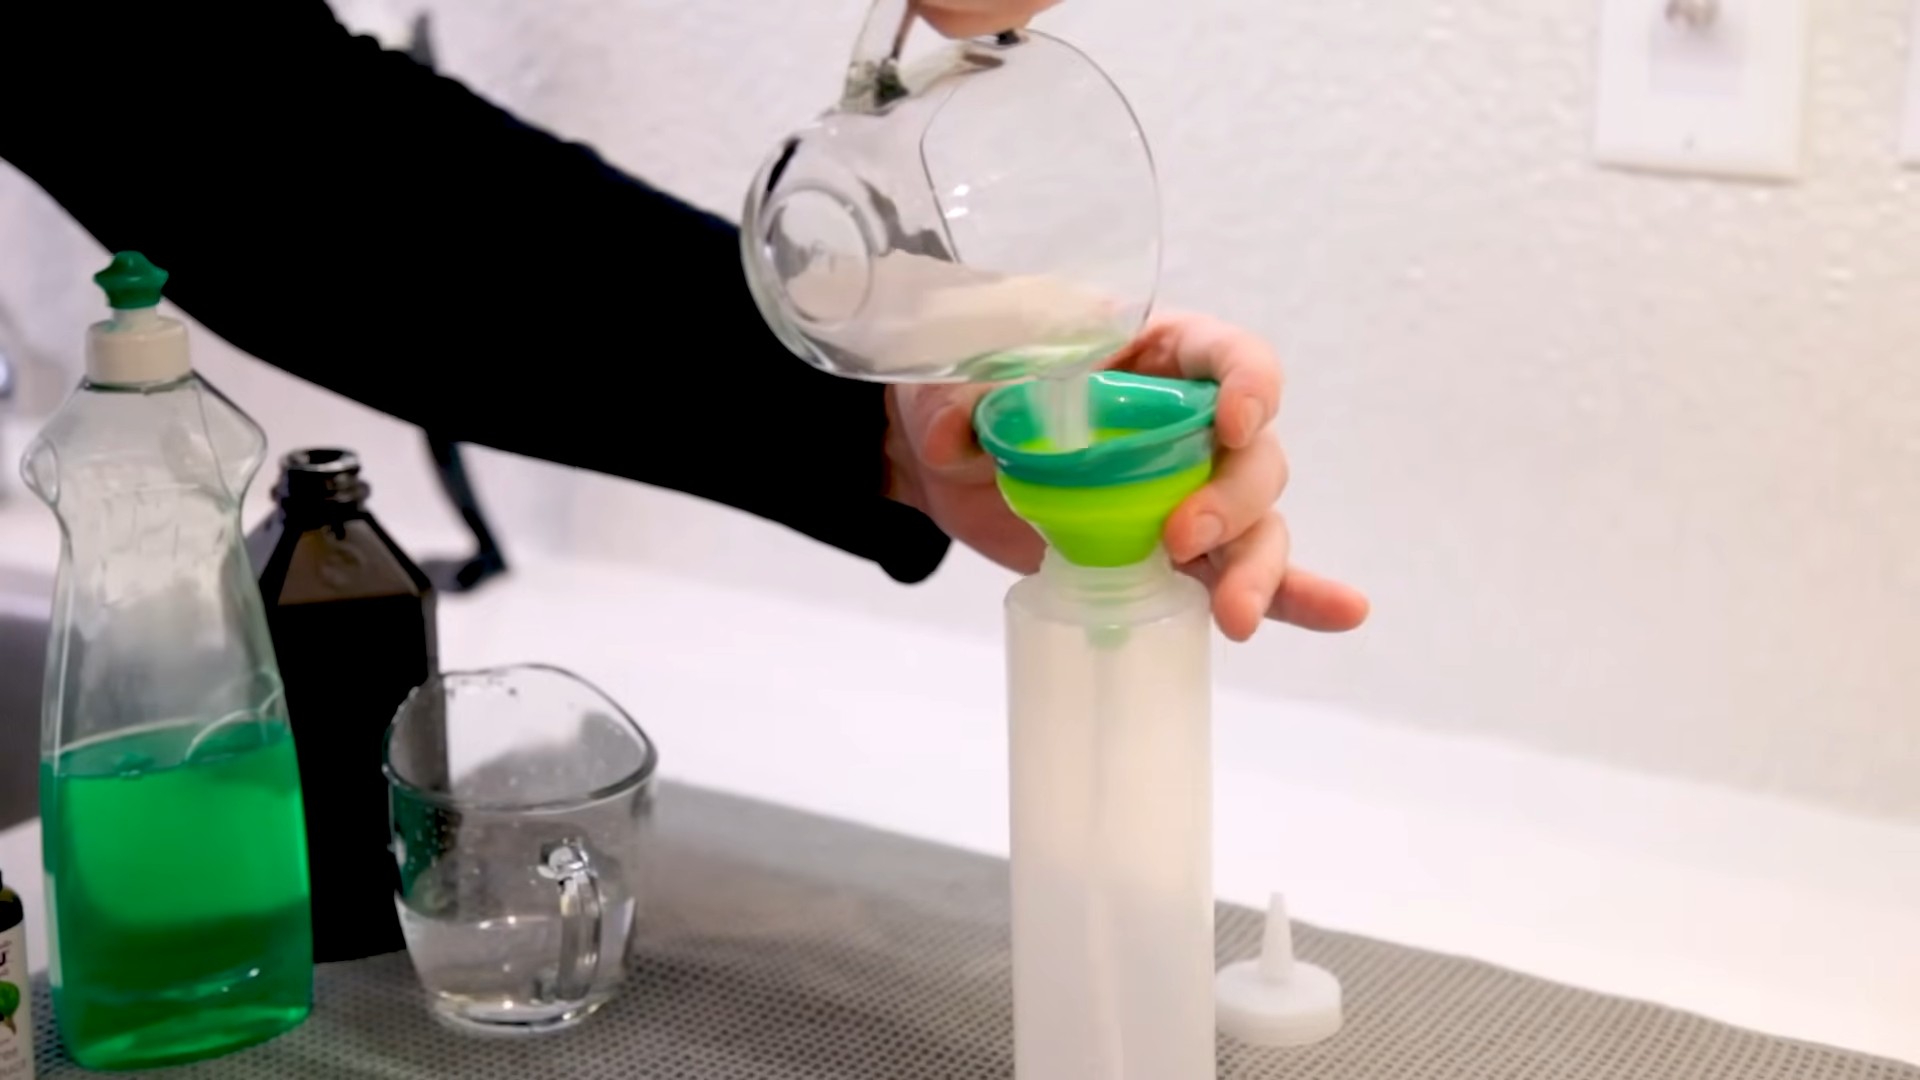
Step-by-Step Instructions:
1. Prepare the Vinegar Solution: The key to dissolving soap scum and hard water stains is vinegar. Fill a spray bottle with undiluted white vinegar. If your hard water stains are particularly stubborn, you can heat the vinegar in the microwave for about a minute (be careful, it will be hot!). Heating the vinegar helps it to work even faster.
2. Spray and Soak: Generously spray the vinegar solution onto the affected areas – shower walls, shower doors, faucets, and even the toilet bowl. Let it sit for at least 15-30 minutes. This soaking time is crucial because it allows the vinegar to break down the mineral deposits. For really tough stains, you can even let it soak for an hour.
3. Scrub Away: After the soaking period, grab your old toothbrush or scrub brush and start scrubbing. You’ll be amazed at how easily the soap scum and hard water stains come off. For stubborn areas, make a paste of baking soda and water and apply it to the stain. Let it sit for a few minutes, then scrub. The baking soda acts as a gentle abrasive to help lift the stain.
4. Rinse Thoroughly: Once you’ve scrubbed all the affected areas, rinse everything thoroughly with clean water. Make sure to remove all traces of vinegar and baking soda.
5. Dry and Shine: Finally, dry all surfaces with a clean microfiber cloth. This will prevent water spots and leave your bathroom sparkling clean. For extra shine, you can use a glass cleaner on your shower doors and mirrors.
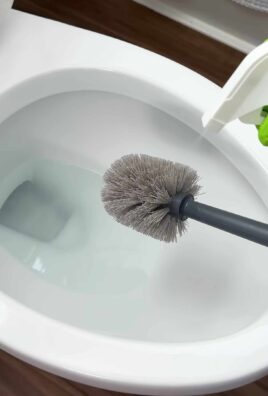
Cleaning the Toilet Like a Pro
Let’s face it, cleaning the toilet is the least glamorous part of bathroom cleaning. But it’s essential for maintaining a hygienic and fresh-smelling bathroom.
What You’ll Need:
* Toilet bowl cleaner (or white vinegar)
* Toilet brush
* Baking soda
* Spray bottle with white vinegar
* Paper towels or disinfecting wipes
Step-by-Step Instructions:
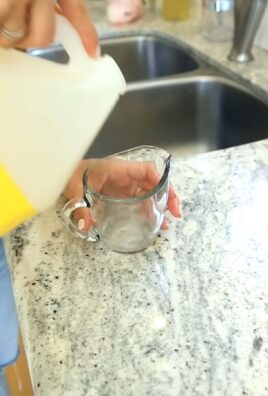
1. Flush and Apply Cleaner: Flush the toilet to wet the bowl. Then, apply your favorite toilet bowl cleaner (or a generous amount of white vinegar) under the rim of the bowl. Let it sit for at least 15-20 minutes to disinfect and loosen any stains.
2. Scrub Thoroughly: Use your toilet brush to scrub the entire bowl, paying special attention to the area under the rim and any stained areas. Really get in there and scrub!
3. Add Baking Soda (Optional): For extra cleaning power and to help remove stubborn stains, sprinkle about a cup of baking soda into the toilet bowl. Let it fizz for a few minutes, then scrub again.
4. Flush Again: Flush the toilet to rinse away the cleaner and baking soda.
5. Clean the Exterior: Now, let’s move on to the exterior of the toilet. Spray the tank, seat, and base with white vinegar (or a disinfecting cleaner). Wipe everything down with paper towels or disinfecting wipes. Don’t forget to clean the handle!
6. Dry and Shine: Finally, dry the exterior of the toilet with a clean cloth to prevent water spots.
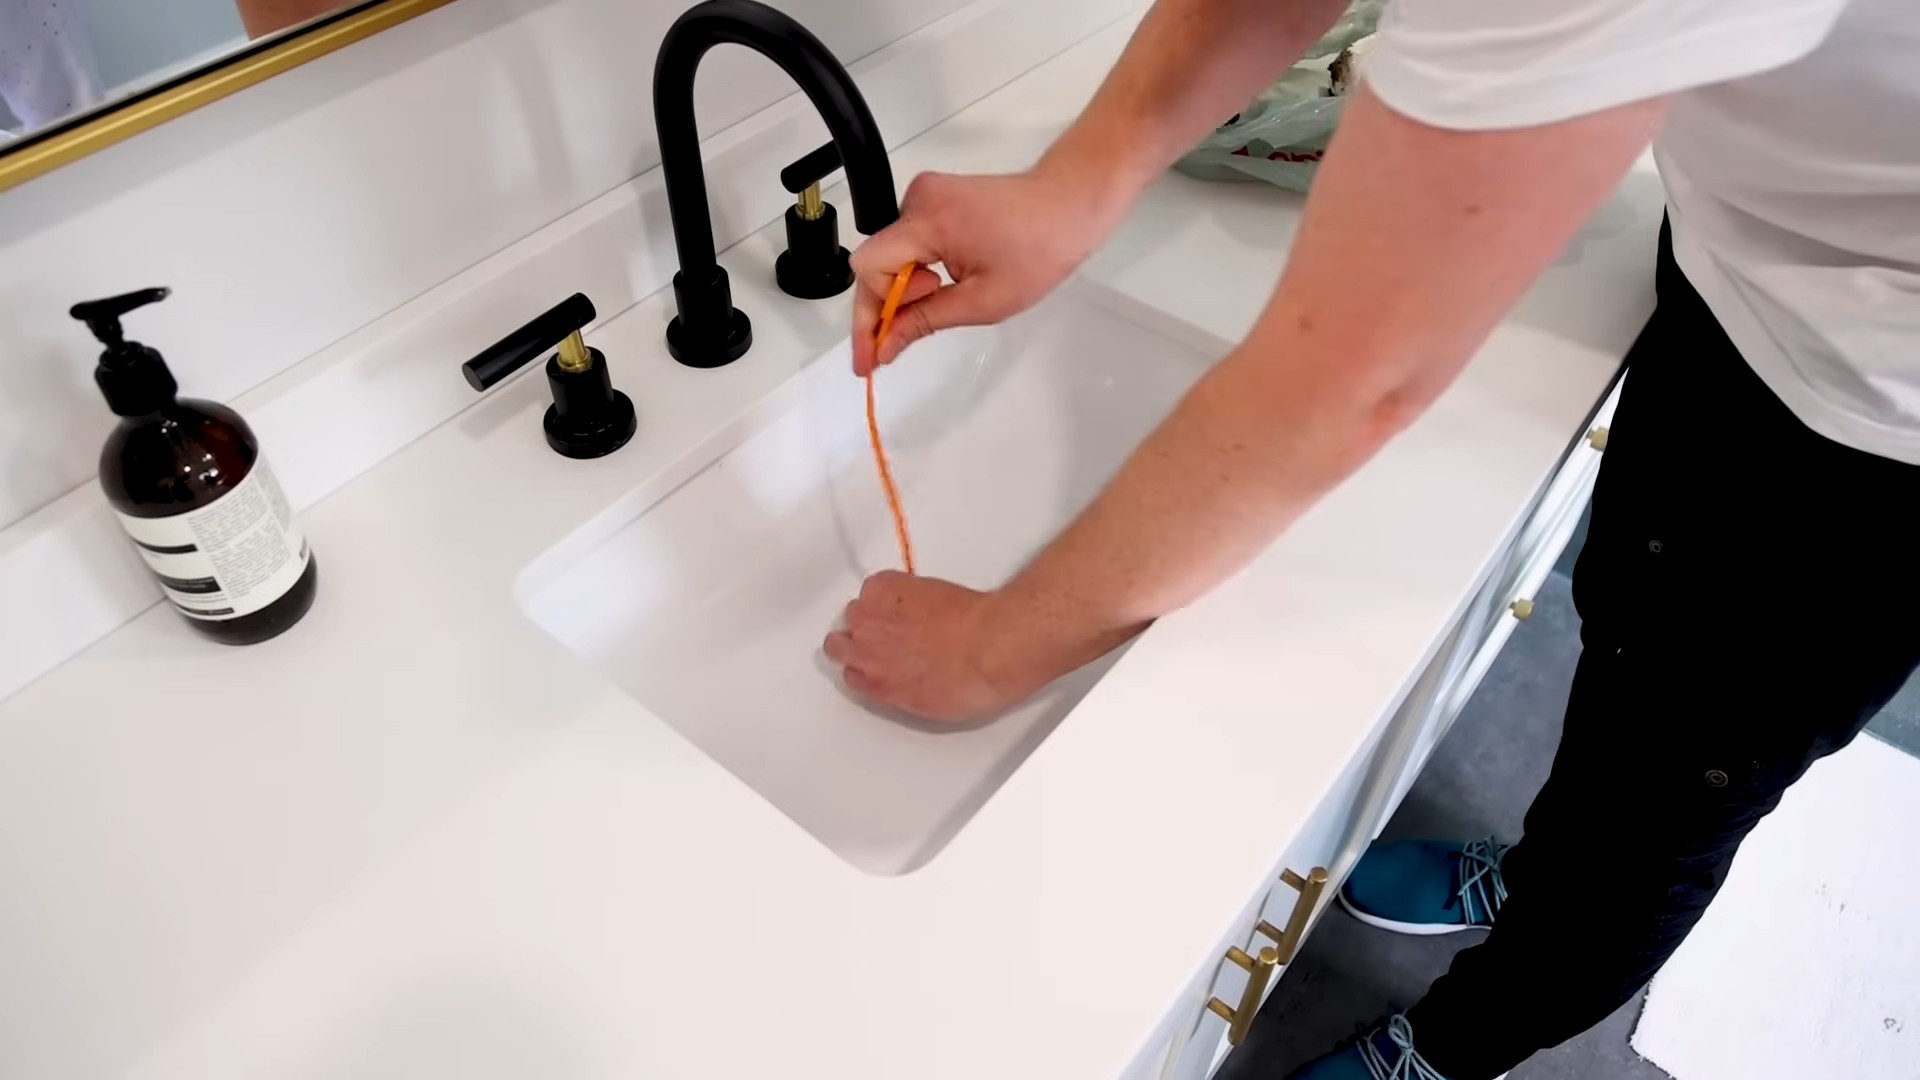
Unclogging Drains the Natural Way
Clogged drains are a common bathroom problem. But before you reach for harsh chemical drain cleaners, try this natural and effective method.
What You’ll Need:
* Baking soda
* White vinegar
* Boiling water
* Plunger (optional)
Step-by-Step Instructions:
1. Pour in Baking Soda: Pour about 1 cup of baking soda down the clogged drain.
2. Add Vinegar: Immediately follow with 1 cup of white vinegar. The mixture will fizz and bubble – this is a good thing! It means the baking soda and vinegar are reacting to break down the clog.
3. Let it Fizz: Let the mixture fizz and bubble for about 30 minutes. This gives it time to work its magic.
4. Flush with Boiling Water: After 30 minutes, carefully pour a pot of boiling water down the drain. The hot water will help to flush away the loosened clog.
5. Repeat if Necessary: If the drain is still clogged, repeat the process. You may need to do it a couple of times for particularly stubborn clogs.
6. Use a Plunger (Optional): If the baking soda and vinegar method doesn’t work, you can try using a plunger. Make sure there’s enough water in the sink or tub to cover the cup of the plunger, then plunge vigorously for several minutes.
Cleaning Showerheads for Better Water Pressure
Over time, showerheads can become clogged with mineral deposits, which can reduce water pressure and make your showers less enjoyable. Here’s how to clean them:
What You’ll Need:
* White vinegar
* Plastic bag (gallon-sized)
* Rubber band or twist tie
* Old toothbrush or scrub brush
Step-by-Step Instructions:
1. Fill the Bag with Vinegar: Fill a plastic bag with enough white vinegar to completely submerge the showerhead.
2. Attach the Bag to the Showerhead: Carefully attach the bag to the showerhead, making sure the showerhead is fully submerged in the vinegar. Secure the bag with a rubber band or twist tie.
3. Soak Overnight: Let the showerhead soak in the vinegar overnight. This will allow the vinegar to dissolve the mineral deposits.
4. Remove and Scrub: The next morning, remove the bag and discard the vinegar. Use an old toothbrush or scrub brush to scrub away any remaining mineral deposits.
5. Rinse and Run: Rinse the showerhead thoroughly with clean water. Then, run the shower for a few minutes to flush out any remaining vinegar and debris.
Freshening Up Grout
Dirty grout can make your entire bathroom look dingy. Here’s how to brighten it up:
What You’ll Need:
* Baking soda
* Water
* Old toothbrush or grout brush
* Spray bottle with white vinegar
Step-by-Step Instructions:
1. Make a Baking Soda Paste: Mix baking soda with enough water to form a thick paste.
2. Apply the Paste to the Grout: Apply the baking soda paste to the grout lines.
3. Spray with Vinegar: Spray the baking soda paste with white vinegar. The mixture will fizz and bubble.
4. Scrub Thoroughly: Use an old toothbrush or grout brush to scrub the grout lines.
5. Rinse and Wipe: Rinse the grout lines with clean water and wipe them dry with a clean cloth.
Bonus Tip: Preventing Mold and Mildew
Mold and mildew thrive in damp environments, so it’s important to take steps to prevent them from growing in your bathroom.
* Ventilate: Always run the exhaust fan during and after showers to remove excess moisture.
* Dry Surfaces: Wipe down shower walls and doors after each use to prevent water from pooling.
* Fix Leaks: Repair any leaks promptly to prevent water damage and mold growth.
* Use Mold-Resistant Products: Consider using mold-resistant paint and caulk in your bathroom.
I hope these bathroom cleaning hacks help you keep your bathroom sparkling clean with minimal effort! Happy cleaning!
Conclusion
So, there you have it! These simple yet incredibly effective DIY bathroom cleaning hacks are a game-changer for anyone looking to maintain a sparkling clean bathroom without resorting to harsh chemicals or spending a fortune on commercial cleaners. We’ve covered everything from tackling stubborn soap scum to banishing mildew and grime, all using ingredients you likely already have in your pantry.
The beauty of these methods lies in their simplicity and adaptability. Feel free to experiment with different essential oils in your vinegar solution for a personalized scent boost. Lavender, tea tree, and eucalyptus are all excellent choices for their antibacterial and antifungal properties, adding an extra layer of cleanliness and freshness to your bathroom. For tougher stains, consider letting your cleaning solutions sit for a longer period before scrubbing. A little extra soak time can make a world of difference.
Why is this a must-try? Because it’s effective, eco-friendly, and budget-friendly! You’re not only saving money by avoiding expensive cleaning products, but you’re also reducing your exposure to potentially harmful chemicals and contributing to a healthier environment. Plus, the satisfaction of creating your own cleaning solutions and seeing the amazing results is truly rewarding.
Don’t be afraid to get creative and tailor these hacks to your specific needs and preferences. If you have hard water, you might need to increase the amount of vinegar you use. If you prefer a more abrasive scrub, try adding a small amount of baking soda to your cleaning paste. The possibilities are endless!
We wholeheartedly encourage you to try these DIY bathroom cleaning hacks and experience the difference for yourself. You’ll be amazed at how easy it is to achieve a sparkling clean bathroom with just a few simple ingredients and a little elbow grease.
Once you’ve given these methods a try, we’d love to hear about your experience! Share your before-and-after photos, your favorite variations, and any tips or tricks you’ve discovered along the way in the comments below. Let’s create a community of clean bathroom enthusiasts and inspire others to embrace the power of DIY cleaning! Your feedback is invaluable and helps us continue to refine and improve these techniques. So, go ahead, transform your bathroom into a sparkling oasis and share your success story with the world! Let’s make bathroom cleaning a little less of a chore and a lot more of a rewarding experience.
Frequently Asked Questions (FAQs)
Q: Are these DIY bathroom cleaning hacks safe for all bathroom surfaces?
A: Generally, yes, these hacks are safe for most common bathroom surfaces like tile, porcelain, glass, and stainless steel. However, it’s always a good idea to test any cleaning solution in an inconspicuous area first, especially on delicate surfaces like natural stone (marble, granite) or painted surfaces. Vinegar, in particular, can be acidic and may etch or dull certain materials if left on for too long. For natural stone, consider using a pH-neutral cleaner specifically designed for those surfaces. When in doubt, consult the manufacturer’s recommendations for cleaning your specific bathroom fixtures and surfaces. Avoid using abrasive scrubbers on easily scratched surfaces.
Q: How often should I use these DIY cleaning methods?
A: The frequency of cleaning depends on how often your bathroom is used and how quickly it gets dirty. For general maintenance, a weekly cleaning using these DIY methods should be sufficient to keep your bathroom sparkling. However, you may need to clean more frequently in high-traffic areas or if you notice buildup of soap scum, mildew, or hard water stains. Spot cleaning can also be done as needed to address spills or messes promptly. Regular cleaning will prevent grime from accumulating and make future cleaning sessions easier.
Q: Can I use these DIY cleaners on mold and mildew?
A: Yes, vinegar and baking soda are both effective at killing mold and mildew. For mold and mildew removal, spray the affected area with undiluted white vinegar and let it sit for at least an hour before scrubbing with a brush or sponge. For stubborn mold, you can create a paste of baking soda and water and apply it to the area, letting it sit for several hours or overnight before scrubbing. Be sure to ventilate the bathroom well during and after cleaning to prevent moisture buildup, which can contribute to mold growth. For severe mold infestations, it’s best to consult a professional mold remediation service.
Q: What essential oils are best to use in these DIY bathroom cleaners?
A: Several essential oils have antibacterial, antifungal, and antiviral properties that make them ideal for use in bathroom cleaners. Some popular choices include:
* **Tea Tree Oil:** Known for its strong antiseptic and antifungal properties, tea tree oil is excellent for fighting mold and mildew.
* **Lavender Oil:** Lavender oil has a calming scent and also possesses antibacterial and antifungal properties.
* **Eucalyptus Oil:** Eucalyptus oil has a refreshing scent and is effective at disinfecting surfaces.
* **Lemon Oil:** Lemon oil has a bright, citrusy scent and is a natural degreaser and disinfectant.
* **Peppermint Oil:** Peppermint oil has a refreshing scent and can help to deter pests.
When using essential oils, be sure to dilute them properly in a carrier oil or water before adding them to your cleaning solutions. A few drops are usually sufficient to provide a pleasant scent and added cleaning power.
Q: How do I prevent soap scum buildup in my shower?
A: Preventing soap scum buildup is easier than removing it. Here are a few tips:
* **Use liquid soap instead of bar soap:** Bar soap contains talc, which contributes to soap scum buildup.
* **Squeegee your shower walls and door after each use:** This will remove excess water and soap residue before it has a chance to dry and harden.
* **Ventilate your bathroom well:** Proper ventilation will help to reduce moisture levels, which can contribute to soap scum formation.
* **Wipe down your shower walls and door with a vinegar solution regularly:** This will help to prevent soap scum from accumulating.
Q: Can I use these DIY cleaners on my toilet?
A: Yes, these DIY cleaners can be used to clean your toilet. For a toilet bowl cleaner, pour a cup of vinegar into the bowl and let it sit for at least 30 minutes before scrubbing with a toilet brush. You can also add a few drops of essential oil for a pleasant scent. For tougher stains, you can create a paste of baking soda and water and apply it to the stains, letting it sit for several hours or overnight before scrubbing. Flush the toilet thoroughly after cleaning.
Q: Are these DIY cleaning solutions safe for septic systems?
A: Yes, these DIY cleaning solutions are generally safe for septic systems. Vinegar and baking soda are both natural and biodegradable, so they won’t harm the beneficial bacteria in your septic tank. However, it’s important to avoid using excessive amounts of any cleaning solution, as this could disrupt the balance of your septic system. Always follow the recommended dilution ratios and use these cleaners sparingly.
Q: What if I don’t have vinegar? What can I use instead?
A: While vinegar is a key ingredient in many of these DIY bathroom cleaning hacks, you can substitute it with lemon juice in some cases. Lemon juice is also acidic and has antibacterial properties. However, vinegar is generally more effective at removing soap scum and hard water stains. If you don’t have either vinegar or lemon juice, you can try using a commercial cleaner that is specifically designed for bathroom cleaning, but be sure to choose one that is non-toxic and environmentally friendly.
Q: How do I store these DIY cleaning solutions?
A: Store your DIY cleaning solutions in labeled spray bottles or containers. Be sure to label them clearly to avoid confusion and prevent accidental ingestion. Store them in a cool, dark place away from children and pets. Most DIY cleaning solutions will last for several months, but it’s best to use them within a reasonable timeframe to ensure their effectiveness.
Leave a Comment