

DIY Egg Carton Ottoman: Who knew those humble egg cartons could transform into something so stylish and functional? I’m constantly amazed by the potential hidden in everyday items, and this project is a perfect example of turning trash into treasure! For generations, resourceful crafters have sought ways to repurpose materials, driven by necessity and a desire to minimize waste. Think of the “make do and mend” ethos of wartime, where creativity flourished out of sheer need.
Today, we’re embracing that same spirit, but with a focus on sustainable living and adding a personal touch to our homes. This DIY egg carton ottoman isn’t just about saving money; it’s about creating a unique piece of furniture that reflects your personality and commitment to the environment.
Let’s face it, store-bought ottomans can be expensive, and often lack that special something. Plus, many of us are looking for ways to reduce our environmental footprint. This project tackles both problems head-on. Imagine having a comfortable and stylish ottoman, crafted with your own hands, using materials you might otherwise have thrown away. It’s a win-win! So, grab those egg cartons, and let’s get started on this fun and rewarding DIY egg carton ottoman project. I promise, you’ll be surprised at how easy and satisfying it is!
DIY Egg Carton Ottoman: Comfort and Sustainability Combined!
Hey there, fellow DIY enthusiasts! Today, I’m super excited to share a project that’s not only budget-friendly but also a fantastic way to recycle: a comfy and stylish ottoman made entirely from egg cartons! Yes, you read that right. We’re turning trash into treasure, one egg carton at a time. This project takes a bit of time and patience, but the end result is a unique piece of furniture you can proudly say you built yourself. Let’s get started!
Materials You’ll Need:
Before we dive in, let’s gather all the necessary materials. Trust me, having everything organized beforehand will make the process much smoother.
* Egg Cartons: Lots and lots of them! The exact number will depend on the size of your desired ottoman, but I’d recommend aiming for at least 60-80. Cardboard egg cartons work best.
* Strong Packing Tape: This is crucial for holding everything together. Don’t skimp on quality; you want something that’s durable and won’t easily tear.
* Scissors or Utility Knife: For trimming and shaping the egg cartons. Be careful when using a utility knife!
* Hot Glue Gun and Glue Sticks: This will provide extra reinforcement and help secure the cartons in place.
* Cardboard Sheets: You’ll need these for the base and top of the ottoman. You can repurpose large cardboard boxes.
* Fabric: Choose a fabric you love! This will be the ottoman’s upholstery. Consider durability and ease of cleaning. Canvas, denim, or upholstery fabric are good choices. You’ll need enough to cover the entire ottoman with some extra for seam allowance.
* Batting or Foam Padding: This will provide cushioning and make the ottoman comfortable to sit on. You can use batting scraps, old blankets, or purchase foam padding from a craft store.
* Staple Gun and Staples: For securing the fabric to the cardboard base.
* Measuring Tape or Ruler: Essential for accurate measurements.
* Pencil or Marker: For marking measurements and guidelines.
* Optional: Buttons, Decorative Trim, or Legs: For adding extra flair and personalization.
Preparing the Egg Cartons:
This is the most time-consuming part, but it’s essential for creating a sturdy and uniform structure.
1. Cut the Egg Cartons: Using your scissors or utility knife, carefully cut each egg carton into individual cups. You want to separate each section where an egg would sit. Try to make the cuts as clean and even as possible.
2. Trim the Edges: Trim any excess cardboard or uneven edges from each cup. This will help them fit together more snugly and create a smoother surface.
3. Sort the Cups: Sort the cups by size and shape. This will help you create a more uniform structure when you start assembling the ottoman. Discard any damaged or misshapen cups.
Building the Ottoman Core:
Now comes the fun part – assembling the egg carton cups into a solid core!
1. Forming the First Layer: Take several egg carton cups and arrange them in a circular or square shape, depending on the shape you want your ottoman to be. The cups should be facing upwards, creating a honeycomb-like structure.
2. Taping the First Layer: Use strong packing tape to secure the cups together. Wrap the tape around the sides of the cups, ensuring they are tightly bound. Don’t be afraid to use a generous amount of tape; you want this layer to be strong and stable.
3. Adding More Layers: Continue adding layers of egg carton cups on top of the first layer, staggering them slightly for added stability. Tape each layer securely to the layer below.
4. Hot Glue Reinforcement: Once you have a few layers built, use your hot glue gun to add extra reinforcement. Apply hot glue to the points where the cups touch each other, both on the sides and on the top and bottom. This will help prevent the cups from shifting or collapsing.
5. Building to the Desired Height: Keep adding layers and reinforcing with tape and hot glue until you reach your desired ottoman height. Remember to maintain the shape you want for your ottoman (circular, square, rectangular, etc.).
6. Compacting the Structure: Once you’ve reached the desired height, gently press down on the top of the structure to compact it. This will help even out the surface and make it more stable. Add more tape and hot glue as needed to reinforce any weak spots.
Creating the Base and Top:
A sturdy base and top are essential for providing a stable and comfortable surface.
1. Measuring and Cutting the Cardboard: Measure the diameter or dimensions of your ottoman core. Cut two pieces of cardboard to the same size and shape. These will be the base and top of the ottoman.
2. Attaching the Base: Place the ottoman core on top of one of the cardboard pieces. Use strong packing tape to secure the core to the base. Wrap the tape around the sides of the core and onto the cardboard base, ensuring a tight and secure connection. You can also use hot glue for extra reinforcement.
3. Attaching the Top: Repeat the process to attach the other cardboard piece to the top of the ottoman core. Make sure the top is securely attached and level.
Upholstering the Ottoman:
This is where your creativity shines! Choose a fabric you love and let’s transform this egg carton structure into a stylish ottoman.
1. Measuring and Cutting the Fabric: Measure the circumference and height of the ottoman. Add several inches to each measurement for seam allowance and to allow for tucking and stapling. Cut the fabric to the appropriate size.
2. Adding Padding: Wrap the ottoman with batting or foam padding. This will provide cushioning and create a smoother surface for the fabric. Secure the padding with tape or hot glue.
3. Draping the Fabric: Drape the fabric over the ottoman, centering it so that the seams will be evenly distributed.
4. Securing the Fabric: Starting at the bottom of the ottoman, begin stapling the fabric to the cardboard base. Pull the fabric taut as you staple, ensuring a smooth and wrinkle-free finish. Work your way around the ottoman, stapling the fabric every few inches.
5. Folding and Securing the Corners: When you reach the corners, fold the fabric neatly and securely staple it to the cardboard base. There are many ways to fold corners, so experiment to find a method that works best for you. You can create pleats or tucks to create a clean and professional look.
6. Finishing the Top: Once you’ve secured the fabric around the entire ottoman, fold the excess fabric over the top edge and staple it to the cardboard top. Again, pull the fabric taut and ensure a smooth finish.
7. Trimming Excess Fabric: Trim any excess fabric from the bottom and top of the ottoman.
Adding Finishing Touches (Optional):
Now’s the time to personalize your ottoman and add those extra details that will make it truly unique.
1. Adding Buttons or Decorative Trim: You can add buttons to the top of the ottoman for a decorative touch. Simply sew the buttons onto the fabric, spacing them evenly. You can also add decorative trim around the base of the ottoman to conceal the staples and create a more polished look. Use hot glue to attach the trim.
2. Adding Legs: If you want to raise your ottoman off the ground, you can attach legs to the base. You can purchase pre-made furniture legs from a hardware store or craft store. Attach the legs to the cardboard base using screws or bolts. Make sure the legs are securely attached and can support the weight of the ottoman.
3. Sealing the Bottom: To protect the bottom of the ottoman and prevent it from scratching your floors, you can cover the cardboard base with felt or another protective material. Cut a piece of felt to the same size and shape as the base and attach it with hot glue.
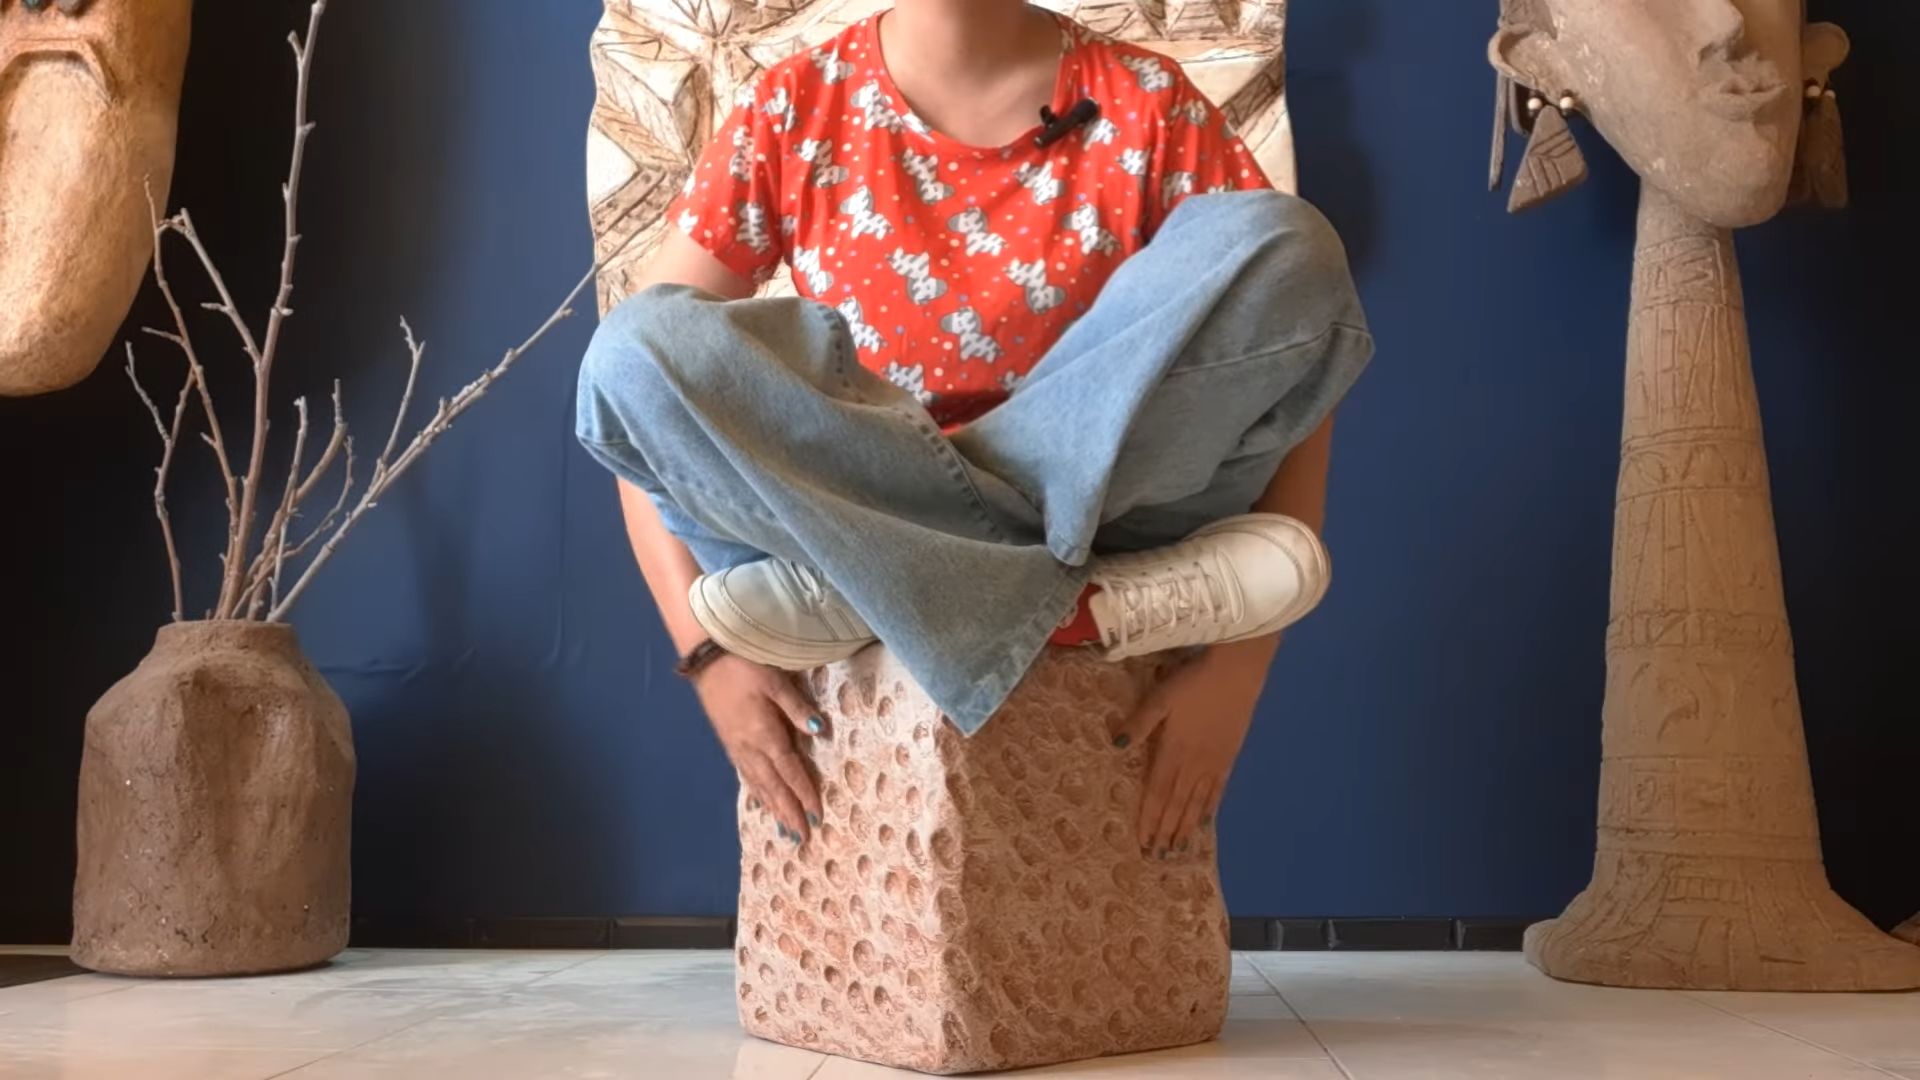
And there you have it! Your very own DIY egg carton ottoman. It’s a testament to creativity, sustainability, and a little bit of elbow grease. Enjoy your new, eco-friendly piece of furniture! I hope you had fun building this with me!

Conclusion
So, there you have it! Transforming humble egg cartons into a stylish and functional ottoman is not just a craft project; it’s a testament to the power of resourcefulness and creativity. This DIY egg carton ottoman project is a must-try for several compelling reasons. First and foremost, it’s incredibly budget-friendly. Instead of shelling out a significant amount of money for a new piece of furniture, you’re repurposing materials that would otherwise end up in the trash. This makes it an excellent option for students, renters, or anyone looking to furnish their space on a dime.
Beyond the cost savings, this project is surprisingly satisfying. There’s a unique sense of accomplishment that comes from creating something beautiful and useful from seemingly worthless materials. The process itself is engaging and can be a fun activity to do with kids or friends. It’s a chance to unleash your inner artist and personalize your home decor.
But the benefits don’t stop there. This DIY project is also an eco-conscious choice. By upcycling egg cartons, you’re reducing waste and contributing to a more sustainable lifestyle. In a world increasingly aware of environmental issues, this is a small but meaningful way to make a positive impact.
Furthermore, the finished product is surprisingly durable and comfortable. With proper reinforcement and cushioning, your egg carton ottoman can withstand regular use and provide a comfortable place to rest your feet or even serve as extra seating.
Looking for ways to customize your ottoman? Consider these variations:
* Fabric Choices: Experiment with different fabrics for the cover. Burlap can give it a rustic, earthy feel, while velvet adds a touch of luxury. Patterned fabrics can inject personality and color into your space.
* Leg Options: Add legs to your ottoman for a more elevated look. You can use wooden legs from a hardware store or even repurpose legs from an old piece of furniture.
* Storage Ottoman: Create a hinged lid and add storage space inside the ottoman for blankets, books, or other items.
* Shape Variations: While this guide focuses on a square or rectangular ottoman, you can adapt the technique to create round or even uniquely shaped ottomans.
* Color Palette: Don’t be afraid to get creative with color! Paint the egg cartons before assembling them, or use different colored fabrics for the cover to match your existing decor.
We’re confident that you’ll love the results of this DIY project. It’s a fun, affordable, and eco-friendly way to add a unique and personal touch to your home. So, gather your egg cartons, unleash your creativity, and get ready to transform trash into treasure!
We encourage you to try this DIY egg carton ottoman project and share your experience with us! Post photos of your finished ottoman on social media using #EggCartonOttomanDIY and tag us so we can see your amazing creations. We can’t wait to see what you come up with! Let us know in the comments below if you have any questions or tips to share with other DIY enthusiasts. Happy crafting!
Frequently Asked Questions
How many egg cartons do I need for this project?
The number of egg cartons required will depend on the desired size of your ottoman. A small ottoman might require 50-75 egg cartons, while a larger one could need 100 or more. It’s always a good idea to collect more than you think you’ll need, just in case. Start collecting well in advance of when you want to start the project.
What kind of glue should I use to assemble the egg cartons?
A strong adhesive is crucial for ensuring the stability of your ottoman. Hot glue is a popular choice because it dries quickly and provides a strong bond. However, construction adhesive or wood glue can also be used for a more permanent hold. If using hot glue, be careful not to burn yourself. Always test the glue on a small area first to ensure it adheres properly to the egg cartons.
How do I reinforce the egg cartons to make them sturdy?
Reinforcement is key to creating a durable ottoman. You can reinforce the egg cartons by filling them with crumpled newspaper, cardboard, or even expanding foam. This will provide extra support and prevent the cartons from collapsing under weight. Another option is to wrap the assembled egg carton structure with strong tape, such as duct tape or packing tape, before adding the cushioning and fabric cover.
What type of fabric is best for covering the ottoman?
The best fabric for covering your ottoman depends on your personal style and the intended use of the ottoman. Durable fabrics like canvas, denim, or upholstery fabric are good choices for high-traffic areas. Softer fabrics like velvet or corduroy can add a touch of luxury and comfort. Consider the color and pattern of the fabric to match your existing decor. Remember to pre-wash the fabric before using it to prevent shrinkage later on.
How do I clean the egg carton ottoman?
Cleaning your egg carton ottoman will depend on the fabric you used for the cover. For most fabrics, spot cleaning with a mild detergent and water is sufficient. Avoid getting the egg cartons wet, as this can weaken them. If the cover is removable, you can wash it according to the fabric’s care instructions. Regular vacuuming can help to remove dust and debris.
Can I use different types of egg cartons for this project?
Yes, you can use different types of egg cartons, such as cardboard, plastic, or foam. However, keep in mind that the type of egg carton will affect the overall look and durability of the ottoman. Cardboard egg cartons are the most common and easiest to work with. Plastic egg cartons are more durable but may be more difficult to glue. Foam egg cartons are lightweight but may not be as sturdy. Try to use egg cartons of similar size and shape for a more uniform appearance.
How long does it take to complete this project?
The time it takes to complete this project will vary depending on the size of the ottoman and your skill level. Collecting the egg cartons can take several weeks or even months. Assembling the egg cartons and adding the cushioning and fabric cover can take a few hours to a full day. It’s best to break the project down into smaller steps and work on it over several days.
Is this project suitable for children?
This project can be a fun activity to do with children, but adult supervision is required, especially when using hot glue or sharp tools. Children can help with tasks such as collecting egg cartons, filling them with stuffing, and decorating the ottoman. Make sure to choose age-appropriate tasks and provide clear instructions.
What if I don’t have enough egg cartons?
If you don’t have enough egg cartons, you can ask friends, family, or neighbors to save them for you. You can also check with local restaurants or grocery stores, as they often have a surplus of egg cartons. Alternatively, you can purchase egg cartons online or at craft stores.
How much weight can the egg carton ottoman hold?
The weight capacity of the egg carton ottoman will depend on the strength of the egg cartons, the type of glue used, and the reinforcement method. A well-constructed ottoman can typically hold the weight of an adult sitting or resting their feet on it. However, it’s important to test the ottoman before using it regularly to ensure it can safely support the weight. Avoid placing excessive weight on the ottoman, as this can cause it to collapse.


Leave a Comment