

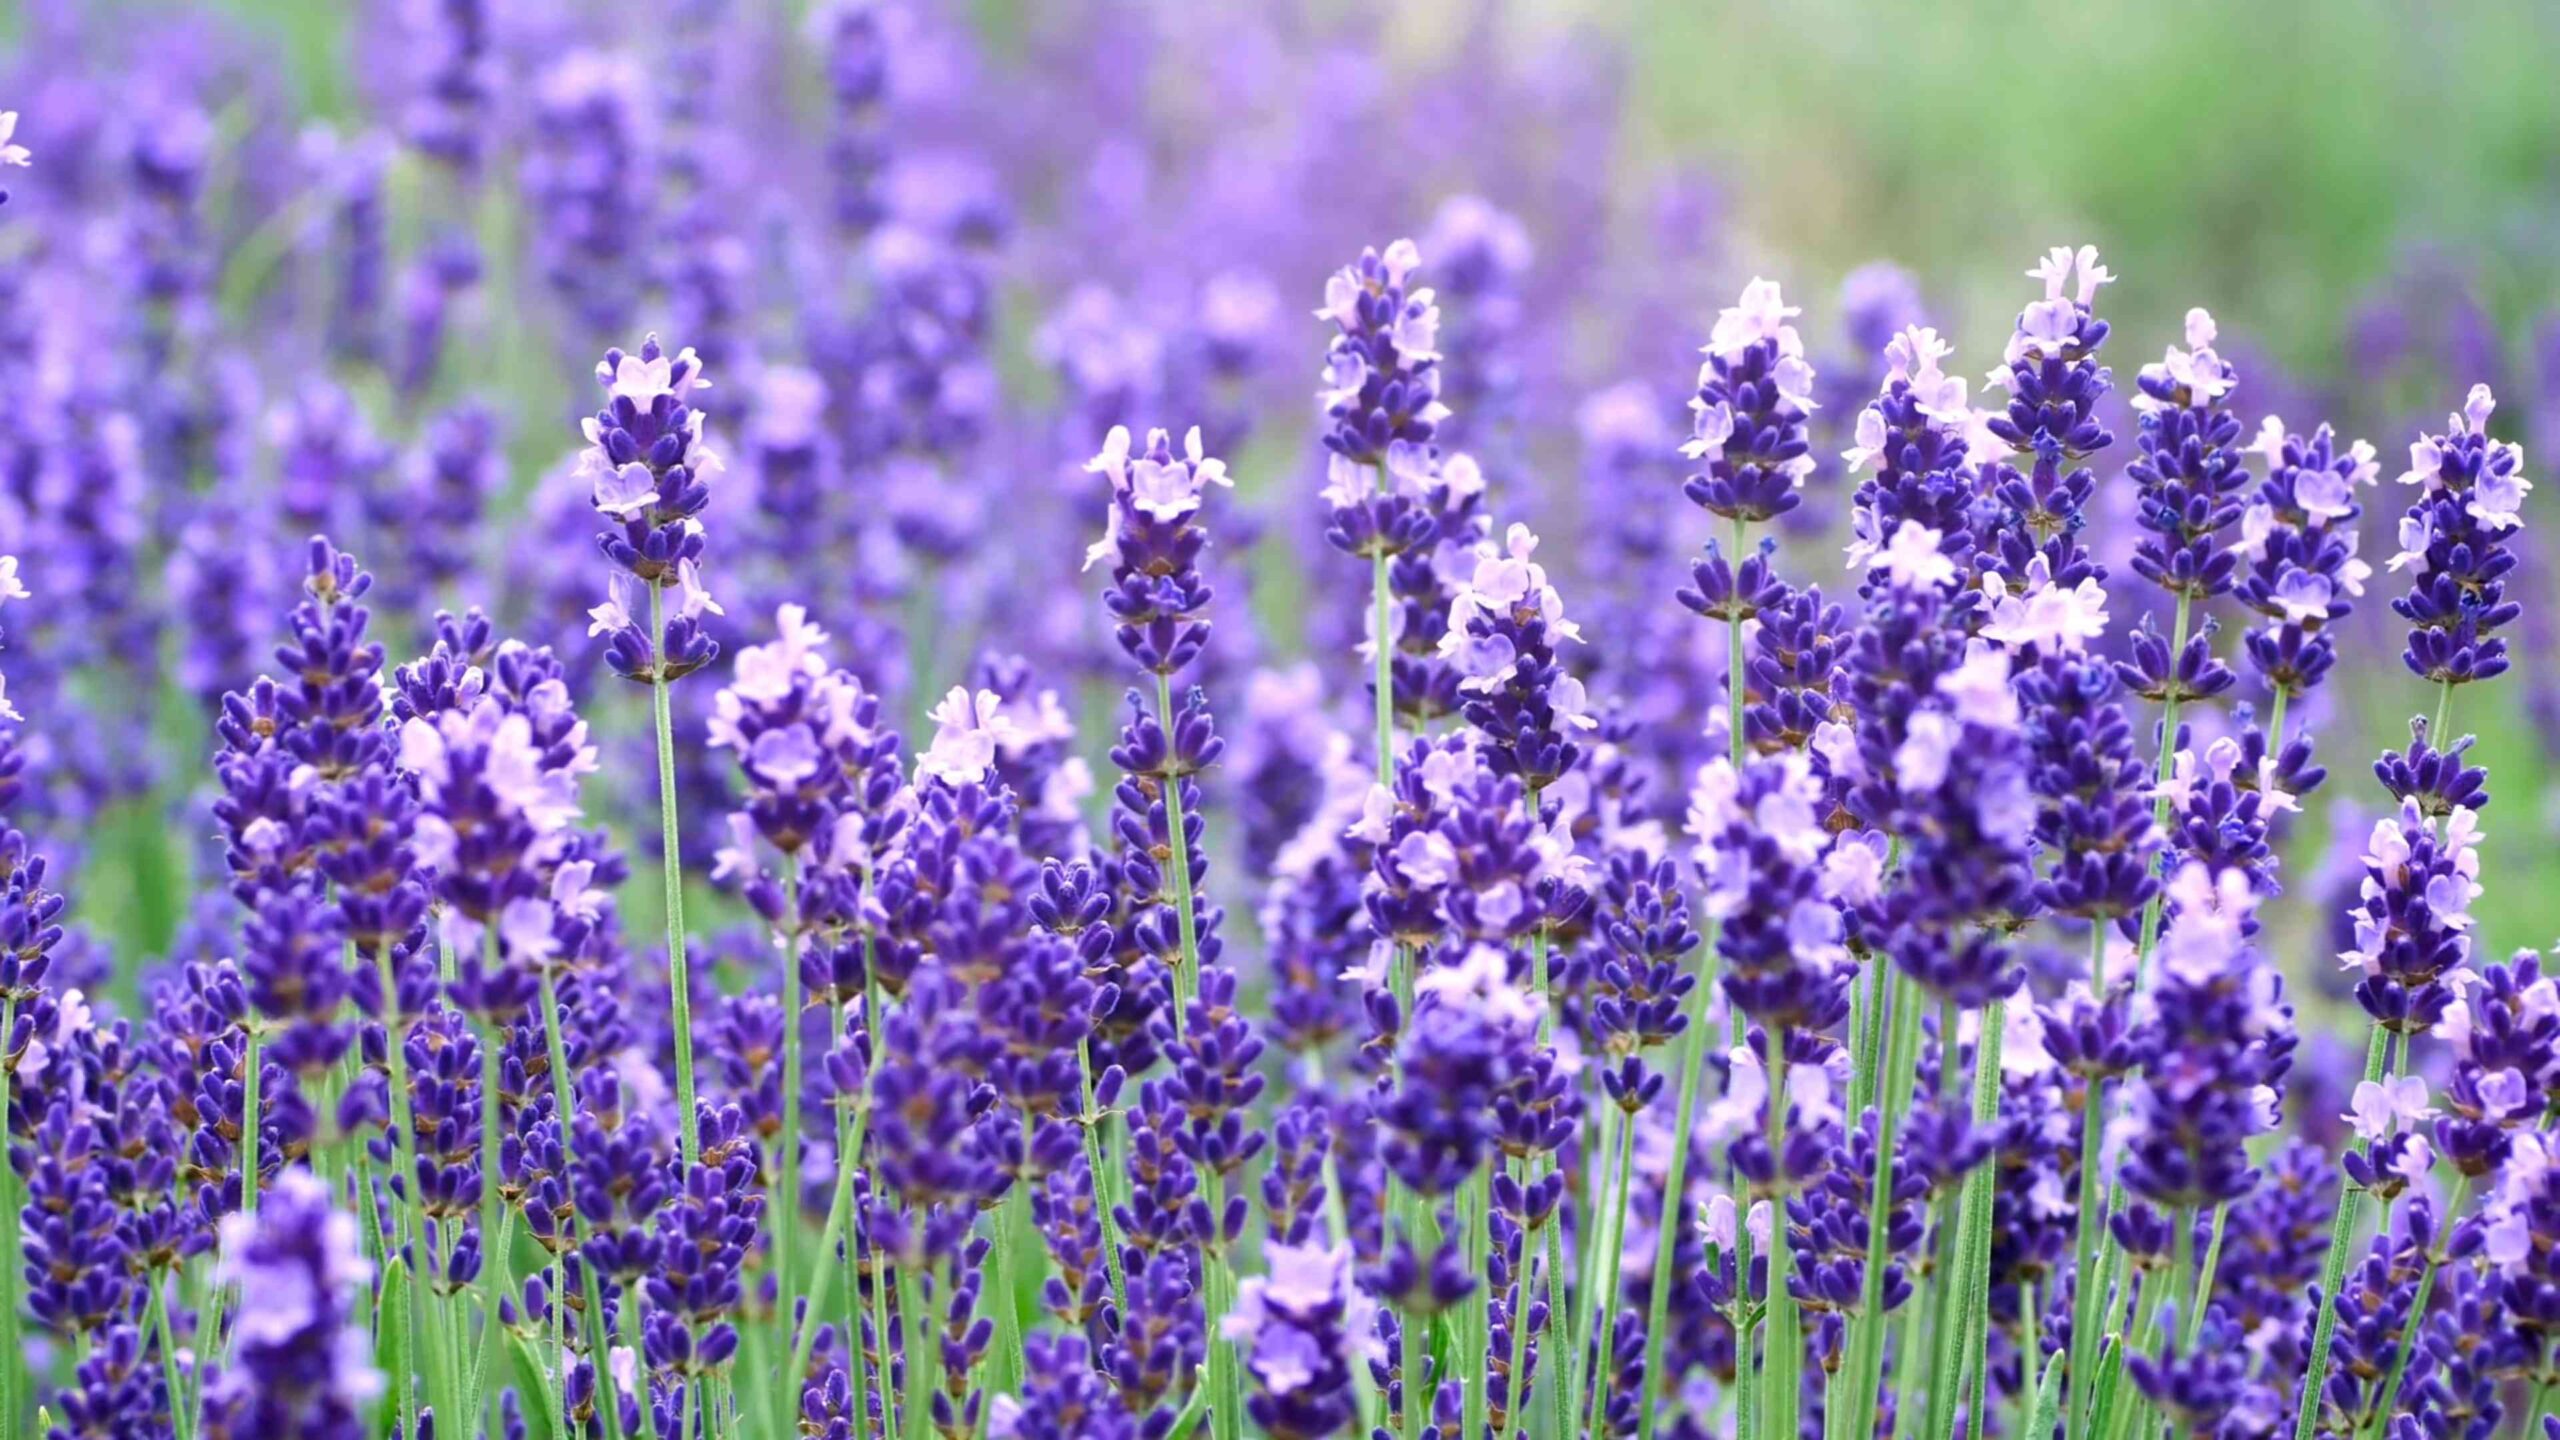
Growing Lavender Shrubs can transform your garden into a fragrant, buzzing paradise, and I’m here to show you how surprisingly easy it can be! Forget those intimidating gardening books – we’re diving into simple, effective DIY tricks that will have your neighbors green with envy. Have you ever walked past a lavender field in Provence, France, and wished you could recreate that sensory experience at home? Lavender has been cherished for centuries, not just for its captivating scent but also for its medicinal and culinary uses, dating back to ancient Rome where it was used to scent baths and purify the air.
But beyond the romantic allure, growing lavender shrubs offers practical benefits. In today’s busy world, creating a calming and beautiful outdoor space is more important than ever. Lavender attracts pollinators like bees and butterflies, boosting your garden’s ecosystem. Plus, it’s relatively low-maintenance once established, making it perfect for even the busiest gardener. I’m going to share some of my favorite DIY hacks for successfully growing lavender, from choosing the right variety for your climate to creating the perfect soil conditions. Get ready to unleash your inner gardener and enjoy the beauty and tranquility of lavender right in your own backyard!
DIY: Propagating Lavender from Cuttings – A Beginner’s Guide
Hey there, fellow plant enthusiasts! Ever admired those fragrant, purple lavender fields and wished you could have a little piece of that magic in your own garden? Well, you absolutely can! And the best part? You don’t need to spend a fortune buying new plants. Today, I’m going to walk you through the surprisingly simple process of propagating lavender from cuttings. It’s a rewarding DIY project that will not only expand your lavender collection but also save you some serious cash.
Why Propagate Lavender from Cuttings?
Before we dive in, let’s quickly touch on why propagating from cuttings is such a great option.
* Cost-Effective: As I mentioned, it’s way cheaper than buying established plants. You can get multiple new plants from just one healthy lavender shrub.
* Genetic Consistency: Cuttings produce clones of the parent plant, meaning your new lavender will have the exact same characteristics – fragrance, flower color, growth habit – as the original.
* Relatively Easy: Compared to starting from seed, propagating from cuttings is much faster and has a higher success rate, especially for beginners.
* Control Over Variety: You get to choose exactly which lavender variety you want to propagate.
What You’ll Need
Alright, let’s gather our supplies. Here’s what you’ll need to successfully propagate lavender from cuttings:
* Healthy Lavender Plant: This is your “mother” plant. Choose a mature, healthy lavender shrub that you love. Avoid plants showing signs of disease or stress.
* Sharp, Clean Pruning Shears or Knife: Sharpness is key for clean cuts that heal quickly. Sterilize your tools with rubbing alcohol to prevent the spread of disease.
* Rooting Hormone (Optional but Recommended): This powder or liquid contains hormones that stimulate root growth. It significantly increases your chances of success. I personally swear by it!
* Rooting Medium: This is what your cuttings will grow in. A well-draining mix is crucial. I recommend a mix of equal parts perlite and vermiculite, or a commercial seed-starting mix. Avoid using garden soil, as it can be too heavy and retain too much moisture.
* Small Pots or Trays: Choose pots or trays with drainage holes. I prefer using small, individual pots (around 2-3 inches in diameter) to minimize root disturbance when transplanting.
* Clear Plastic Bag or Humidity Dome: Lavender cuttings need high humidity to root successfully. A plastic bag or humidity dome will help create a mini-greenhouse environment.
* Spray Bottle with Water: For misting the cuttings to keep them hydrated.
* Labels and a Pen: To label your cuttings with the lavender variety and date. Trust me, you’ll thank yourself later!
* Well-Lit Location: Indirect sunlight is ideal. Avoid direct sunlight, which can scorch the cuttings.
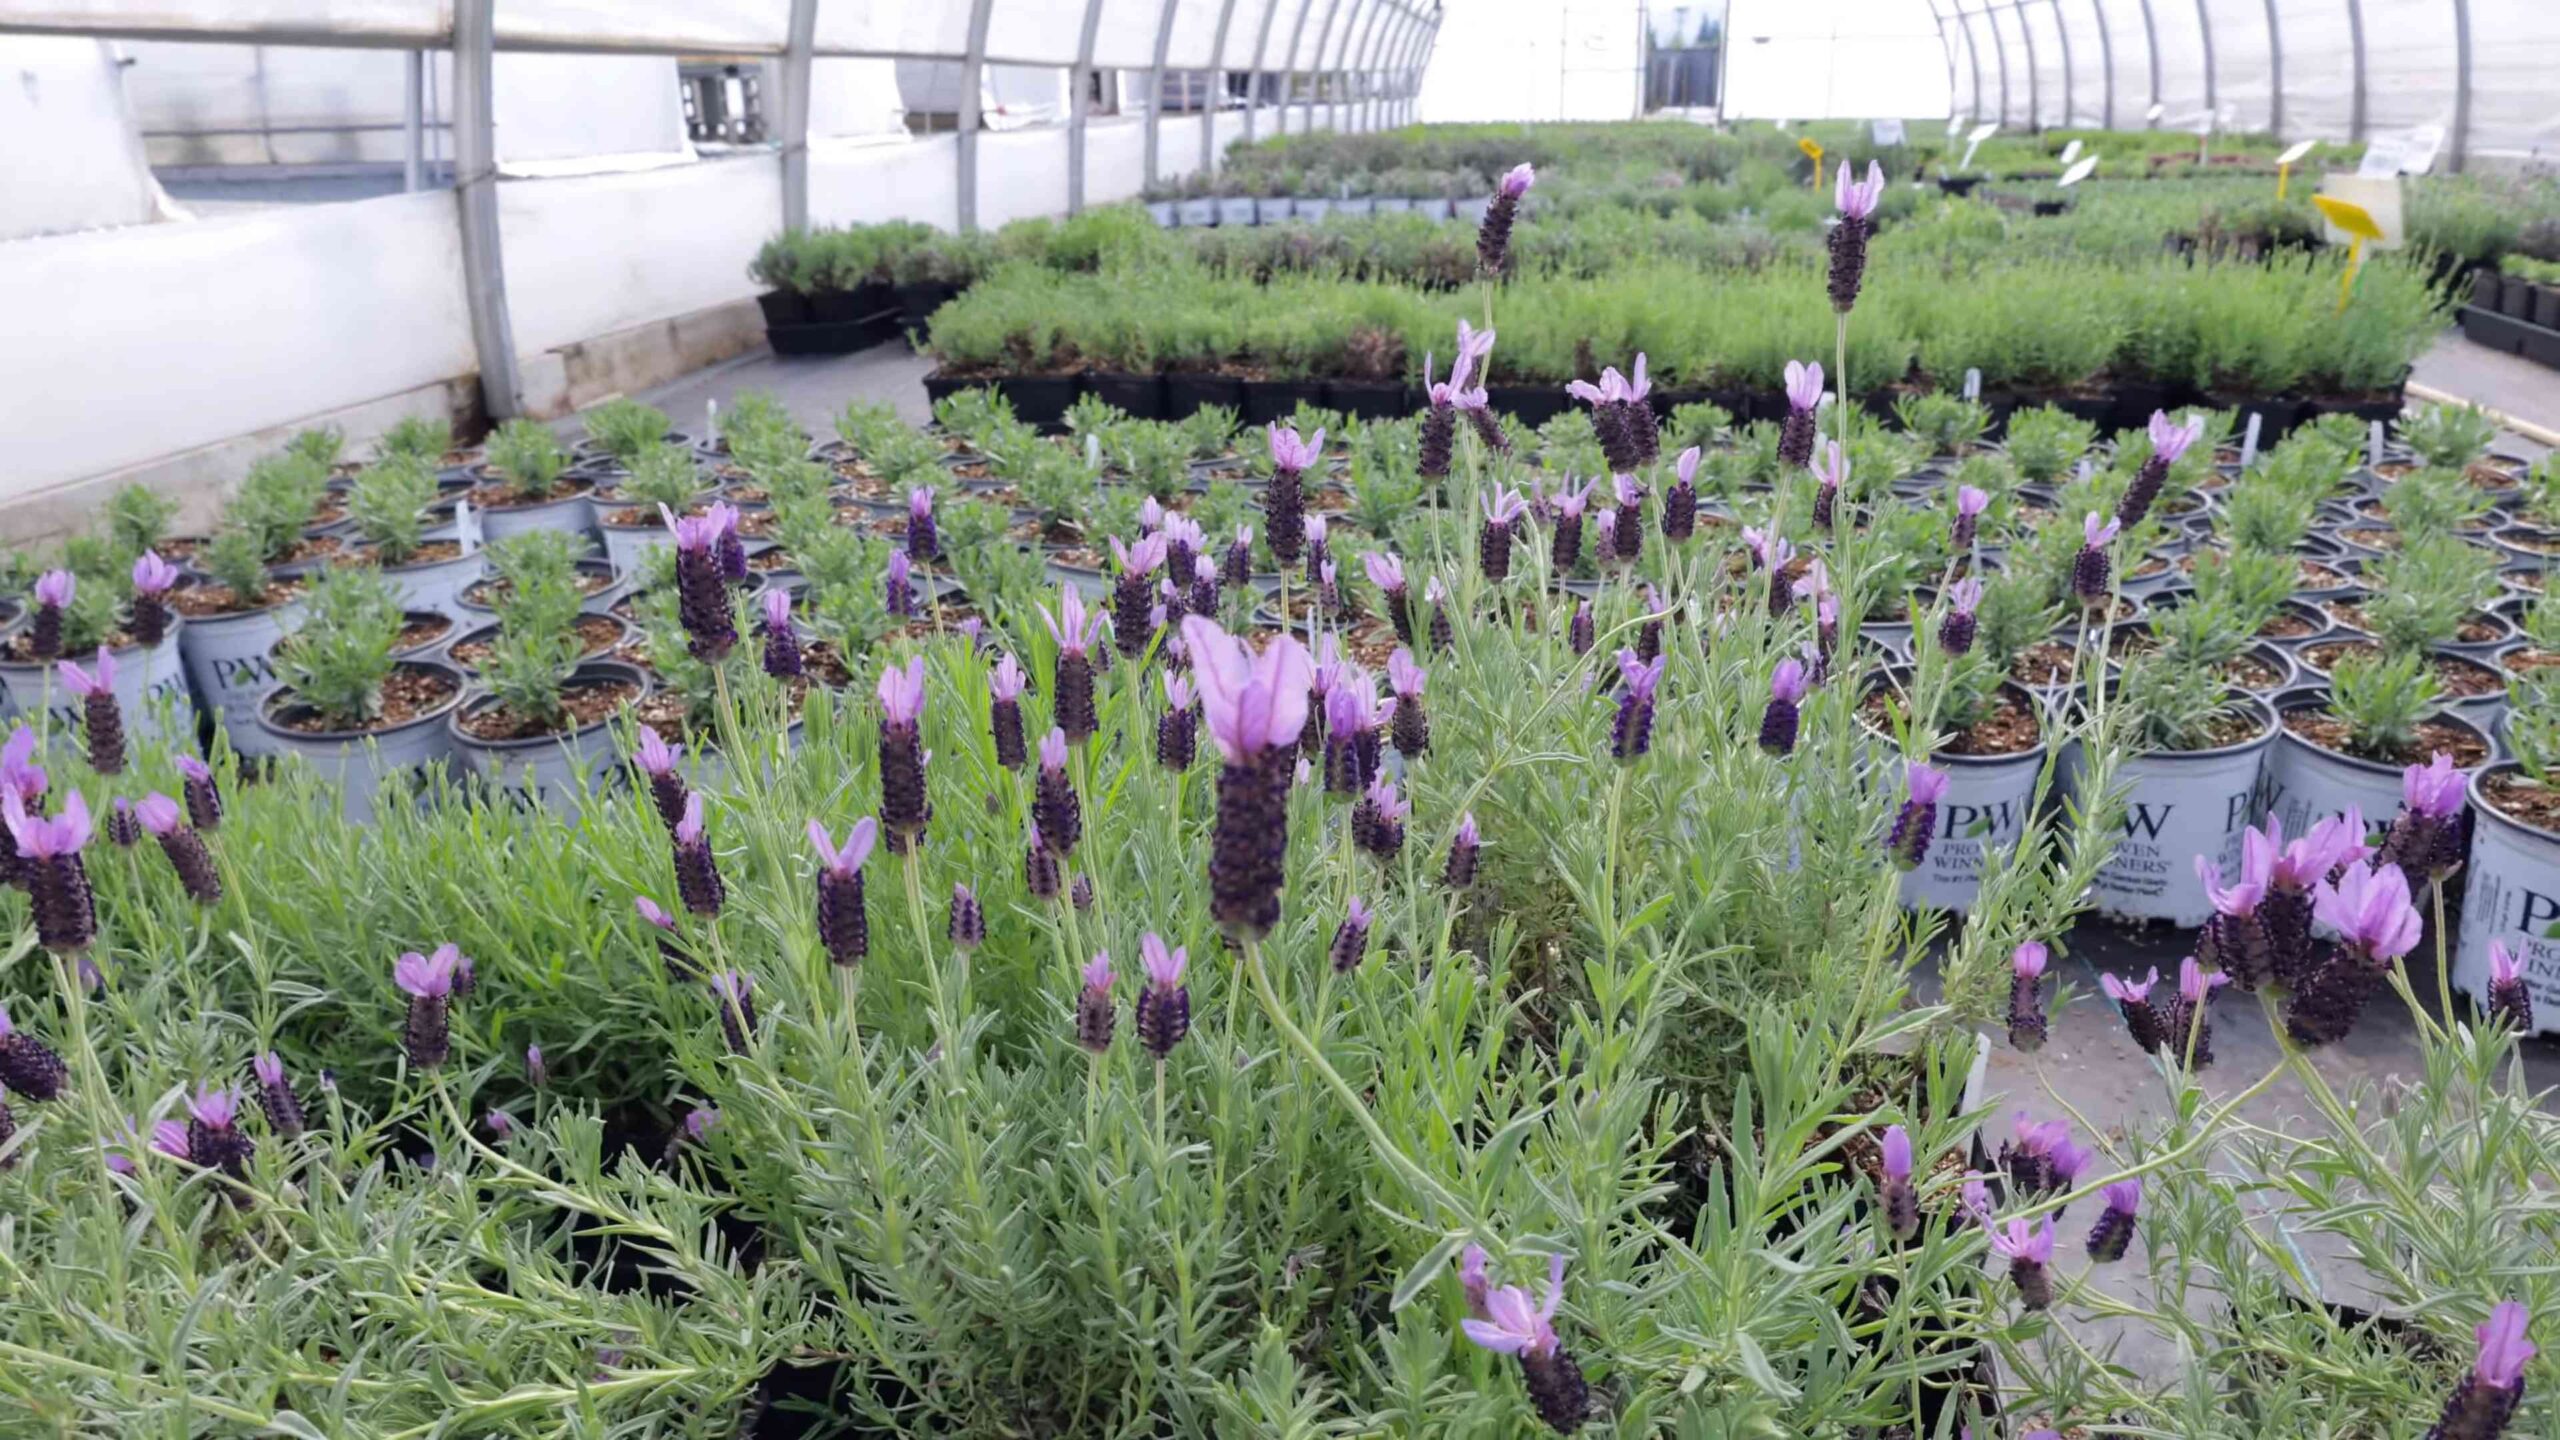
Taking the Cuttings
This is where the magic begins! The best time to take lavender cuttings is in late spring or early summer, when the plant is actively growing.
1. Prepare Your Tools: Sterilize your pruning shears or knife with rubbing alcohol. This is a crucial step to prevent fungal infections.
2. Identify Non-Flowering Shoots: Look for healthy, non-flowering shoots on your lavender plant. These are the best candidates for cuttings. Avoid taking cuttings from flowering stems, as they tend to be less successful.
3. Take the Cuttings: Using your sharp, sterilized shears, cut 4-6 inch long sections from the tips of the non-flowering shoots. Make the cut just below a leaf node (the point where leaves grow from the stem).
4. Prepare the Cuttings: Remove the leaves from the bottom 1-2 inches of each cutting. This will prevent the leaves from rotting when they’re buried in the rooting medium. Gently scrape the bottom of the stem with your knife to encourage root formation.
5. Apply Rooting Hormone (Optional): If you’re using rooting hormone, moisten the bottom inch of the cutting and dip it into the hormone powder. Tap off any excess powder. This step isn’t mandatory, but it definitely boosts your chances of success.
Planting the Cuttings
Now that you have your prepared cuttings, it’s time to get them planted!
1. Prepare the Rooting Medium: Moisten your rooting medium (perlite/vermiculite mix or seed-starting mix) with water until it’s damp but not soggy.
2. Fill the Pots: Fill your small pots or trays with the moistened rooting medium.
3. Make Planting Holes: Use a pencil or your finger to create a small hole in the center of each pot. The hole should be deep enough to accommodate the bottom 1-2 inches of the cutting.
4. Plant the Cuttings: Gently insert each cutting into a planting hole, making sure the bottom 1-2 inches of the stem are buried in the rooting medium.
5. Gently Firm the Soil: Gently press the rooting medium around the base of each cutting to ensure good contact.
6. Water the Cuttings: Water the cuttings gently with a spray bottle to moisten the rooting medium. Avoid overwatering, as this can lead to rot.
Creating a Humid Environment
Lavender cuttings need high humidity to root successfully. Here’s how to create that environment:
1. Cover with Plastic Bag or Humidity Dome: Place the pots or trays inside a clear plastic bag or under a humidity dome. Make sure the plastic bag doesn’t touch the leaves of the cuttings. You can use skewers or chopsticks to prop up the bag if needed.
2. Ventilation: Open the bag or lift the dome for a few minutes every day to allow for air circulation. This will help prevent fungal growth.
Caring for the Cuttings
Patience is key! It takes time for lavender cuttings to root. Here’s how to care for them during the rooting process:
1. Location: Place the cuttings in a well-lit location with indirect sunlight. Avoid direct sunlight, which can scorch the cuttings.
2. Watering: Keep the rooting medium consistently moist but not soggy. Check the moisture level daily and mist the cuttings with water as needed.
3. Humidity: Maintain high humidity by keeping the cuttings covered with a plastic bag or humidity dome.
4. Monitoring: Check the cuttings regularly for signs of rot or disease. Remove any dead or decaying leaves immediately.
5. Patience: It typically takes 4-8 weeks for lavender cuttings to root. You’ll know they’ve rooted when you see new growth emerging from the top of the cuttings. You can also gently tug on the cuttings to see if they resist.
Transplanting the Rooted Cuttings
Once your lavender cuttings have developed a strong root system, it’s time to transplant them into larger pots or directly into your garden.
1. Prepare the New Pots or Garden Bed: Choose pots that are at least 4 inches in diameter or prepare a garden bed with well-draining soil. Lavender prefers slightly alkaline soil, so you can amend the soil with lime if needed.
2. Gently Remove the Cuttings: Carefully remove the rooted cuttings from their small pots. Be gentle to avoid damaging the delicate roots.
3. Plant the Cuttings: Plant the cuttings in the new pots or garden bed, making sure the top of the root ball is level with the soil surface.
4. Water Thoroughly: Water the newly transplanted lavender plants thoroughly.
5. Care for the New Plants: Provide the new lavender plants with plenty of sunlight and well-draining soil. Water them regularly, especially during dry periods.
Tips for Success
Here are a few extra tips to help you succeed with propagating lavender from cuttings:
* Take Multiple Cuttings: Not all cuttings will root successfully, so it’s always a good idea to take more cuttings than you need.
* Choose Healthy Parent Plants: The health of the parent plant directly affects the success of the cuttings. Choose healthy, vigorous plants that are free from disease.
* Maintain Consistent Moisture: Lavender cuttings need consistent moisture to root successfully. Avoid letting the rooting medium dry out completely.
* Avoid Overwatering: Overwatering can lead to rot, which is a common cause of failure when propagating lavender from cuttings.
* Be Patient: Rooting takes time, so don’t get discouraged if you don’t see results immediately.
Troubleshooting
Even with the best efforts, sometimes things don’t go as planned. Here are some common problems and how to address them:
* Cuttings Rotting: This is usually caused by overwatering or poor drainage. Make sure your rooting medium is well-draining and avoid overwatering. Remove any rotting leaves immediately.
*
Conclusion
So, there you have it! Mastering the art of growing lavender shrubs doesn’t require a green thumb blessed by the garden gods. It’s about understanding a few key principles – sunlight, well-draining soil, and mindful pruning – and applying them consistently. This DIY approach to cultivating these fragrant beauties is a must-try for several compelling reasons.
Firstly, it’s incredibly rewarding. There’s a unique satisfaction in nurturing a plant from a small seedling or cutting to a thriving, aromatic shrub. Witnessing the vibrant purple blooms emerge, knowing you played an integral role in their creation, is an experience that store-bought lavender simply can’t replicate.
Secondly, it’s cost-effective. Purchasing mature lavender shrubs can be expensive, especially if you’re looking to create a substantial lavender hedge or fill a large garden space. Starting from seeds or cuttings significantly reduces the financial burden, allowing you to cultivate a larger lavender haven without breaking the bank.
Thirdly, it allows for customization. You’re not limited to the varieties available at your local nursery. By sourcing seeds or cuttings from different lavender species, you can experiment with various colors, fragrances, and growth habits, creating a truly unique and personalized lavender garden. Consider exploring French lavender (Lavandula dentata) for its distinctive toothed leaves and extended blooming season, or English lavender (Lavandula angustifolia) for its classic fragrance and compact size. You could even try growing Spanish lavender (Lavandula stoechas) with its unique “ears” atop the flower spikes for a touch of whimsy.
Fourthly, it’s environmentally friendly. By growing your own lavender, you’re reducing your reliance on commercially grown plants, which often involve the use of pesticides and herbicides. You can cultivate your lavender organically, creating a safe and healthy environment for pollinators and other beneficial insects.
Growing lavender shrubs is more than just a gardening project; it’s an investment in beauty, fragrance, and well-being. Imagine strolling through your garden, the air filled with the calming scent of lavender, the buzzing of bees a gentle symphony. Picture yourself harvesting your own lavender to create fragrant sachets, soothing bath salts, or even culinary delights.
Don’t be intimidated by the prospect of growing lavender. Start small, experiment with different techniques, and learn from your experiences. Remember to provide ample sunlight, ensure excellent drainage, and prune regularly to encourage healthy growth and abundant blooms.
We encourage you to embark on this fragrant adventure and discover the joy of growing your own lavender shrubs. And once you’ve experienced the magic of homegrown lavender, we’d love to hear about it! Share your tips, successes, and even your challenges in the comments below. Let’s create a community of lavender lovers, sharing our knowledge and inspiring each other to cultivate beautiful and fragrant gardens. What are you waiting for? Get planting!
Frequently Asked Questions (FAQ)
What is the best time of year to plant lavender?
The ideal time to plant lavender depends on your climate. In regions with mild winters, fall planting is often preferred, allowing the plants to establish roots before the heat of summer. In colder climates, spring planting after the last frost is recommended. This gives the lavender plants ample time to grow and harden off before the onset of winter. Regardless of the season, avoid planting during periods of extreme heat or cold.
What type of soil is best for growing lavender?
Lavender thrives in well-draining, slightly alkaline soil. Heavy clay soils can be problematic as they retain too much moisture, leading to root rot. To improve drainage, amend clay soils with sand, gravel, or compost. A soil pH between 6.5 and 8.0 is ideal. You can test your soil pH using a home testing kit or by sending a sample to a local agricultural extension office. If your soil is too acidic, you can amend it with lime.
How much sunlight does lavender need?
Lavender requires at least six to eight hours of direct sunlight per day to thrive. Insufficient sunlight can result in leggy growth, reduced flowering, and increased susceptibility to diseases. Choose a planting location that receives full sun throughout the day. If you live in a particularly hot climate, some afternoon shade may be beneficial to prevent scorching.
How often should I water my lavender plants?
Lavender is drought-tolerant once established, so overwatering is a common mistake. Water deeply but infrequently, allowing the soil to dry out completely between waterings. During the first year after planting, water more regularly to help the plants establish their root systems. Avoid overhead watering, as this can promote fungal diseases. Instead, water at the base of the plant.
How do I prune lavender?
Pruning is essential for maintaining the shape and health of your lavender plants. Prune annually after the flowers have faded, typically in late summer or early fall. Remove about one-third of the plant’s growth, being careful not to cut back into the old wood, as this can prevent new growth. Regular pruning encourages bushier growth and more abundant flowering. You can also lightly prune in the spring to remove any dead or damaged growth.
Can I grow lavender in containers?
Yes, lavender can be successfully grown in containers, making it a great option for those with limited garden space. Choose a pot that is at least 12 inches in diameter and has drainage holes. Use a well-draining potting mix specifically formulated for containers. Water regularly, allowing the soil to dry out between waterings. Fertilize sparingly with a balanced fertilizer. Container-grown lavender may need to be protected from extreme cold during the winter months.
How do I propagate lavender?
Lavender can be propagated from seeds or cuttings. Seed propagation can be slow and challenging, so cuttings are often the preferred method. Take cuttings from new growth in the spring or early summer. Remove the lower leaves and dip the cut end in rooting hormone. Plant the cuttings in a well-draining rooting medium, such as perlite or vermiculite. Keep the cuttings moist but not waterlogged. Roots should develop within a few weeks.
What are some common problems that affect lavender?
Common problems that affect lavender include root rot, fungal diseases, and insect pests. Root rot is caused by overwatering and poor drainage. Fungal diseases, such as powdery mildew, can be prevented by ensuring good air circulation and avoiding overhead watering. Insect pests, such as aphids and spider mites, can be controlled with insecticidal soap or neem oil. Regularly inspect your plants for signs of problems and take action promptly to prevent them from spreading.
How can I use my homegrown lavender?
The possibilities for using homegrown lavender are endless! You can dry the flowers and use them in sachets, potpourri, or bath salts. Lavender essential oil can be extracted and used in aromatherapy or skincare products. Lavender flowers can also be used in culinary applications, such as baking, teas, and savory dishes. Experiment with different uses and discover your favorite ways to enjoy the fragrance and flavor of your homegrown lavender.
Leave a Comment