

Grow Violets, and you’ll unlock a world of vibrant color and delicate fragrance right in your own home! Have you ever admired those charming little blooms, thinking they were too difficult to cultivate? Well, I’m here to tell you that growing violets is easier than you might think, and this beginner’s guide will give you all the secrets you need to succeed.
Violets have a rich history, gracing gardens and folklore for centuries. In ancient Greece, they were symbols of love and fertility, while in Victorian England, they represented modesty and faithfulness. These little flowers have always held a special place in our hearts, and now you can bring that history and beauty into your own home.
But why should you learn to grow violets? In today’s busy world, we all crave a little bit of nature and tranquility. Nurturing these beautiful plants can be incredibly therapeutic, providing a calming escape from the stresses of daily life. Plus, imagine the joy of gifting a friend or loved one a pot of homegrown violets – a truly thoughtful and personal present! This DIY guide will provide you with the essential tricks and hacks to cultivate these beauties, even if you’ve never grown anything before. Let’s get started and transform your space into a violet paradise!
Growing Violets: A Beginner’s Guide to Blooming Success
Hey there, fellow plant enthusiast! So, you’re thinking about growing violets? Awesome choice! These little beauties are not only charming but also relatively easy to care for, making them perfect for beginners like us. I’m going to walk you through everything you need to know to get your violets thriving and blooming like crazy. Let’s get started!
Choosing Your Violet
First things first, let’s talk about picking the right violet. There are tons of different varieties, each with its own unique charm.
* African Violets (Saintpaulia ionantha): These are the most common and readily available. They come in a rainbow of colors, from deep purples and blues to pinks, whites, and even variegated varieties.
* Miniature Violets: If you’re short on space, these are a great option. They’re just as beautiful as their larger cousins, but they stay compact.
* Trailing Violets: These are perfect for hanging baskets or displaying on shelves where they can cascade down.
When you’re choosing your violet, look for plants with healthy, green leaves and plenty of buds. Avoid plants with yellowing or brown leaves, or any signs of pests or diseases.
Setting Up Your Violet’s Home
Violets are pretty adaptable, but they do have some specific needs when it comes to their environment.
* Potting Mix: Regular potting soil is a no-go for violets. It’s too heavy and doesn’t drain well enough. You’ll need a special African violet potting mix, which is lighter and more porous. You can find this at most garden centers.
* Pot Size: Don’t go too big! Violets actually prefer to be slightly root-bound. A pot that’s about one-third the diameter of the plant is usually a good size.
* Pot Material: Plastic pots are generally preferred because they retain moisture better than clay pots. However, if you’re prone to overwatering, a clay pot might be a better choice. Just keep a closer eye on the moisture level.
* Drainage: Make sure your pot has drainage holes! This is crucial to prevent root rot.
Planting Your Violet
Okay, now for the fun part – planting!
1. Prepare the Pot: Fill your pot with African violet potting mix, leaving about an inch of space at the top.
2. Remove the Violet from its Container: Gently squeeze the sides of the container to loosen the plant. Carefully lift the violet out, being careful not to damage the roots.
3. Plant the Violet: Place the violet in the center of the pot, making sure the crown of the plant (where the leaves emerge) is level with the soil surface.
4. Fill in with Soil: Add more potting mix around the violet, gently pressing it down to secure the plant.
5. Water Thoroughly: Water the violet until water drains out of the drainage holes.
Light: Finding the Sweet Spot
Light is super important for violets. They need bright, indirect light to thrive and bloom.
* East-Facing Window: This is often the ideal location, as it provides gentle morning sun.
* South-Facing Window: If you have a south-facing window, you’ll need to filter the light with a sheer curtain to prevent the leaves from getting scorched.
* West-Facing Window: West-facing windows can also work, but be careful of the intense afternoon sun.
* Artificial Light: If you don’t have enough natural light, you can use fluorescent or LED grow lights. Place the lights about 12-18 inches above the plants and keep them on for 12-14 hours a day.
How to Tell if Your Violet is Getting Enough Light:
* Too Little Light: Long, leggy stems and few blooms. The leaves may also be a darker green.
* Too Much Light: Pale, bleached-looking leaves. The leaves may also be scorched or burned.
* Just Right: Compact growth, healthy green leaves, and plenty of blooms.
Watering: The Key to Violet Happiness
Watering is where a lot of people struggle with violets. They’re sensitive to both overwatering and underwatering.
* Watering Method: The best way to water violets is from the bottom. Place the pot in a saucer filled with water and let it soak for about 30 minutes, or until the top of the soil feels moist. Then, remove the pot from the saucer and let any excess water drain out.
* Water Temperature: Use room-temperature water. Cold water can shock the roots and cause leaf spots.
* Frequency: Water when the top inch of soil feels dry to the touch. This will usually be about once a week, but it can vary depending on the humidity and temperature.
* Avoid Getting Water on the Leaves: Water on the leaves can cause spots and promote fungal growth. If you accidentally get water on the leaves, gently blot it dry with a paper towel.
Humidity: Keeping Things Moist
Violets like humidity, but they don’t like to be soggy.
* Humidity Tray: Fill a shallow tray with pebbles and add water until the water level is just below the top of the pebbles. Place your violet on top of the pebbles. As the water evaporates, it will increase the humidity around the plant.
* Group Plants Together: Grouping plants together can also help to increase humidity.
* Humidifier: If you live in a dry climate, you might consider using a humidifier.
Fertilizing: Giving Your Violet a Boost
Violets need regular fertilizing to stay healthy and bloom well.
* Type of Fertilizer: Use a balanced liquid fertilizer specifically formulated for African violets.
* Frequency: Fertilize every 2-4 weeks during the growing season (spring and summer). Reduce or stop fertilizing during the winter months.
* Dilution: Always dilute the fertilizer according to the instructions on the label. Over-fertilizing can burn the roots.
Grooming: Keeping Your Violet Looking Its Best
Regular grooming will help to keep your violet healthy and attractive.
* Remove Dead or Damaged Leaves: Gently remove any dead or damaged leaves by snapping them off at the base.
* Remove Suckers: Suckers are small plantlets that grow from the base of the plant. They can drain energy from the main plant, so it’s best to remove them. Gently twist them off at the base.
* Repotting: Repot your violet every year or two to refresh the soil and give it more room to grow.
Troubleshooting: Dealing with Common Problems
Even with the best care, you might encounter some problems with your violets. Here are a few common issues and how to deal with them:
* Root Rot: This is caused by overwatering. The leaves will turn yellow and the plant will wilt. To treat root rot, repot the violet in fresh potting mix and be careful not to overwater.
* Powdery Mildew: This is a fungal disease that causes a white, powdery coating on the leaves. To treat powdery mildew, improve air circulation and apply a fungicide.
* Mealybugs: These are small, white, cottony insects that suck the sap from plants. To get rid of mealybugs, dab them with a cotton swab dipped in rubbing alcohol.
* Cyclamen Mites: These are tiny mites that can cause distorted growth and prevent blooming. They are very difficult to see with the naked eye. Treat with a miticide specifically labeled for cyclamen mites.
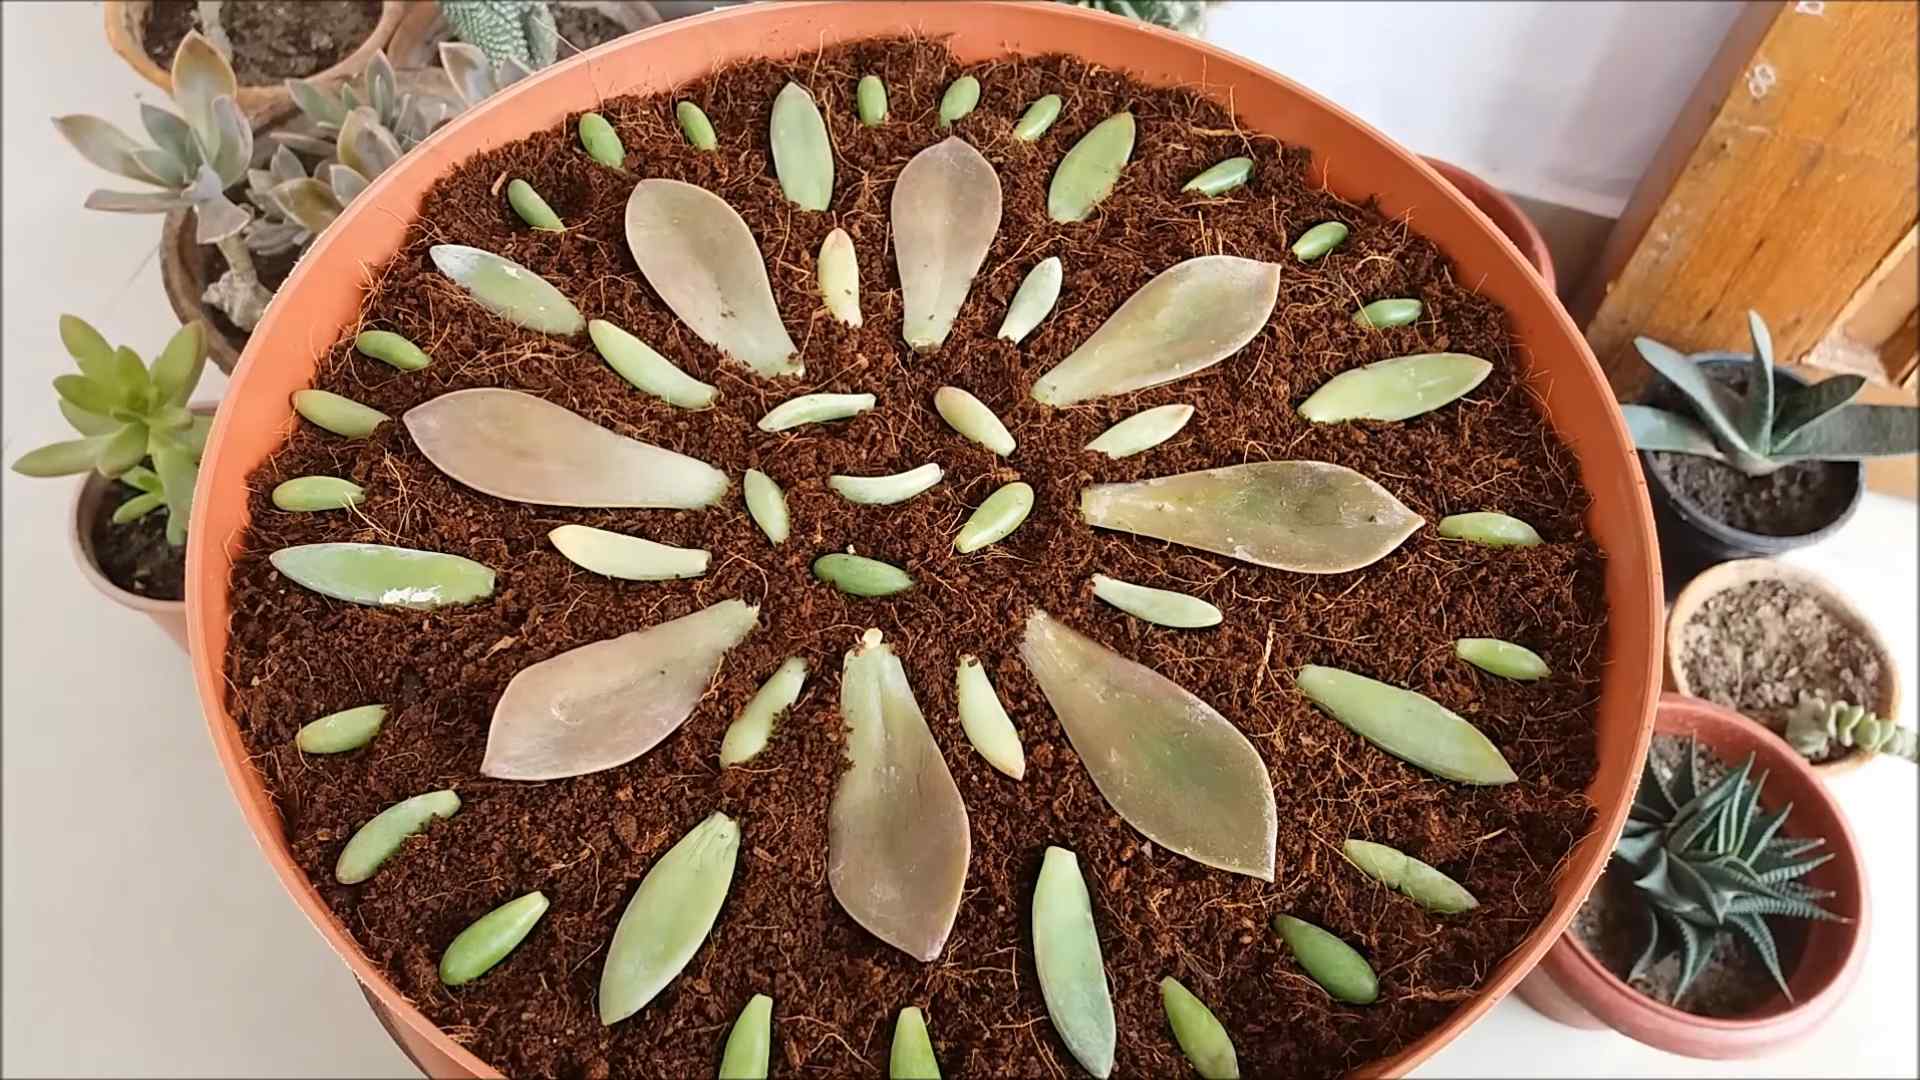
Propagating: Making More Violets!
One of the coolest things about violets is that they’re super easy to propagate from leaf cuttings. Here’s how:
1. Choose a Healthy Leaf: Select a healthy, mature leaf from your violet.
2. Cut the Petiole: Cut the petiole (the stem of the leaf) at a 45-degree angle, about 1-2 inches from the leaf.
3. Prepare the Potting Mix: Fill a small pot with African violet potting mix.
4. Insert the Petiole: Make a small hole in the potting mix and insert the petiole, burying it about 1 inch deep.
5. Water and Cover: Water the potting mix and cover the pot with a plastic bag or dome to create a humid environment.
6. Wait for New Plants: Place the pot in a warm, bright location and wait for new plantlets to emerge. This can take several weeks or even months.
7. Transplant the Plantlets: Once the plantlets are large enough to handle, carefully separate them from the original leaf and transplant them into their own pots.
Encouraging Blooms: The Secret Sauce
Conclusion
So, there you have it! A comprehensive guide to growing violets, even if you’re a complete beginner. We’ve covered everything from selecting the right variety and preparing the perfect potting mix to mastering watering techniques and troubleshooting common problems. But the real magic lies in our DIY trick: creating your own humidity dome using a simple plastic bottle.
Why is this DIY trick a must-try? Because violets thrive in humid environments, and maintaining consistent humidity can be challenging, especially indoors. A homemade humidity dome provides that essential moisture boost, encouraging robust growth, vibrant blooms, and overall healthier plants. It’s a cost-effective, eco-friendly, and incredibly simple solution that can make a world of difference in your violet-growing journey.
Beyond the basic bottle dome, feel free to experiment! Try using different sizes of bottles to accommodate larger plants or multiple seedlings. You can also add small ventilation holes to the dome to regulate airflow and prevent excessive moisture buildup. Consider using clear plastic food containers as an alternative to bottles, especially if you have square pots. For a more aesthetically pleasing option, explore using glass cloches or bell jars, although these can be more expensive. Remember to monitor your violets regularly and adjust the humidity levels as needed based on their appearance and the surrounding environment.
Growing violets is a rewarding experience, and with a little patience and the right techniques, you can enjoy their delicate beauty year-round. Don’t be intimidated by the perceived challenges; our DIY humidity dome trick simplifies the process and sets you up for success. We’ve provided you with the knowledge and tools to confidently embark on this floral adventure.
We wholeheartedly encourage you to try this DIY trick and witness the positive impact it has on your violets. Share your experiences with us! Let us know how the humidity dome worked for you, what variations you tried, and any tips or tricks you discovered along the way. Your feedback will not only help us improve this guide but also inspire other beginner violet growers to embrace the joy of cultivating these charming plants. So, grab a plastic bottle, gather your violets, and get ready to witness the magic of DIY violet care! Happy growing!
Frequently Asked Questions (FAQs)
What exactly is a humidity dome, and why do violets need one?
A humidity dome is a transparent cover placed over a plant to trap moisture and create a humid microclimate. Violets, especially African violets, are native to tropical rainforests where humidity levels are naturally high. They thrive in environments with 50-70% humidity. Indoor environments, particularly during winter months when heating systems are in use, often have significantly lower humidity levels, which can lead to dry leaves, stunted growth, and a lack of blooms. The humidity dome helps to compensate for this lack of humidity, providing the ideal conditions for healthy violet growth.
How do I make the DIY humidity dome using a plastic bottle?
It’s incredibly simple! First, choose a clear plastic bottle that is large enough to cover your violet plant without touching the leaves. A 2-liter soda bottle or a large water bottle works well. Clean the bottle thoroughly with soap and water to remove any residue. Then, carefully cut off the bottom of the bottle, leaving enough of the bottle to cover the plant and sit securely on the pot. Place the bottle over the violet, ensuring that the leaves don’t touch the sides. You can secure the dome by gently pressing it into the soil or using small clips.
How often should I water my violets when using a humidity dome?
The humidity dome will reduce the rate of water evaporation, so you’ll need to water your violets less frequently. Check the soil moisture regularly by inserting your finger about an inch into the soil. If the soil feels dry to the touch, it’s time to water. When watering, avoid getting water on the leaves, as this can lead to fungal diseases. Bottom watering is the preferred method for violets. Place the pot in a shallow dish of water and allow the plant to absorb the water from the bottom for about 30 minutes. Then, remove the pot from the dish and allow any excess water to drain.
How long should I keep the humidity dome on my violets?
The duration depends on the humidity levels in your home and the specific needs of your violets. Generally, you can keep the dome on for several weeks or even months, especially during dry periods. However, it’s essential to monitor your plants regularly for signs of excessive moisture, such as mold or mildew. If you notice any problems, remove the dome for a few hours each day to allow for better air circulation. You can also add small ventilation holes to the dome to regulate humidity levels. As the weather warms up and humidity levels increase, you may be able to gradually remove the dome altogether.
Can I use a humidity dome for all types of violets?
While the DIY humidity dome is particularly beneficial for African violets, it can also be used for other types of violets that prefer humid environments. However, it’s important to research the specific needs of your violet variety and adjust the humidity levels accordingly. Some violets may prefer slightly drier conditions, so you may need to ventilate the dome more frequently or remove it altogether.
What are some signs that my violets need more or less humidity?
Signs that your violets need more humidity include dry, brittle leaves, brown leaf tips, and a lack of blooms. Conversely, signs that your violets are getting too much humidity include mold or mildew growth on the leaves or soil, yellowing leaves, and a general lack of vigor. Adjust the humidity levels accordingly by adding or removing the dome, ventilating the dome, or adjusting your watering schedule.
My violets are not blooming, even with the humidity dome. What could be the problem?
Several factors can contribute to a lack of blooms in violets. Insufficient light is a common culprit. Violets need bright, indirect light to bloom properly. Place your violets near a window that receives morning or afternoon sun, or use a grow light. Over-fertilizing can also inhibit blooming. Use a balanced fertilizer specifically formulated for violets, and follow the instructions carefully. Temperature fluctuations can also affect blooming. Violets prefer consistent temperatures between 65-75°F (18-24°C). Finally, make sure your violets are not root-bound. If the roots are circling the bottom of the pot, it’s time to repot them into a slightly larger container.
Can I use a commercially available humidity dome instead of making my own?
Absolutely! While the DIY plastic bottle dome is a cost-effective and readily available option, you can certainly use commercially available humidity domes or propagators. These are often made of sturdier materials and may have adjustable ventilation features. However, the DIY version works just as well for most beginner violet growers.
How do I prevent mold or mildew from growing under the humidity dome?
Good air circulation is key to preventing mold and mildew. Make sure to ventilate the dome regularly by removing it for a few hours each day or adding small ventilation holes. Avoid overwatering, as this can create a breeding ground for fungi. Use a well-draining potting mix to prevent the soil from becoming waterlogged. You can also add a small amount of horticultural charcoal to the potting mix to help absorb excess moisture and prevent fungal growth. If you notice any mold or mildew, gently wipe it away with a soft cloth dampened with a mild solution of water and baking soda.
What type of potting mix is best for violets under a humidity dome?
A well-draining potting mix is essential for violets, especially when using a humidity dome. A mix specifically formulated for African violets is ideal. These mixes typically contain a blend of peat moss, perlite, and vermiculite, which provide good drainage and aeration. Avoid using heavy garden soil, as it can become compacted and waterlogged, leading to root rot. You can also amend your own potting mix by adding extra perlite or vermiculite to improve drainage. Remember, healthy roots are the foundation for healthy violets!


Leave a Comment