

House Cleaning Hacks: Let’s face it, nobody *loves* cleaning, right? But what if I told you there were ways to make it faster, easier, and even… dare I say… a little bit fun? Forget spending your weekends scrubbing away; I’m about to share some game-changing DIY cleaning tricks that will leave your home sparkling without breaking a sweat (or the bank!).
For centuries, people have been searching for the ultimate shortcuts to a clean home. From ancient remedies using natural ingredients to modern innovations, the quest for efficient cleaning is a timeless pursuit. Think about it – our grandmothers had their own secret concoctions, passed down through generations, often relying on simple, readily available ingredients like vinegar and baking soda. These time-tested methods are the foundation of many of the house cleaning hacks we still use today!
In today’s busy world, time is precious. We’re all juggling work, family, and social lives, leaving little room for hours of tedious cleaning. That’s where these DIY tricks come in! They’re designed to save you time, money, and energy, allowing you to enjoy a cleaner, healthier home without sacrificing your precious free time. Plus, many of these hacks utilize eco-friendly ingredients, making them a sustainable choice for a greener lifestyle. So, get ready to discover some amazing house cleaning hacks that will transform your cleaning routine and give you back your weekends!
DIY House Cleaning Hacks: Sparkling Home, Happy You!
Okay, let’s be honest, cleaning isn’t exactly anyone’s favorite pastime. But a clean house? That’s a game-changer! It boosts your mood, reduces stress, and just makes life better. So, I’m going to share some of my absolute favorite DIY cleaning hacks that are easy, effective, and use ingredients you probably already have in your pantry. Get ready to say goodbye to grime and hello to a sparkling home!
Hack 1: Microwave Magic – The Steam Clean
This is seriously the easiest way to clean a microwave. No more scrubbing until your arm feels like it’s going to fall off!
* The Problem: Splattered food, dried-on gunk, and a generally unpleasant microwave interior.
* The Solution: Harness the power of steam!
* What You’ll Need:
* 1 cup of water
* 1 tablespoon of white vinegar or lemon juice (vinegar is my go-to for serious grime)
* A microwave-safe bowl or cup
Step-by-Step Instructions:
1. Mix it Up: Pour the water into your microwave-safe bowl or cup. Add the vinegar or lemon juice. The acid helps to loosen the stuck-on food.
2. Microwave Away: Place the bowl in the microwave and heat on high for 5-7 minutes. You want the water to boil and create a good amount of steam.
3. Patience is Key: Leave the microwave door closed for another 2-3 minutes after it stops. This allows the steam to really work its magic. Don’t peek!
4. Wipe it Clean: Carefully remove the bowl (it will be hot!). Use a clean cloth or sponge to easily wipe away the loosened food particles. You’ll be amazed at how easily everything comes off!
5. Final Touches: For stubborn spots, you might need a little extra elbow grease, but it should be significantly easier than before. Wipe down the turntable as well.
Hack 2: Sparkling Shower Head – Vinegar Soak
Hard water deposits can wreak havoc on your shower head, reducing water pressure and making it look gross. This hack is a simple and effective way to restore your shower head to its former glory.
* The Problem: Clogged shower head nozzles and mineral buildup.
* The Solution: A vinegar soak to dissolve the deposits.
* What You’ll Need:
* White vinegar
* A plastic bag (a Ziploc bag works great)
* A rubber band or twist tie
Step-by-Step Instructions:
1. Vinegar Bath: Fill the plastic bag with enough white vinegar to completely submerge the shower head.
2. Secure the Bag: Carefully attach the bag to the shower head, making sure the shower head is fully immersed in the vinegar. Use a rubber band or twist tie to secure the bag tightly.
3. Soak it Up: Let the shower head soak in the vinegar for at least 30 minutes, or even better, overnight. The longer it soaks, the more effectively the vinegar will dissolve the mineral deposits.
4. Rinse and Shine: Remove the bag and run the shower for a few minutes to flush out any remaining vinegar and loosened debris.
5. Scrub if Needed: If there are still some stubborn deposits, use an old toothbrush to gently scrub them away.
6. Enjoy the Pressure: Prepare to enjoy a shower with improved water pressure!
Hack 3: Grout Whitening Power – Baking Soda Paste
Grime and mildew love to settle into grout lines, making your tiles look dingy. This baking soda paste is a natural and effective way to brighten those grout lines.
* The Problem: Dirty, stained, and mildew-ridden grout lines.
* The Solution: A baking soda paste to scrub away the grime.
* What You’ll Need:
* Baking soda
* Water
* An old toothbrush or grout brush
* Spray bottle with white vinegar (optional, for extra cleaning power)
Step-by-Step Instructions:
1. Make the Paste: In a small bowl, mix baking soda with enough water to form a thick paste. You want it to be thick enough to stick to the grout lines.
2. Apply the Paste: Apply the baking soda paste to the grout lines using your fingers or a small spatula. Make sure to cover all the dirty areas.
3. Scrub-a-Dub-Dub: Use an old toothbrush or grout brush to scrub the grout lines thoroughly. Apply some pressure and work in small sections. You’ll see the grime start to lift.
4. Vinegar Boost (Optional): For extra cleaning power, spray the baking soda paste with white vinegar. The vinegar will react with the baking soda, creating a fizzing action that helps to loosen the dirt.
5. Rinse it Off: Rinse the area with clean water to remove the baking soda paste and loosened grime. You can use a damp sponge or cloth to wipe away any residue.
6. Admire Your Work: Stand back and admire your bright, clean grout lines!
Hack 4: Mattress Refresh – Baking Soda Deodorizer
Mattresses can harbor dust mites, dead skin cells, and odors. This baking soda trick is a simple way to freshen up your mattress and eliminate unwanted smells.
* The Problem: Stale odors and dust mites in your mattress.
* The Solution: Baking soda to absorb odors and dehydrate dust mites.
* What You’ll Need:
* Baking soda
* A vacuum cleaner with an upholstery attachment
* Essential oils (optional, for added fragrance)
* A sifter or strainer (optional, for even distribution)
Step-by-Step Instructions:
1. Strip the Bed: Remove all bedding, including sheets, blankets, and pillowcases. Wash them in hot water to kill any dust mites.
2. Sprinkle the Baking Soda: Generously sprinkle baking soda over the entire surface of the mattress. If you want to add a pleasant scent, mix a few drops of your favorite essential oil (like lavender or eucalyptus) into the baking soda before sprinkling. A sifter or strainer can help you distribute the baking soda evenly.
3. Wait Patiently: Let the baking soda sit on the mattress for at least 30 minutes, or even better, for several hours. The longer it sits, the more effectively it will absorb odors and dehydrate dust mites. I usually leave it on for the whole day while I’m at work.
4. Vacuum it Up: Use the upholstery attachment of your vacuum cleaner to thoroughly vacuum the entire mattress surface. Make sure to get into all the nooks and crannies.
5. Flip and Repeat: Flip the mattress over and repeat steps 2-4 on the other side.
6. Fresh Bedding: Put on clean bedding and enjoy your refreshed mattress!
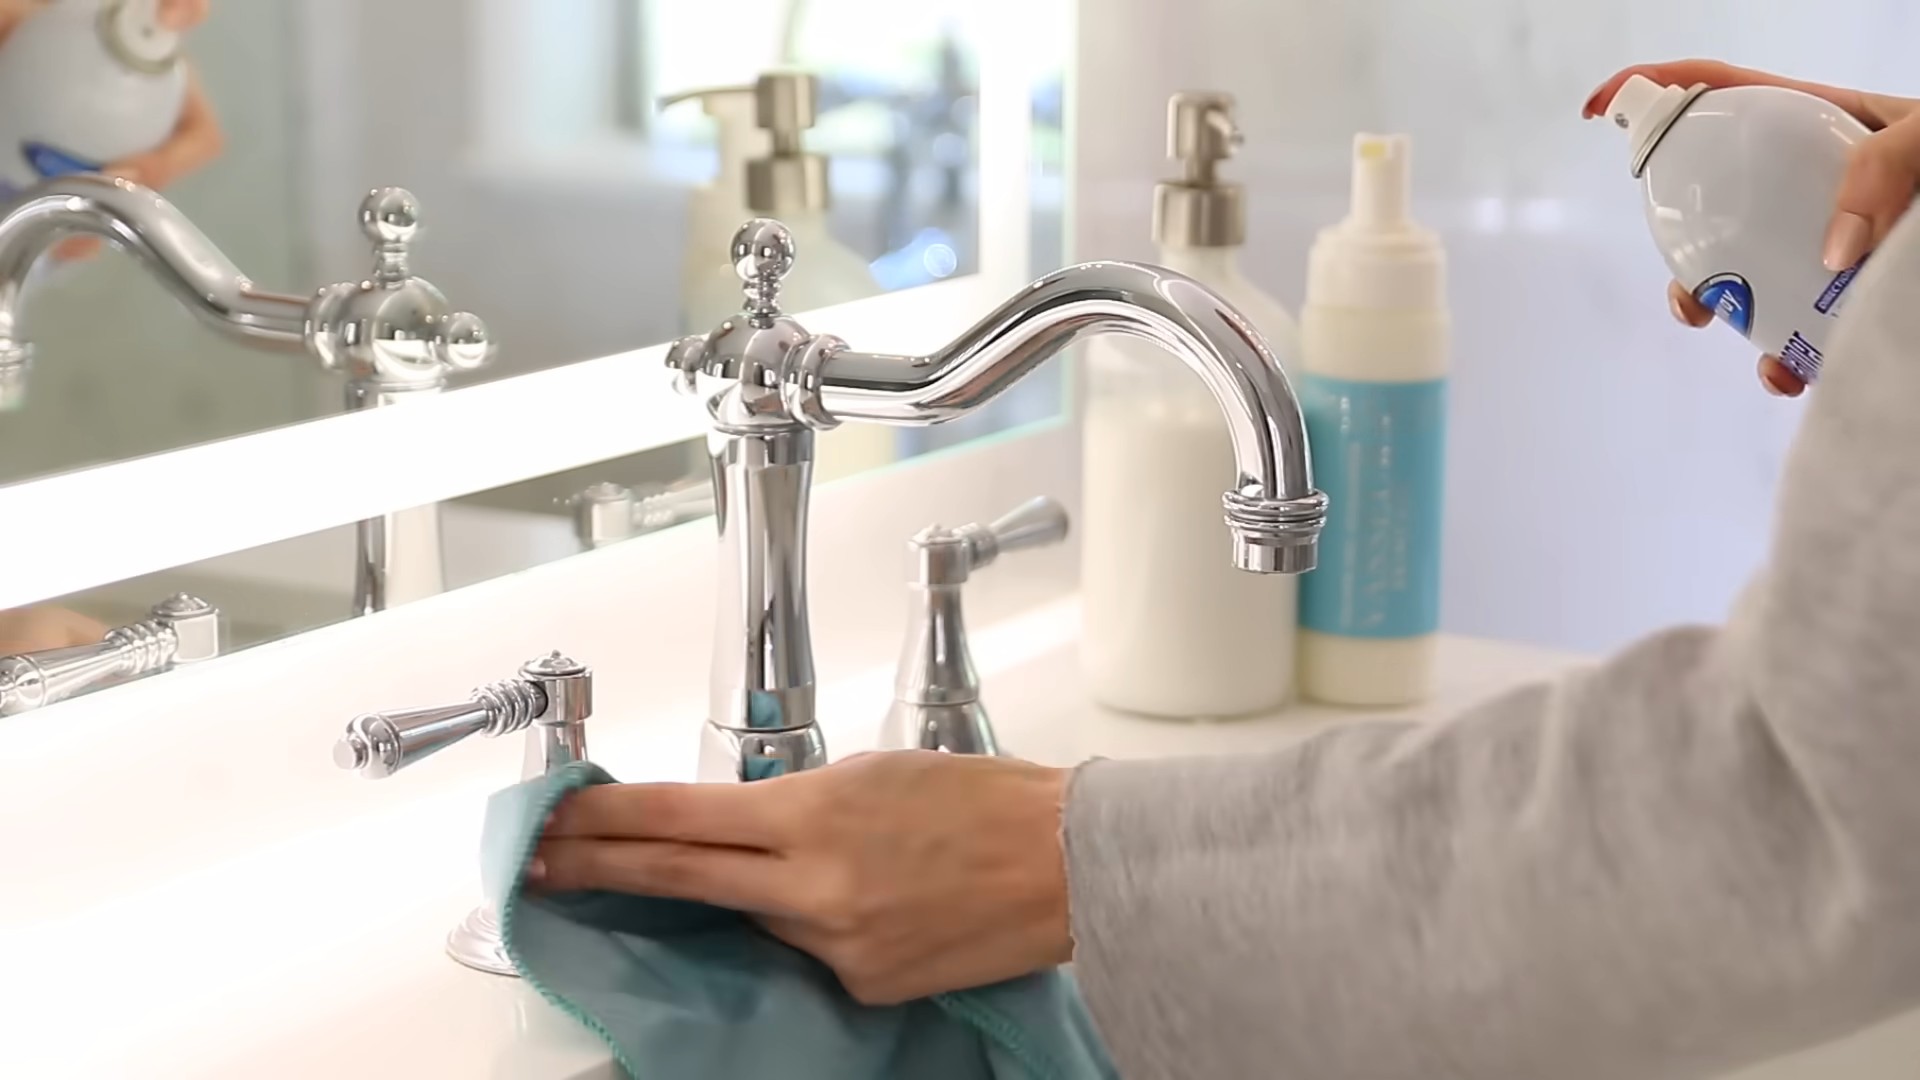
Hack 5: Stainless Steel Shine – Olive Oil Polish
Stainless steel appliances can easily get covered in fingerprints and smudges. This olive oil trick is a simple way to polish your stainless steel and make it shine.
* The Problem: Fingerprints, smudges, and water spots on stainless steel appliances.
* The Solution: Olive oil to polish and protect the surface.
* What You’ll Need:
* Olive oil
* A clean, soft cloth (microfiber cloths work best)
Step-by-Step Instructions:
1. Clean the Surface: First, wipe down the stainless steel surface with a damp cloth to remove any loose dirt or debris.
2. Apply the Olive Oil: Pour a small amount of olive oil onto a clean, soft cloth. You don’t need much – a little goes a long way.
3. Polish with the Grain: Rub the olive oil onto the stainless steel surface, following the grain of the metal. This will help to prevent streaks.
4. Buff to a Shine: Use a clean, dry section of the cloth to buff the surface until it shines.
5. Admire the Sparkle: Stand back and admire your gleaming stainless steel appliances!
Hack 6: Blinds Cleaning – Sock Puppet Power
Cleaning blinds can be a tedious task. This sock puppet trick makes it much easier and faster.
* The Problem: Dusty and dirty blinds.
* The Solution: A sock puppet to easily wipe down each slat.
* What You’ll Need:
* An old sock (clean, of course!)
* White vinegar or all-purpose cleaner
* A spray bottle
Step-by-Step Instructions:
1. Prepare the Sock
Conclusion
So, there you have it! These house cleaning hacks aren’t just about saving time and money; they’re about reclaiming your weekends and creating a healthier, happier home. We’ve explored simple yet incredibly effective ways to tackle common cleaning challenges, from banishing stubborn stains to revitalizing tired furniture. The beauty of these DIY solutions lies in their accessibility. You likely already have most of the ingredients you need sitting in your pantry or bathroom cabinet.
Why is this a must-try? Because it empowers you to take control of your cleaning routine without relying on harsh chemicals or expensive store-bought products. Imagine the satisfaction of knowing you’re creating a cleaner environment for yourself and your family, all while being kinder to the planet and your wallet. These aren’t just quick fixes; they’re sustainable habits that can transform the way you approach house cleaning.
But don’t just take our word for it! We encourage you to experiment with these techniques and discover the magic of DIY cleaning for yourself.
Variations and Suggestions:
* **Citrus Power:** Infuse your cleaning solutions with the refreshing scent of citrus. Add lemon or orange peels to your vinegar cleaner for an extra boost of fragrance and cleaning power.
* **Essential Oil Enhancement:** Elevate your cleaning experience by adding a few drops of your favorite essential oils to your DIY solutions. Lavender, tea tree, and eucalyptus are excellent choices for their antibacterial and aromatic properties.
* **Tailor to Your Needs:** Feel free to adjust the ratios of ingredients to suit your specific cleaning challenges. If you’re dealing with particularly stubborn stains, you might need to increase the concentration of vinegar or baking soda.
* **Test First:** Before applying any DIY cleaning solution to a large area, always test it on a small, inconspicuous spot to ensure it doesn’t damage or discolor the surface.
* **Upcycle and Reuse:** Get creative with your cleaning tools! Old t-shirts make excellent cleaning cloths, and empty spray bottles can be repurposed for your DIY solutions.
We’re confident that these house cleaning hacks will revolutionize your cleaning routine. They’re simple, effective, and environmentally friendly. The best part? You’ll be amazed at how much money you can save by ditching those expensive store-bought cleaners.
Now it’s your turn! We’re eager to hear about your experiences with these DIY cleaning solutions. Did you discover a new variation that works wonders? Did you find a particularly effective way to tackle a specific cleaning challenge? Share your tips, tricks, and success stories in the comments below. Let’s create a community of DIY cleaning enthusiasts and inspire each other to create cleaner, healthier homes. Embrace the power of DIY and transform your house cleaning routine today! We are sure that you will love these house cleaning hacks.
FAQ
What if I don’t have vinegar? Can I substitute it with something else?
While vinegar is a powerhouse ingredient in many DIY cleaning solutions due to its acidity and disinfecting properties, you can explore alternatives depending on the specific cleaning task. For some applications, lemon juice can be a suitable substitute, offering similar acidity and a pleasant scent. However, keep in mind that lemon juice is milder than vinegar, so it might not be as effective for tackling tough stains or disinfecting surfaces. In some cases, a mild dish soap solution can be used as a general cleaner, but be sure to rinse thoroughly to avoid residue. For descaling purposes, citric acid powder dissolved in water can be a potent alternative to vinegar. Always test any substitute on a small, inconspicuous area first to ensure it doesn’t damage the surface.
Are these DIY cleaning solutions safe for all surfaces?
Not all surfaces react the same way to DIY cleaning solutions. It’s crucial to exercise caution and test any new solution on a small, hidden area before applying it to a larger surface. Acidic solutions like vinegar and lemon juice can damage certain materials, such as marble, granite, and waxed wood. For these delicate surfaces, opt for gentler cleaning methods, such as a mild dish soap solution or specialized cleaning products designed for those materials. Always check the manufacturer’s recommendations for cleaning specific surfaces, and when in doubt, err on the side of caution.
How long do these DIY cleaning solutions last?
The shelf life of DIY cleaning solutions can vary depending on the ingredients used. Solutions containing water are susceptible to bacterial growth, so it’s best to prepare them in small batches and use them within a week or two. Solutions containing vinegar or alcohol tend to have a longer shelf life due to their antimicrobial properties. To maximize the shelf life of your DIY cleaning solutions, store them in airtight containers in a cool, dark place. Always label your solutions clearly with the ingredients and date of preparation. If you notice any changes in color, odor, or consistency, discard the solution and prepare a fresh batch.
Can I use these DIY cleaning solutions if I have allergies or sensitivities?
If you have allergies or sensitivities, it’s essential to be cautious when using DIY cleaning solutions. Some ingredients, such as essential oils, can trigger allergic reactions in sensitive individuals. Before using any DIY cleaning solution, carefully review the ingredients list and ensure you’re not allergic to any of them. When using essential oils, start with a small amount and gradually increase the concentration as tolerated. If you experience any adverse reactions, such as skin irritation, respiratory problems, or headaches, discontinue use immediately. Consider wearing gloves and a mask when cleaning to minimize exposure to potential allergens.
How do I get rid of the vinegar smell after cleaning?
The strong smell of vinegar can be off-putting to some people, but it dissipates quickly after cleaning. To minimize the vinegar smell, ensure proper ventilation by opening windows and doors while cleaning. You can also add a few drops of your favorite essential oil to the vinegar solution to mask the odor. After cleaning, wipe down surfaces with a damp cloth to remove any lingering vinegar residue. Another trick is to place a bowl of baking soda in the room to absorb odors. The vinegar smell should disappear within a few hours, leaving your home clean and fresh.
What are some other uses for baking soda in cleaning?
Baking soda is a versatile cleaning agent with a wide range of applications. It can be used to deodorize carpets, clean ovens, unclog drains, and remove stains from various surfaces. To deodorize carpets, sprinkle baking soda liberally over the carpet, let it sit for a few hours, and then vacuum it up. To clean ovens, make a paste of baking soda and water, apply it to the oven walls, let it sit overnight, and then scrub it clean. To unclog drains, pour a cup of baking soda down the drain, followed by a cup of vinegar, let it fizz for 30 minutes, and then flush with hot water. For stain removal, make a paste of baking soda and water, apply it to the stain, let it sit for a few minutes, and then scrub it clean.
Are these cleaning hacks safe for kids and pets?
While many DIY cleaning solutions are safer than commercial cleaners, it’s still important to exercise caution when using them around kids and pets. Keep all cleaning solutions out of reach of children and pets to prevent accidental ingestion. Avoid using essential oils that are toxic to pets, such as tea tree oil, pennyroyal, and wintergreen. When cleaning floors, keep pets and children away from the area until it’s completely dry. Always supervise children when they’re helping with cleaning tasks. If you’re concerned about the safety of a particular ingredient, consult with your veterinarian or pediatrician.
Leave a Comment