

Growing Gourds for Beginners can seem daunting, but trust me, it’s one of the most rewarding and creative gardening projects you can undertake! Imagine transforming your backyard into a whimsical wonderland, overflowing with uniquely shaped and textured gourds, ready to be crafted into birdhouses, bowls, or even musical instruments.
For centuries, gourds have held a special place in various cultures around the world. From ancient civilizations using them as water containers to indigenous communities crafting them into ceremonial objects, gourds have been both practical and deeply symbolic. Their versatility and natural beauty have made them a cherished resource throughout history.
But why should you consider growing gourds for beginners? Well, beyond their historical significance, gourds offer a fantastic opportunity to connect with nature, unleash your creativity, and add a touch of rustic charm to your home and garden. Plus, with a few simple tricks and DIY hacks, even a novice gardener can successfully cultivate these fascinating fruits. I’m here to guide you through the process, sharing my favorite tips and techniques to ensure your gourd-growing journey is a fruitful and fun one. So, grab your gardening gloves, and let’s get started!
Growing Gourds: A Beginner’s Guide to a Bountiful Harvest
Hey there, fellow gardening enthusiasts! Ever thought about growing your own gourds? It’s a surprisingly rewarding experience, and you get some cool decorations (or even functional items!) out of it. I’ve been growing gourds for a few years now, and I’m excited to share my tips and tricks with you. It might seem a little daunting at first, but trust me, with a little patience and effort, you’ll be harvesting your own unique gourds in no time.
Choosing Your Gourd Variety
First things first, let’s talk about the different types of gourds you can grow. There are two main categories: ornamental gourds and hard-shelled gourds.
* **Ornamental Gourds:** These are the smaller, colorful gourds you often see in fall decorations. They come in all sorts of shapes, sizes, and colors. Think of the warty gourds, the striped gourds, and the ones that look like little pumpkins. They’re fun to grow, but they don’t last as long as hard-shelled gourds.
* **Hard-Shelled Gourds:** These are the gourds you can dry and use for crafts, birdhouses, bowls, and more. Popular varieties include:
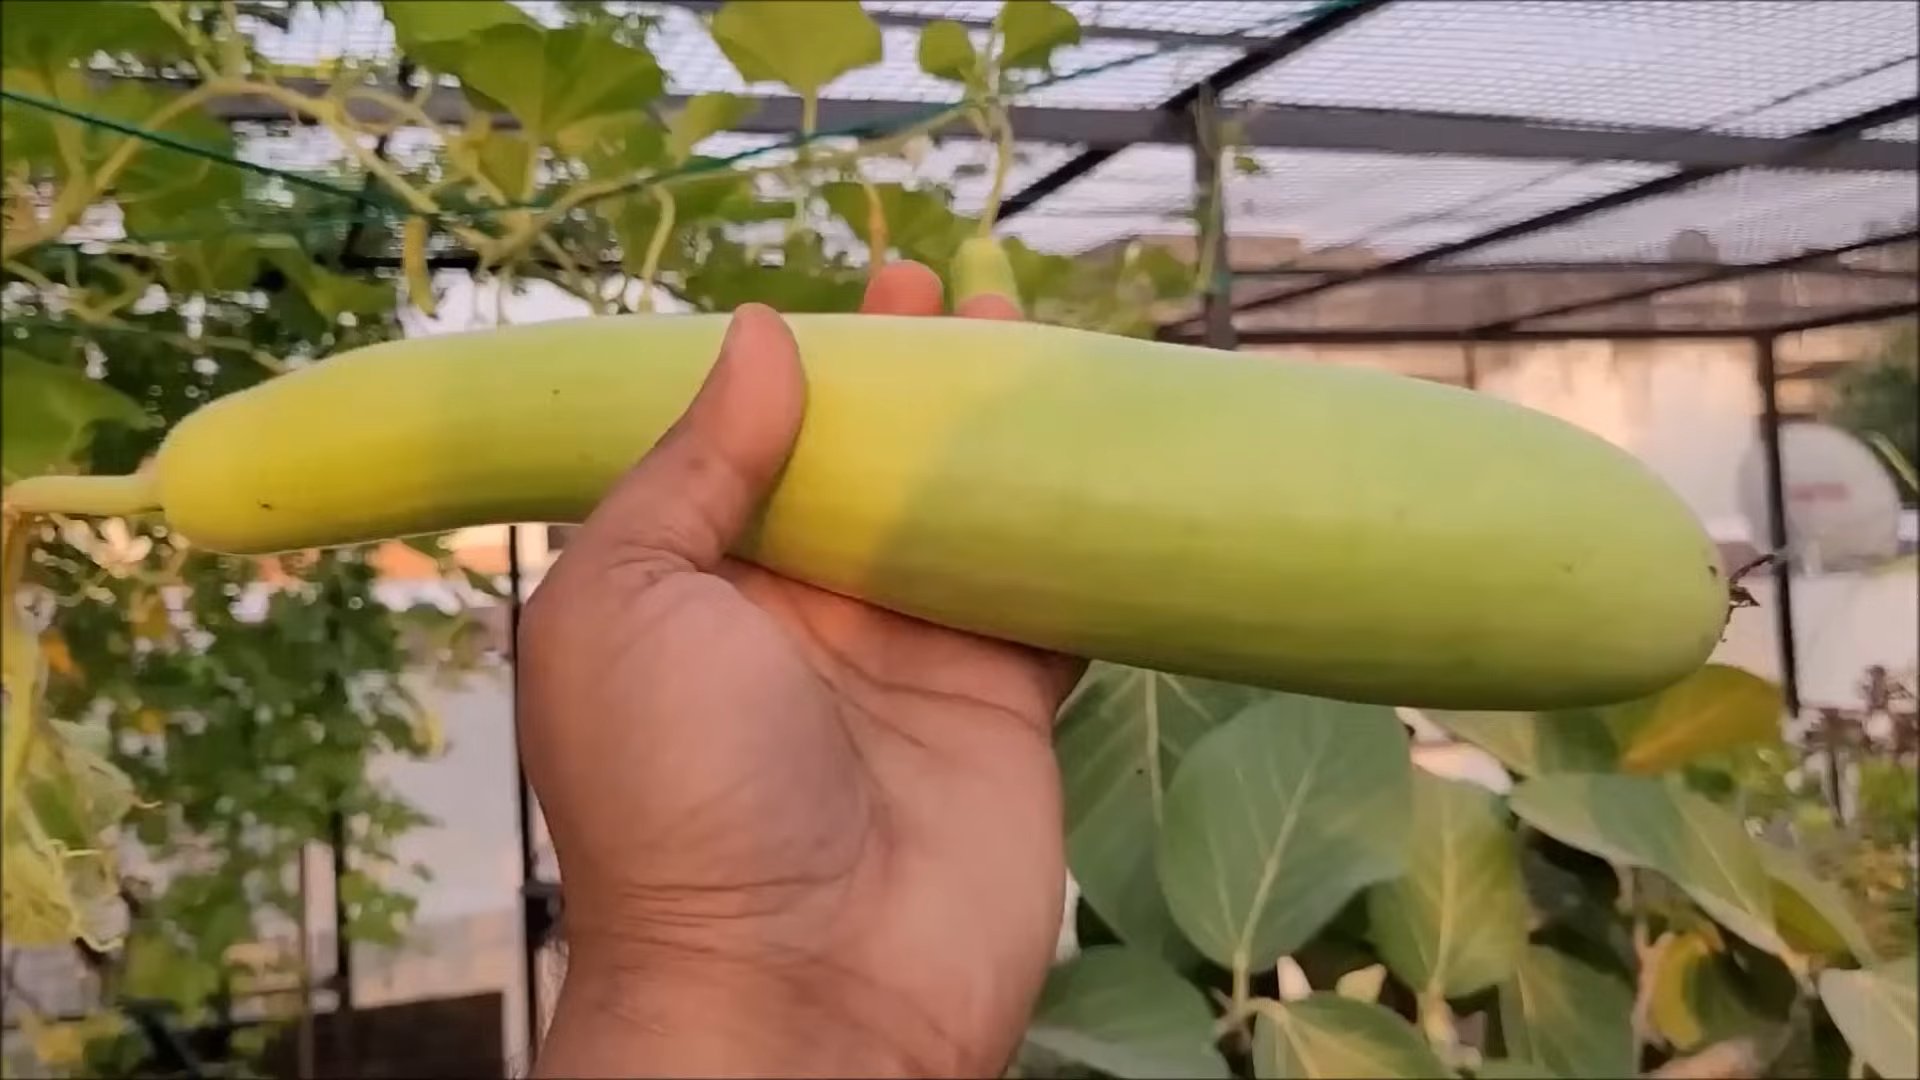
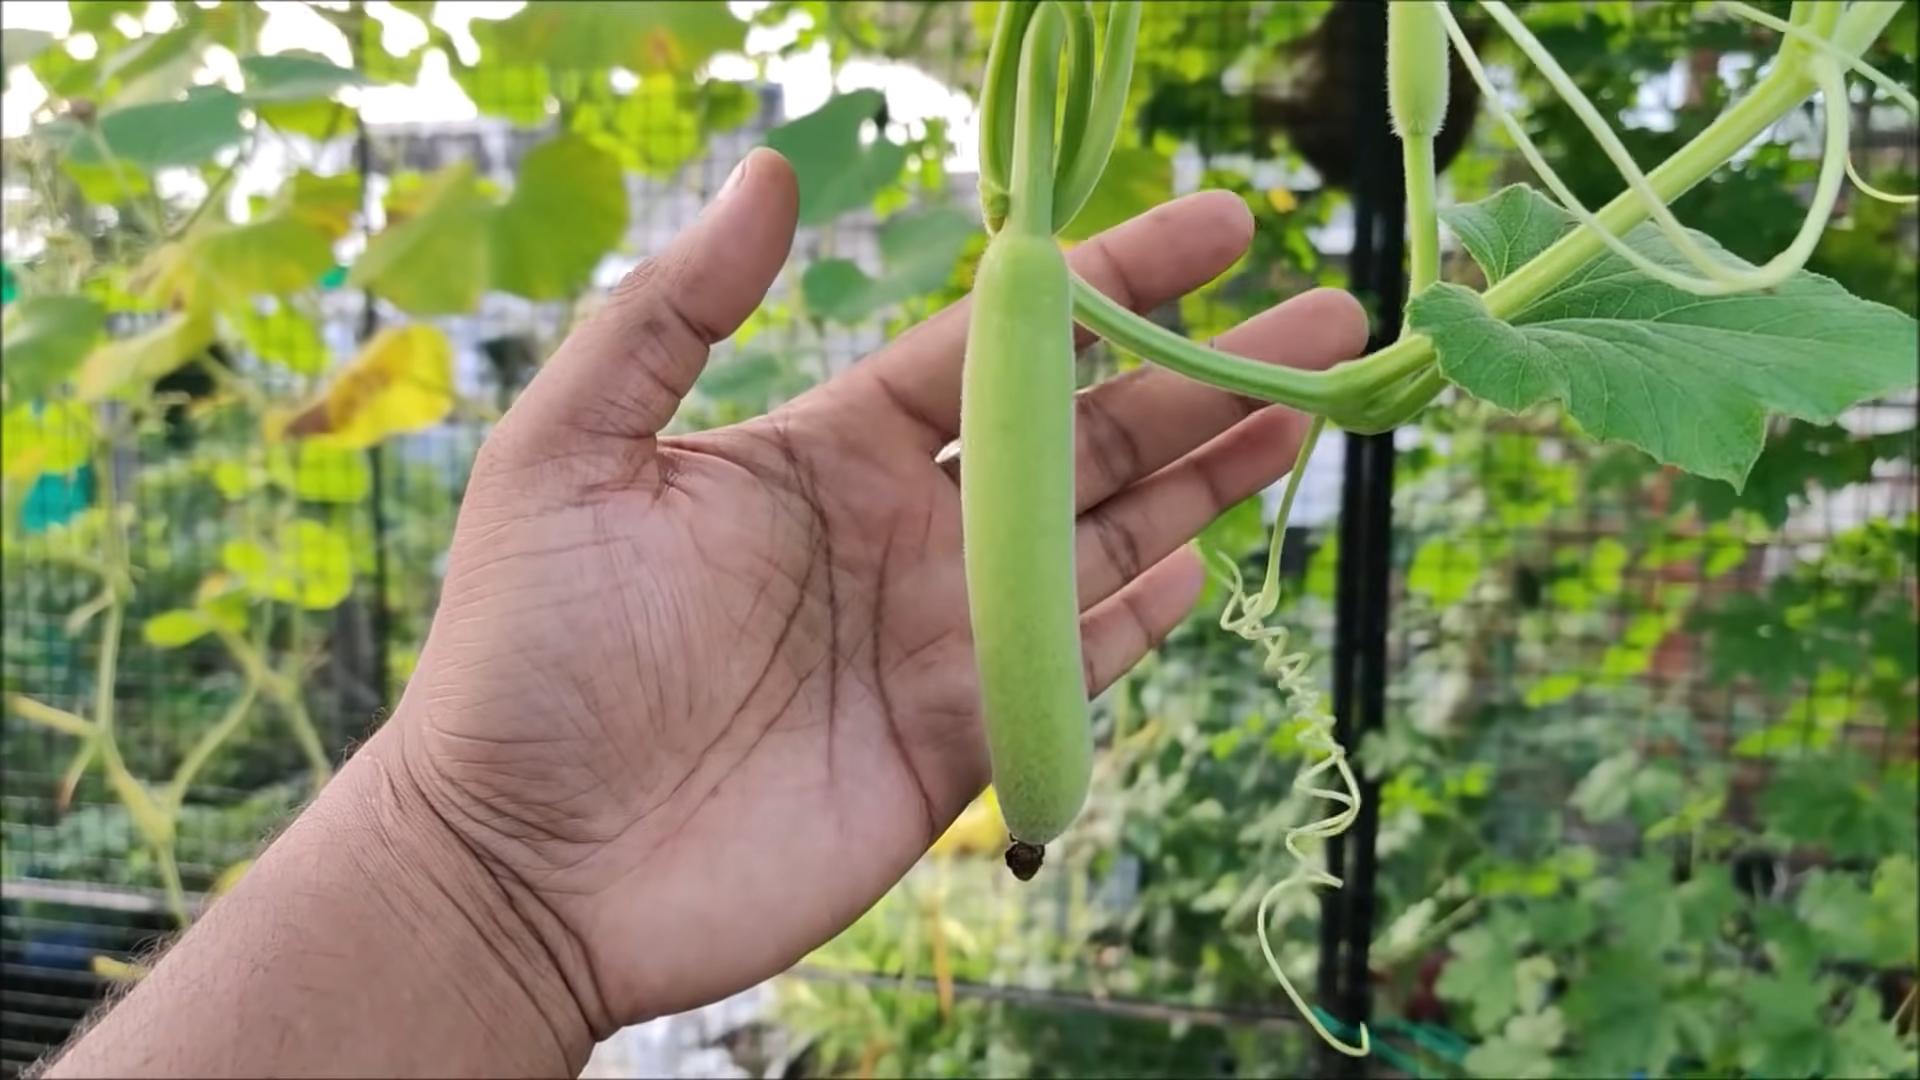
* **Bottle Gourds (Lagenaria siceraria):** These are the classic gourds that look like, well, bottles! They come in various shapes and sizes, from small dippers to huge maracas.
* **Loofah Gourds (Luffa aegyptiaca):** Yes, you can grow your own loofah sponges! These gourds have a fibrous interior that, when dried, makes a fantastic exfoliating sponge.
* **Birdhouse Gourds:** These are specifically bred to have a shape suitable for birdhouses.
When choosing your gourd variety, consider what you want to do with them after harvest. Do you want to make birdhouses? Grow bottle gourds. Want some fun fall decorations? Go for ornamental gourds. Want to grow your own sponges? Loofah gourds are the way to go!
Preparing Your Gourd Patch
Gourds are hungry plants, so soil preparation is key. They need plenty of sunshine and well-drained soil. Here’s what I do to get my gourd patch ready:
* **Sunlight:** Gourds need at least 6-8 hours of direct sunlight per day. Choose a spot in your yard that gets plenty of sun.
* **Soil:** Gourds prefer well-drained soil that’s rich in organic matter. If your soil is heavy clay, amend it with compost, aged manure, or peat moss to improve drainage.
* **Soil Testing:** It’s always a good idea to get your soil tested to determine its pH and nutrient levels. Gourds prefer a slightly acidic to neutral pH (around 6.0-7.0).
* **Fertilizing:** Before planting, I like to work in a generous amount of compost and a balanced fertilizer (like 10-10-10) into the soil. This will give your gourds a good start.
Planting Your Gourd Seeds
Gourds have a long growing season (typically 90-120 days), so it’s best to start them indoors a few weeks before the last expected frost.
1. **Starting Seeds Indoors:**
* **Timing:** Start your seeds indoors about 6-8 weeks before the last expected frost in your area.
* **Containers:** Use peat pots or small containers filled with seed-starting mix.
* **Sowing:** Plant the seeds about 1 inch deep.
* **Watering:** Keep the soil consistently moist but not soggy.
* **Warmth:** Gourds need warmth to germinate. Use a heat mat to keep the soil temperature around 70-80°F (21-27°C).
* **Light:** Once the seedlings emerge, provide them with plenty of light. A sunny windowsill or grow lights will work.
* **Hardening Off:** Before transplanting your seedlings outdoors, you’ll need to harden them off. This means gradually exposing them to outdoor conditions over a period of about a week. Start by placing them in a sheltered spot for a few hours each day, gradually increasing the amount of time they spend outdoors.
2. **Direct Sowing:**
* If you live in a warm climate with a long growing season, you can direct sow gourd seeds directly into the garden after the last frost.
* **Soil Temperature:** Make sure the soil temperature is at least 65°F (18°C) before planting.
* **Spacing:** Plant the seeds about 1 inch deep and space them about 2-3 feet apart.
* **Watering:** Keep the soil consistently moist until the seedlings emerge.
3. **Transplanting Seedlings:**
* Once the danger of frost has passed and your seedlings have been hardened off, it’s time to transplant them into the garden.
* **Spacing:** Space the seedlings about 2-3 feet apart.
* **Watering:** Water the seedlings thoroughly after transplanting.
* **Mulching:** Apply a layer of mulch around the plants to help retain moisture and suppress weeds.
Caring for Your Gourd Plants
Gourds are vigorous growers and need plenty of water and nutrients. Here’s how I care for my gourd plants:
1. **Watering:**
* Water your gourd plants deeply and regularly, especially during hot, dry weather.
* Aim to keep the soil consistently moist but not soggy.
* Water at the base of the plants to avoid wetting the foliage, which can lead to fungal diseases.
2. **Fertilizing:**
* Feed your gourd plants every few weeks with a balanced fertilizer or compost tea.
* Avoid over-fertilizing, as this can lead to excessive foliage growth and fewer gourds.
3. **Weeding:**
* Keep your gourd patch free of weeds, which can compete with the plants for water and nutrients.
* Hand-pull weeds or use a hoe to cultivate the soil around the plants.
4. **Pruning:**
* Pruning can help improve air circulation and encourage gourd production.
* Remove any yellowing or diseased leaves.
* You can also prune the vines to control their growth.
5. **Support:**
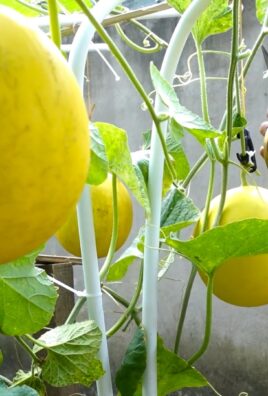
* Gourds are vining plants and need support to climb.
* You can use a trellis, fence, or even a sturdy tree branch.
* If you’re growing large gourds, you may need to provide additional support to the individual gourds to prevent them from breaking off the vine. I use old pantyhose to create little slings for the larger gourds.
6. **Pollination:**
* Gourds are pollinated by bees and other insects.
* If you’re not seeing many bees in your garden, you may need to hand-pollinate the flowers.
* To hand-pollinate, use a small paintbrush to transfer pollen from the male flowers to the female flowers. The female flowers have a small gourd-like structure behind the flower.
Dealing with Pests and Diseases
Gourds are generally pest-resistant, but they can be susceptible to certain pests and diseases.
* **Squash Bugs:** These pests can suck the sap from the leaves and stems of gourd plants. Handpick them off the plants or use insecticidal soap.
* **Squash Vine Borers:** These pests bore into the stems of gourd plants and can kill them. Wrap the base of the stems with aluminum foil to prevent the borers from entering.
* **Powdery Mildew:** This fungal disease can cause a white, powdery coating on the leaves of gourd plants. Improve air circulation and use a fungicide if necessary.
* **Downy Mildew:** This fungal disease can cause yellow spots on the leaves of gourd plants. Improve air circulation and use a fungicide if necessary.
Harvesting Your Gourds
The timing of your gourd harvest depends on the type of gourd you’re growing.
* **Ornamental Gourds:** Harvest ornamental gourds when they are fully mature and the stems have started to dry.
* **Hard-Shelled Gourds:** Harvest hard-shelled gourds when the vines have completely dried and the gourds are lightweight. The stem should be brown and dry.
1. **Cutting the Gourds:**
* Use a sharp knife or pruning shears to cut the gourds from the vine.
* Leave a few inches of stem attached to the gourd.
2. **Washing the Gourds:**
* Wash the gourds with soapy water to remove any dirt or debris.
Drying and Curing Your Hard-Shelled Gourds
This is the most important step for hard-shelled gourds! Proper drying and curing are essential to prevent rot and ensure that your gourds will last
Conclusion
So, there you have it! Growing gourds, while it might seem intimidating at first, is a surprisingly rewarding and accessible endeavor, even for beginners. We’ve walked through the essential steps, from selecting the right seeds and preparing your garden to nurturing your growing gourds and harvesting your unique creations. But the real magic happens when you transform those raw gourds into something special.
Why is this a must-try? Because growing gourds offers a unique blend of gardening satisfaction and artistic expression. It’s not just about planting a seed and watching it grow; it’s about cultivating a canvas for your creativity. Imagine the pride you’ll feel displaying a birdhouse you crafted from a gourd you nurtured from a tiny seed. Think of the joy of gifting a hand-painted gourd bowl to a loved one, knowing you poured your heart and soul into its creation.
Beyond the personal satisfaction, growing gourds is also an environmentally friendly activity. You’re reducing your reliance on mass-produced goods and connecting with nature in a tangible way. Plus, gourds are incredibly versatile. They can be used for everything from decorative ornaments and musical instruments to practical containers and even natural sponges.
Ready to take your gourd growing to the next level? Consider experimenting with different varieties. Try growing bottle gourds for crafting dippers or birdhouses, or explore the vibrant colors and patterns of ornamental gourds for festive decorations. You can also experiment with different growing techniques, such as training your gourds on trellises or using different types of soil amendments to optimize their growth.
Don’t be afraid to get creative with your gourd crafts! Explore different painting techniques, try carving intricate designs, or incorporate natural materials like twine, beads, and feathers to add texture and visual interest. The possibilities are truly endless.
We encourage you to embark on this gourd-growing adventure and discover the joy of cultivating your own unique creations. Remember to document your progress, take lots of pictures, and most importantly, have fun!
And now, the most important part: share your experiences! We want to hear about your successes, your challenges, and your creative gourd projects. Post pictures of your growing gourds and finished crafts on social media using #GrowingGourdsForBeginners. Let’s build a community of gourd enthusiasts and inspire others to discover the magic of these amazing plants. Your insights and experiences will help other beginners navigate the world of gourd growing and unlock their own creative potential. So, get your hands dirty, unleash your imagination, and let’s grow some gourds together! This **growing gourds** journey is one you won’t regret.
Frequently Asked Questions (FAQ)
What are the best gourd varieties for beginners to grow?
For beginners, some of the easiest and most rewarding gourd varieties to grow include:
* **Bottle Gourds (Lagenaria siceraria):** These are versatile and can be used for birdhouses, dippers, bowls, and other containers. They are relatively easy to grow and dry.
* **Ornamental Gourds (Cucurbita pepo):** These come in a wide range of shapes, sizes, and colors, making them perfect for decorative purposes. They are fast-growing and produce abundant yields.
* **Sponge Gourds (Luffa aegyptiaca):** These gourds develop a fibrous interior that can be used as a natural sponge. They require a longer growing season but are well worth the effort.
* **Apple Gourds (Lagenaria siceraria):** These are smaller, rounder gourds that are easy to handle and dry. They are often used for crafting small ornaments and decorations.
When selecting gourd varieties, consider your local climate, the amount of space you have available, and the intended use of the gourds.
How much space do gourds need to grow?
Gourds are vigorous vines that require plenty of space to grow. As a general rule, allow at least 6-8 feet between plants. If you are growing gourds on a trellis, you can space them closer together, but make sure the trellis is strong enough to support the weight of the mature vines and gourds. Bottle gourds and other large varieties may need even more space. Consider the mature size of the specific gourd variety you are growing when determining spacing.
How long does it take for gourds to mature?
The time it takes for gourds to mature varies depending on the variety and growing conditions. Generally, gourds require a long growing season of at least 100-120 days. Some varieties, such as sponge gourds, may take even longer. Start your seeds indoors 6-8 weeks before the last expected frost to give them a head start. Monitor your gourds closely and harvest them when they are fully mature and the stems have begun to dry out.
What are the best soil conditions for growing gourds?
Gourds thrive in well-drained soil that is rich in organic matter. Before planting, amend your soil with compost, aged manure, or other organic materials to improve its fertility and drainage. Gourds prefer a slightly acidic to neutral soil pH (6.0-7.0). Conduct a soil test to determine your soil’s pH and nutrient levels and amend accordingly.
How often should I water my gourds?
Gourds need consistent moisture, especially during hot, dry weather. Water deeply and regularly, providing about 1-2 inches of water per week. Avoid overhead watering, as this can promote fungal diseases. Use a soaker hose or drip irrigation to deliver water directly to the roots. Mulch around your plants to help retain moisture and suppress weeds.
What are some common pests and diseases that affect gourds?
Some common pests that affect gourds include squash bugs, squash vine borers, aphids, and cucumber beetles. Monitor your plants regularly for signs of infestation and take action promptly. Use organic pest control methods such as handpicking, insecticidal soap, or neem oil. Common diseases that affect gourds include powdery mildew, downy mildew, and anthracnose. Prevent these diseases by providing good air circulation, avoiding overhead watering, and using disease-resistant varieties.
How do I know when my gourds are ready to harvest?
Gourds are ready to harvest when they are fully mature and the stems have begun to dry out and turn brown. The skin of the gourd should be hard and firm. Gently tap the gourd; it should sound hollow. Use pruning shears or a sharp knife to cut the gourd from the vine, leaving a few inches of stem attached. Handle the gourds carefully to avoid bruising or damaging them.
How do I dry gourds properly?
Proper drying is essential for preserving gourds and preventing them from rotting. Clean the gourds with a mild soap and water solution and allow them to air dry completely. Place the gourds in a well-ventilated area, such as a shed or garage, where they are protected from direct sunlight and rain. Elevate the gourds on racks or pallets to allow air to circulate around them. Turn the gourds regularly to ensure even drying. The drying process can take several weeks or even months, depending on the size and thickness of the gourd. The gourd is dry when it is lightweight and the seeds rattle inside.
Can I eat gourds?
While some gourds are edible when young, such as zucchini and summer squash (which are technically gourds), most mature gourds are not palatable and are grown primarily for ornamental or crafting purposes. Bottle gourds, for example, can be bitter and even toxic if consumed. Always research the specific gourd variety before attempting to eat it.
What are some creative ways to use dried gourds?
Dried gourds can be used for a wide variety of creative projects, including:
* **Birdhouses:** Bottle gourds make excellent birdhouses. Simply drill an entrance hole and add a perch.
* **Bowls and Containers:** Cut gourds in half and hollow them out to create unique bowls and containers.
* **Musical Instruments:** Gourds can be used to make rattles, drums, and other musical instruments.
* **Ornaments and Decorations:** Paint, carve, or decorate gourds to create festive ornaments and decorations.
* **Lamps and Lighting Fixtures:** Hollow out gourds and add a light bulb to create unique lamps and lighting fixtures.
* **Sponge:** Luffa gourds can be dried and used as natural sponges.
Let your imagination run wild and discover the endless possibilities of crafting with dried gourds!
Leave a Comment