

Cleaning Stainless Steel Pans can feel like a Herculean task, right? You’ve spent hours creating a culinary masterpiece, only to be faced with a pan that looks like it’s been through a war zone. Burnt food, stubborn stains, and that dreaded rainbow discoloration – it’s enough to make anyone want to order takeout! But fear not, fellow home cooks, because I’m here to share some amazing DIY tricks that will have your stainless steel pans gleaming like new in no time.
For generations, stainless steel cookware has been a staple in kitchens worldwide, prized for its durability and even heating. From grandma’s cherished stockpot to the professional chef’s sauté pan, these trusty tools have helped create countless delicious meals. However, their longevity often comes at the cost of some serious elbow grease. Many of us struggle with maintaining their shine and removing those pesky burnt-on bits.
That’s where these DIY hacks come in! Cleaning Stainless Steel Pans doesn’t have to be a chore. These simple, effective methods use common household ingredients to tackle even the most stubborn messes. Imagine the satisfaction of effortlessly restoring your favorite pans to their former glory, extending their lifespan, and saving yourself money on replacements. So, ditch the harsh chemicals and get ready to discover the secrets to sparkling clean stainless steel – the easy way!
DIY: Restoring Your Stainless Steel Pans to Their Former Glory
Okay, let’s face it: stainless steel pans are fantastic for cooking, but they can be a real pain to clean, especially when you’ve got burnt-on food clinging for dear life. I’ve been there, staring into the abyss of a blackened pan, wondering if I should just throw it away and start fresh. But don’t despair! I’ve experimented with a bunch of different methods, and I’ve finally nailed down a few that work like a charm. I’m going to share my secrets with you, so you can bring your stainless steel pans back to their sparkling best.
Understanding the Enemy: Burnt-On Food
Before we dive into the cleaning process, it’s helpful to understand why food gets so stubbornly stuck to stainless steel in the first place. Unlike non-stick pans, stainless steel has microscopic pores that food particles can latch onto, especially when exposed to high heat. This is why prevention is key (more on that later!), but even with the best intentions, sometimes things just burn.
Method 1: The Baking Soda and Vinegar Power Couple
This is my go-to method for tackling most burnt-on messes. It’s simple, uses ingredients you probably already have, and is surprisingly effective.
What You’ll Need:
* Baking soda
* White vinegar
* Water
* A non-abrasive sponge or scrub brush
* A soft cloth
Step-by-Step Instructions:
1. Assess the Damage: Take a good look at your pan. How bad is the burnt-on food? This will help you determine how much baking soda and vinegar you’ll need. For light to moderate messes, a thin layer of baking soda and a splash of vinegar will do. For tougher cases, you might need to create a thicker paste.
2. Coat the Pan with Baking Soda: Generously sprinkle baking soda over the burnt areas of the pan. Make sure you cover all the affected spots. Don’t be shy!
3. Add the Vinegar: Slowly pour white vinegar onto the baking soda. You’ll see it start to fizz – that’s the magic happening! The chemical reaction between the baking soda and vinegar helps to loosen the burnt-on food.
4. Let it Sit: Allow the mixture to sit for at least 30 minutes. For really stubborn messes, you can let it sit for a few hours, or even overnight. The longer it sits, the more time the baking soda and vinegar have to work their magic. I often put a lid on the pan to keep the mixture from drying out too quickly.
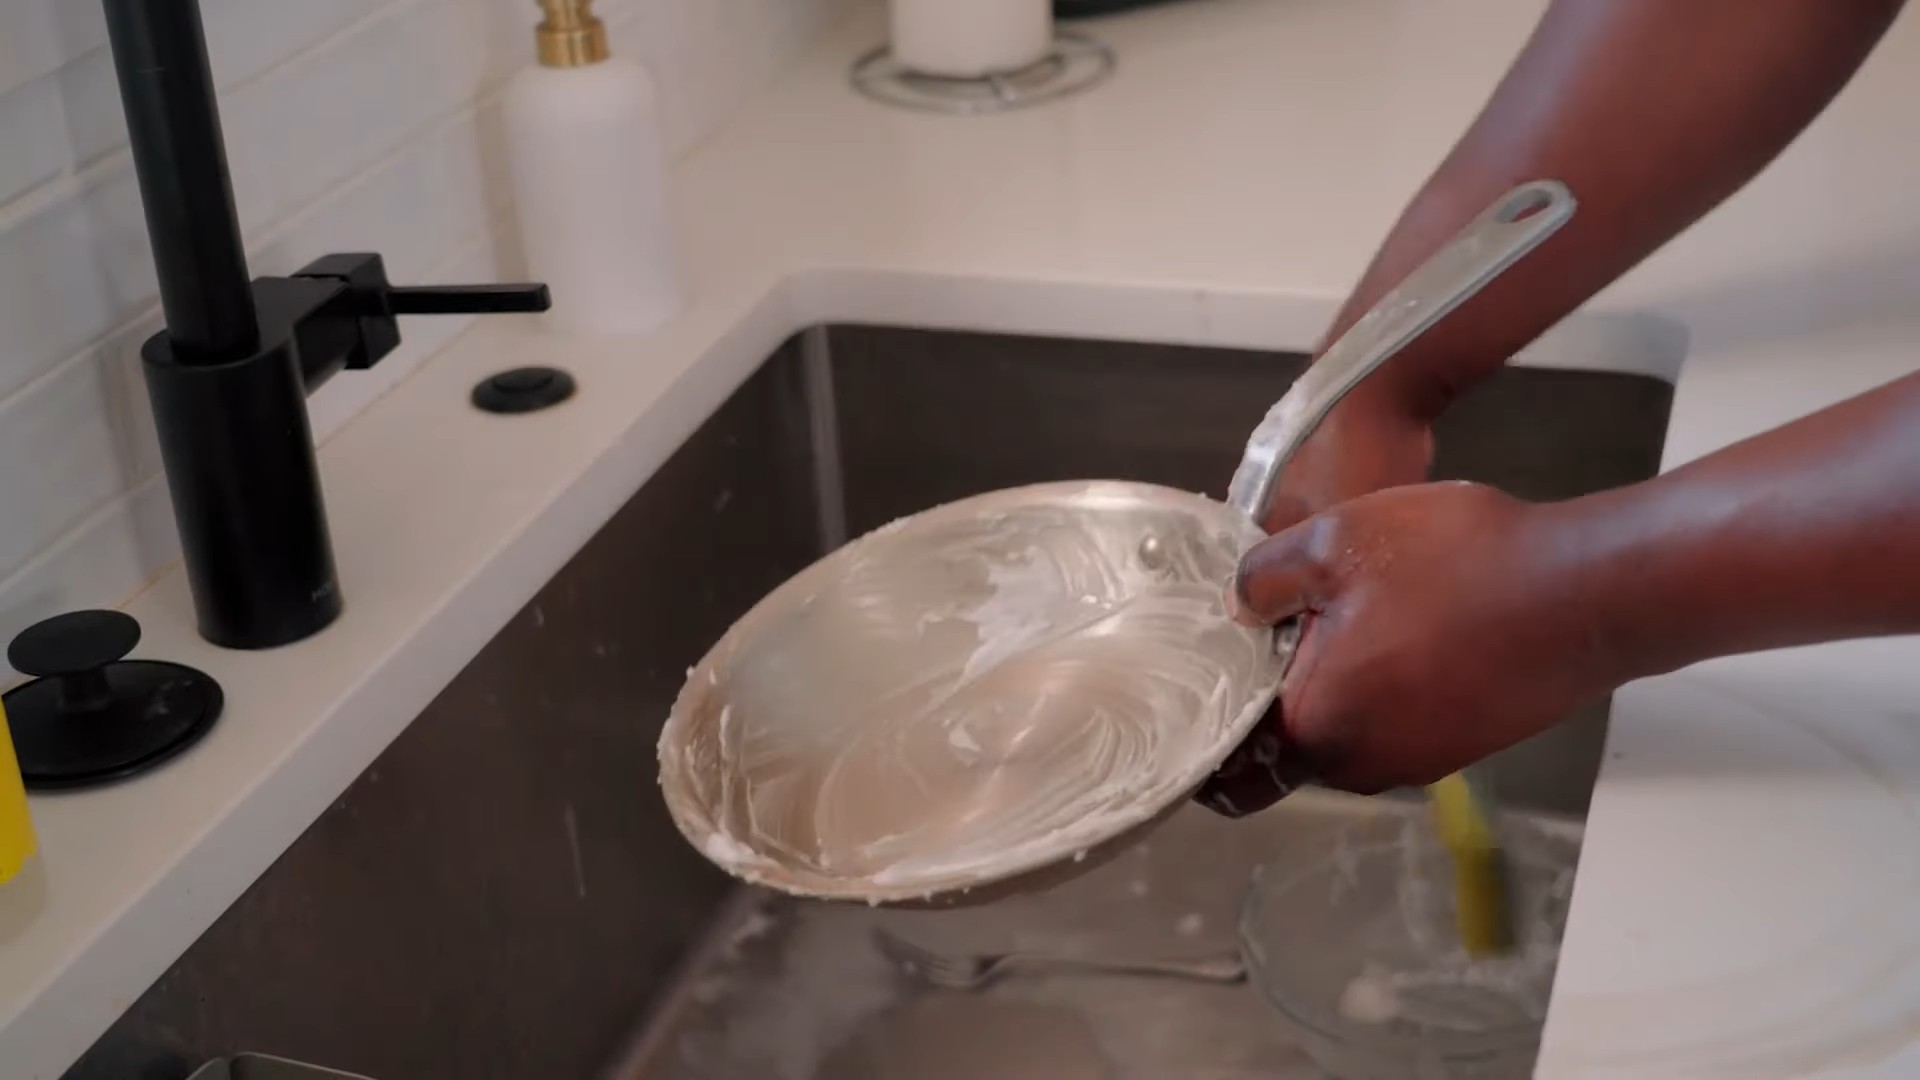
5. Scrub Away: After the soaking period, use a non-abrasive sponge or scrub brush to gently scrub the pan. You should see the burnt-on food starting to lift away. If it’s still stuck, don’t force it! Add a little more baking soda and vinegar, and let it sit for another 15-20 minutes before trying again.
6. Rinse Thoroughly: Once you’ve removed all the burnt-on food, rinse the pan thoroughly with warm water. Make sure you get rid of all traces of baking soda and vinegar.
7. Dry and Admire: Dry the pan with a soft cloth. Now, take a step back and admire your handiwork! Your pan should be looking much cleaner and brighter.
Method 2: The Boiling Water and Dish Soap Solution
This method is great for tackling grease and grime, and it can also help to loosen burnt-on food.
What You’ll Need:
* Water
* Dish soap
* A non-abrasive sponge or scrub brush
* A soft cloth
Step-by-Step Instructions:
1. Fill the Pan with Water: Fill the pan with enough water to cover the burnt areas.
2. Add Dish Soap: Add a generous squirt of dish soap to the water.
3. Bring to a Boil: Place the pan on the stove and bring the water to a boil.
4. Simmer for 15-20 Minutes: Let the water simmer for 15-20 minutes. This will help to loosen the burnt-on food and grease. Keep an eye on the water level and add more if needed.
5. Let it Cool: Carefully remove the pan from the stove and let the water cool down enough to handle.
6. Scrub Away: Use a non-abrasive sponge or scrub brush to gently scrub the pan. The burnt-on food should be much easier to remove after boiling.
7. Rinse Thoroughly: Rinse the pan thoroughly with warm water.
8. Dry and Admire: Dry the pan with a soft cloth.
Method 3: The Cream of Tartar Trick
Cream of tartar isn’t just for baking! It’s also a surprisingly effective cleaning agent for stainless steel.
What You’ll Need:
* Cream of tartar
* Water
* A non-abrasive sponge or scrub brush
* A soft cloth
Step-by-Step Instructions:
1. Make a Paste: Mix cream of tartar with a small amount of water to create a paste. The consistency should be similar to toothpaste.
2. Apply the Paste: Apply the paste to the burnt areas of the pan.
3. Let it Sit: Let the paste sit for 30 minutes to an hour.
4. Scrub Away: Use a non-abrasive sponge or scrub brush to gently scrub the pan.
5. Rinse Thoroughly: Rinse the pan thoroughly with warm water.
6. Dry and Admire: Dry the pan with a soft cloth.
Method 4: The Bar Keeper’s Friend Savior
When all else fails, Bar Keeper’s Friend is my secret weapon. This stuff is amazing for removing stubborn stains and burnt-on food from stainless steel. Be careful when using it, though, as it can be abrasive. Always test it in an inconspicuous area first.
What You’ll Need:
* Bar Keeper’s Friend
* Water
* A non-abrasive sponge or scrub brush
* A soft cloth
Step-by-Step Instructions:
1. Wet the Pan: Wet the pan with water.
2. Sprinkle Bar Keeper’s Friend: Sprinkle a small amount of Bar Keeper’s Friend onto the wet pan.
3. Make a Paste: Gently rub the Bar Keeper’s Friend with a wet sponge to create a paste.
4. Scrub Gently: Scrub the pan gently with the paste, focusing on the burnt areas. Avoid using too much pressure, as this can scratch the stainless steel.
5. Rinse Thoroughly: Rinse the pan thoroughly with warm water. Make sure you remove all traces of Bar Keeper’s Friend.
6. Dry and Admire: Dry the pan with a soft cloth.
Preventing Future Disasters: Tips and Tricks
Okay, now that you know how to clean your stainless steel pans, let’s talk about preventing those burnt-on messes in the first place. Here are a few tips that I’ve found helpful:
* Use the Right Heat: High heat is often the culprit behind burnt-on food. Start with medium heat and adjust as needed.
* Don’t Overcrowd the Pan: Overcrowding the pan can lower the temperature and cause food to steam instead of sear, which can lead to sticking.
* Use Enough Oil or Fat: Make sure you’re using enough oil or fat to coat the bottom of the pan. This will help to prevent food from sticking.
* Preheat the Pan: Preheat the pan before adding oil or food. This will help to ensure even cooking and prevent sticking.
* Deglaze the Pan: After cooking, deglaze the pan with a liquid like wine, broth, or water. This will help to loosen any stuck-on food and create a delicious sauce.
* Clean Immediately: The sooner you clean your pan after cooking, the easier it will be to remove any burnt-on food. Don’t let it sit overnight!
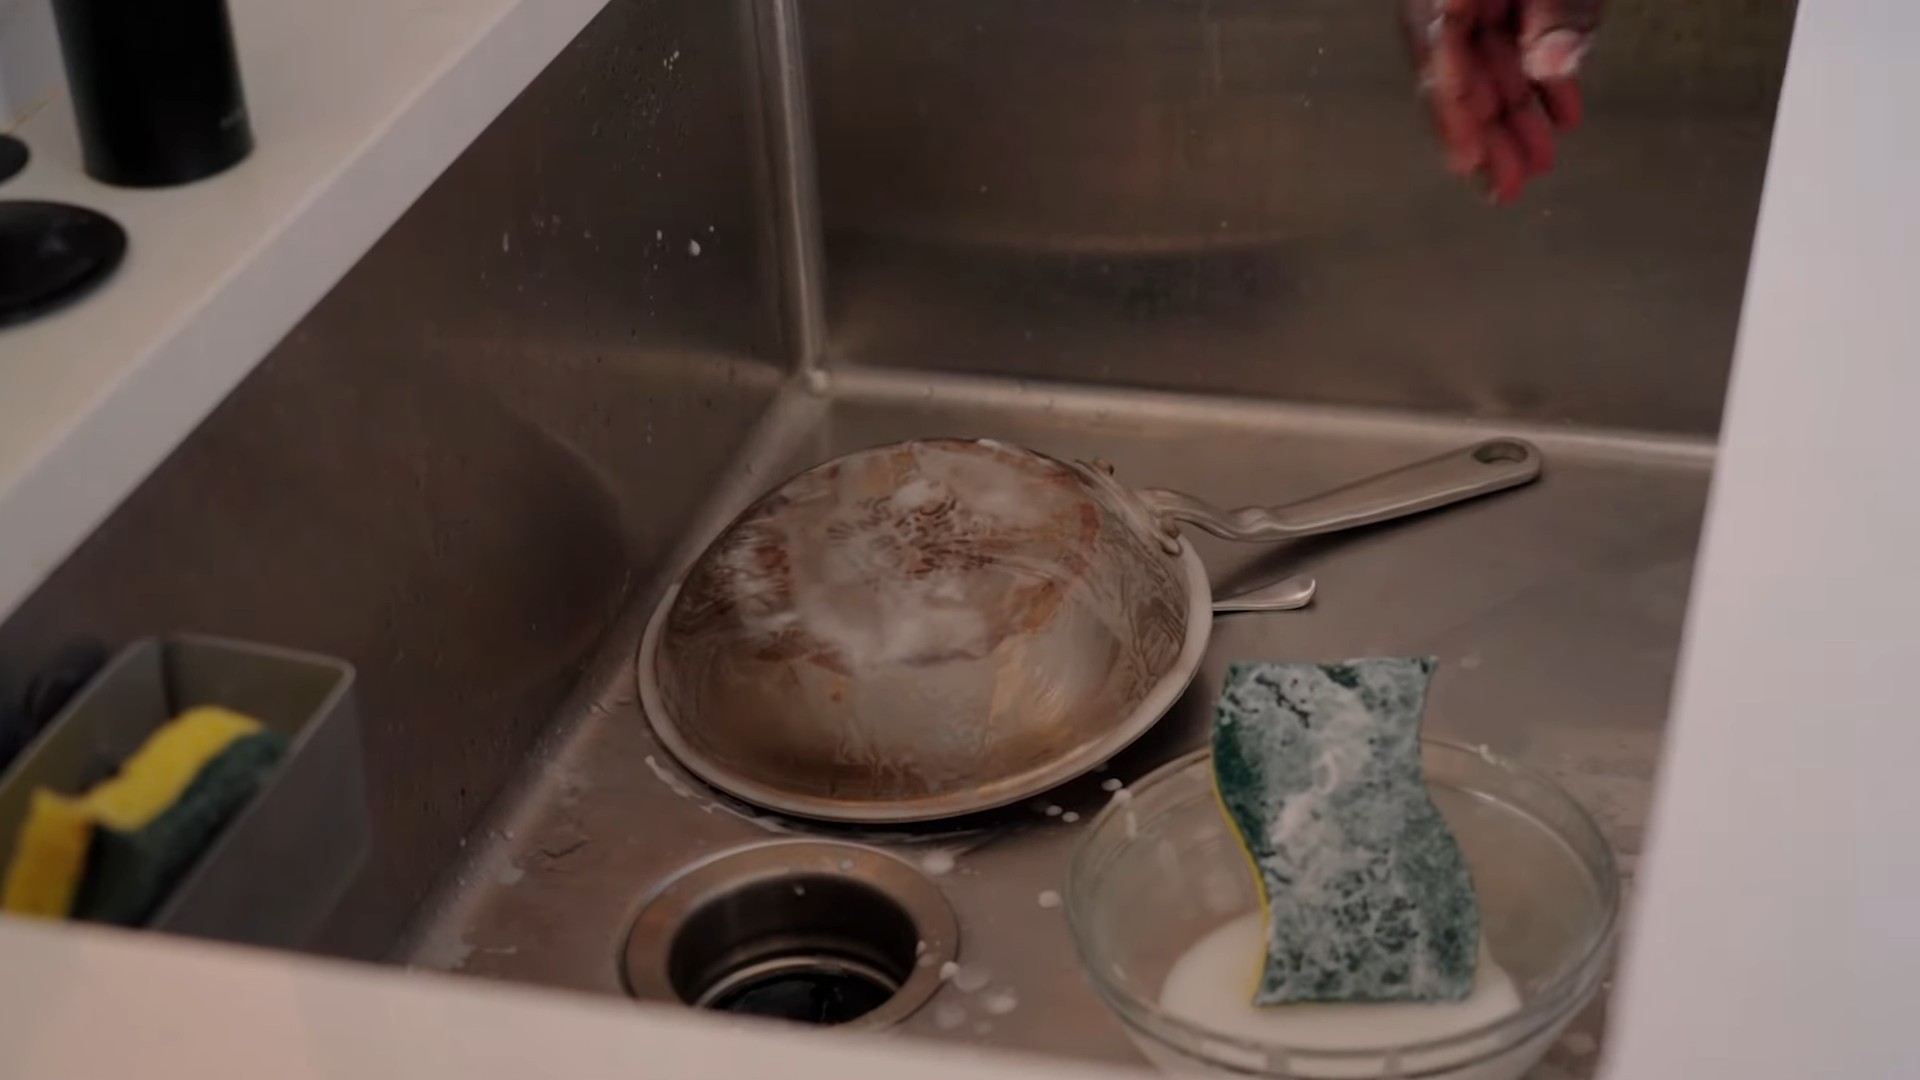
* Soak Stubborn Messes: If you do have a stubborn mess, soak the pan in hot, soapy water for a few hours before scrubbing.
Dealing with Heat Tint/Discoloration
Sometimes, even after cleaning, you might notice a rainbow-like discoloration on your stainless steel pans. This is called heat tint, and it’s caused by the high heat oxidizing the metal. Don’t worry, it’s not harmful, but it can be unsightly.
* Vinegar Soak: Try soaking the pan in a solution of equal parts white vinegar and water for a few hours.
* Stainless Steel Cleaner: Use a dedicated stainless steel cleaner to remove the heat
Conclusion
So, there you have it! Reviving your beloved stainless steel pans doesn’t require harsh chemicals or expensive cleaners. This simple, effective DIY trick, using ingredients you likely already have in your pantry, is a game-changer for anyone who values clean cookware and a healthy kitchen. We’ve shown you how to banish those stubborn stains and burnt-on food, restoring your pans to their former glory with minimal effort.
Why is this DIY method a must-try? Because it’s not just about aesthetics; it’s about extending the life of your cookware and ensuring a safer cooking environment. Harsh chemicals can leave residues that leach into your food, while abrasive scrubbers can damage the surface of your pans, making them more prone to sticking and staining in the future. This gentle, natural approach effectively removes grime without compromising the integrity of your stainless steel.
But the beauty of this method lies in its adaptability. Feel free to experiment with variations to suit your specific needs and preferences. For particularly stubborn stains, you can create a paste of baking soda and hydrogen peroxide, applying it directly to the affected area and letting it sit for a longer period before scrubbing. Another option is to add a squeeze of lemon juice to the vinegar solution for extra degreasing power and a fresh, citrusy scent. If you find that your pans are prone to water spots after cleaning, try drying them immediately with a soft, lint-free cloth.
Don’t be intimidated by the thought of tackling those seemingly impossible stains. This DIY trick is surprisingly easy and rewarding. Imagine the satisfaction of seeing your stainless steel pans sparkling clean, ready for your next culinary adventure. It’s a small investment of time that yields significant results, both in terms of the appearance and longevity of your cookware.
We wholeheartedly encourage you to give this DIY cleaning method a try. You’ll be amazed at how effectively it removes even the most stubborn stains, leaving your stainless steel pans looking brand new. And once you’ve experienced the magic for yourself, we’d love to hear about it! Share your before-and-after photos, your tips and tricks, and your overall experience in the comments below. Let’s create a community of clean cookware enthusiasts, sharing our knowledge and helping each other keep our kitchens sparkling! Remember, a clean pan is a happy pan, and a happy pan leads to delicious meals. So, grab your baking soda, vinegar, and a little elbow grease, and get ready to transform your stainless steel cookware. You won’t regret it! This simple method for cleaning stainless steel pans is a must for every home cook.
Frequently Asked Questions (FAQs)
Q: What kind of stainless steel pans does this DIY cleaning method work on?
A: This method is generally safe and effective for most types of stainless steel pans, including those with a brushed or polished finish. However, if you have a pan with a special coating or treatment, it’s always a good idea to check the manufacturer’s instructions before using any cleaning method. For example, some non-stick stainless steel pans might require a different approach. If you are unsure, test a small, inconspicuous area first.
Q: How often should I clean my stainless steel pans using this method?
A: The frequency of cleaning depends on how often you use your pans and how much food tends to stick or burn. For pans that are used daily, a deep clean using this method once or twice a month is usually sufficient. For pans that are used less frequently, you can clean them as needed. Regular washing with soap and water after each use will also help prevent buildup and make deep cleaning easier.
Q: Can I use this method on other stainless steel items, like sinks or appliances?
A: Yes, the baking soda and vinegar method can be used on other stainless steel items, such as sinks, appliances, and even silverware. However, be mindful of the surface texture and avoid using abrasive scrubbers that could scratch the finish. For larger surfaces, you can create a paste of baking soda and water and apply it to the stained areas, then wipe clean with a damp cloth.
Q: What if the stains are really stubborn and don’t come off easily?
A: For particularly stubborn stains, you can try a few different approaches. First, let the baking soda and vinegar mixture sit on the stain for a longer period of time, even overnight. You can also try creating a paste of baking soda and hydrogen peroxide, which is a stronger cleaning agent. Apply the paste to the stain, let it sit for a few hours, and then scrub gently. If all else fails, you can try using a commercial stainless steel cleaner, but be sure to follow the manufacturer’s instructions carefully and avoid using harsh chemicals.
Q: Is it safe to use steel wool or abrasive scrubbers on stainless steel pans?
A: While steel wool and abrasive scrubbers can be effective at removing stubborn stains, they can also scratch the surface of your stainless steel pans. Over time, these scratches can make your pans more prone to sticking and staining. It’s generally best to avoid using abrasive scrubbers and opt for gentler cleaning methods, such as the baking soda and vinegar method. If you do need to use a scrubber, choose one that is specifically designed for stainless steel and use it gently.
Q: Can I put my stainless steel pans in the dishwasher?
A: While some stainless steel pans are dishwasher safe, it’s generally recommended to hand wash them to prolong their lifespan and prevent damage. Dishwasher detergents can be harsh and can cause discoloration or pitting on the surface of your pans. If you do choose to put your pans in the dishwasher, be sure to use a mild detergent and avoid using the high-heat drying cycle.
Q: What can I do to prevent food from sticking to my stainless steel pans in the first place?
A: There are several things you can do to prevent food from sticking to your stainless steel pans. First, make sure your pan is properly preheated before adding any food. You can test the temperature by flicking a few drops of water into the pan; if the water sizzles and evaporates quickly, the pan is ready. Second, use enough oil or fat to coat the bottom of the pan evenly. Third, avoid overcrowding the pan, as this can lower the temperature and cause food to steam instead of sear. Finally, don’t try to move the food around too much while it’s cooking; let it sit undisturbed until it releases easily from the pan.
Q: My stainless steel pan has a rainbow-colored discoloration. What is it and how do I remove it?
A: The rainbow-colored discoloration on stainless steel pans is usually caused by heat and mineral deposits from water. It’s harmless and doesn’t affect the performance of your pan. To remove it, you can try boiling a mixture of water and vinegar in the pan for a few minutes. Alternatively, you can use a commercial stainless steel cleaner that is specifically designed to remove discoloration.
Q: Can I use this method on my stainless steel cookware that has a copper bottom?
A: Yes, this method is generally safe to use on stainless steel cookware with a copper bottom. However, be careful not to scrub the copper bottom too vigorously, as this could damage the finish. You can also use a separate cleaner specifically designed for copper to keep the bottom looking its best.

Leave a Comment