

Living Room Cleaning Tips: Let’s face it, our living rooms often bear the brunt of daily life. From movie nights with spilled popcorn to impromptu playdates with scattered toys, it’s a space that quickly accumulates clutter and grime. Are you tired of spending your weekends battling a messy living room? Do you dream of a sparkling, inviting space where you can truly relax and unwind? Well, you’re in the right place! This article is packed with easy-to-follow DIY cleaning tricks and hacks that will transform your living room from chaotic to calming in no time.
Historically, the concept of a “living room” as a dedicated space for relaxation and socializing is relatively modern. In earlier times, homes often had a single, multi-purpose room. Today, the living room is the heart of the home, a place where memories are made. But a cluttered and dirty living room can actually increase stress levels and hinder our ability to relax and connect with loved ones. That’s why mastering these living room cleaning tips is so important.
I know what you’re thinking: “Cleaning is such a chore!” But trust me, with the right strategies, it doesn’t have to be. These DIY tricks are designed to be quick, efficient, and even a little bit fun. I’ll show you how to tackle everything from dusty shelves to stained carpets, using simple household ingredients and clever techniques. Get ready to reclaim your living room and create a space you’ll truly love spending time in!
Deep Clean Your Living Room: A DIY Guide to Sparkling Spaces
Okay, let’s face it, the living room. It’s the heart of the home, but also the place where life *really* happens. Movie nights, game days, afternoon naps – it sees it all! And that means it can get, well, a little… lived-in. But don’t worry, I’m here to guide you through a deep clean that will leave your living room feeling fresh, inviting, and ready for anything. We’re going to tackle everything from dusty shelves to grimy floors, and I promise, it’s totally doable!
Phase 1: Preparation is Key
Before we even think about grabbing a cleaning product, let’s get organized. This will save you time and energy in the long run.
* **Gather Your Supplies:** Nothing’s worse than getting halfway through a task and realizing you’re missing something. Here’s what I recommend having on hand:
* Microfiber cloths (lots of them!)
* All-purpose cleaner
* Glass cleaner
* Furniture polish (if applicable)
* Vacuum cleaner with attachments
* Baking soda
* White vinegar
* Dish soap
* Bucket
* Rubber gloves
* Duster (extendable is great for high places)
* Magic Eraser (for stubborn marks)
* Upholstery cleaner (if you have fabric furniture)
* Leather cleaner and conditioner (if you have leather furniture)
* Trash bags
* Laundry basket
* **Declutter, Declutter, Declutter:** This is HUGE. Before you start cleaning, remove anything that doesn’t belong in the living room. Toys, books, random papers, you name it. Put them where they go. This will make the actual cleaning process so much easier. Use your laundry basket to collect items that need to be relocated to other rooms.
* **Open the Windows:** Fresh air is your friend! Open the windows to ventilate the room while you’re cleaning. It’ll help with any cleaning product smells and just make the whole process feel less stuffy.
* **Protect Your Floors:** If you’re using any harsh chemicals, consider protecting your floors with a drop cloth or old towels.
Phase 2: High to Low – Dusting and Surface Cleaning
We’re going to work from top to bottom, so any dust or debris falls down to the floor, which we’ll vacuum later.
1. **Dust Ceiling Fans and Light Fixtures:** Use an extendable duster to reach ceiling fans and light fixtures. Make sure the fan is turned off! For light fixtures, you might want to remove the shades and wash them with warm, soapy water. Let them dry completely before putting them back on.
2. **Dust Walls and Trim:** Use a clean, dry microfiber cloth or duster to wipe down walls and trim. Pay special attention to corners and baseboards, where dust tends to accumulate. If you have textured walls, a vacuum cleaner with a brush attachment can be helpful.
3. **Clean Shelves and Bookcases:** Remove everything from your shelves and bookcases. Dust each item individually with a microfiber cloth. Then, wipe down the shelves themselves with an all-purpose cleaner. Before putting everything back, consider reorganizing your shelves to create a more visually appealing display.
4. **Dust Electronics:** Unplug all electronics before dusting them. Use a dry microfiber cloth to wipe down TVs, stereos, and other devices. For screens, use a screen cleaner specifically designed for electronics. Avoid using harsh chemicals or abrasive cleaners, as they can damage the screen.
5. **Clean Mirrors and Glass Surfaces:** Use a glass cleaner and a clean microfiber cloth to clean mirrors and glass surfaces. Spray the cleaner onto the cloth, not directly onto the glass, to prevent streaks. Wipe in a circular motion, then buff dry with a clean, dry cloth.
6. **Wipe Down Coffee Tables and Side Tables:** Use an all-purpose cleaner to wipe down coffee tables and side tables. If you have wooden furniture, use a furniture polish to protect the finish.
Phase 3: Upholstery and Fabric Care
This is where we tackle the soft surfaces in your living room.
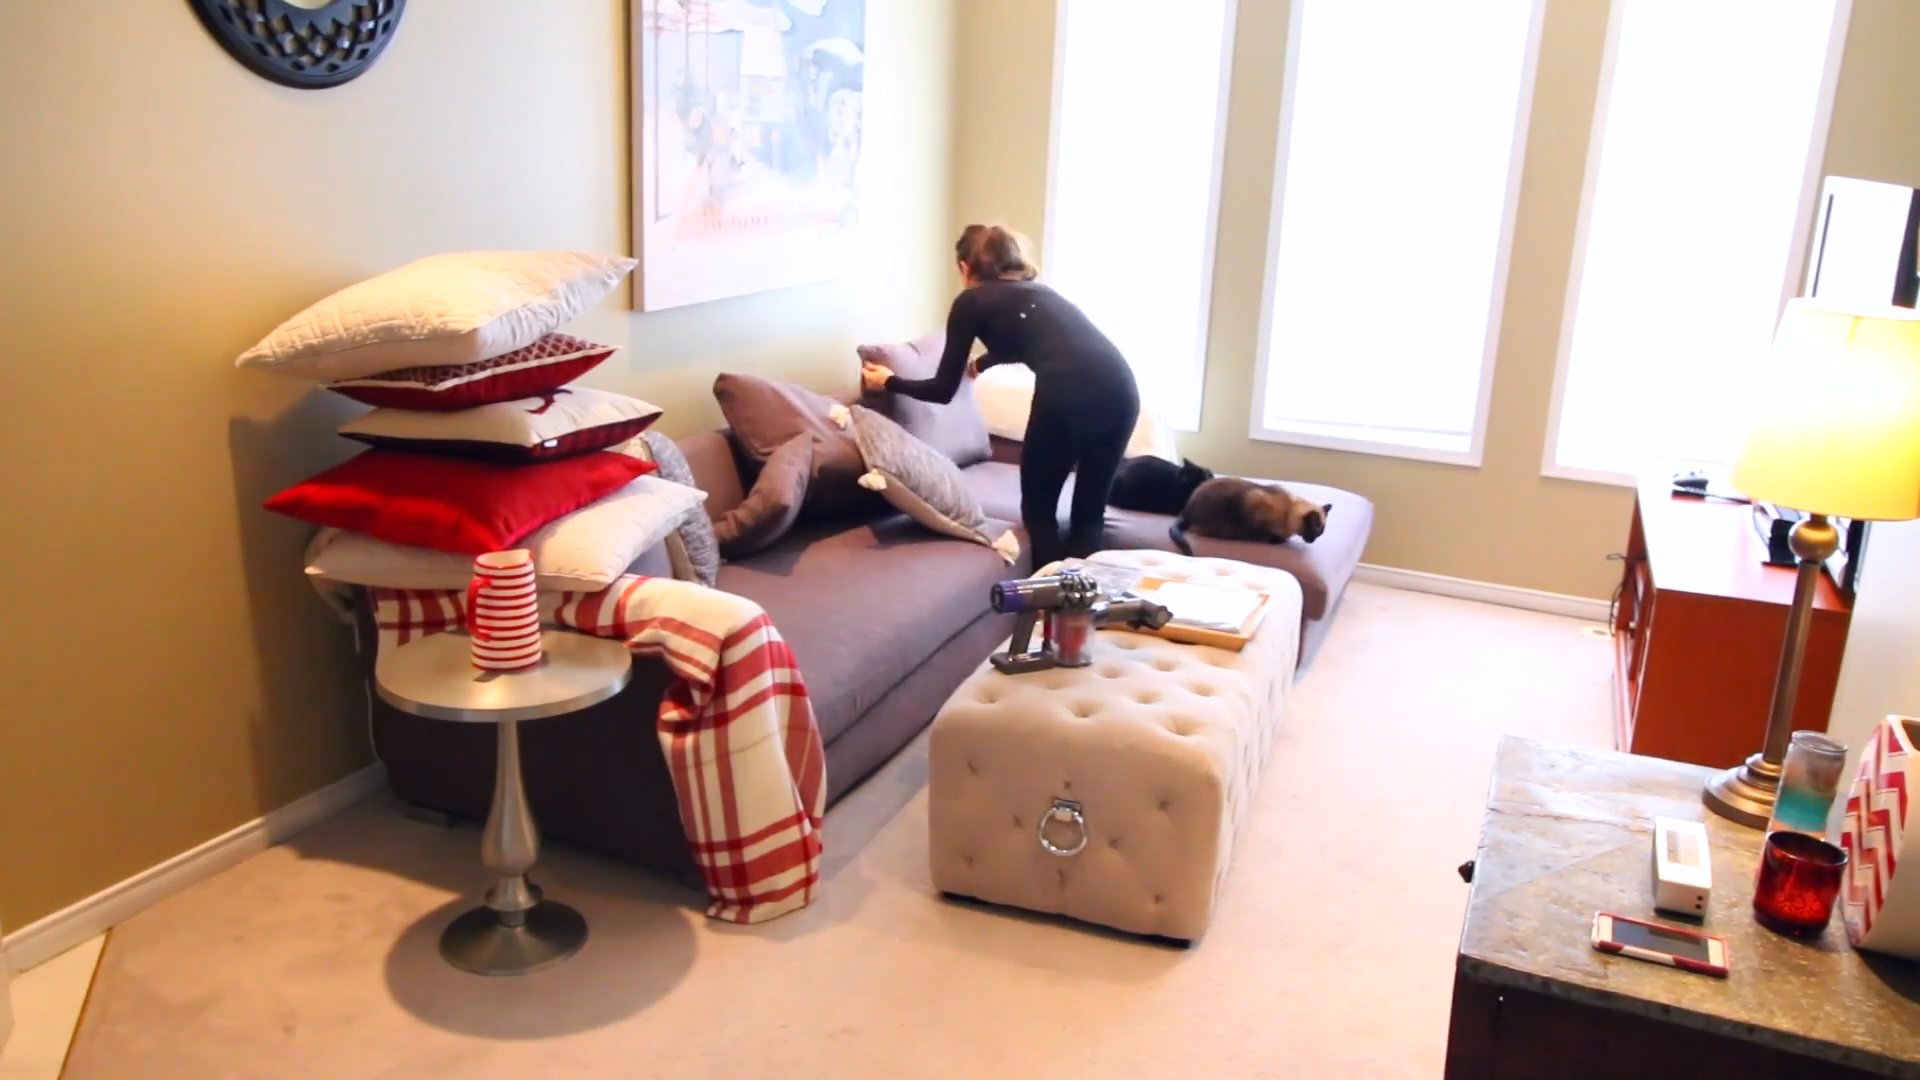
1. **Vacuum Upholstery:** Use the upholstery attachment on your vacuum cleaner to vacuum all fabric surfaces, including sofas, chairs, and ottomans. Pay special attention to crevices and seams, where dust and crumbs tend to hide.
2. **Spot Clean Stains:** If you have any stains on your upholstery, spot clean them with an upholstery cleaner. Always test the cleaner in an inconspicuous area first to make sure it doesn’t damage the fabric. Follow the instructions on the cleaner carefully. For fresh stains, blot them immediately with a clean cloth to absorb as much of the liquid as possible.
3. **Deep Clean Upholstery (Optional):** If your upholstery is heavily soiled, you may want to consider deep cleaning it with an upholstery cleaning machine. You can rent these machines from most hardware stores or hire a professional cleaning service.
4. **Clean Leather Furniture:** If you have leather furniture, use a leather cleaner and conditioner to clean and protect the leather. Follow the instructions on the cleaner and conditioner carefully. Avoid using harsh chemicals or abrasive cleaners, as they can damage the leather.
5. **Wash Throw Pillows and Blankets:** Remove the covers from your throw pillows and wash them according to the care instructions. Wash your throw blankets as well. This will help remove dust mites and allergens.
Phase 4: Floor Care – Vacuuming and Mopping
Now we’re getting down to the nitty-gritty – the floors!
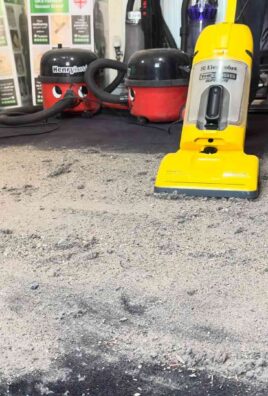
1. **Vacuum Carpets and Rugs:** Vacuum carpets and rugs thoroughly, paying special attention to high-traffic areas. Use the crevice tool to reach edges and corners. If you have pets, use a vacuum cleaner with a HEPA filter to remove pet dander and allergens.
2. **Spot Clean Carpet Stains:** If you have any stains on your carpets or rugs, spot clean them with a carpet cleaner. Always test the cleaner in an inconspicuous area first to make sure it doesn’t damage the carpet. Follow the instructions on the cleaner carefully.
3. **Deep Clean Carpets (Optional):** If your carpets are heavily soiled, you may want to consider deep cleaning them with a carpet cleaning machine. You can rent these machines from most hardware stores or hire a professional cleaning service.
4. **Sweep or Vacuum Hard Floors:** Sweep or vacuum hard floors to remove any loose dirt and debris.
5. **Mop Hard Floors:** Mop hard floors with a floor cleaner appropriate for your floor type. Follow the instructions on the cleaner carefully. Use a clean mop and change the water frequently to avoid spreading dirt around. For wood floors, use a cleaner specifically designed for wood floors.
* **For Tile Floors:** A mixture of warm water and a mild dish soap works wonders. You can also add a cup of white vinegar to the water for extra cleaning power.
* **For Laminate Floors:** Use a cleaner specifically designed for laminate floors. Avoid using too much water, as it can damage the laminate.
* **For Hardwood Floors:** Use a cleaner specifically designed for hardwood floors. Avoid using too much water, as it can damage the wood.
Phase 5: The Finishing Touches
Almost there! These little details will make a big difference.
1. **Clean Window Treatments:** Dust or vacuum your window treatments, such as curtains, blinds, or shades. If your curtains are washable, consider taking them down and washing them according to the care instructions.
2. **Clean Remote Controls:** Remote controls are notorious for harboring germs. Wipe them down with a disinfectant wipe or a cloth dampened with rubbing alcohol.
3. **Empty Trash Cans:** Empty all trash cans in the living room and replace the liners.
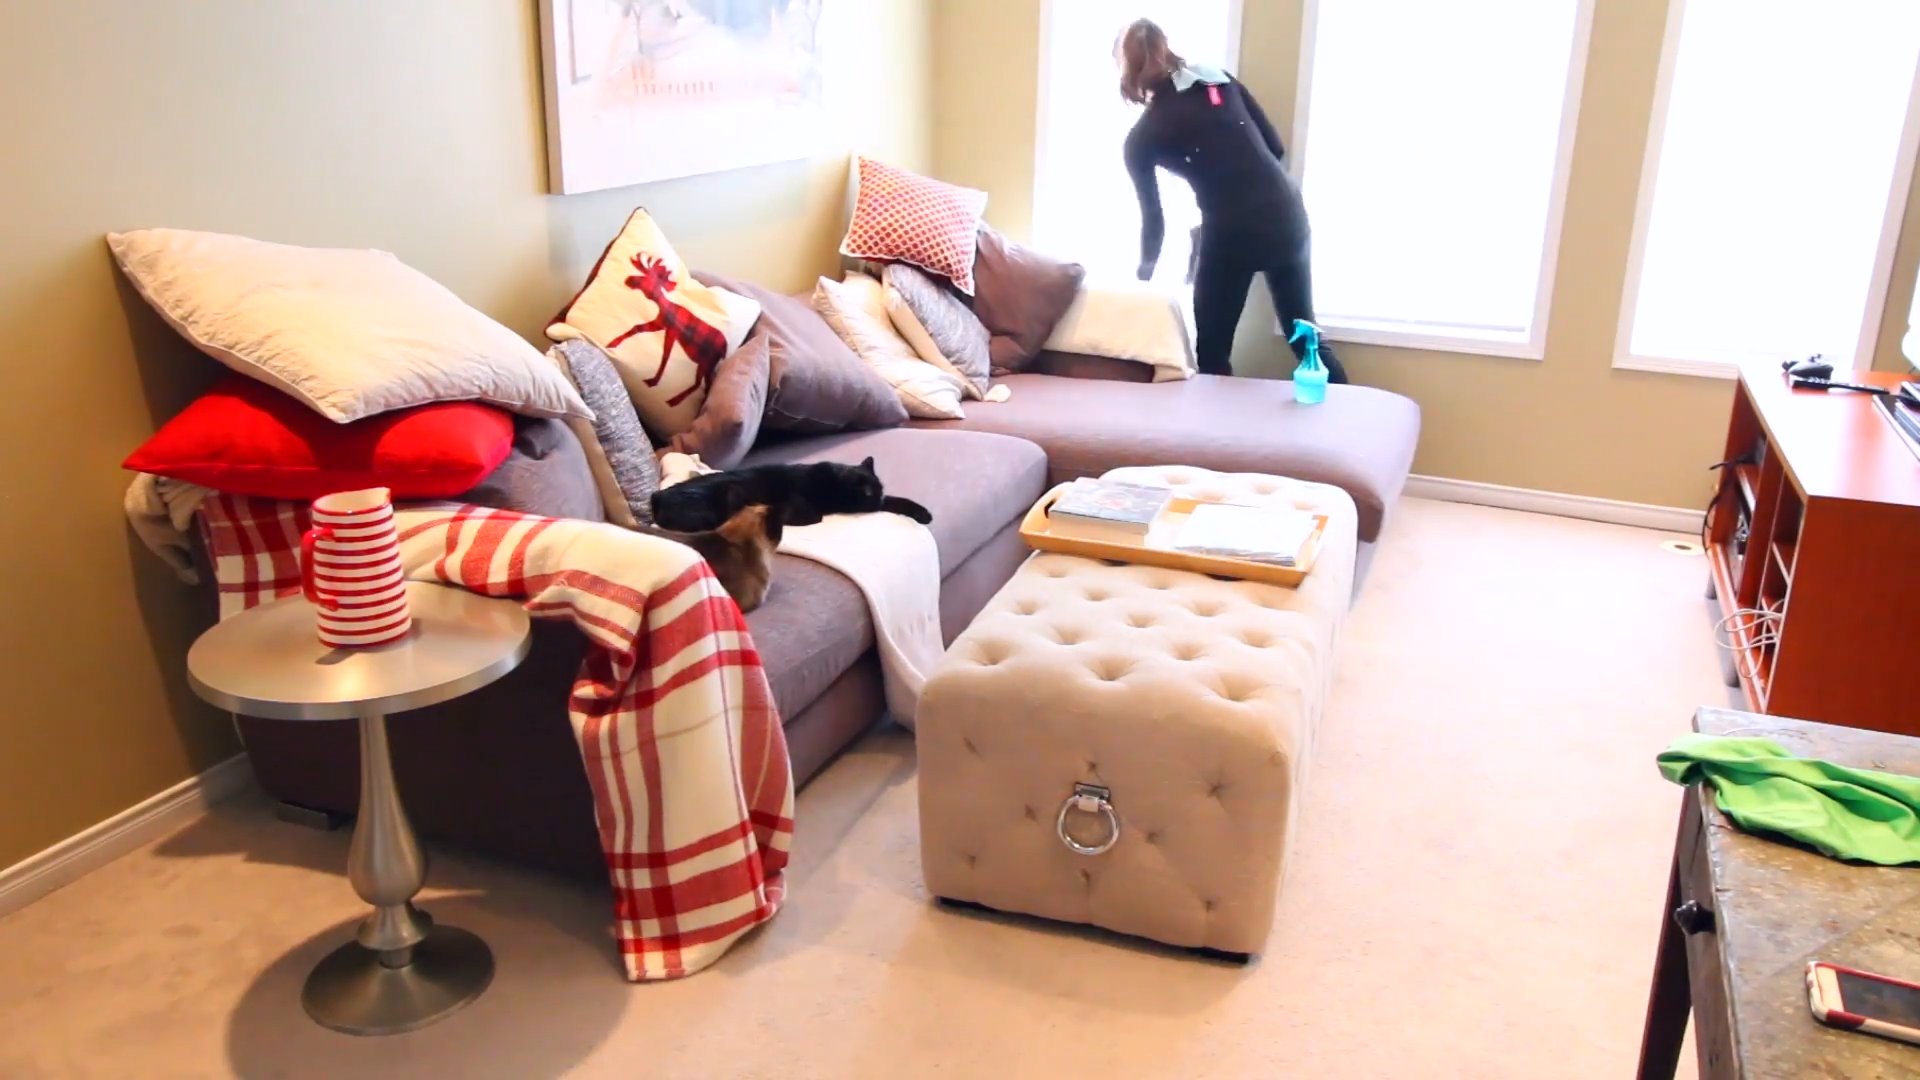
4. **Arrange Furniture:** Put everything back in its place and arrange your furniture to create a comfortable and inviting space.
5. **Add Fresh Flowers or Plants:** A vase of fresh flowers or a potted plant can add a touch of freshness and life to your living room.
6. **Light a Candle or Diffuse Essential Oils:** Light a scented candle or diffuse essential oils to create a relaxing and inviting atmosphere.
Bonus Tip: Baking Soda Magic
Baking soda is a natural deodorizer and can be used to freshen up your living room. Sprinkle baking soda on your carpets and rugs, let it sit for 30 minutes, and then vacuum it up. You can also place a box of baking soda in your living room to absorb odors.
Bonus Tip: Vinegar Power
White vinegar is a natural cleaner and disinfectant. You can use it to clean windows, mirrors, and hard floors. Mix equal parts white vinegar and water in a spray bottle and use it to clean these surfaces.
Bonus Tip: Magic Eraser for Stubborn Marks
Magic Erasers are great for removing stubborn marks from walls, baseboards, and other surfaces. Just wet the eraser and gently rub the mark until it disappears. Be careful not to rub too hard, as you can damage the surface.
And there you have it! A sparkling clean living room. Remember
Conclusion
So, there you have it! Transforming your living room into a sparkling sanctuary doesn’t require a small fortune or a team of professional cleaners. This DIY cleaning trick, focusing on simple, readily available ingredients and a strategic approach, is a game-changer for anyone looking to achieve a fresh and inviting living space. We’ve shown you how to tackle dust, grime, and odors with ease, leaving you with a room that not only looks clean but also feels revitalized.
Why is this DIY approach a must-try? Because it’s effective, economical, and environmentally conscious. You’re avoiding harsh chemicals that can be harmful to your health and the planet, while also saving money on expensive cleaning products. Plus, the satisfaction of creating a clean and comfortable space with your own two hands is truly rewarding.
But don’t stop there! Feel free to experiment and adapt this method to suit your specific needs and preferences. For instance, if you’re dealing with stubborn stains on your upholstery, consider adding a small amount of baking soda to your cleaning solution for extra scrubbing power. If you prefer a different scent, swap out the essential oils for your favorite fragrance. Lavender, lemon, and eucalyptus are all excellent choices for creating a calming and refreshing atmosphere.
Another variation you might consider is using microfiber cloths instead of regular cotton cloths. Microfiber is incredibly effective at trapping dust and dirt, leaving surfaces streak-free and sparkling. You can also invest in a good quality vacuum cleaner with various attachments to reach those hard-to-clean areas, such as under furniture and along baseboards.
Remember, maintaining a clean living room is an ongoing process, not a one-time event. By incorporating this DIY cleaning trick into your regular cleaning routine, you can keep your living room looking its best all year round. Aim to dust and vacuum at least once a week, and tackle deeper cleaning tasks, such as washing curtains and cleaning upholstery, every few months.
We are confident that this DIY living room cleaning method will revolutionize your cleaning routine. It’s simple, effective, and customizable to your specific needs. Now it’s your turn to give it a try! We encourage you to embrace this DIY approach and experience the joy of a clean and inviting living space.
Don’t just take our word for it – try it out for yourself! We’re eager to hear about your experiences and see the amazing transformations you achieve. Share your before-and-after photos, tips, and variations in the comments below. Let’s create a community of DIY cleaning enthusiasts and inspire each other to maintain beautiful and healthy homes. We believe in the power of shared knowledge and experiences, so don’t hesitate to contribute your insights and help others discover the magic of this simple yet effective cleaning trick. Happy cleaning!
Frequently Asked Questions (FAQ)
What if I don’t have all the ingredients listed in the recipe?
Don’t worry! The beauty of DIY cleaning is its flexibility. If you’re missing a specific essential oil, you can substitute it with another one that you enjoy or simply omit it altogether. The essential oil is primarily for fragrance, so its absence won’t significantly impact the cleaning power of the solution. If you don’t have white vinegar, you can use lemon juice as a substitute, although the scent might be slightly different. The most important ingredients are the water and a mild dish soap or all-purpose cleaner, as these are responsible for lifting dirt and grime.
Is this cleaning solution safe for all types of surfaces?
While this DIY cleaning solution is generally safe for most surfaces, it’s always a good idea to test it in an inconspicuous area first, especially on delicate or sensitive materials like leather, silk, or unfinished wood. Apply a small amount of the solution to a hidden spot and wait a few minutes to see if there are any adverse reactions, such as discoloration or damage. If you’re unsure about a particular surface, consult the manufacturer’s instructions or a professional cleaner.
How often should I clean my living room using this method?
The frequency of cleaning depends on several factors, including the size of your living room, the number of people and pets living in your home, and your personal preferences. As a general guideline, aim to dust and vacuum your living room at least once a week. Deeper cleaning tasks, such as washing curtains, cleaning upholstery, and wiping down walls, can be done every few months or as needed. If you have pets, you may need to clean more frequently to remove pet hair and dander.
Can I use this cleaning solution on my electronics?
No, this cleaning solution is not suitable for cleaning electronics. Liquids can damage sensitive electronic components. Instead, use a dry microfiber cloth to gently wipe down your TV screen, remote controls, and other electronic devices. For stubborn smudges, you can lightly dampen the cloth with distilled water, but be sure to wring it out thoroughly before wiping. Never spray liquids directly onto electronics.
How do I get rid of stubborn odors in my living room?
Stubborn odors can be challenging to eliminate, but there are several things you can try. First, identify the source of the odor and address it directly. For example, if the odor is coming from your carpet, you may need to deep clean or replace it. You can also try placing bowls of baking soda or activated charcoal in your living room to absorb odors. Another effective method is to use an air purifier with a HEPA filter to remove airborne particles and odors. Regularly ventilating your living room by opening windows and doors can also help to freshen the air.
What are some other tips for keeping my living room clean and organized?
In addition to regular cleaning, there are several other things you can do to maintain a clean and organized living room. Encourage everyone in your household to put things away after using them. This simple habit can prevent clutter from accumulating. Invest in storage solutions, such as baskets, shelves, and cabinets, to keep items organized and out of sight. Declutter regularly by getting rid of items you no longer need or use. Finally, establish a cleaning routine and stick to it as much as possible. By incorporating these tips into your daily life, you can create a living room that is both clean and inviting.
Can I add bleach to this DIY cleaning solution for extra disinfecting power?
No, it is strongly discouraged to add bleach to this DIY cleaning solution, especially if it contains vinegar. Mixing bleach with vinegar creates chlorine gas, which is highly toxic and can cause serious health problems, including respiratory irritation, burns, and even death. Bleach should only be used according to the manufacturer’s instructions and never mixed with other cleaning products unless specifically directed. If you need to disinfect your living room, use a separate disinfectant cleaner that is specifically designed for that purpose. Always follow the safety precautions on the product label.
Leave a Comment