

Deep cleaning house in one day might sound like an impossible mission, right? I get it! The thought of tackling every nook and cranny can be completely overwhelming. But what if I told you it’s not only achievable but also incredibly satisfying? Imagine the feeling of walking into a sparkling clean home, knowing you conquered the clutter and grime in just 24 hours!
For generations, cultures around the world have recognized the importance of a clean living space. From the ancient practice of spring cleaning, symbolizing renewal and fresh starts, to the Feng Shui principles that emphasize the flow of energy in a home, cleanliness has always been linked to well-being and positive vibes. It’s more than just aesthetics; it’s about creating a healthy and harmonious environment for ourselves and our loved ones.
Let’s face it, life gets busy! We’re juggling work, family, and everything in between, and sometimes, deep cleaning falls to the bottom of the to-do list. But neglecting it can lead to stress, allergies, and a general feeling of being overwhelmed. That’s why I’ve put together this ultimate guide to deep cleaning house in one day. These DIY tricks and hacks will help you streamline the process, prioritize tasks, and achieve a spotless home without sacrificing your entire weekend. Get ready to roll up your sleeves and transform your living space into a haven of cleanliness and calm!
Deep Cleaning Your House in One Day: A DIY Guide
Okay, let’s be real. The thought of deep cleaning your entire house in a single day can feel overwhelming. But trust me, it’s totally doable! I’ve done it countless times, and I’m here to share my secrets to conquering the clutter and grime. The key is planning, prioritizing, and powering through. So, grab your cleaning supplies, put on some upbeat music, and let’s get started!
Phase 1: Pre-Cleaning Prep & Planning
Before you even think about picking up a sponge, a little preparation goes a long way. This phase is all about setting yourself up for success.
* **Gather Your Supplies:** Nothing is more frustrating than realizing you’re out of glass cleaner halfway through cleaning the windows. So, take stock of your cleaning arsenal. Here’s a checklist of essentials:
* All-purpose cleaner
* Glass cleaner
* Bathroom cleaner (with bleach if you prefer)
* Disinfectant wipes or spray
* Floor cleaner (appropriate for your floor type)
* Furniture polish
* Oven cleaner
* Dish soap
* Microfiber cloths (lots of them!)
* Sponges
* Scrub brushes (various sizes)
* Toilet bowl cleaner and brush
* Vacuum cleaner
* Mop and bucket
* Dustpan and brush
* Rubber gloves
* Trash bags
* Empty boxes or bins for decluttering
* Step stool (if needed)
* **Create a Cleaning Schedule:** Don’t just wander around aimlessly. A schedule will keep you on track and prevent you from getting sidetracked. Break down your house into manageable zones (e.g., kitchen, bathrooms, bedrooms, living areas). Estimate how long each zone will take and allocate time accordingly. I like to use a simple spreadsheet or even just a handwritten list.
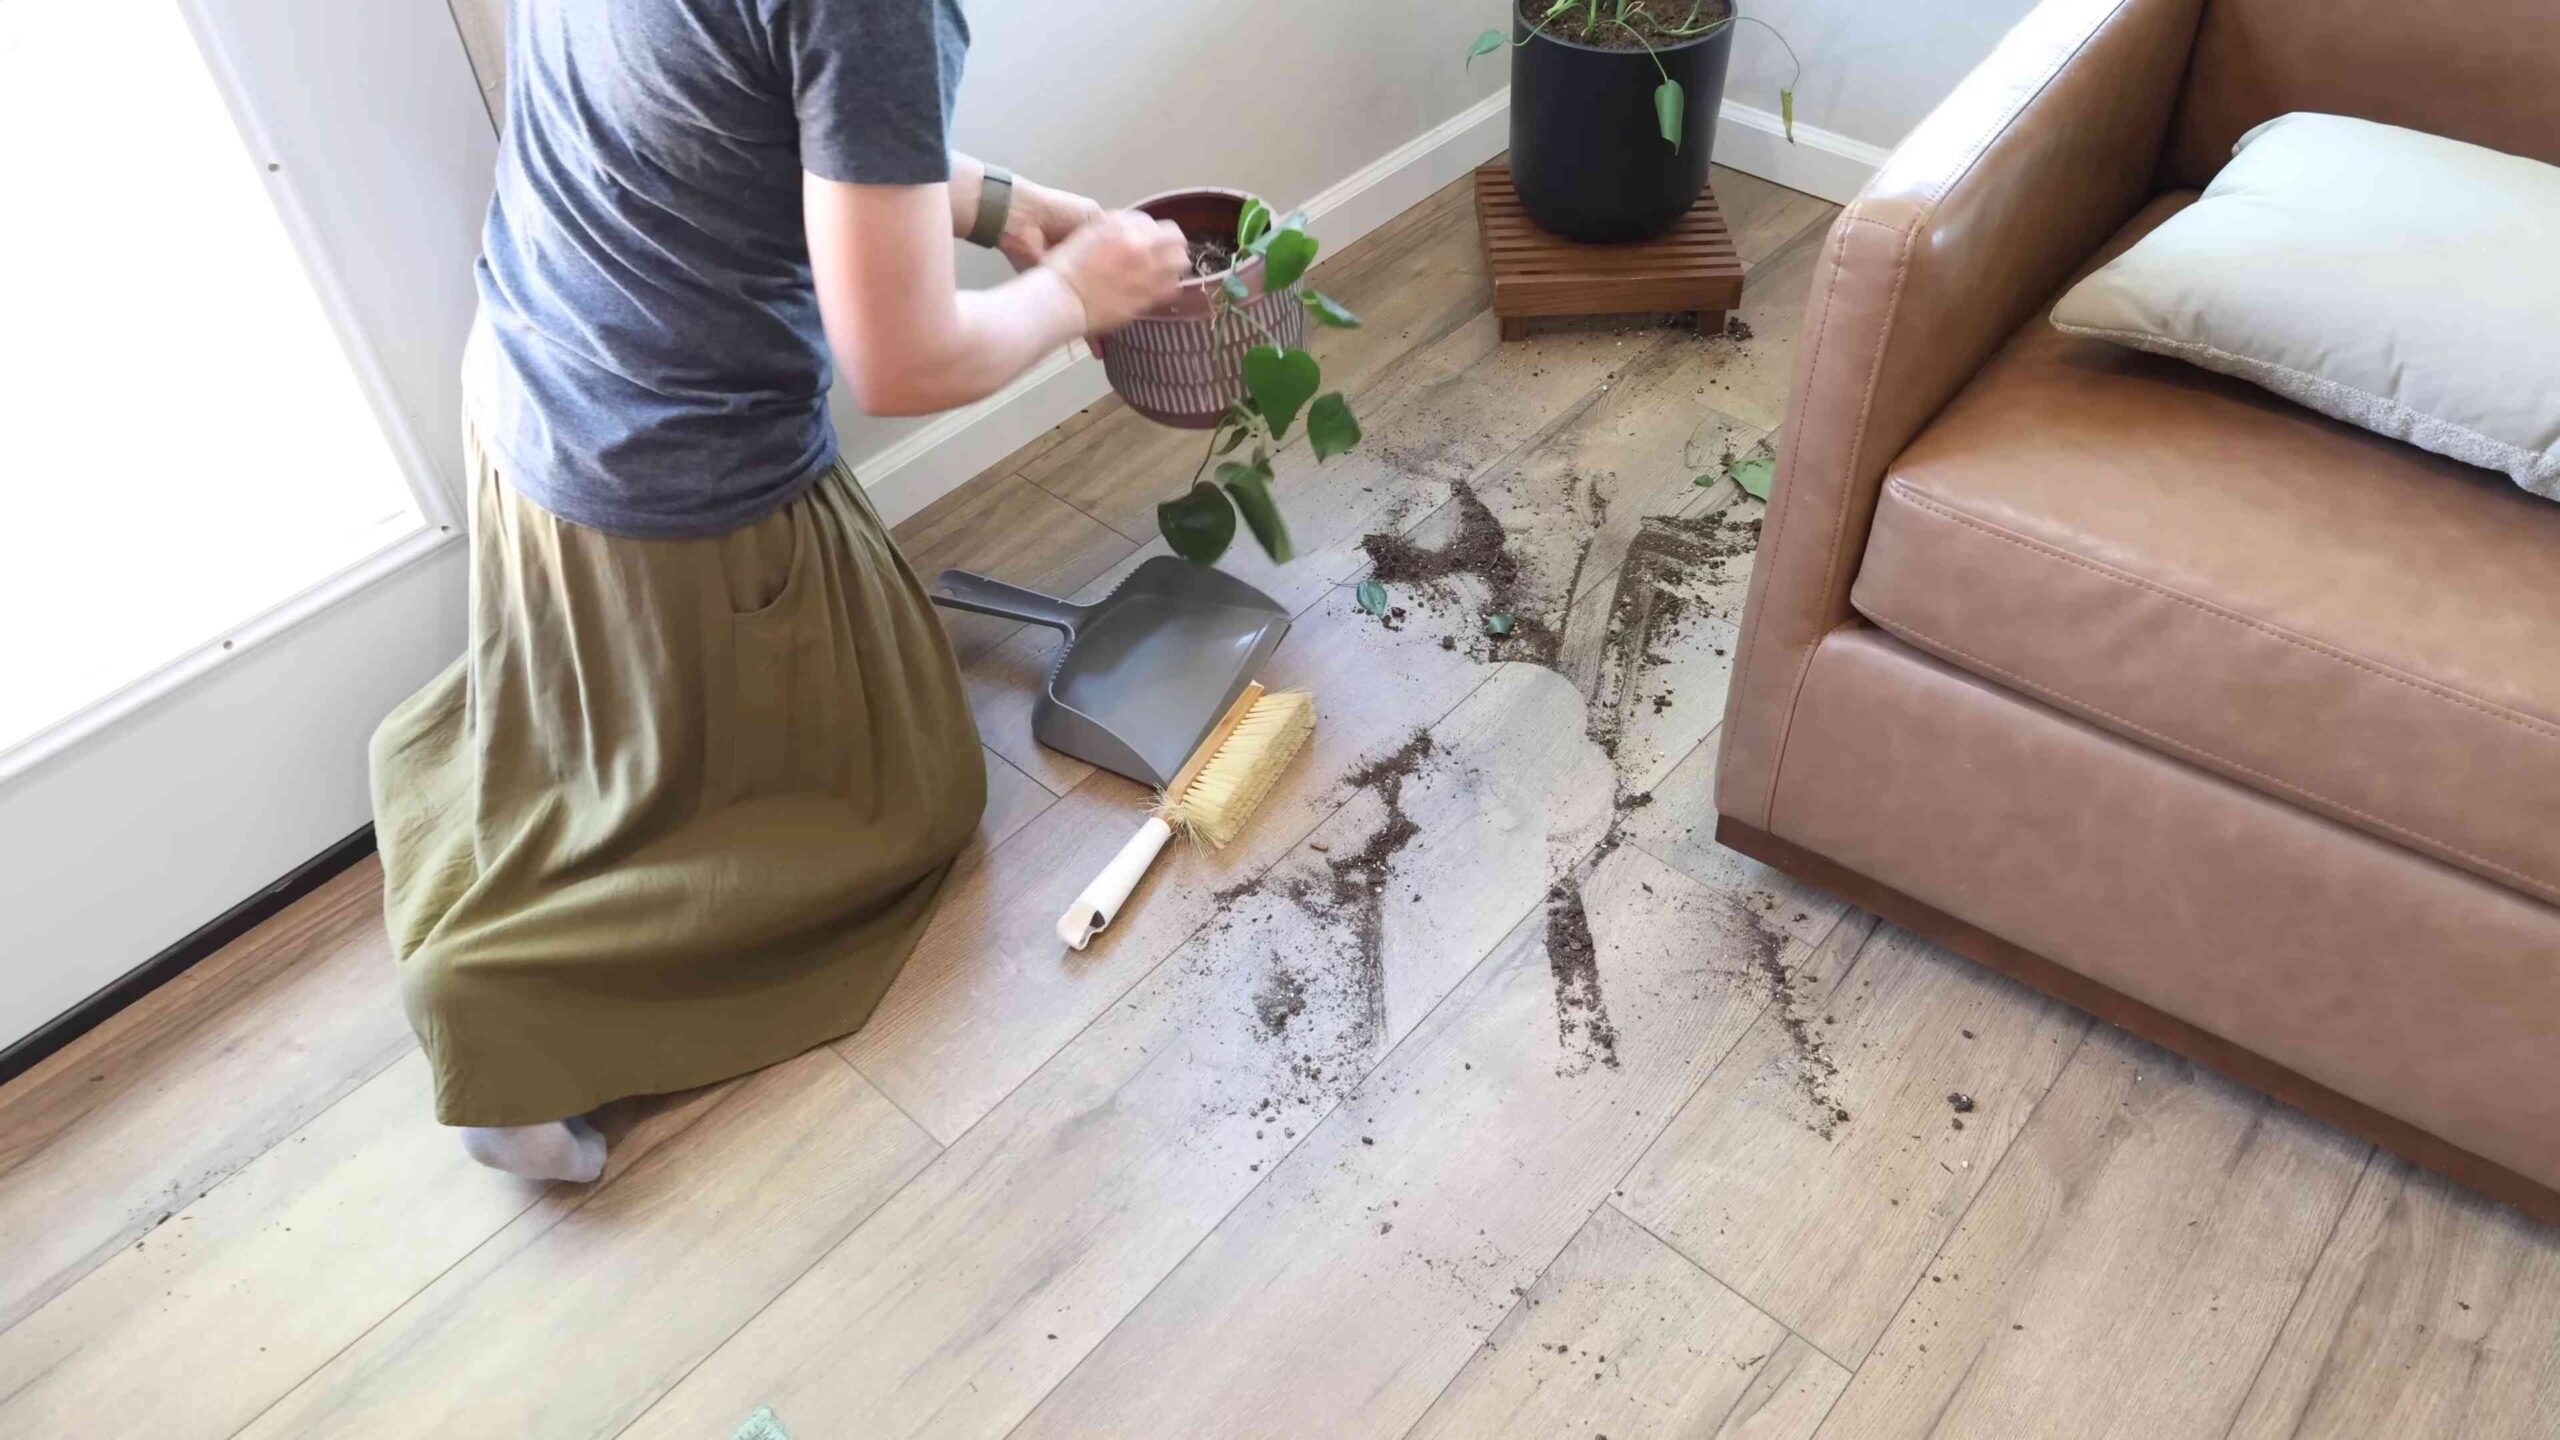
* **Declutter First:** Deep cleaning is much easier when you’re not constantly tripping over clutter. Before you start scrubbing, take some time to declutter each room. Grab those empty boxes or bins and go through each space.
* **Throw Away:** Anything that’s broken, expired, or just plain trash.
* **Donate:** Items you no longer need or use but are still in good condition.
* **Relocate:** Items that belong in another room.
* This step is crucial! A decluttered space is a cleaner space.
* **Open Windows:** Fresh air is your friend! Open windows to ventilate your house while you clean. This will help dissipate cleaning fumes and make the whole process more pleasant.
Phase 2: Conquering the Kitchen
The kitchen is often the heart of the home, but it can also be a magnet for grime. Let’s tackle it head-on.
1. **Empty the Dishwasher and Sink:** Start with a clean slate. Unload the dishwasher and wash any remaining dishes in the sink.
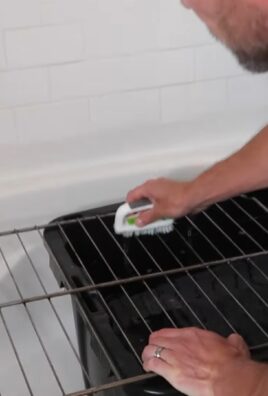
2. **Clean the Oven:** This is often the most dreaded task, but it’s essential for a deep clean.
* **Self-Cleaning Oven:** If you have a self-cleaning oven, run the cycle according to the manufacturer’s instructions. Be sure to remove any racks or pans beforehand.
* **Manual Cleaning:** If you don’t have a self-cleaning oven, use a commercial oven cleaner or a DIY solution of baking soda and vinegar. Follow the product instructions carefully, and be sure to ventilate the kitchen well.
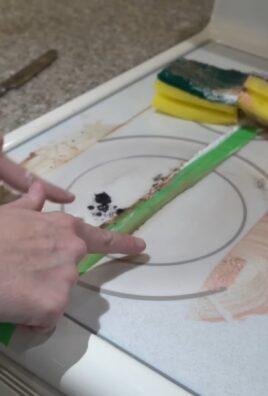
3. **Clean the Stovetop:** Remove the grates and burner caps. Wash them with hot, soapy water. Use a scrub brush to remove any baked-on food. Wipe down the stovetop with all-purpose cleaner.
4. **Clean the Microwave:** Heat a cup of water with a few tablespoons of vinegar in the microwave for a few minutes. This will loosen any splatters and make them easier to wipe away.
5. **Clean the Refrigerator:** Remove all the food from the refrigerator. Throw away anything that’s expired or spoiled. Wipe down the shelves, drawers, and walls with a solution of warm water and baking soda.
6. **Clean the Countertops:** Clear off all the clutter from the countertops. Wipe them down with all-purpose cleaner. Pay special attention to areas where food is prepared.
7. **Clean the Sink:** Scrub the sink with a scrub brush and dish soap. Rinse thoroughly.
8. **Clean the Cabinets:** Wipe down the cabinet doors and drawers with all-purpose cleaner. Pay special attention to areas around the handles.
9. **Sweep and Mop the Floor:** Sweep the floor to remove any loose dirt and debris. Then, mop the floor with a floor cleaner appropriate for your floor type.
Phase 3: Battling the Bathrooms
Bathrooms can be breeding grounds for bacteria and mildew. Let’s get them sparkling clean.
1. **Clean the Toilet:** Flush the toilet and add toilet bowl cleaner to the bowl. Let it sit for a few minutes. Then, scrub the bowl with a toilet brush.
2. **Clean the Shower/Tub:** Spray the shower/tub with bathroom cleaner. Let it sit for a few minutes. Then, scrub the walls, floor, and fixtures with a scrub brush. Rinse thoroughly.
3. **Clean the Sink and Countertop:** Clear off all the clutter from the sink and countertop. Wipe them down with bathroom cleaner. Pay special attention to areas around the faucet and drain.
4. **Clean the Mirror:** Spray the mirror with glass cleaner and wipe it clean with a microfiber cloth.
5. **Clean the Floor:** Sweep the floor to remove any loose dirt and debris. Then, mop the floor with a floor cleaner appropriate for your floor type.
6. **Replace Towels and Bathmat:** Put out fresh towels and a clean bathmat.
Phase 4: Taming the Living Areas and Bedrooms
These spaces are all about comfort and relaxation, so let’s make them clean and inviting.
1. **Dust Everything:** Start by dusting all surfaces, including furniture, shelves, picture frames, and lamps. Use a microfiber cloth or a duster. Don’t forget to dust ceiling fans and light fixtures.
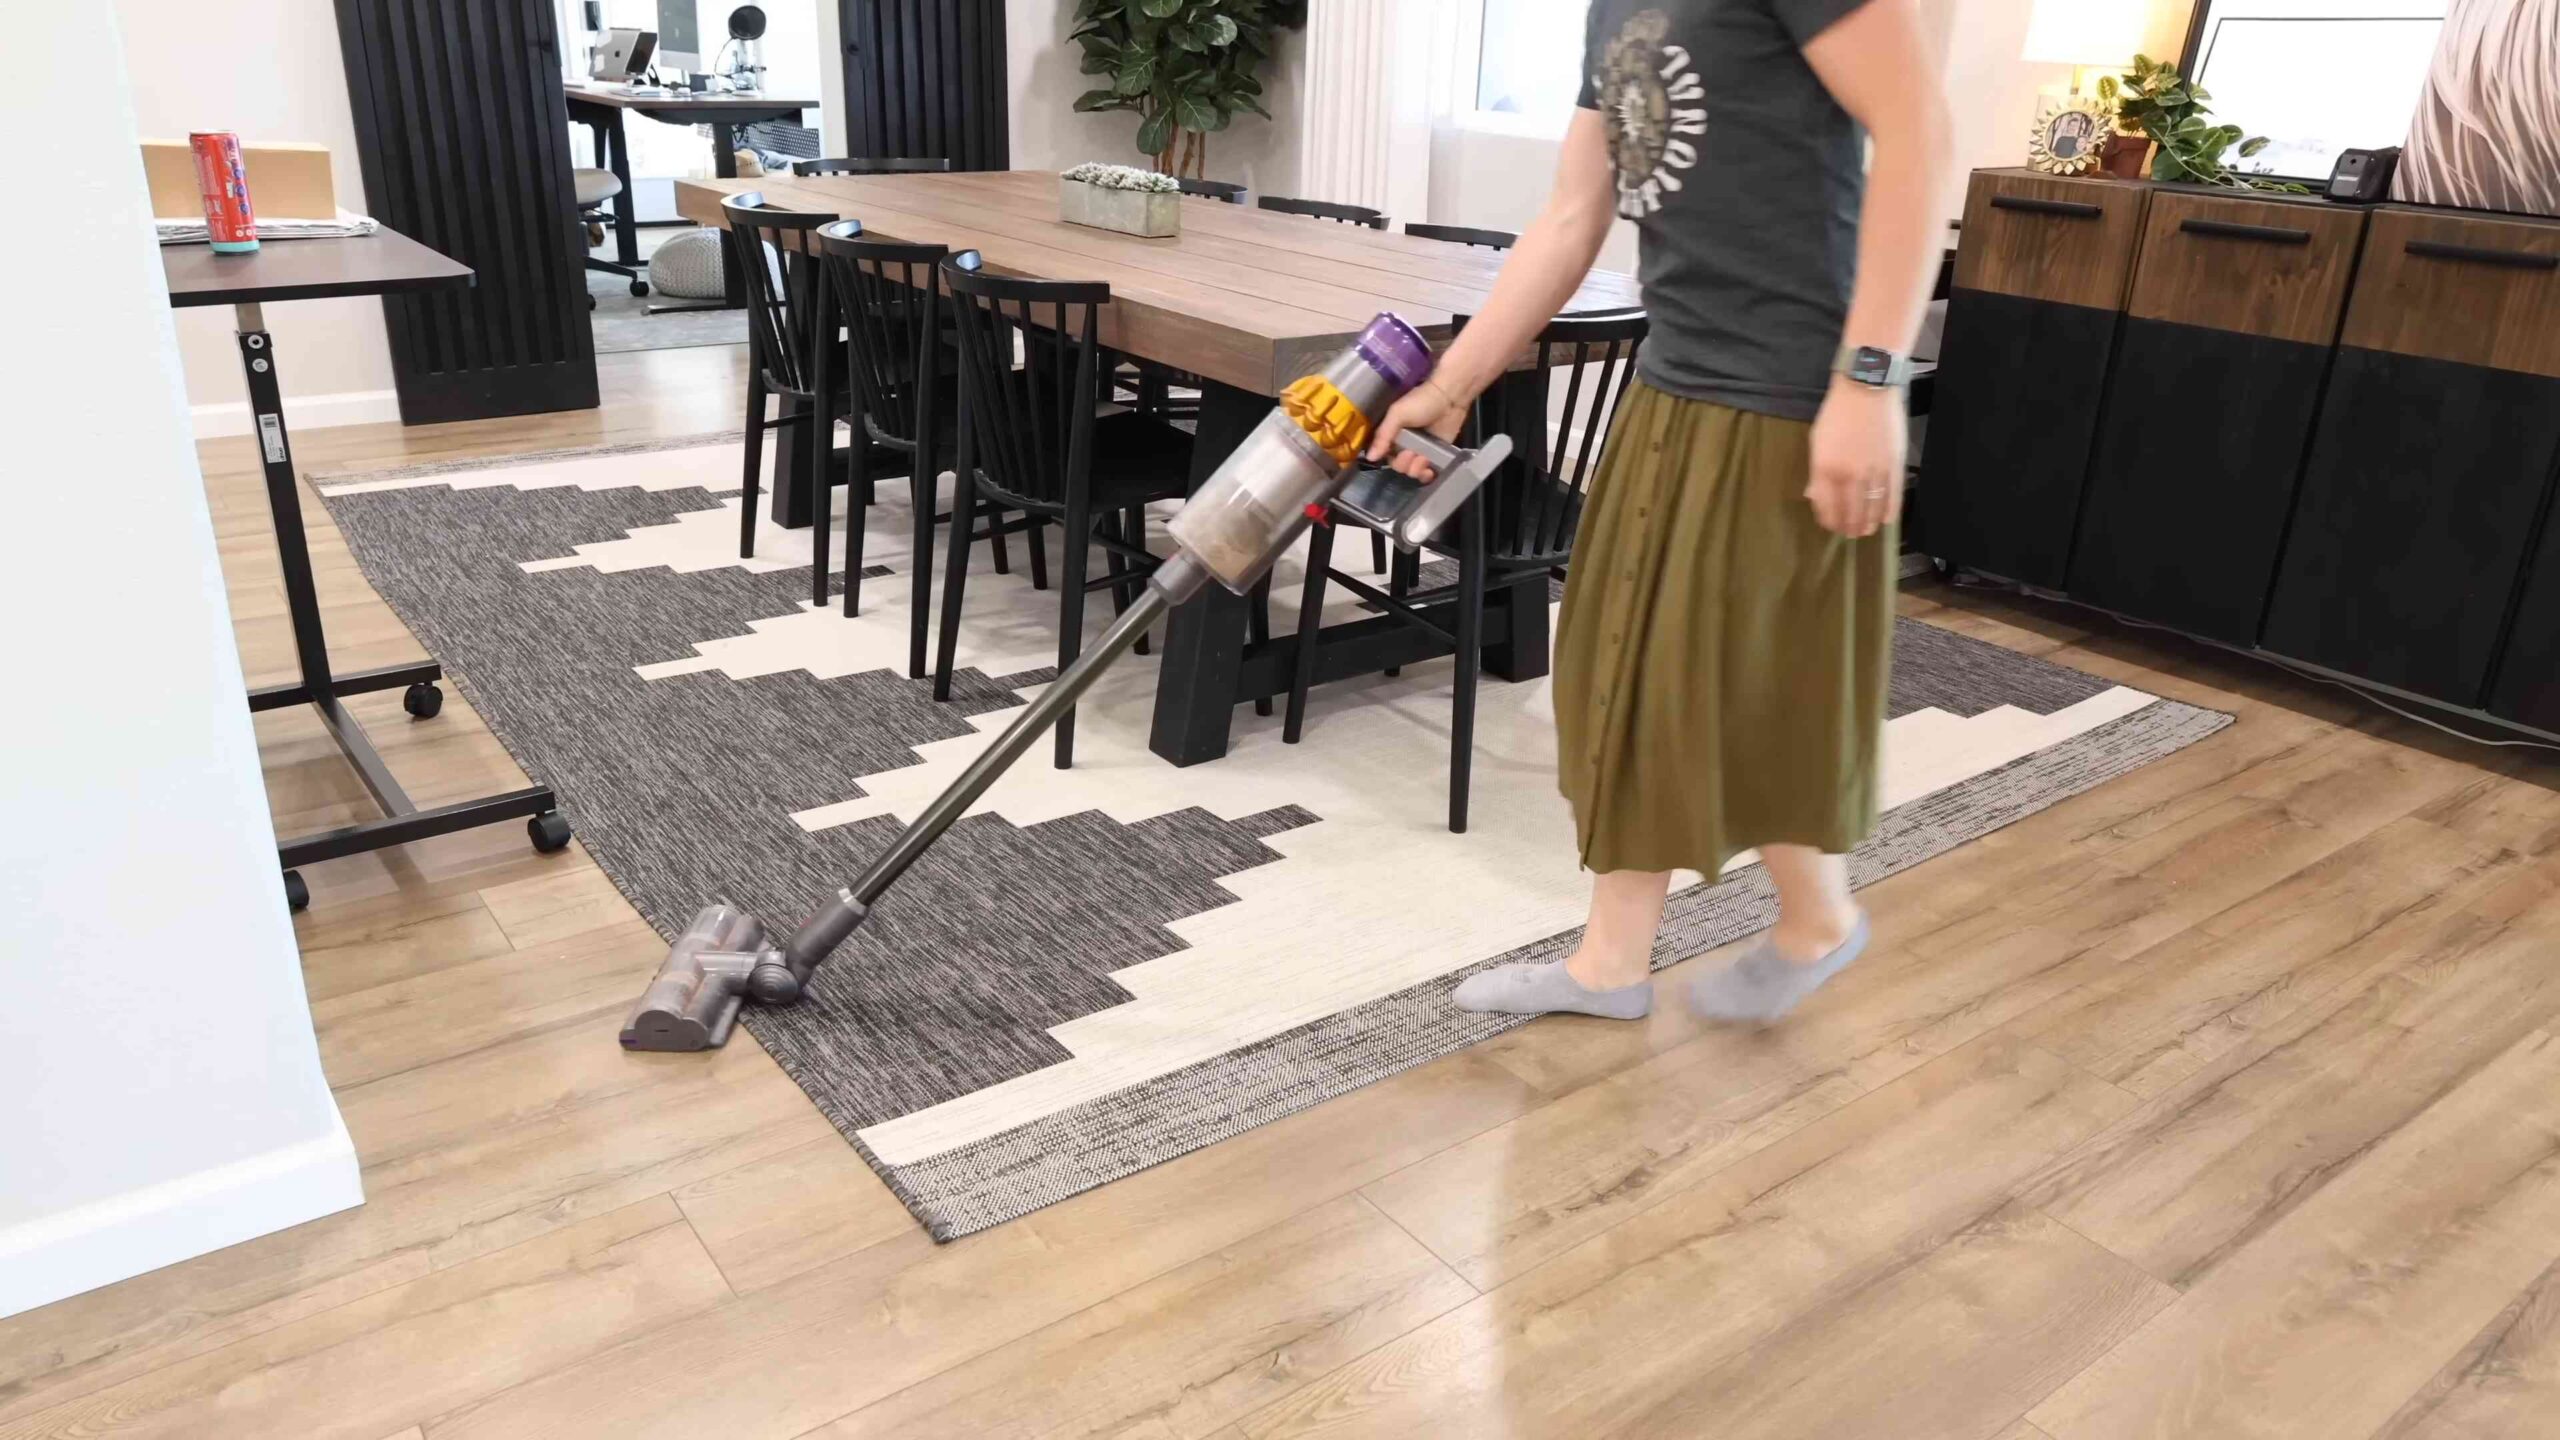
2. **Vacuum or Sweep Floors:** Vacuum carpets and rugs thoroughly. Sweep or mop hard floors.
3. **Clean Windows and Mirrors:** Spray windows and mirrors with glass cleaner and wipe them clean with a microfiber cloth.
4. **Clean Furniture:**
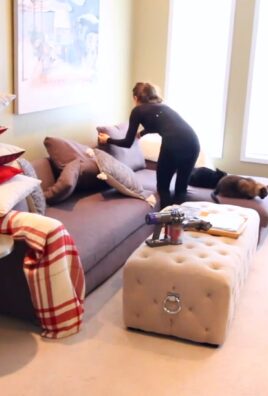
* **Upholstered Furniture:** Vacuum upholstered furniture to remove dust and debris. Spot clean any stains with a fabric cleaner.
* **Leather Furniture:** Wipe down leather furniture with a leather cleaner and conditioner.
5. **Make Beds:** Change the sheets and make the beds.
6. **Organize Clutter:** Put away any clutter that has accumulated in these areas.
7. **Empty Trash Cans:** Empty all trash cans and replace the liners.
Phase 5: Finishing Touches
These final steps will make your house feel truly clean and refreshed.
1. **Take Out the Trash:** Gather all the trash bags and take them out to the curb.
2. **Wash Laundry:** Wash any dirty laundry that has accumulated during the cleaning process.
3. **Air Out the House:** Open windows and doors to air out the house.
4. **Light a Candle or Diffuse Essential Oils:** Add a pleasant scent to the air to create a welcoming atmosphere.
5. **Enjoy Your Clean Home!** You’ve earned it! Take a moment to relax and appreciate your hard work.
Remember to take breaks! Don’t try to do everything at once. Break the tasks into smaller chunks and take short breaks in between. Put on some music, grab a snack, and stay hydrated. You got this!
Conclusion
So, there you have it – a comprehensive strategy to tackle deep cleaning your entire house in just one day! It might seem daunting at first, but by breaking down the tasks, prioritizing effectively, and utilizing the time-saving tips we’ve discussed, you can achieve a sparkling clean home without sacrificing an entire weekend. This isn’t just about surface cleaning; it’s about creating a healthier, more organized, and ultimately more enjoyable living space.
The beauty of this one-day deep clean approach is its adaptability. Feel free to adjust the schedule and task list to suit your specific needs and the size of your home. For instance, if you have hardwood floors throughout, you might dedicate more time to polishing and waxing them. Conversely, if you have minimal clutter, you can breeze through the decluttering phase and focus on areas that require more attention, like bathrooms or kitchens.
Consider these variations to personalize your deep cleaning experience:
* **Themed Cleaning:** Focus on specific areas each time you deep clean. One month, concentrate on the kitchen, the next on the bathrooms, and so on. This allows for a more thorough and less overwhelming approach.
* **Seasonal Cleaning:** Align your deep cleaning with the changing seasons. Spring cleaning is a classic, but a fall deep clean can prepare your home for the colder months.
* **Team Up:** Enlist the help of family members or friends to make the process faster and more enjoyable. Divide tasks based on preferences and abilities.
Remember, the key to success is preparation and commitment. Gather your supplies, create a realistic schedule, and stay focused on the end goal: a clean, refreshed home. Don’t be afraid to experiment with different cleaning products and techniques to find what works best for you.
We strongly encourage you to try this **deep cleaning house in one day** method and experience the satisfaction of a truly clean home. It’s not just about aesthetics; it’s about creating a healthier and more comfortable environment for yourself and your loved ones.
Once you’ve conquered your one-day deep clean, we’d love to hear about your experience! Share your tips, tricks, and before-and-after photos in the comments below. Let’s inspire each other to create cleaner, happier homes! What worked best for you? What challenges did you face? Your feedback will help others refine their own deep cleaning strategies and achieve similar success. So, roll up your sleeves, put on some music, and get ready to transform your home!
FAQ
What if I can’t finish everything in one day?
That’s perfectly okay! The “one-day” aspect is a goal, but life happens. If you find yourself running out of time, prioritize the most important tasks, such as cleaning bathrooms and kitchens, and postpone less critical tasks, like organizing closets, to another day. The key is to make significant progress and not get discouraged. You can always break the remaining tasks into smaller chunks and tackle them over the next few days. Remember, it’s better to do a thorough job on some areas than a rushed job on everything.
What cleaning supplies do I really need?
A good starting point includes:
* All-purpose cleaner: For general cleaning of surfaces.
* Bathroom cleaner: Specifically designed for tackling soap scum and mildew.
* Glass cleaner: For windows and mirrors.
* Floor cleaner: Appropriate for your specific flooring type (hardwood, tile, carpet).
* Disinfectant wipes or spray: For sanitizing high-touch surfaces.
* Microfiber cloths: Excellent for cleaning and dusting.
* Sponges: For scrubbing.
* Vacuum cleaner: With various attachments for different surfaces.
* Mop and bucket: For floor cleaning.
* Rubber gloves: To protect your hands.
* Trash bags: For decluttering and disposing of waste.
Consider eco-friendly options whenever possible. You can also make your own cleaning solutions using ingredients like vinegar, baking soda, and lemon juice.
How do I motivate myself to start?
Motivation can be tricky! Here are a few tips:
* Start small: Begin with a single, manageable task, like cleaning one drawer or wiping down a countertop.
* Set a timer: Commit to cleaning for just 15-20 minutes. You might be surprised how much you can accomplish in a short amount of time.
* Reward yourself: Plan a small reward for completing a task or reaching a milestone.
* Put on music or a podcast: Make the cleaning process more enjoyable.
* Visualize the end result: Imagine how good it will feel to have a clean and organized home.
* Enlist a cleaning buddy: Cleaning with a friend or family member can make the task more fun and keep you accountable.
What’s the best way to declutter?
Decluttering can be overwhelming, but here’s a simple approach:
* Start with one area: Don’t try to declutter your entire house at once. Focus on one room, closet, or drawer at a time.
* Sort items into categories: Create three piles: “Keep,” “Donate/Sell,” and “Trash.”
* Be honest with yourself: If you haven’t used something in a year, it’s probably time to let it go.
* Don’t get sentimental: It’s okay to keep a few sentimental items, but don’t let them clutter your entire home.
* Get rid of it immediately: Don’t let the “Donate/Sell” and “Trash” piles sit around. Take them to the donation center or trash can as soon as possible.
How often should I deep clean my house?
Ideally, you should aim to deep clean your house at least twice a year, typically in the spring and fall. However, the frequency may vary depending on your lifestyle, the size of your home, and the number of people living in it. If you have pets or children, you may need to deep clean more often. Regular maintenance cleaning, such as vacuuming, dusting, and wiping down surfaces, should be done weekly to prevent dirt and grime from building up.
What if I have allergies or sensitivities to cleaning products?
If you have allergies or sensitivities, it’s important to choose cleaning products that are fragrance-free, hypoallergenic, and non-toxic. Look for products labeled “natural” or “eco-friendly.” You can also make your own cleaning solutions using ingredients like vinegar, baking soda, and lemon juice, which are generally safe and effective. Always test a small area before applying any cleaning product to a larger surface. Wear gloves and a mask to protect yourself from fumes and irritants. If you experience any adverse reactions, discontinue use immediately and consult a doctor.
How can I make my deep cleaning last longer?
Maintaining a clean home is an ongoing process. Here are a few tips to help your deep cleaning last longer:
* Establish a regular cleaning routine: Dedicate a few minutes each day to tidying up and wiping down surfaces.
* Clean as you go: Wipe up spills immediately and put things away after using them.
* Declutter regularly: Don’t let clutter accumulate.
* Use doormats: To prevent dirt from being tracked into your home.
* Ventilate your home: Open windows regularly to improve air circulation and reduce moisture buildup.
* Consider a professional cleaning service: If you find it difficult to maintain a clean home on your own, consider hiring a professional cleaning service to come in regularly.
What about cleaning appliances like the oven and dishwasher?
These appliances often get neglected, but they’re important to clean regularly. For the oven, use a commercial oven cleaner or a baking soda paste. For the dishwasher, run a cycle with vinegar or a dishwasher cleaner. Don’t forget to clean the filters and seals on both appliances. Consult your appliance manuals for specific cleaning instructions.
How do I deal with pet hair during deep cleaning?
Pet hair can be a major challenge. Use a vacuum cleaner with a HEPA filter and specialized pet hair attachments. Rubber gloves or a damp sponge can also be effective for removing pet hair from furniture and carpets. Wash pet bedding regularly and groom your pets frequently to minimize shedding.
Leave a Comment