

Grow More Mint than you ever thought possible, even if you think you have a “brown thumb!” Are you tired of buying those tiny, overpriced bunches of mint at the grocery store, only to have them wilt away in your fridge before you can even use half of them? I know I was! That’s why I dove headfirst into the world of mint cultivation, and let me tell you, it’s easier than you think.
Mint has been cherished for centuries, not just for its refreshing flavor but also for its medicinal properties. From ancient Rome, where it was used to freshen breath and flavor sauces, to traditional medicine practices around the globe, mint has a rich and fascinating history. But beyond its historical significance, growing your own mint is incredibly practical.
Imagine stepping out into your garden and snipping fresh mint leaves for your morning tea, a refreshing mojito, or a flavorful addition to your favorite dishes. No more sad, store-bought mint! This DIY guide is packed with simple, effective tricks and hacks to help you grow more mint successfully, whether you have a sprawling garden or just a sunny windowsill. We’ll cover everything from choosing the right variety to preventing common problems, ensuring you have a thriving mint patch that will keep you supplied all season long. Let’s get started!
Propagating Mint: A Beginner’s Guide to Endless Freshness
Hey there, fellow plant enthusiasts! Are you ready to have an abundance of fresh mint at your fingertips? I’m going to walk you through a super easy DIY project: propagating mint. Mint is incredibly versatile – perfect for mojitos, teas, cooking, and even just adding a refreshing scent to your garden. And the best part? It’s ridiculously easy to propagate, meaning you can turn one plant into many! Let’s get started!
What You’ll Need
Before we dive in, let’s gather our supplies. Don’t worry, you probably already have most of this stuff lying around:
- A healthy mint plant: You can use a mint plant you already have, or grab one from a local nursery or even a friend’s garden (with their permission, of course!).
- Sharp scissors or pruning shears: Cleanliness is key to prevent disease.
- Water: Tap water is fine, but filtered water is even better.
- Clear glass or jar: For rooting the cuttings.
- Potting mix: A well-draining mix is ideal.
- Pots: To transplant your new mint plants.
- Optional: Rooting hormone: This isn’t essential, but it can speed up the rooting process.
Choosing the Right Mint Cutting
The success of your propagation depends heavily on selecting healthy cuttings. Here’s what to look for:
- Healthy stems: Choose stems that are green, vibrant, and free from any signs of disease or pests. Avoid stems that are brown, yellow, or have spots.
- Sufficient length: Aim for stems that are about 4-6 inches long. This gives them enough energy to develop roots.
- Leaf nodes: These are the points where leaves grow from the stem. You’ll want to make sure your cuttings have several leaf nodes, as this is where the roots will emerge.
- Avoid flowering stems: Stems that are already flowering will put their energy into producing flowers rather than roots. Choose stems that are still in their vegetative growth phase.
Taking Mint Cuttings: Step-by-Step
Alright, let’s get our hands dirty! Here’s how to take mint cuttings the right way:
- Prepare your tools: Sanitize your scissors or pruning shears with rubbing alcohol to prevent the spread of disease. This is a crucial step!
- Select your stems: Choose healthy, non-flowering stems from your mint plant. Remember the criteria we discussed above.
- Make the cut: Using your sanitized scissors, make a clean cut just below a leaf node. This is where the roots will sprout.
- Remove lower leaves: Strip off the leaves from the bottom 1-2 inches of the stem. This prevents them from rotting in the water and encourages root growth.
- Optional: Dip in rooting hormone: If you’re using rooting hormone, dip the cut end of the stem into the powder or liquid. This will stimulate root development. Follow the instructions on the rooting hormone packaging.
Rooting Mint Cuttings in Water
This is the easiest and most common method for propagating mint. It’s also super satisfying to watch the roots grow!
- Prepare your water: Fill a clear glass or jar with fresh water. Make sure the water is clean and free from any debris.
- Place the cuttings in water: Arrange the cuttings in the glass, making sure that the bottom portion of the stem (where you removed the leaves) is submerged in water. Avoid overcrowding the glass; give each cutting some space.
- Find a bright spot: Place the glass in a bright location, but avoid direct sunlight. A windowsill with indirect light is perfect.
- Change the water regularly: Change the water every 1-2 days to keep it fresh and prevent the growth of bacteria. This is really important for successful rooting.
- Wait for roots to develop: Within a week or two, you should start to see small roots emerging from the leaf nodes. Be patient! It can sometimes take a little longer depending on the conditions.
- Monitor root growth: Allow the roots to grow to about 1-2 inches long before transplanting. This will give them a good start in the soil.
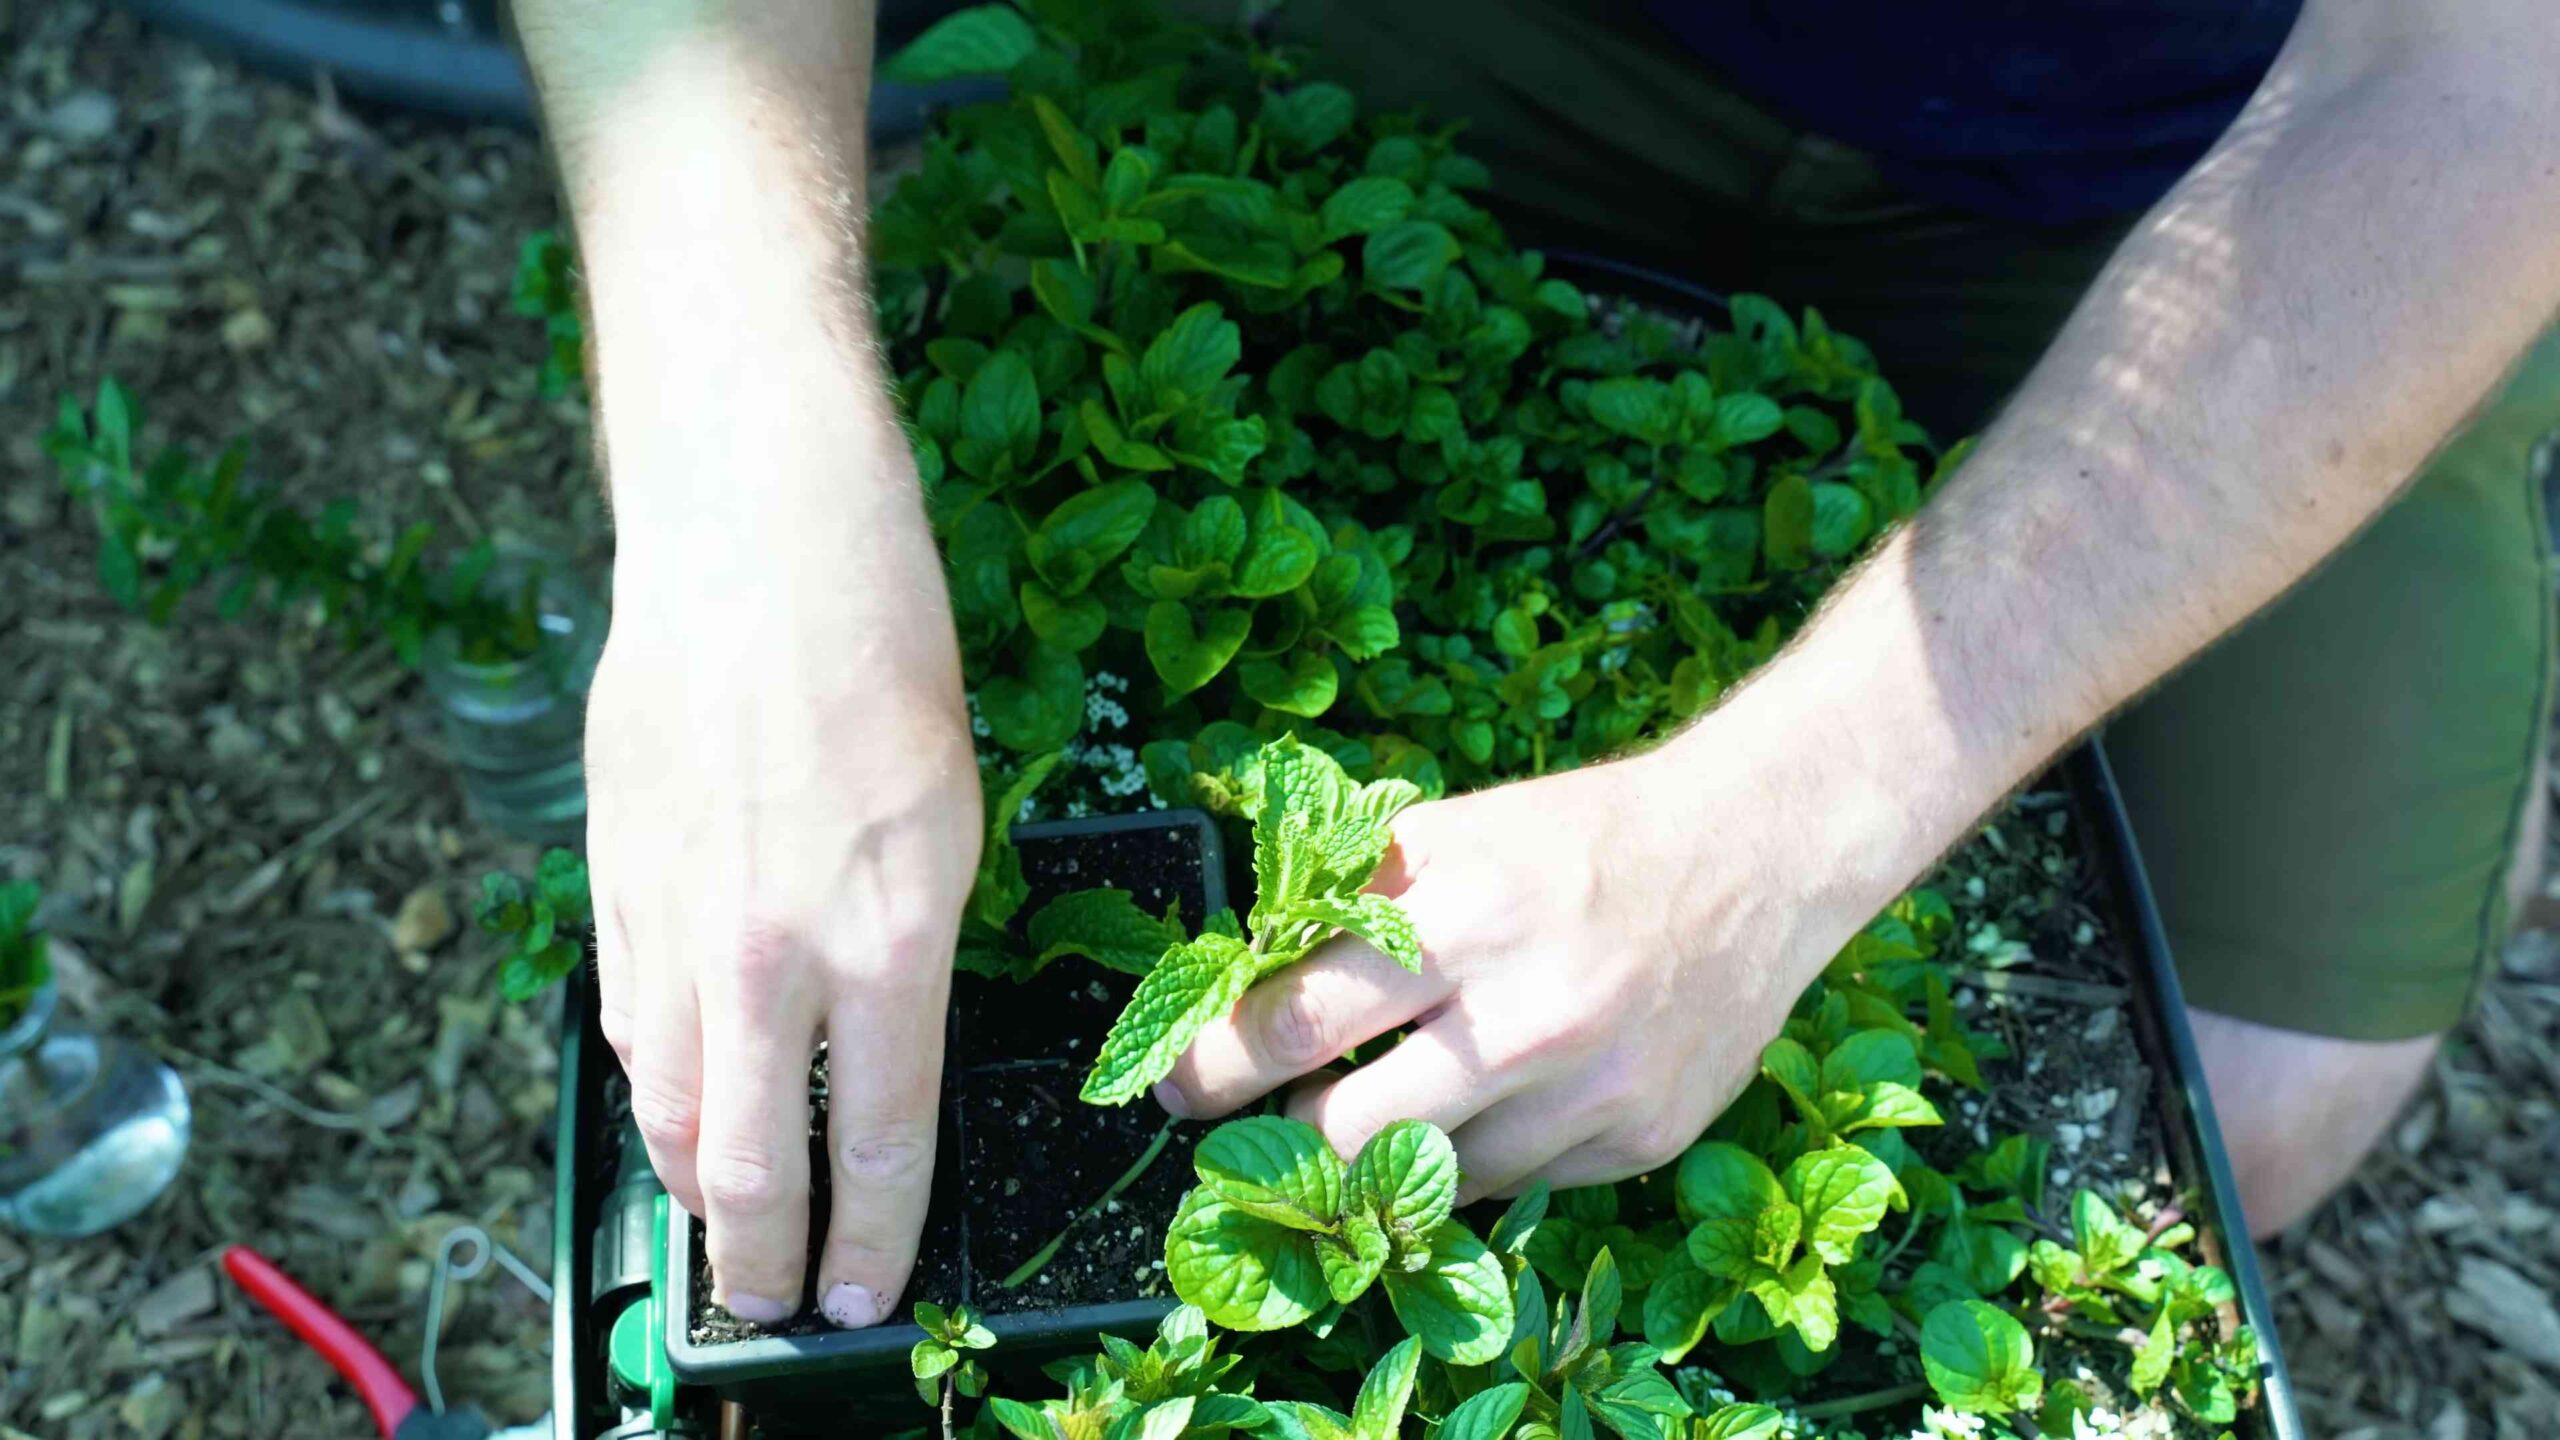
Planting Your Rooted Mint Cuttings
Once your cuttings have developed healthy roots, it’s time to move them to their new homes!
- Prepare your pots: Fill your pots with a well-draining potting mix. Make sure the pots have drainage holes to prevent waterlogging.
- Make a hole: Use your finger or a small tool to create a hole in the center of the potting mix, large enough to accommodate the roots.
- Carefully remove the cuttings: Gently remove the rooted cuttings from the water, being careful not to damage the delicate roots.
- Plant the cuttings: Place the cuttings in the holes and gently cover the roots with potting mix.
- Water thoroughly: Water the newly planted mint cuttings thoroughly until the water drains out of the bottom of the pot.
- Provide bright, indirect light: Place the pots in a location with bright, indirect light. Avoid direct sunlight, which can scorch the leaves.
Caring for Your New Mint Plants
Congratulations! You’ve successfully propagated mint! Now, let’s make sure your new plants thrive.
- Watering: Keep the soil consistently moist, but not waterlogged. Water when the top inch of soil feels dry to the touch.
- Light: Mint prefers bright, indirect light. Avoid direct sunlight, especially during the hottest part of the day.
- Fertilizing: Feed your mint plants with a balanced liquid fertilizer every 2-4 weeks during the growing season (spring and summer).
- Pruning: Regularly prune your mint plants to encourage bushier growth and prevent them from becoming leggy. Simply pinch off the tips of the stems.
- Pest control: Keep an eye out for pests like aphids and spider mites. If you spot any, treat them with insecticidal soap or neem oil.
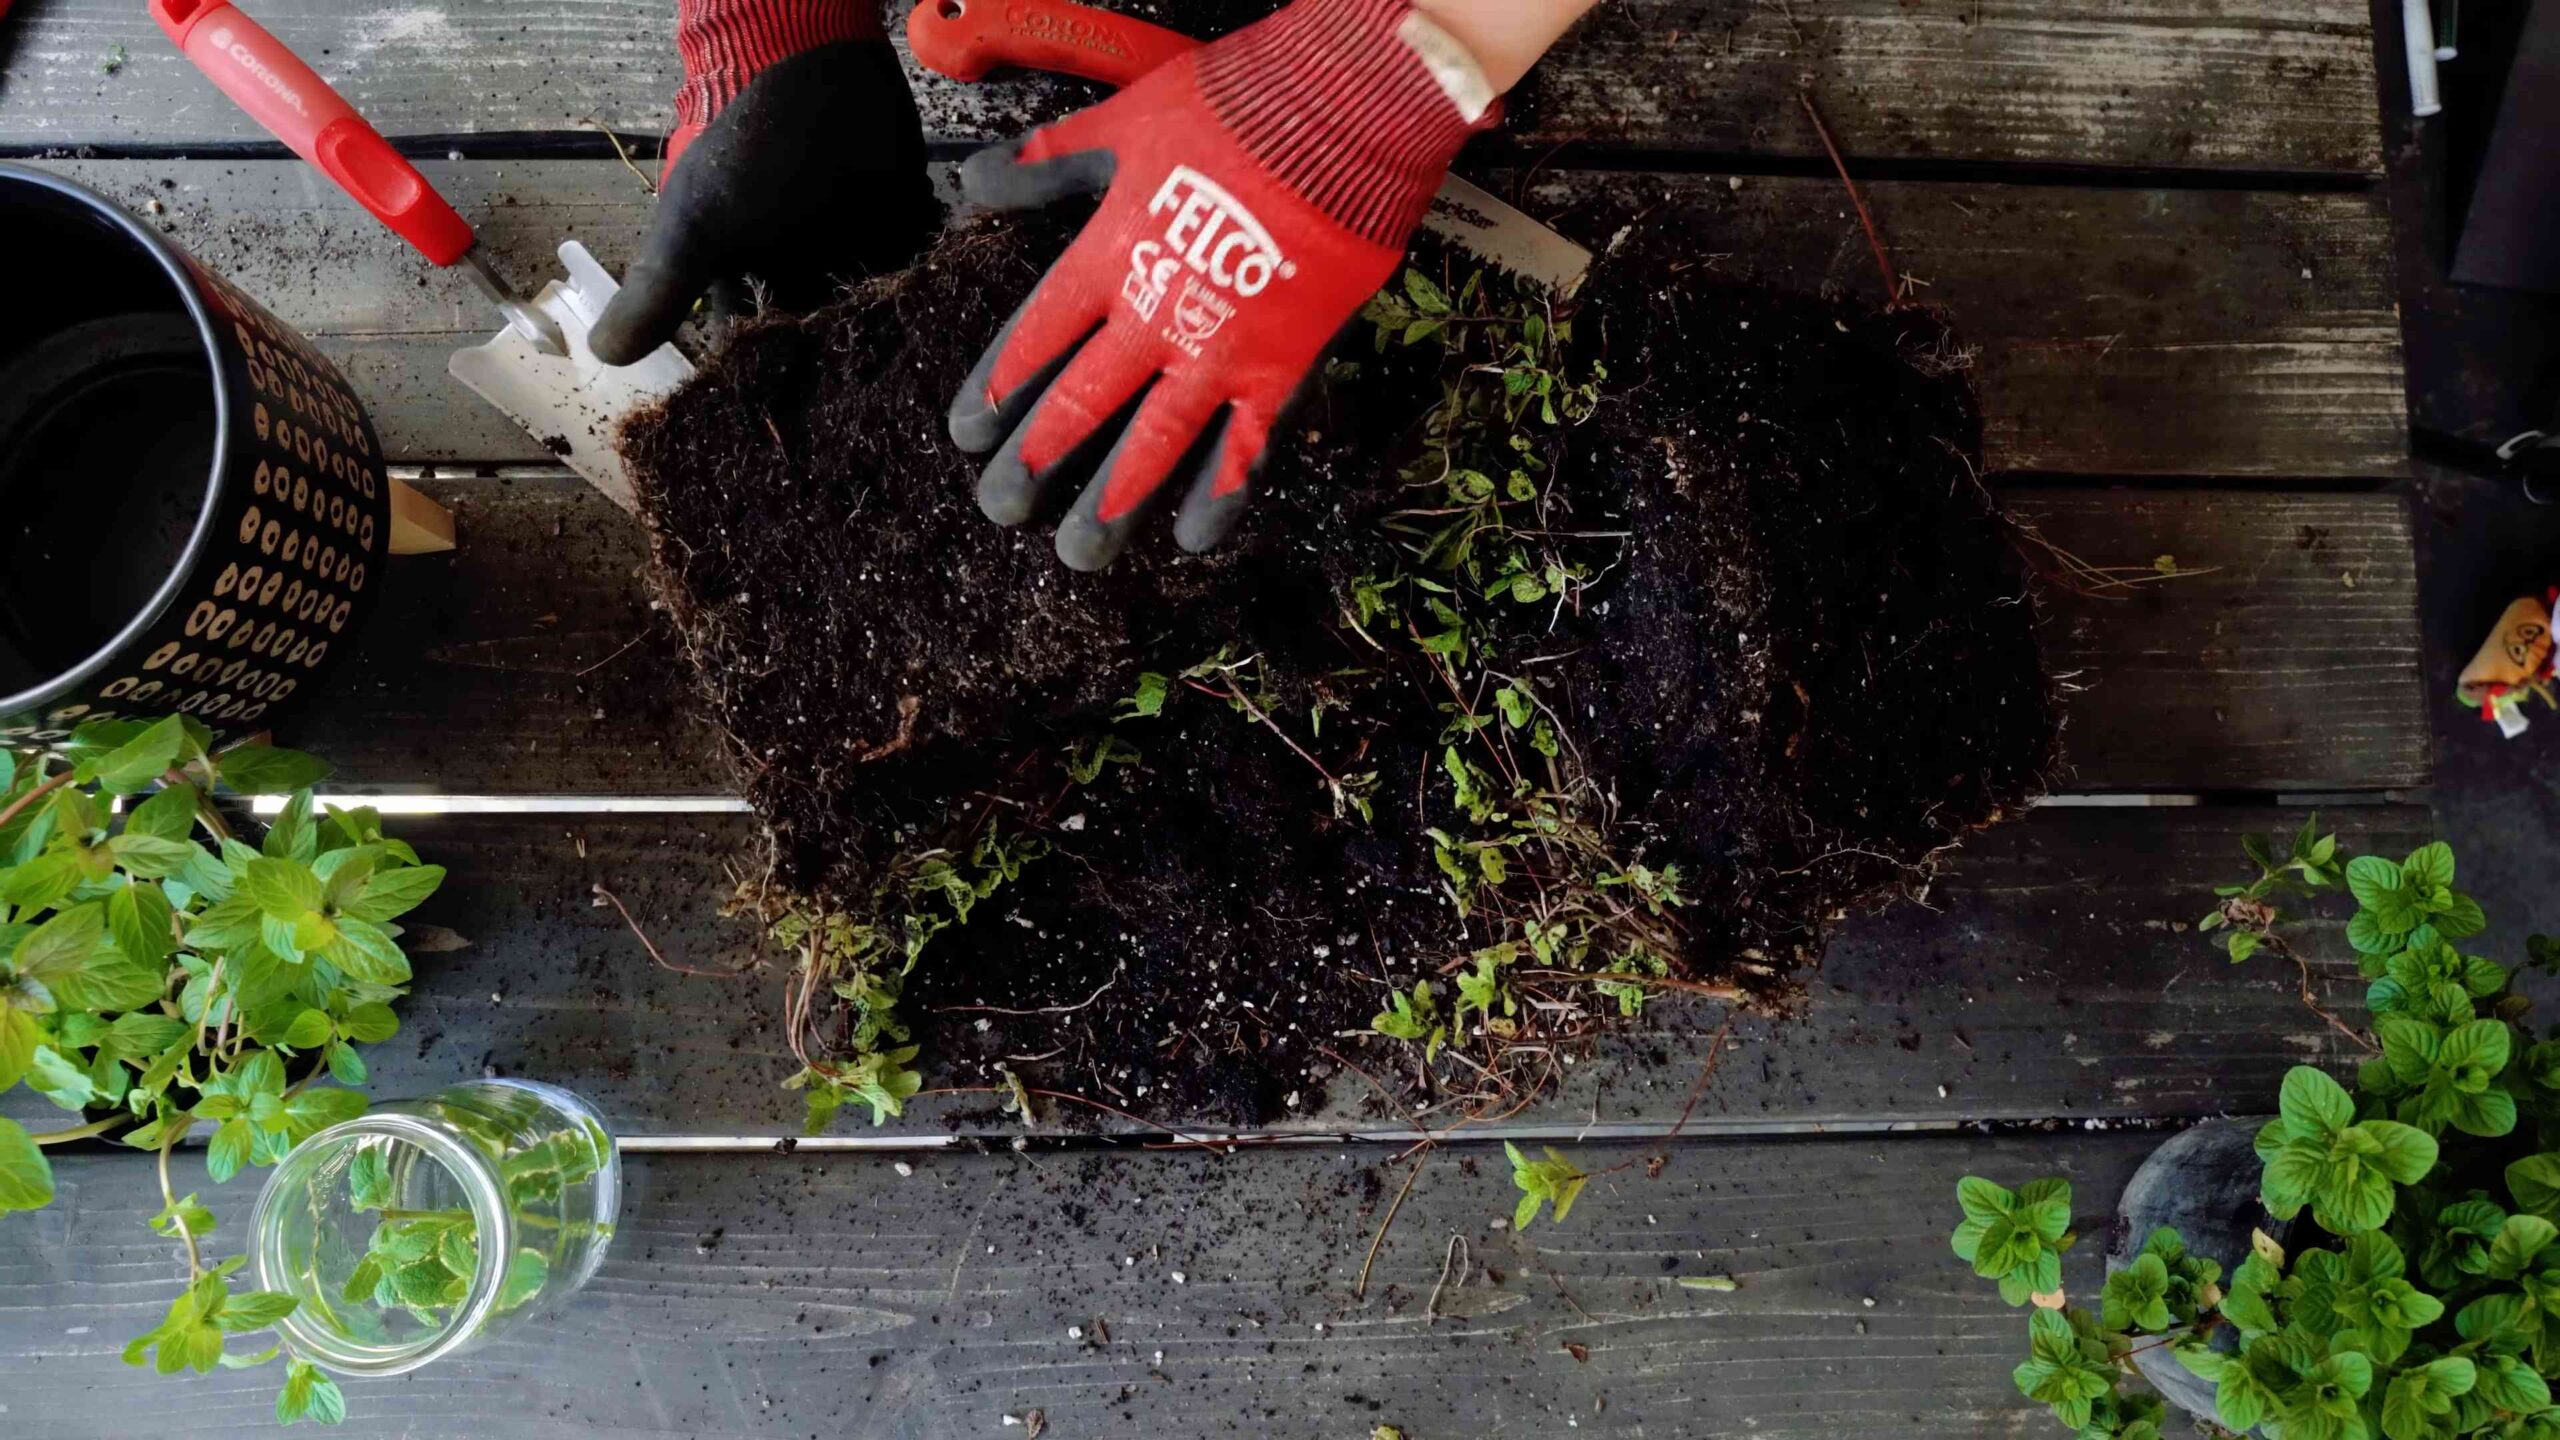
- Containment: Mint is notorious for spreading aggressively. If you’re planting it in the ground, consider using a container or barrier to prevent it from taking over your garden.
Troubleshooting Common Issues
Even with the best care, you might encounter a few challenges along the way. Here are some common issues and how to address them:
- Cuttings not rooting: This could be due to several factors, such as using unhealthy cuttings, not changing the water frequently enough, or insufficient light. Make sure you’re following the steps carefully and providing the right conditions.
- Yellowing leaves: Yellowing leaves can be a sign of overwatering, underwatering, or nutrient deficiency. Adjust your watering schedule and consider fertilizing your plants.
- Leggy growth: Leggy growth is often caused by insufficient light. Move your plants to a brighter location or supplement with artificial light.
- Pests: Regularly inspect your plants for pests and treat them promptly to prevent infestations from spreading.
Enjoy Your Abundant Mint!
And there you have it! You’ve successfully propagated mint and are well on your way to having a never-ending supply of this wonderful herb. Use it in your favorite recipes, make refreshing teas, or simply enjoy its invigorating aroma. Happy gardening!
Conclusion
So, there you have it! Growing more mint at home, even if you think you have a black thumb, is entirely achievable with this simple, effective DIY trick. We’ve walked you through the process, highlighting how easy it is to propagate new mint plants from cuttings. Forget expensive nursery trips and the disappointment of store-bought mint that wilts within days. This method empowers you to cultivate a thriving mint patch right in your own kitchen or garden, providing a constant supply of fresh, aromatic leaves for all your culinary and beverage needs.
But why is this DIY trick a must-try? Beyond the obvious cost savings, it’s about control and sustainability. You know exactly where your mint is coming from, what (if anything) it’s been treated with, and you’re reducing your reliance on commercially grown herbs that often travel long distances. Plus, there’s a unique satisfaction in nurturing a plant from a simple cutting to a flourishing specimen. It’s a small act of self-sufficiency that can bring a surprising amount of joy.
Don’t be afraid to experiment with variations! While we’ve focused on water propagation, you can also try rooting mint cuttings directly in soil. Just ensure the soil is consistently moist and provide a humid environment, perhaps by covering the pot with a plastic bag for the first few days. Another fun variation is to try different types of mint. Peppermint, spearmint, chocolate mint, and even apple mint all respond well to this propagation method. Imagine the possibilities – a whole garden of diverse mint flavors at your fingertips!
Consider the containers you use as well. While a simple glass of water works perfectly for rooting, once the roots are established, transplant your mint into a pot with good drainage. Terracotta pots are a classic choice, but any container that allows excess water to escape will do. You can even get creative with repurposed containers like old teacups or mason jars.
The key to success is patience and observation. Check your cuttings regularly, change the water every few days, and be mindful of their environment. Mint thrives in bright, indirect light, so avoid placing them in direct sunlight, which can scorch the leaves.
We wholeheartedly encourage you to give this DIY trick a try. It’s a rewarding experience that will transform the way you think about growing herbs. And most importantly, we want to hear about your successes (and any challenges you encounter along the way!). Share your experiences, tips, and photos in the comments below. Let’s build a community of mint-loving gardeners and learn from each other. Happy growing! Let us know if you have any questions about how to grow more mint.
Frequently Asked Questions (FAQ)
1. What kind of mint is best for propagation?
Almost all varieties of mint are suitable for propagation using cuttings. Spearmint and peppermint are particularly easy to root, but you can also successfully propagate chocolate mint, apple mint, and other less common varieties. The key is to choose healthy, vigorous stems from a mature plant. Avoid stems that are flowering or showing signs of disease.
2. How long does it take for mint cuttings to root?
Typically, mint cuttings will begin to develop roots within 7-14 days. However, the exact time can vary depending on factors such as temperature, humidity, and the specific variety of mint. Be patient and continue to change the water regularly. You’ll know the cuttings are ready to be transplanted when the roots are at least an inch long.
3. What kind of water should I use for rooting mint cuttings?
Tap water is generally fine for rooting mint cuttings, but it’s best to let it sit out for 24 hours to allow any chlorine to dissipate. Alternatively, you can use filtered water or rainwater. Avoid using distilled water, as it lacks the minerals that plants need to thrive.
4. How often should I change the water for my mint cuttings?
It’s important to change the water every 2-3 days to prevent the growth of bacteria and algae. This will also ensure that the cuttings have access to fresh oxygen. When changing the water, gently rinse the cuttings to remove any debris.
5. What kind of soil should I use for transplanting my rooted mint cuttings?
Mint thrives in well-draining soil that is rich in organic matter. A good potting mix for mint would consist of equal parts of potting soil, compost, and perlite or vermiculite. This will provide the necessary nutrients and drainage for healthy growth.
6. How much sunlight does mint need?
Mint prefers bright, indirect sunlight. Avoid placing your mint plants in direct sunlight, especially during the hottest part of the day, as this can scorch the leaves. A location near an east-facing window is ideal. If you’re growing mint outdoors, choose a spot that receives morning sun and afternoon shade.
7. How often should I water my mint plants?
Mint likes to be kept consistently moist, but not waterlogged. Water your mint plants whenever the top inch of soil feels dry to the touch. Avoid overwatering, as this can lead to root rot. During hot weather, you may need to water your mint plants more frequently.
8. Can I grow mint indoors year-round?
Yes, you can successfully grow mint indoors year-round. Just make sure to provide your mint plants with adequate light, water, and humidity. You may also need to fertilize your mint plants occasionally to provide them with the necessary nutrients.
9. How do I prevent mint from spreading too much?
Mint is known for being an aggressive grower, so it’s important to contain it to prevent it from taking over your garden. The easiest way to do this is to grow mint in a container. You can also bury a barrier around your mint plants to prevent the roots from spreading.
10. What are some common problems that affect mint plants?
Some common problems that affect mint plants include aphids, spider mites, and powdery mildew. These problems can be treated with insecticidal soap, neem oil, or a fungicide. It’s also important to provide your mint plants with good air circulation to prevent fungal diseases.
11. Can I use fertilizer to help my mint grow?
Yes, fertilizing your mint plants can help them grow stronger and produce more leaves. Use a balanced fertilizer that is specifically formulated for herbs. Follow the instructions on the fertilizer label carefully. Avoid over-fertilizing, as this can damage your mint plants.
12. How do I harvest mint leaves?
To harvest mint leaves, simply pinch or cut off the stems just above a leaf node. This will encourage the plant to produce new growth. You can harvest mint leaves throughout the growing season.
13. How do I store fresh mint leaves?
Fresh mint leaves can be stored in the refrigerator for up to a week. To store them, wrap the leaves in a damp paper towel and place them in a plastic bag. You can also freeze mint leaves for longer storage. To freeze mint leaves, wash and dry them thoroughly, then place them in a freezer bag.
14. What are some uses for fresh mint leaves?
Fresh mint leaves can be used in a variety of culinary and beverage applications. They can be added to salads, soups, sauces, and desserts. They can also be used to make tea, cocktails, and other refreshing drinks. Mint is also a popular ingredient in aromatherapy and natural remedies.
15. Is growing more mint from cuttings better than buying it from the store?
Absolutely! Growing your own mint from cuttings offers several advantages over buying it from the store. It’s more cost-effective, allows you to control the growing conditions (ensuring organic practices if desired), and provides a fresher, more flavorful product. Plus, it’s a fun and rewarding gardening project!

Leave a Comment