

Grow Sponge Gourd at Home? Absolutely! Imagine stepping into your backyard and harvesting fresh, vibrant sponge gourds, ready to be transformed into delicious meals or even natural loofahs. It’s easier than you think, and this DIY guide is your passport to a thriving sponge gourd patch, even if you’re a complete beginner.
Sponge gourds, also known as luffa gourds, have a fascinating history, deeply rooted in Asian and African cultures. For centuries, they’ve been cultivated not only for their culinary uses but also for their incredible fibrous skeletons, which, when dried, become the exfoliating sponges we know and love. Think about it – you could be growing your own sustainable and eco-friendly bath products!
But why should you bother to grow sponge gourd at home? Well, beyond the satisfaction of nurturing your own food and resources, growing sponge gourds offers a unique opportunity to connect with nature, reduce your reliance on store-bought produce, and enjoy the unparalleled flavor of homegrown vegetables. Plus, let’s be honest, who wouldn’t want to impress their friends and family with their gardening prowess? This guide will provide you with simple, effective tricks and hacks to ensure a bountiful harvest, regardless of your gardening experience. Let’s get started!
Grow Your Own Sponge Gourds: A Beginner’s Guide
Hey there, fellow gardening enthusiasts! Have you ever considered growing your own sponge gourds? It’s a rewarding experience, and you get a natural, eco-friendly cleaning tool at the end! I’m going to walk you through everything you need to know, from seed to sponge. Let’s get started!
Choosing the Right Variety and Starting Seeds
Before we dive into the nitty-gritty, let’s talk about choosing the right sponge gourd variety and getting those seeds started.
* Variety Selection: There are a few different types of sponge gourds, but the most common is *Luffa aegyptiaca* (also known as *Luffa cylindrica*). Make sure you’re getting seeds specifically for sponge gourds, as some gourds are purely ornamental.
* Seed Starting Time: Sponge gourds need a long growing season (around 150-200 days), so it’s best to start your seeds indoors about 6-8 weeks before the last expected frost.
* Seed Starting Supplies: You’ll need seed starting trays or small pots, seed starting mix (a light, well-draining soil), and a heat mat (optional, but helpful).
Step-by-Step Seed Starting:
1. Soak the Seeds: To help with germination, soak your sponge gourd seeds in warm water for 24 hours before planting. This softens the hard outer shell.
2. Prepare the Seed Starting Trays: Fill your seed starting trays or pots with seed starting mix. Moisten the soil thoroughly, but don’t let it get soggy.
3. Plant the Seeds: Plant the seeds about 1 inch deep in the soil. I usually plant 2-3 seeds per cell or pot to increase the chances of germination.
4. Provide Warmth and Light: Place the trays on a heat mat (if using) and under grow lights or in a sunny windowsill. Sponge gourd seeds need warmth to germinate. Aim for a soil temperature of around 70-80°F (21-27°C).
5. Keep the Soil Moist: Water the soil regularly to keep it consistently moist, but not waterlogged. A spray bottle works well for this.
6. Wait for Germination: Germination usually takes about 7-14 days. Be patient!
7. Thin the Seedlings: Once the seedlings have emerged and have a few true leaves, thin them out, leaving only the strongest seedling in each cell or pot.
Preparing the Garden Bed
Sponge gourds are vigorous growers and need plenty of space and sunshine. Preparing the garden bed properly is crucial for a successful harvest.
* Sunlight: Choose a location that receives at least 6-8 hours of direct sunlight per day.
* Soil: Sponge gourds prefer well-drained, fertile soil. Amend your soil with compost or well-rotted manure to improve its fertility and drainage.
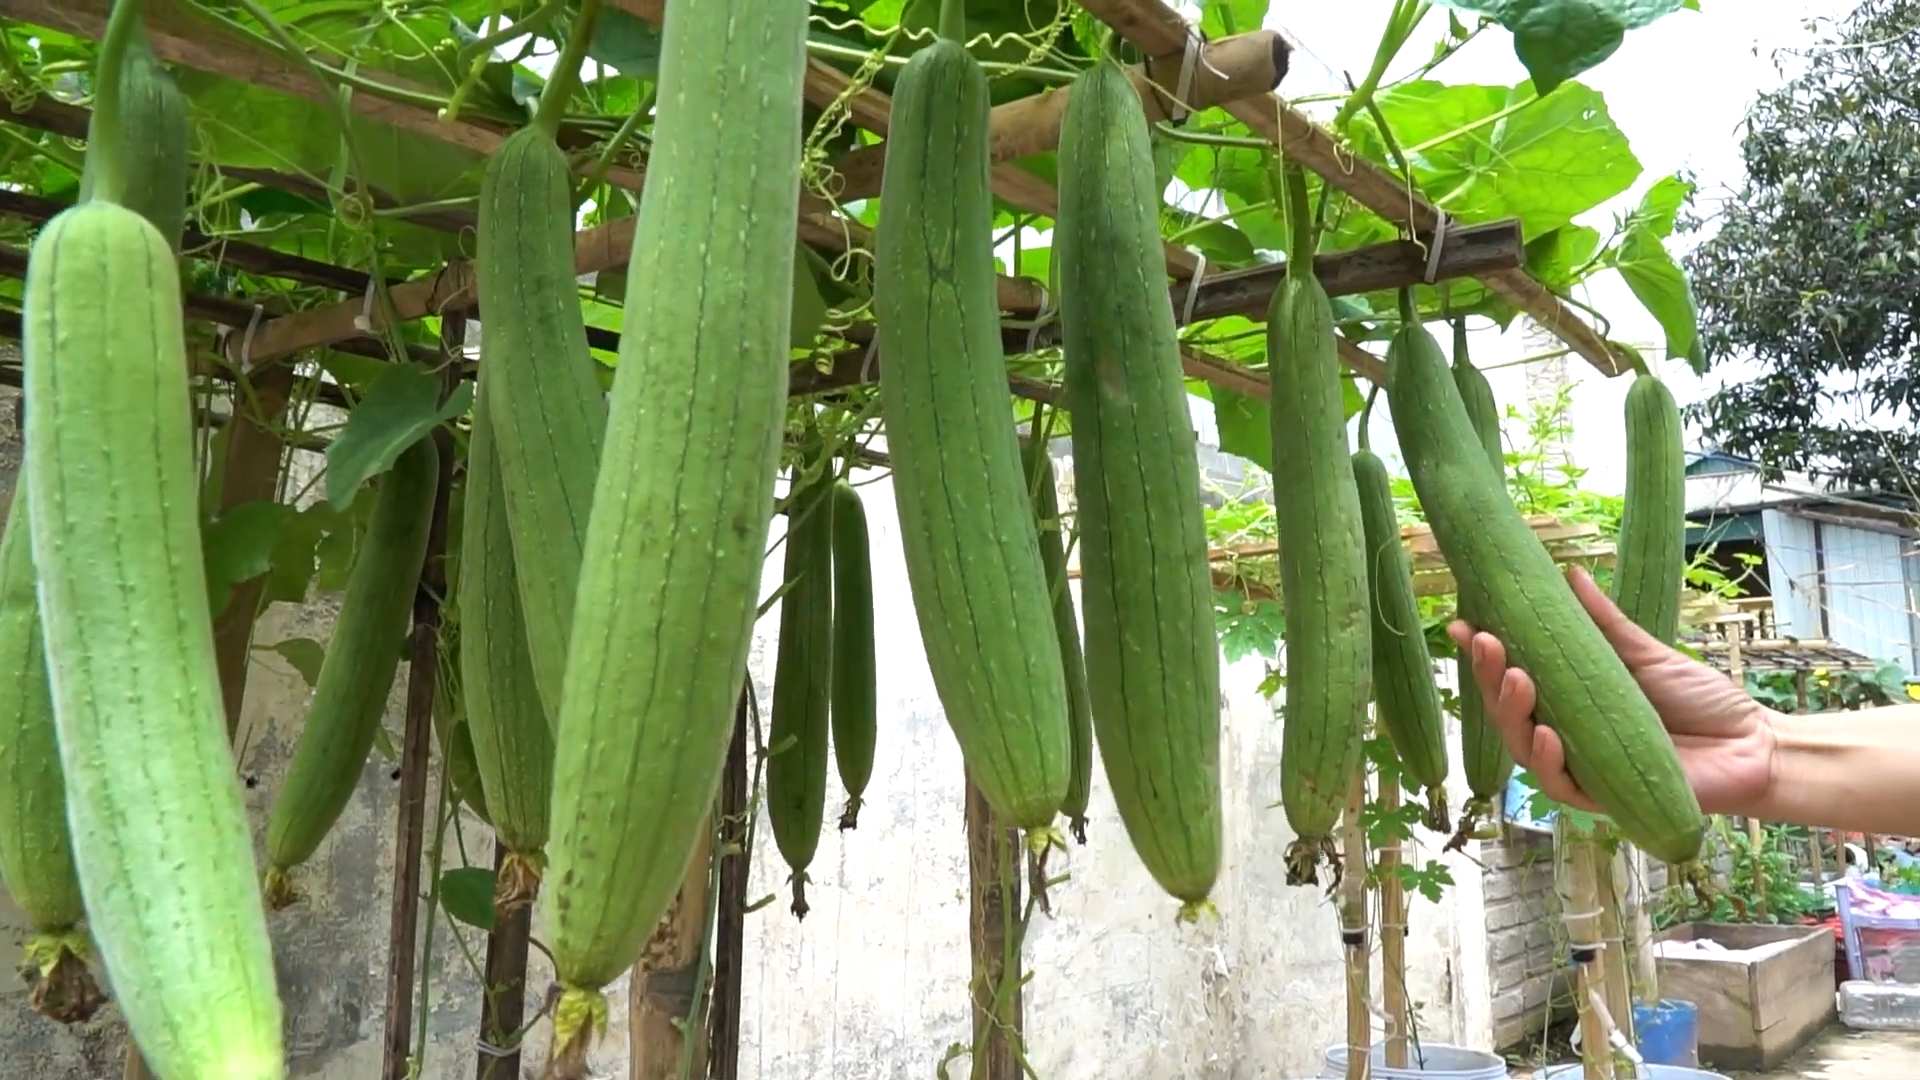
* Support Structure: These vines can grow up to 15-20 feet long, so you’ll need a strong trellis, fence, or arbor for them to climb on. I’ve found that a sturdy cattle panel arch works wonders!
Step-by-Step Garden Bed Preparation:
1. Clear the Area: Remove any weeds, rocks, or debris from the planting area.
2. Amend the Soil: Dig in plenty of compost or well-rotted manure to improve the soil’s fertility and drainage. Aim for a soil pH of around 6.0-6.8.
3. Install the Support Structure: Before planting, install your trellis, fence, or arbor. Make sure it’s strong enough to support the weight of the mature vines and gourds.
4. Water the Soil: Water the soil thoroughly to settle it before planting.
Transplanting Seedlings and Ongoing Care
Now that your seedlings are ready and your garden bed is prepared, it’s time to transplant them and provide the ongoing care they need to thrive.
* Transplanting Time: Wait until all danger of frost has passed and the soil has warmed up before transplanting your seedlings.
* Spacing: Space the seedlings about 2-3 feet apart along the base of your trellis or support structure.
* Watering: Sponge gourds need consistent watering, especially during hot, dry weather. Water deeply at the base of the plants, avoiding wetting the foliage.
* Fertilizing: Fertilize your sponge gourds every 2-3 weeks with a balanced fertilizer or compost tea.
* Pruning: Prune the vines to encourage branching and fruit production. You can also remove any yellowing or diseased leaves.
* Pest and Disease Control: Keep an eye out for common garden pests like squash bugs and cucumber beetles. You can use insecticidal soap or neem oil to control them. Powdery mildew can also be a problem, especially in humid climates. Ensure good air circulation and treat with a fungicide if necessary.
Step-by-Step Transplanting and Care:
1. Harden Off the Seedlings: Before transplanting, harden off your seedlings by gradually exposing them to outdoor conditions for a week or two. Start by placing them in a sheltered spot for a few hours each day, gradually increasing the amount of time they spend outdoors.
2. Transplant the Seedlings: Dig a hole slightly larger than the root ball of the seedling. Gently remove the seedling from its pot and place it in the hole. Backfill with soil and water thoroughly.
3. Mulch the Plants: Apply a layer of mulch around the base of the plants to help retain moisture, suppress weeds, and regulate soil temperature.
4. Train the Vines: As the vines grow, train them to climb up your trellis or support structure. You may need to gently tie them to the structure with twine or plant ties.
5. Water Regularly: Water deeply and regularly, especially during hot, dry weather. Aim to keep the soil consistently moist, but not waterlogged.
6. Fertilize as Needed: Fertilize every 2-3 weeks with a balanced fertilizer or compost tea.
7. Monitor for Pests and Diseases: Regularly inspect your plants for pests and diseases. Take action promptly if you notice any problems.
Harvesting and Processing Your Sponge Gourds
The most exciting part! Harvesting and processing your sponge gourds is where all your hard work pays off.
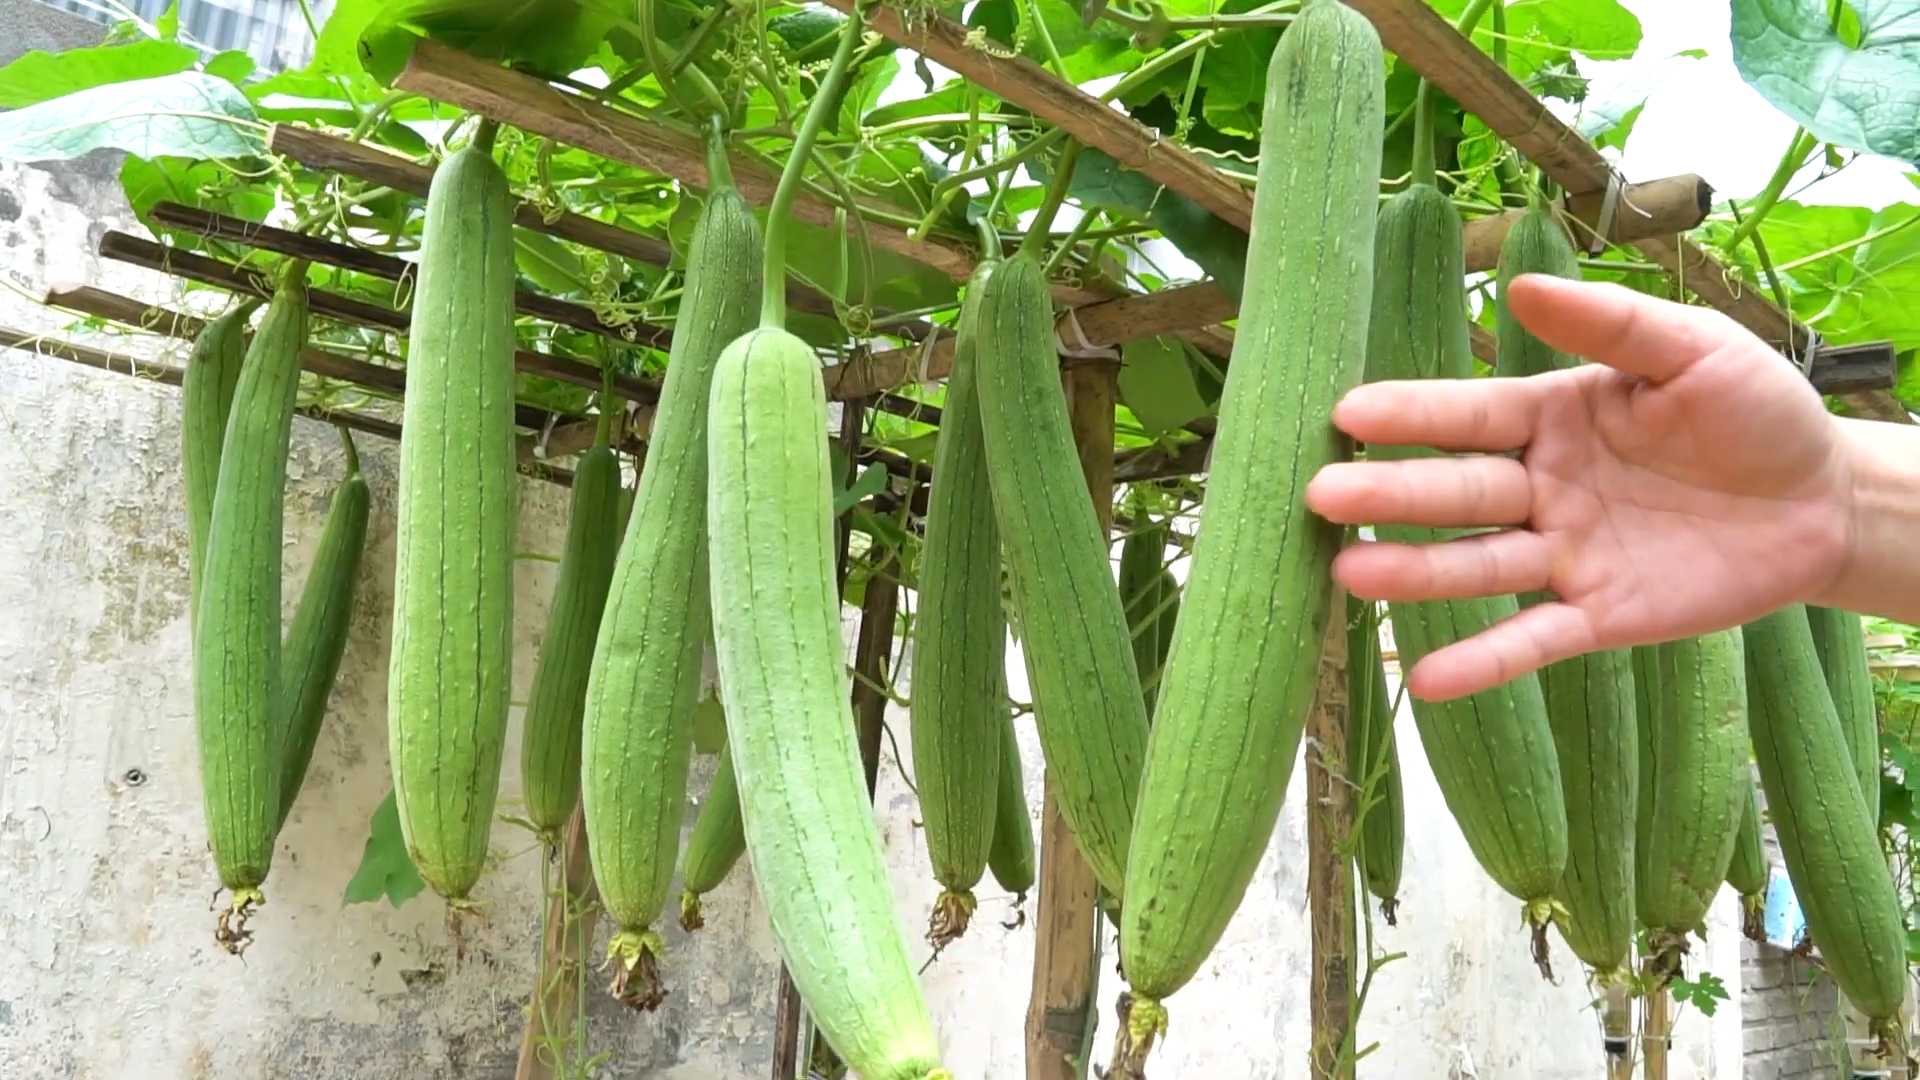
* Harvesting Time: Harvest your sponge gourds when they are mature but still green. The skin should be firm and the gourd should feel relatively light for its size.
* Processing: The processing involves removing the skin and seeds to reveal the sponge inside.
Step-by-Step Harvesting and Processing:
1. Harvest the Gourds: Use a sharp knife or pruning shears to cut the gourds from the vine, leaving a few inches of stem attached.
2. Dry the Gourds: Allow the gourds to dry completely. This can take several weeks or even months, depending on the humidity. You’ll know they’re dry when the skin turns brown and brittle. I usually hang them in a well-ventilated area.
3. Remove the Skin: Once the gourds are dry, crack the skin and peel it away. You may need to soak the gourds in water for a few hours to soften the skin if it’s difficult to remove.
4. Remove the Seeds: Shake out the seeds. You can save these seeds for planting next year!
5. Rinse and Dry the Sponges: Rinse the sponges thoroughly to remove any remaining pulp or debris. Then, allow them to dry completely.
6. Cut and Shape the Sponges: Cut the sponges into the desired size and shape. You can use a sharp knife or scissors.
Tips and Tricks for Success
Here are a few extra tips and tricks I’ve learned along the way to help you grow the best sponge gourds possible:
* Pollination: Sponge gourds have separate male and female flowers. If you’re not seeing any fruit develop, you may need to hand-pollinate the flowers. Use a small paintbrush to transfer pollen from the male flowers to the female flowers.
* Support: Make sure your support structure is strong enough to handle the weight of the mature vines and gourds.
* Watering: Consistent watering is key, especially during hot, dry weather.
* Pest Control: Be vigilant about pest control. Check your plants regularly for pests and take action promptly if you notice any problems.
* Seed Saving: Save seeds from your best-performing plants for planting next year.
Growing sponge gourds is a fun and rewarding experience. With a little bit of effort, you can have your own supply of natural, eco-friendly sponges! Happy gardening!
Conclusion
So, there you have it! Growing your own sponge gourd at home is not only achievable, but it’s also incredibly rewarding. From seed to scrub, you’re in control of the entire process, ensuring a fresh, organic, and sustainable source for this versatile vegetable. We’ve walked you through the steps, from preparing the soil and selecting the right seeds to providing the necessary support and patiently waiting for those beautiful gourds to mature.
But why is this DIY trick a must-try? Beyond the satisfaction of nurturing a plant from start to finish, growing your own sponge gourd offers several compelling advantages. First and foremost, you know exactly what’s going into your food. No pesticides, no herbicides, just pure, natural goodness. This is especially important for something you’ll be using on your skin and in your kitchen. Secondly, it’s a fantastic way to reduce your environmental footprint. By growing your own, you’re cutting down on transportation costs and packaging waste associated with store-bought sponges. And finally, it’s a cost-effective solution. Once you’ve invested in the initial setup, you’ll be harvesting sponge gourds for months to come, saving you money in the long run.
Don’t be afraid to experiment with variations! Try growing different varieties of sponge gourd to see which ones thrive best in your climate. Some varieties are smoother, while others are more fibrous. You can also experiment with different trellising methods. A sturdy trellis is essential, but you can get creative with the design. Consider using repurposed materials like old ladders or branches to create a unique and eco-friendly support system. Another variation to consider is companion planting. Planting beneficial herbs and flowers alongside your sponge gourd can help deter pests and attract pollinators, leading to a healthier and more productive crop. Marigolds, basil, and nasturtiums are all excellent choices.
Growing sponge gourd is a journey, not just a destination. There will be challenges along the way, but the rewards are well worth the effort. Imagine the pride you’ll feel when you harvest your first sponge gourd, knowing that you nurtured it from a tiny seed. And think of all the ways you can use it – from exfoliating your skin to scrubbing your pots and pans.
We encourage you to give this DIY trick a try. It’s a fun, educational, and sustainable way to connect with nature and provide for yourself. And most importantly, don’t forget to share your experience with us! We’d love to hear about your successes, your challenges, and any tips or tricks you’ve discovered along the way. Post photos of your sponge gourd plants, share your harvesting stories, and let us know how you’re using your homegrown sponges. Together, we can create a community of sponge gourd enthusiasts and inspire others to embrace the joys of gardening. So, grab your seeds, get your hands dirty, and start growing! Happy gardening!
Frequently Asked Questions (FAQ)
What is the best time of year to plant sponge gourd seeds?
The best time to plant sponge gourd seeds is in the late spring or early summer, after the last frost has passed and the soil has warmed up to at least 65°F (18°C). Sponge gourds are warm-weather crops and require a long growing season of at least 120 days to mature properly. If you live in a region with a shorter growing season, you can start the seeds indoors 4-6 weeks before the last expected frost and then transplant them outdoors once the weather is warm enough.
How much sunlight does a sponge gourd plant need?
Sponge gourd plants need at least 6-8 hours of direct sunlight per day to thrive. Choose a location in your garden that receives plenty of sunlight throughout the day. If you’re growing sponge gourds in containers, make sure to place them in a sunny spot on your patio or balcony. Insufficient sunlight can lead to stunted growth, reduced flowering, and smaller gourds.
What kind of soil is best for growing sponge gourds?
Sponge gourds prefer well-drained, fertile soil that is rich in organic matter. Before planting, amend the soil with compost, aged manure, or other organic materials to improve its drainage and fertility. The ideal soil pH for sponge gourds is between 6.0 and 7.0. You can test your soil pH using a soil testing kit and adjust it accordingly. If your soil is heavy clay, consider adding sand or perlite to improve drainage.
How often should I water my sponge gourd plant?
Sponge gourd plants need consistent watering, especially during hot and dry weather. Water deeply and regularly, ensuring that the soil remains moist but not waterlogged. Avoid overhead watering, as this can increase the risk of fungal diseases. A good rule of thumb is to water when the top inch of soil feels dry to the touch. Mulching around the base of the plant can help retain moisture and suppress weeds.
How do I know when my sponge gourd is ready to harvest?
The best time to harvest sponge gourds is when they are still young and tender, typically about 6-8 inches long. At this stage, the skin should be smooth and green, and the flesh should be firm but not hard. If you wait too long to harvest, the gourd will become more fibrous and less palatable. To harvest, simply cut the gourd from the vine using a sharp knife or pruning shears. Leave a small portion of the stem attached to the gourd to help prevent it from rotting.
What are some common pests and diseases that affect sponge gourds?
Sponge gourds can be susceptible to a variety of pests and diseases, including aphids, squash bugs, vine borers, powdery mildew, and downy mildew. To prevent pest and disease problems, practice good garden hygiene, such as removing weeds and debris from around the plants. Inspect your plants regularly for signs of pests or diseases and take action promptly if you notice any problems. You can use organic pest control methods, such as insecticidal soap or neem oil, to control aphids and other pests. For fungal diseases, you can use a copper-based fungicide.
Can I save seeds from my sponge gourd to plant next year?
Yes, you can save seeds from your sponge gourd to plant next year. To save seeds, allow a few gourds to mature fully on the vine. Once the gourds are completely dry and brown, cut them open and remove the seeds. Rinse the seeds with water and spread them out on a paper towel to dry completely. Store the dried seeds in an airtight container in a cool, dry place until next spring. Keep in mind that if you grew hybrid varieties, the seeds may not produce plants that are true to type.
How can I use my homegrown sponge gourd?
Homegrown sponge gourds are incredibly versatile! The most common use is as a natural exfoliating sponge for the skin. Simply peel off the outer skin and use the fibrous interior to gently scrub your body in the shower or bath. Sponge gourds can also be used as dish sponges, pot scrubbers, and even as a natural loofah for cleaning around the house. In some cultures, young sponge gourds are also eaten as a vegetable. They can be added to soups, stews, and stir-fries.
My sponge gourd plant is flowering, but not producing any fruit. What could be the problem?
There are several reasons why your sponge gourd plant might be flowering but not producing fruit. One common reason is a lack of pollination. Sponge gourds have separate male and female flowers, and they require pollination to set fruit. If there are not enough pollinators in your area, you may need to hand-pollinate the flowers. To hand-pollinate, use a small paintbrush to transfer pollen from the male flowers to the female flowers. Another possible reason is nutrient deficiency. Make sure your plant is getting enough nutrients, especially phosphorus and potassium, which are essential for fruit development. Finally, stress from heat, drought, or pests can also prevent fruit set.
How do I trellis my sponge gourd plant?
Trellising is essential for growing sponge gourds, as it provides support for the heavy vines and fruits. There are many different ways to trellis sponge gourds. A simple method is to use a sturdy fence or wall. You can also build a trellis using wooden stakes and wire or netting. The trellis should be at least 6-8 feet tall and strong enough to support the weight of the mature vines and gourds. As the plant grows, train the vines to climb the trellis by gently tying them to the support structure.

Leave a Comment