

Lipstick stain removal baking soda – sounds like a magic spell, right? Well, in a way, it is! We’ve all been there: that perfect shade of red, a little too enthusiastic kiss, and suddenly your favorite blouse is sporting a bright crimson souvenir. Don’t panic! Before you resign that garment to the “crafting clothes” pile, let’s dive into a simple, effective, and surprisingly historical solution.
The use of baking soda for cleaning isn’t exactly new. Our grandmothers swore by it, and its stain-fighting prowess has been passed down through generations. Think of it as a time-tested secret weapon against all sorts of household mishaps, including those pesky lipstick stains. But why is this DIY trick so essential? Because life’s too short to worry about ruined clothes! We want you to confidently rock your favorite lipstick without the fear of a permanent mark.
This article will guide you through the process of using lipstick stain removal baking soda effectively. I’ll share my tried-and-true methods, ensuring you can salvage your beloved items and keep them looking their best. Get ready to say goodbye to lipstick stains and hello to a stain-free wardrobe!
DIY Lipstick Stain Removal: Baking Soda Magic!
Hey there, fellow DIY enthusiasts! Lipstick stains – we’ve all been there, right? That rogue swipe, a misplaced tube, or a little one playing dress-up can leave your favorite clothes, carpets, or even furniture looking like a Jackson Pollock painting gone wrong. But don’t despair! Before you resign yourself to a permanent stain or a costly dry cleaning bill, let me share my go-to secret weapon: baking soda! It’s cheap, readily available, and surprisingly effective. I’ve used this method countless times, and I’m excited to walk you through it.
What You’ll Need
Before we dive in, let’s gather our supplies. This is a pretty simple project, so you probably have most of these items already:
* Baking Soda (the star of the show!)
* Clean White Cloth or Sponge (avoid colored cloths to prevent dye transfer)
* Soft-Bristled Brush (an old toothbrush works great!)
* Water (tap water is fine)
* Mild Dish Soap (optional, for stubborn stains)
* Vacuum Cleaner (for carpets and upholstery)
* Hairdryer (optional, to speed up drying)
Understanding the Stain
Before we start scrubbing, let’s quickly talk about why lipstick stains are so tricky. They’re usually a combination of oils, waxes, and pigments. The oils and waxes make them cling to fabrics, while the pigments are what give them their vibrant (and stubborn) color. Baking soda works by absorbing the oils and helping to lift the pigments away from the fibers.
The Baking Soda Stain Removal Guide
Here’s the breakdown of how we’re going to tackle this stain. We’ll start with the simplest approach and gradually increase the intensity if needed.
* Phase 1: The Baking Soda Paste – This is our primary weapon. We’ll create a paste that will draw out the stain.
* Phase 2: Gentle Scrubbing – We’ll use a soft brush to work the paste into the stain without damaging the fabric.
* Phase 3: Rinsing and Blotting – We’ll carefully remove the paste and excess moisture.
* Phase 4: Dish Soap Boost (If Needed) – For those extra-stubborn stains, we’ll add a little dish soap to the mix.
* Phase 5: Drying and Vacuuming – We’ll ensure the area is completely dry and remove any remaining baking soda residue.
Step-by-Step Instructions
Alright, let’s get our hands dirty (or rather, clean!). Follow these steps carefully, and you’ll be amazed at the results.
1. Blot the Stain (If Fresh): If the lipstick stain is fresh, resist the urge to rub it! Rubbing will only spread the stain and push it deeper into the fibers. Instead, gently blot the stain with a clean, dry white cloth. This will help to absorb any excess lipstick before we start the cleaning process.
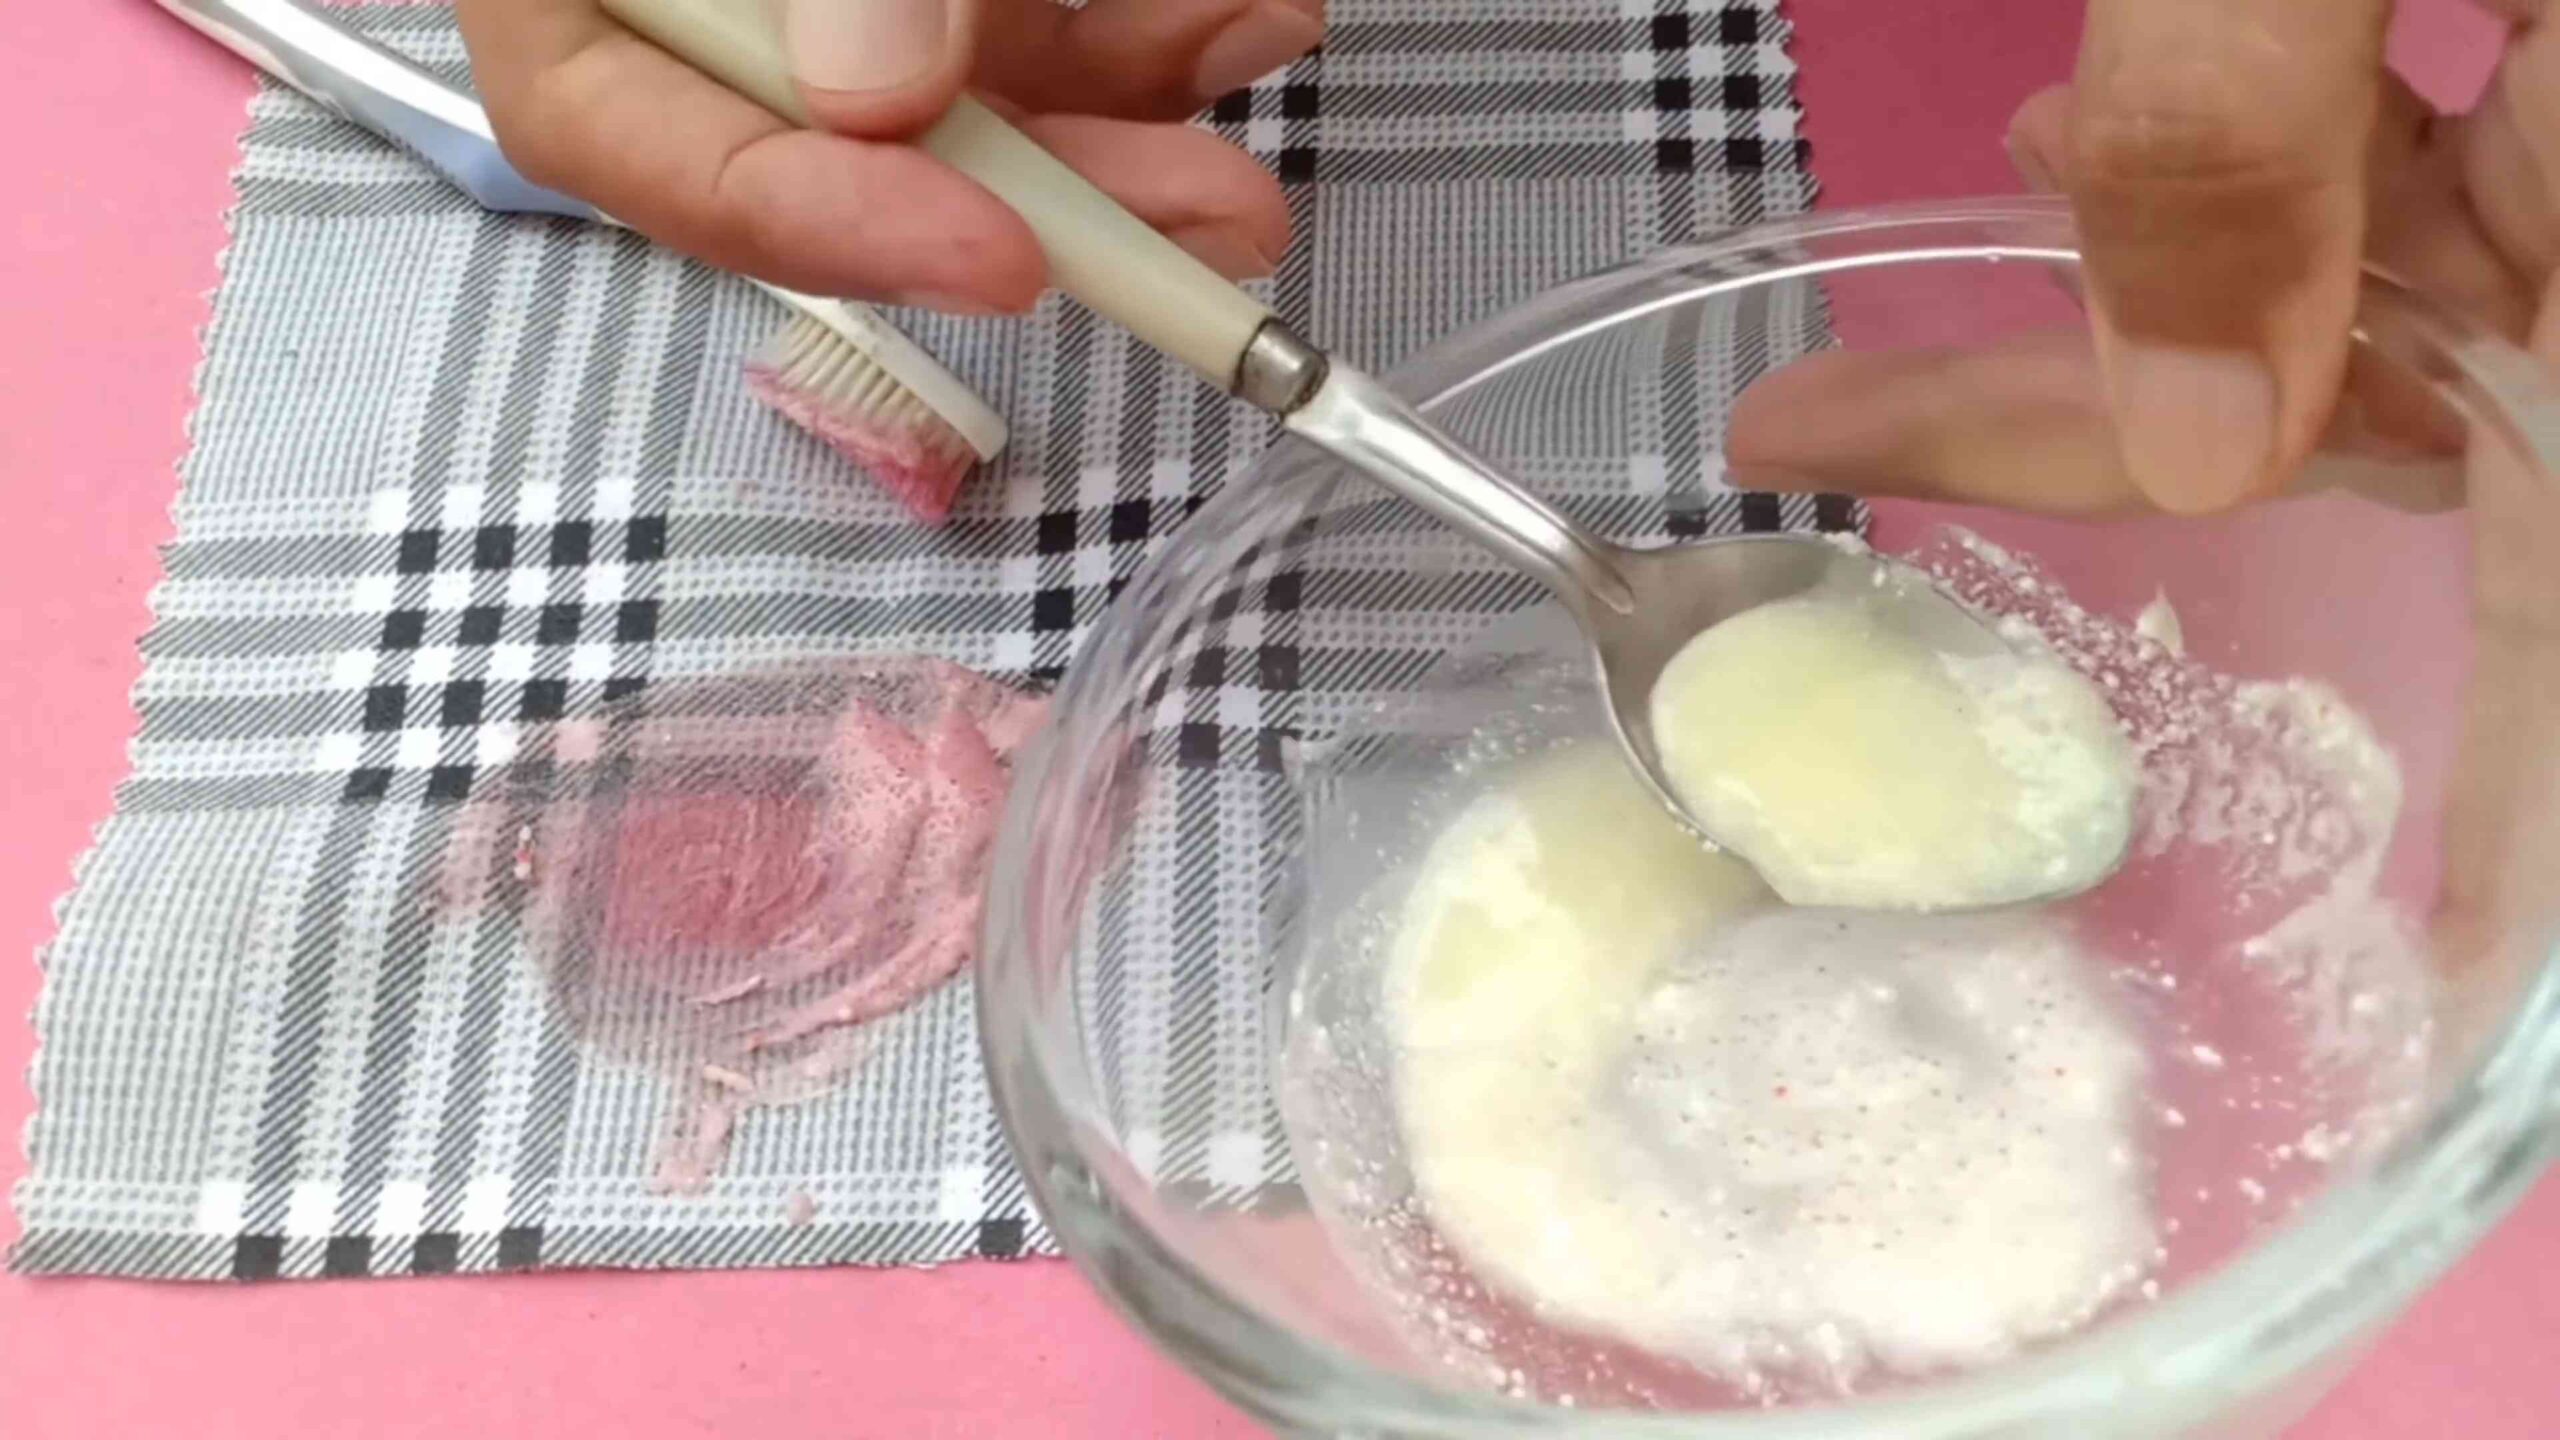
2. Prepare the Baking Soda Paste: In a small bowl, mix baking soda with a small amount of water to form a thick paste. The consistency should be similar to toothpaste. You don’t want it too runny, or it won’t be as effective. I usually start with a tablespoon of baking soda and add water a teaspoon at a time until I get the right consistency.
3. Apply the Paste to the Stain: Using your finger or a clean spoon, carefully apply the baking soda paste to the lipstick stain. Make sure the entire stain is covered with a generous layer of the paste. Don’t be shy!
4. Let the Paste Sit: This is the key to success! Allow the baking soda paste to sit on the stain for at least 30 minutes. For older or more stubborn stains, you can leave it on for several hours, or even overnight. The longer it sits, the more time it has to absorb the oils and lift the pigments.
5. Gentle Scrubbing: After the paste has had time to work its magic, gently scrub the stained area with a soft-bristled brush. Use small, circular motions. Be careful not to scrub too hard, as this could damage the fabric. The goal is to loosen the stain, not to grind it in.
6. Rinse and Blot: Using a clean, damp white cloth, gently rinse the area to remove the baking soda paste. Blot the area with a dry white cloth to absorb any excess moisture. Avoid rubbing, as this could re-spread the stain.
7. Inspect the Stain: Take a close look at the stained area. Has the stain disappeared completely? If so, great! You can skip to step 9. If the stain is still visible, proceed to step 8.
8. Dish Soap Boost (If Needed): If the stain is still lingering, it’s time to bring in the dish soap. Apply a small amount of mild dish soap to the stained area. Gently rub the soap into the fabric with your fingers or a clean cloth. Let it sit for a few minutes, then rinse thoroughly with water. Blot the area dry with a clean white cloth.
9. Drying: Allow the area to air dry completely. You can speed up the drying process by using a hairdryer on a low setting. Just be careful not to overheat the fabric.
10. Vacuuming (For Carpets and Upholstery): Once the area is completely dry, vacuum it thoroughly to remove any remaining baking soda residue.
Specific Fabric Considerations
While baking soda is generally safe for most fabrics, there are a few things to keep in mind:
* Delicate Fabrics: For delicate fabrics like silk or lace, test the baking soda paste on an inconspicuous area first to make sure it doesn’t damage the fabric. You might also want to use a gentler scrubbing motion.
* Colored Fabrics: While I haven’t experienced any issues with color fading, it’s always a good idea to test the baking soda paste on an inconspicuous area of colored fabrics, especially if they are brightly colored or have delicate dyes.
* Leather: I wouldn’t recommend using this method on leather, as baking soda can dry out the leather. For leather stains, it’s best to consult a professional leather cleaner.
* Suede: Similar to leather, avoid using baking soda on suede. Use a suede cleaner instead.
Tips and Tricks for Success
Here are a few extra tips and tricks that I’ve learned over the years:
* Act Fast: The sooner you treat the stain, the easier it will be to remove. Fresh stains are much easier to tackle than old, set-in stains.
* Don’t Rub: I can’t stress this enough! Rubbing will only make the stain worse. Always blot or gently scrub.
* Patience is Key: Don’t expect the stain to disappear instantly. It may take several applications of the baking soda paste to completely remove the stain.
* Repeat if Necessary: If the stain is still visible after the first attempt, repeat the process. Sometimes it takes a few tries to completely remove the stain.
* Sunlight Can Help: After you’ve treated the stain, you can try placing the item in direct sunlight to help fade any remaining discoloration. Just be careful not to leave it in the sun for too long, as this could damage the fabric.
* Prevention is Better Than Cure: Of course, the best way to deal with lipstick stains is to prevent them in the first place! Be careful when applying lipstick, and store your lipstick tubes in a safe place.
Dealing with Set-In Stains
What if you’re dealing with a lipstick stain that’s been there for ages? Don’t give up hope just yet! Here are a few things you can try:
* Pre-Treat with a Stain Remover: Before applying the baking soda paste, pre-treat the stain with a commercial stain remover. Follow the instructions on the stain remover label.
* Soak in Cold Water: Soak the stained item in cold water for several hours, or even overnight. This can help to loosen the stain.
* Professional Cleaning: If all else fails, it’s time to call in the professionals. A professional dry cleaner will have the tools and expertise to remove even the most stubborn stains.
Why Baking Soda Works
So, what’s the science behind baking soda’s stain-fighting power? Baking soda, also known as sodium bicarbonate, is a mild alkali. This means it has the ability to neutralize acids and break down fats and oils. In the case of lipstick stains, the baking soda helps to dissolve the oils and waxes that bind the pigments to the fabric. It also helps to lift the pigments away from the fibers, making them easier to remove. Plus, baking soda is a natural deodorizer, so it can help to eliminate any lingering odors from the lipstick.
Beyond Lipstick: Other Uses for Baking Soda
The beauty of baking soda is that it’s not just a one-trick pony! It’s a versatile cleaning agent that can be used
Conclusion
So, there you have it! This simple yet incredibly effective DIY trick using baking soda is a game-changer for anyone who’s ever battled the stubborn wrath of lipstick stains. We’ve all been there – that perfect shade of red, a celebratory kiss, or even just a careless swipe, and suddenly your favorite blouse, tablecloth, or even your car seat is sporting an unwelcome lipstick mark. Instead of resigning yourself to expensive dry cleaning bills or, worse, tossing the stained item altogether, give this baking soda method a try.
Why is this a must-try? Because it’s accessible, affordable, and surprisingly powerful. You likely already have baking soda in your pantry, making it a readily available solution. It’s also gentle enough for most fabrics, minimizing the risk of damage while effectively lifting the stain. The combination of baking soda’s mild abrasive properties and its ability to absorb oils makes it a formidable opponent against lipstick’s waxy, pigmented composition.
But don’t just take our word for it! We encourage you to experiment and adapt this method to suit your specific needs. For instance, if you’re dealing with a particularly old or set-in stain, you might consider pre-treating the area with a stain remover specifically designed for oily stains before applying the baking soda paste. Alternatively, for delicate fabrics like silk or lace, you could use a gentler approach by creating a less concentrated paste or simply sprinkling baking soda on the stain and letting it sit for a longer period before gently blotting it away.
Consider these variations:
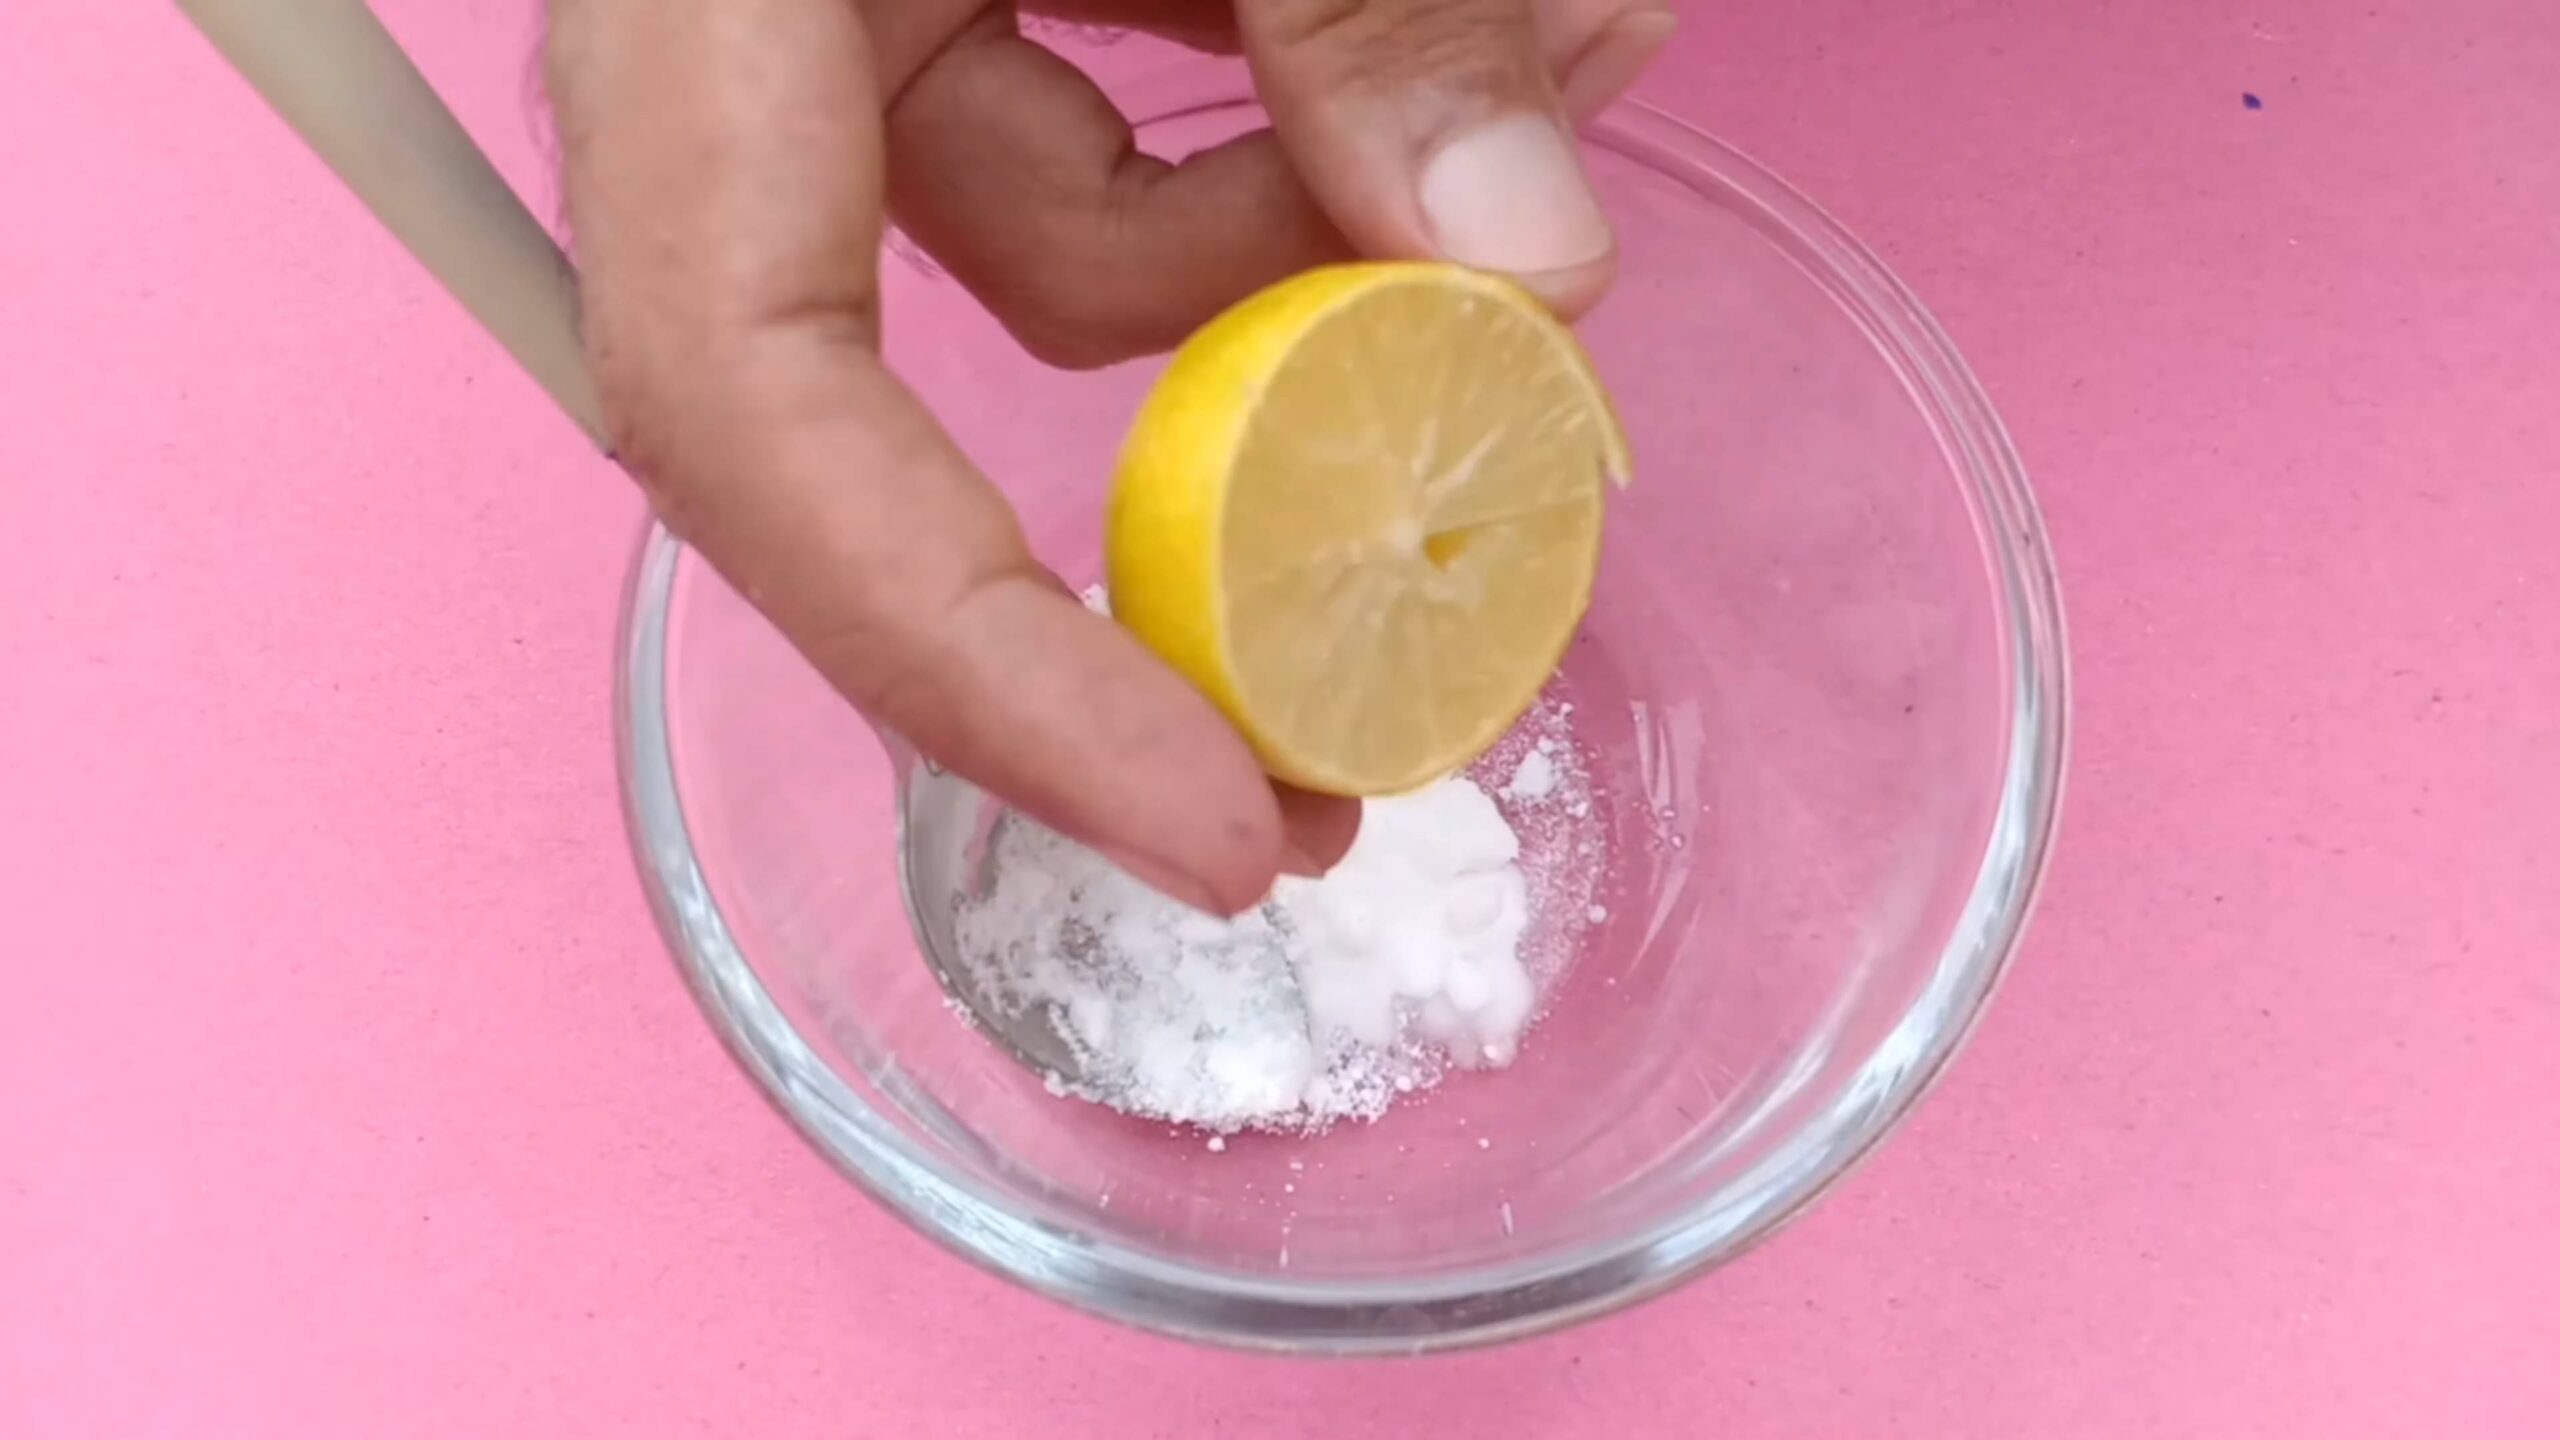
* For white fabrics: Add a squeeze of lemon juice to the baking soda paste for an extra brightening boost. Be cautious, though, as lemon juice can sometimes bleach colored fabrics.
* For colored fabrics: Test the baking soda paste on an inconspicuous area first to ensure it doesn’t cause any discoloration.
* For upholstery: Use a damp cloth to blot the baking soda paste onto the stain, being careful not to oversaturate the fabric. Vacuum the area thoroughly once it’s dry.
* Lipstick Stain Removal Baking Soda and Vinegar Combo: For really tough stains, try a paste of baking soda and white vinegar. The fizzing action can help lift the stain. Again, test in an inconspicuous area first.
The beauty of this DIY trick lies in its simplicity and adaptability. It’s a testament to the power of everyday ingredients to solve common household problems. So, the next time you find yourself facing a dreaded lipstick stain, don’t panic! Reach for the baking soda and give this method a whirl.
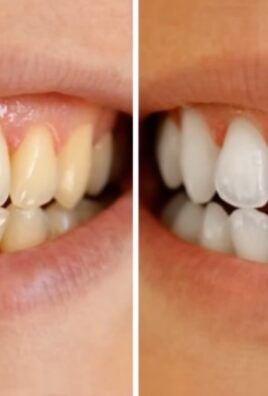
We’re confident that you’ll be pleasantly surprised by the results. And more importantly, we want to hear about your experience! Share your before-and-after photos, your tips and tricks, and any variations you’ve discovered in the comments section below. Let’s create a community of stain-fighting experts and help each other keep our clothes and homes looking their best. Your insights could be invaluable to someone else struggling with a similar stain. Let us know how well the lipstick stain removal baking soda trick worked for you!
Frequently Asked Questions (FAQs)
Q1: Will baking soda work on all types of lipstick stains?
A: Baking soda is generally effective on most types of lipstick stains, especially those that are relatively fresh. However, the success rate can vary depending on the type of lipstick (e.g., matte, cream, long-lasting), the type of fabric, and how long the stain has been present. Older, more stubborn stains may require multiple treatments or the addition of other stain-removing agents. For very persistent stains, professional dry cleaning might be necessary.
Q2: Can I use baking soda on delicate fabrics like silk or lace?
A: While baking soda is generally considered a gentle abrasive, it’s always best to exercise caution when using it on delicate fabrics like silk or lace. We recommend testing the baking soda paste on an inconspicuous area of the fabric first to ensure it doesn’t cause any discoloration or damage. If you’re concerned about using a paste, you can try simply sprinkling baking soda on the stain and letting it sit for a longer period before gently blotting it away with a damp cloth. Avoid rubbing vigorously, as this can damage delicate fibers.
Q3: How long should I leave the baking soda paste on the stain?
A: The amount of time you leave the baking soda paste on the stain will depend on the severity of the stain and the type of fabric. For fresh stains, 30 minutes to an hour may be sufficient. For older, more stubborn stains, you may need to leave the paste on for several hours or even overnight. Just be sure to check the area periodically to ensure the baking soda isn’t damaging the fabric.
Q4: What if the baking soda paste dries and becomes difficult to remove?
A: If the baking soda paste dries and becomes difficult to remove, simply dampen the area with a clean, damp cloth and gently blot the paste away. You can also use a soft brush to loosen the dried paste before blotting. Avoid rubbing vigorously, as this can damage the fabric. Once you’ve removed the paste, be sure to rinse the area thoroughly with clean water to remove any remaining residue.
Q5: Can I use this method on upholstery or carpets?
A: Yes, you can use this method on upholstery and carpets, but it’s important to avoid oversaturating the fabric. Apply the baking soda paste sparingly to the stained area and gently blot it with a damp cloth. Allow the paste to dry completely, then vacuum the area thoroughly to remove any remaining residue. You may need to repeat the process several times for stubborn stains.
Q6: What other ingredients can I add to the baking soda paste to enhance its stain-removing power?
A: As mentioned earlier, you can add a squeeze of lemon juice to the baking soda paste for white fabrics to enhance its brightening power. For colored fabrics, you can try adding a small amount of white vinegar to the paste. The fizzing action of the vinegar can help lift the stain. However, always test the mixture on an inconspicuous area first to ensure it doesn’t cause any discoloration.
Q7: Is there anything else I should keep in mind when using baking soda to remove lipstick stains?
A: Yes, here are a few additional tips to keep in mind:
* Always treat the stain as soon as possible. The longer the stain sits, the harder it will be to remove.
* Avoid rubbing the stain, as this can spread it and make it more difficult to remove.
* Use a clean, white cloth to blot the stain. This will prevent any color transfer from the cloth to the fabric.
* Rinse the area thoroughly with clean water after removing the baking soda paste to remove any remaining residue.
* If the stain persists after trying this method, consider taking the item to a professional dry cleaner.
Q8: What if the baking soda leaves a white residue on my dark clothing?
A: If baking soda leaves a white residue, especially on dark clothing, don’t worry! This is easily remedied. Once the area is completely dry, use a soft brush (like a clothes brush or even a clean toothbrush) to gently brush away the residue. You can also use a lint roller to pick up any remaining particles. If the residue is particularly stubborn, try lightly dampening a clean cloth and blotting the area to dissolve and remove the baking soda.
Q9: Can I use this baking soda method on leather or suede?
A: No, we do not recommend using baking soda on leather or suede. These materials are delicate and require specialized cleaning methods. Baking soda can dry out and damage these materials. Consult a professional leather or suede cleaner for advice on removing lipstick stains from these items.
Q10: How does baking soda actually work to remove lipstick stains?
A: Baking soda works through a combination of its mild abrasive properties and its ability to absorb oils. Lipstick often contains oils and waxes that bind the pigments to the fabric. The baking soda gently lifts these oily components, allowing the pigments to be released. Its slightly alkaline nature can also help to break down the chemical bonds of some stain molecules, making them easier to remove. The absorbent properties of baking soda then help to draw the loosened stain away from the fabric.

Leave a Comment