

Washer cleaning DIY: Is your washing machine starting to smell a little… funky? Don’t worry, you’re not alone! We’ve all been there. That musty odor, the lingering detergent residue, and the general feeling that your clothes aren’t coming out as fresh as they should be are all signs that your trusty washer is crying out for some TLC.
For generations, keeping our clothes clean has been a cornerstone of hygiene and well-being. From ancient river washing rituals to the modern marvels of automated washing machines, the quest for clean laundry has always been a priority. But what good is a fancy machine if it’s not clean itself? Think of it this way: you wouldn’t wash your dishes in a dirty sink, would you?
That’s where this washer cleaning DIY guide comes in! I’m going to show you simple, effective, and budget-friendly ways to deep clean your washing machine using common household ingredients. You’ll learn how to banish those unpleasant odors, remove stubborn build-up, and keep your washer running smoothly for years to come. Not only will your clothes smell fresher, but you’ll also extend the life of your appliance and save money on costly repairs. Let’s get started and give your washing machine the spa day it deserves!
DIY Deep Clean: Revive Your Washing Machine Like a Pro!
Okay, let’s face it, we often forget about the unsung hero of our laundry routine – the washing machine itself! It tirelessly cleans our clothes, but who cleans the cleaner? Over time, detergent residue, fabric softener buildup, and even mold can accumulate, leading to funky smells, reduced cleaning performance, and potentially even damage to your machine. But don’t worry, I’m here to guide you through a simple, effective DIY deep clean that will have your washer sparkling and smelling fresh in no time!
What You’ll Need: Your Cleaning Arsenal
Before we dive in, let’s gather our supplies. You probably have most of these items already lurking in your pantry or cleaning cabinet.
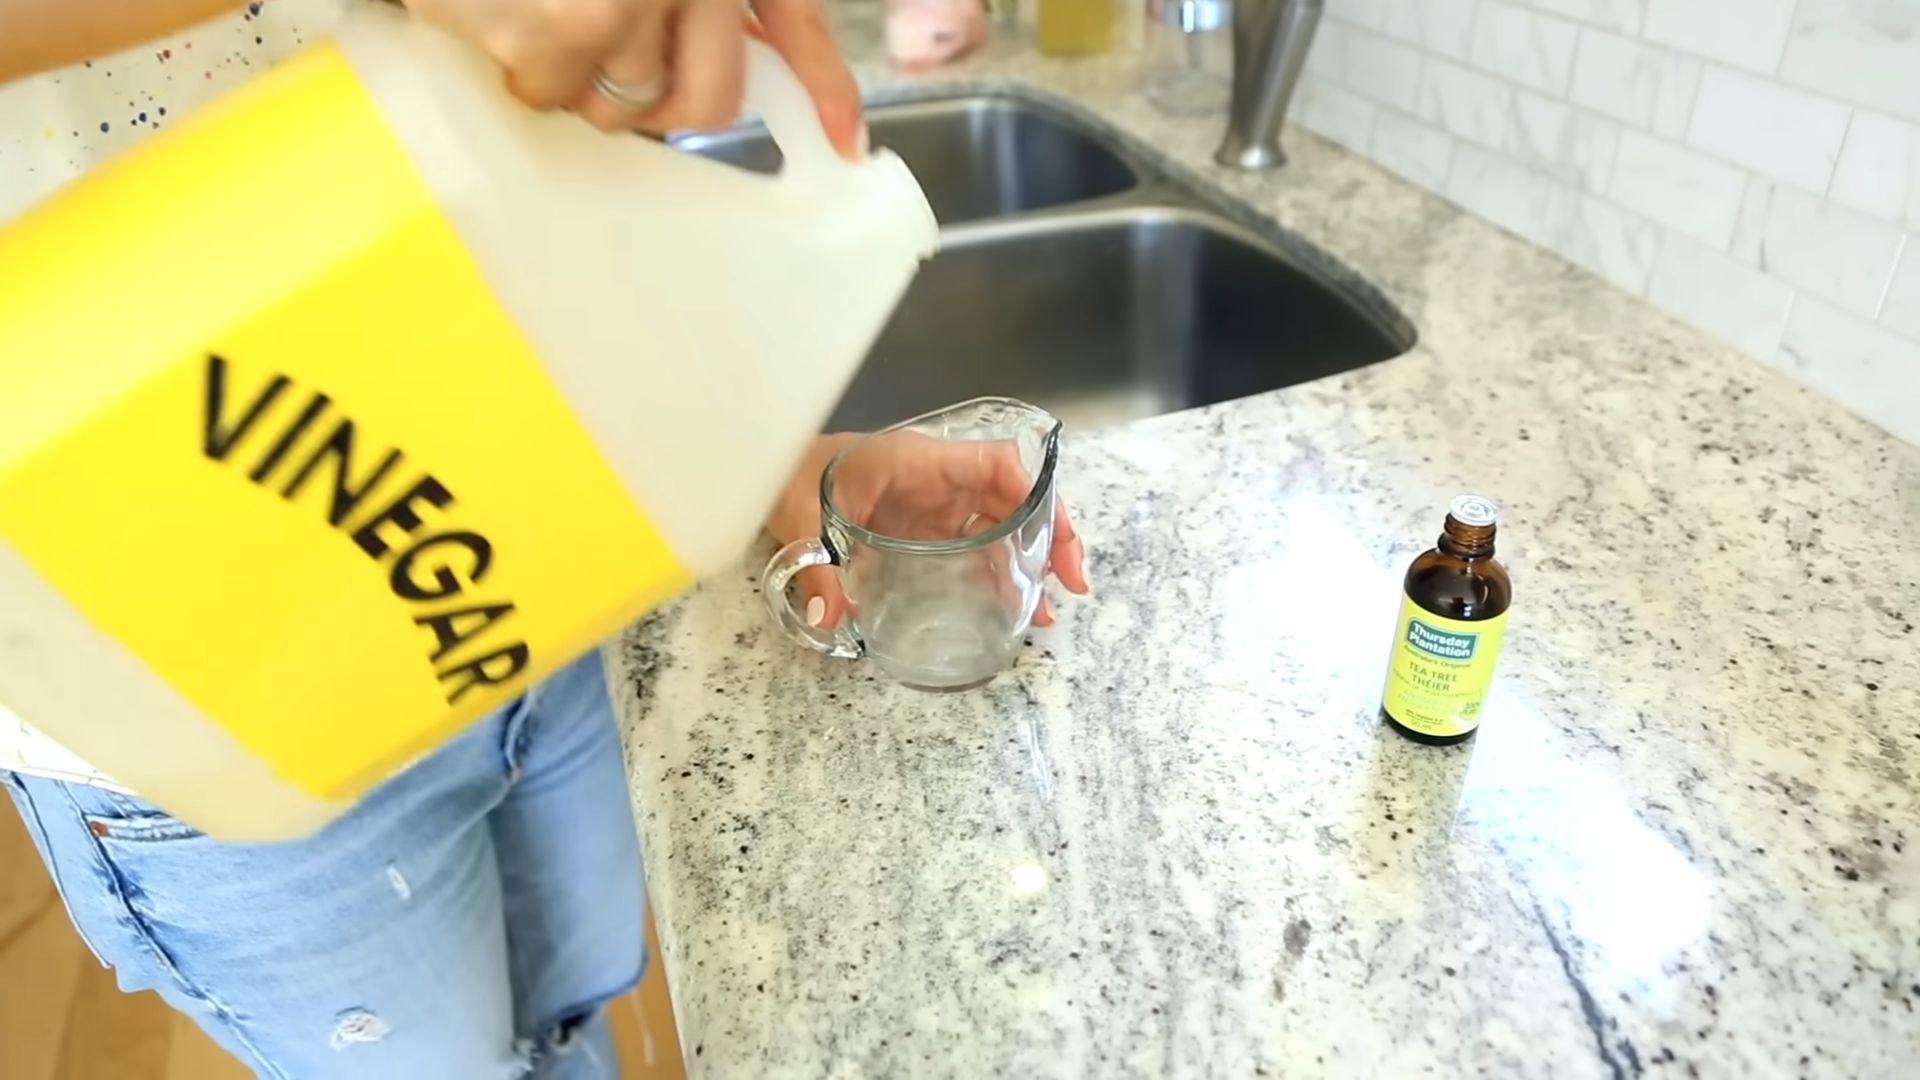
* White Vinegar: This is our star player! Vinegar is a natural disinfectant, deodorizer, and descaler.
* Baking Soda: Another powerhouse! Baking soda helps to scrub away grime and neutralize odors.
* Bleach (Optional): If you’re dealing with significant mold or mildew, bleach can be a powerful ally. However, use it cautiously and only if your machine’s manufacturer recommends it. *Never mix bleach with vinegar!*
* Old Toothbrush or Small Scrub Brush: For getting into those hard-to-reach nooks and crannies.
* Microfiber Cloths or Sponges: For wiping down surfaces.
* Rubber Gloves: To protect your hands from harsh chemicals and grime.
* Screwdriver (Potentially): Depending on your machine, you might need a screwdriver to remove the detergent dispenser or other components for cleaning.
* Water: For rinsing.
Section 1: The Deep Clean Process
Now, let’s get down to business! I’ll walk you through each step to ensure a thorough cleaning.
1. Empty the Washing Machine: This might seem obvious, but make sure there are no clothes, blankets, or anything else lurking inside.
2. Clean the Detergent Dispenser: This is often a breeding ground for gunk.
* Remove the Dispenser: Most dispensers are designed to be easily removed. Consult your washing machine’s manual if you’re unsure how to do this.
* Soak in Hot, Soapy Water: Fill a sink or bucket with hot water and add a squirt of dish soap. Submerge the dispenser and let it soak for at least 30 minutes to loosen the buildup.
* Scrub Thoroughly: Use your old toothbrush or scrub brush to scrub away any remaining residue. Pay close attention to corners and crevices.
* Rinse and Dry: Rinse the dispenser thoroughly with clean water and allow it to dry completely before reinserting it into the machine.
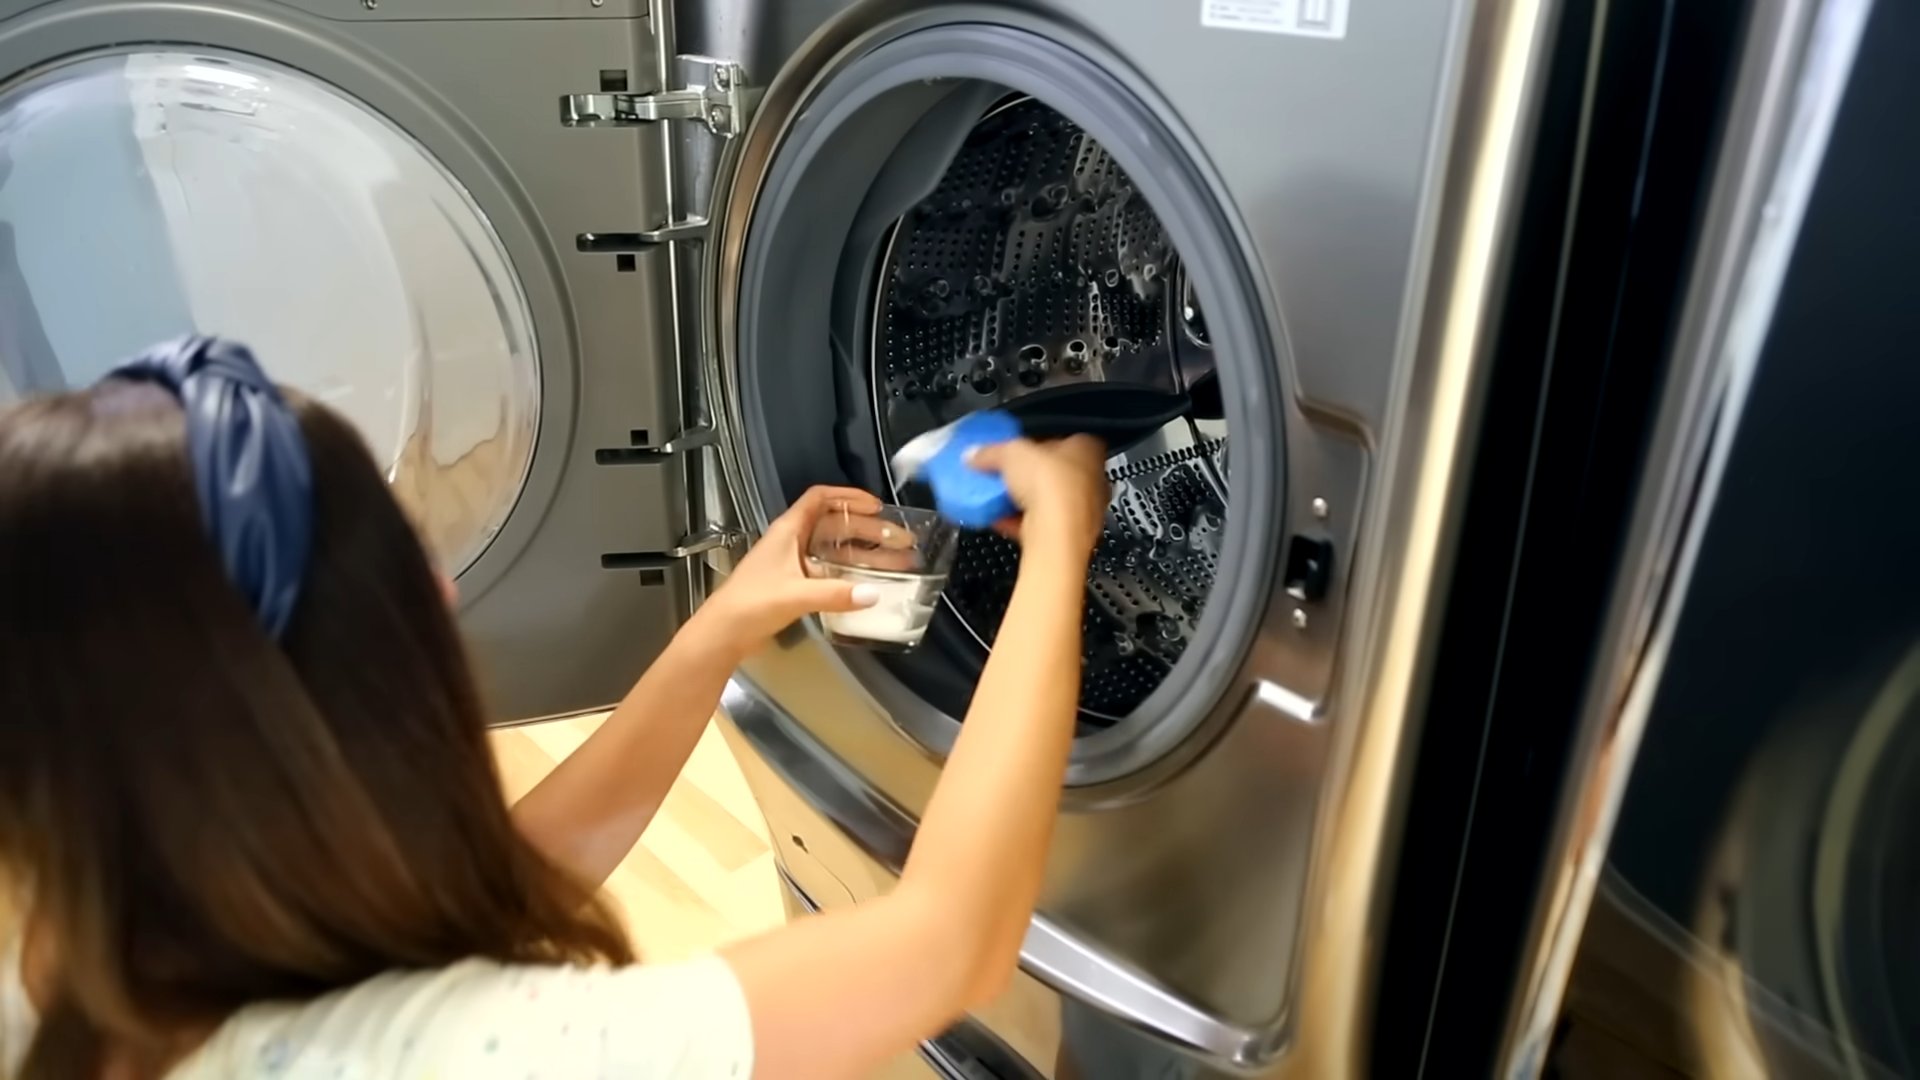
3. Clean the Rubber Gasket (Front Load Washers): This is where mold and mildew often thrive.
* Inspect the Gasket: Carefully examine the rubber gasket around the door opening for any signs of mold, mildew, or debris.
* Vinegar Power: Mix equal parts white vinegar and water in a spray bottle.
* Spray and Scrub: Spray the vinegar solution liberally onto the gasket, focusing on any areas with visible mold or mildew. Let it sit for a few minutes to allow the vinegar to work its magic.
* Scrub with a Brush: Use your old toothbrush or scrub brush to scrub away the mold and mildew. Be gentle but firm.
* Wipe Clean: Wipe the gasket clean with a damp microfiber cloth.
* Bleach Boost (Optional): If the mold is particularly stubborn, you can use a diluted bleach solution (1 part bleach to 10 parts water). *Always wear gloves and eye protection when working with bleach.* Apply the bleach solution to the affected areas, let it sit for a few minutes, and then scrub and wipe clean. *Rinse thoroughly with water to remove any traces of bleach.*
* Dry Thoroughly: Use a clean, dry microfiber cloth to dry the gasket completely. This will help prevent mold from returning.
4. Clean the Washing Machine Drum: This is where the magic happens (or, you know, the cleaning).
* Vinegar Wash (First Round): Pour 2 cups of white vinegar directly into the washing machine drum.
* Run a Hot Water Cycle: Set your washing machine to the hottest water setting and the largest load size. Run a complete wash cycle. This will help to loosen and remove any buildup inside the drum.
5. Baking Soda Boost:
* Sprinkle Baking Soda: After the vinegar cycle is complete, sprinkle 1/4 cup of baking soda into the drum.
* Vinegar Wash (Second Round): Pour 2 cups of white vinegar into the drum again.
* Run Another Hot Water Cycle: Run another complete wash cycle on the hottest water setting and largest load size. The baking soda and vinegar will react together to create a fizzing action that helps to further clean and deodorize the drum.
6. Bleach Wash (If Needed and Recommended):
* Consult Your Manual: *Only use bleach if your washing machine’s manufacturer recommends it.*
* Add Bleach: If your machine is bleach-safe, add 1 cup of bleach to the bleach dispenser.
* Run a Hot Water Cycle: Run a complete wash cycle on the hottest water setting and largest load size.
7. Clean the Exterior: Don’t forget the outside of your machine!
* Wipe Down Surfaces: Use a damp microfiber cloth to wipe down the exterior of the washing machine, including the lid or door, control panel, and sides.
* Remove Splatters and Spills: Pay attention to any splatters or spills of detergent or fabric softener.
* Use a Mild Cleaner: For stubborn stains, you can use a mild all-purpose cleaner.
8. Clean the Lint Filter: A clogged lint filter can reduce your washing machine’s efficiency and even cause damage.
* Locate the Lint Filter: The location of the lint filter varies depending on the type of washing machine. Consult your owner’s manual if you’re unsure where to find it. It’s often located inside the agitator (top-load washers) or near the bottom of the drum (front-load washers).
* Remove the Lint Filter: Carefully remove the lint filter.
* Remove Lint and Debris: Remove any lint, hair, or other debris that has accumulated in the filter. You can use your fingers or a small brush to do this.
* Rinse with Water: Rinse the lint filter with clean water to remove any remaining debris.
* Reinstall the Lint Filter: Reinstall the lint filter in its proper location.
9. Run an Empty Rinse Cycle: This final step ensures that any remaining cleaning solution is flushed out of the machine.
* Set to Rinse Cycle: Set your washing machine to a rinse cycle.
* Run the Cycle: Run the rinse cycle completely.
10. Leave the Door Ajar: After the final rinse cycle, leave the washing machine door or lid ajar to allow the interior to air dry completely. This will help prevent the growth of mold and mildew.
Section 2: Troubleshooting Common Issues
Sometimes, even with a thorough cleaning, you might encounter a few lingering issues. Here’s how to tackle them:
* Persistent Odors: If your washing machine still smells funky after cleaning, try running another vinegar wash cycle. You can also try adding a few drops of essential oil (like tea tree or eucalyptus) to the vinegar for extra deodorizing power.
* Stubborn Mold or Mildew: For particularly stubborn mold or mildew, you may need to repeat the bleach cleaning process. You can also try using a commercial mold and mildew remover specifically designed for washing machines. *Always follow the manufacturer’s instructions carefully.*
* Clogged Drain: If your washing machine is draining slowly or not at all, the drain hose may be clogged. Disconnect the drain hose and check for any obstructions. You can use a plumber’s snake or a wire hanger to clear the clog.
* Detergent Buildup: If you notice a lot of detergent residue in your washing machine, you may be using too much detergent. Try using less detergent in each load. You can also try switching to a high-efficiency (HE) detergent, which is designed to produce less suds.
Section 3: Maintaining a Clean Washing Machine
Prevention is key! Here are a few tips to keep your washing machine clean and fresh between deep cleans:
* Use the Right Amount of Detergent: Overusing detergent can lead to buildup and odors. Follow the manufacturer’s instructions carefully.
* Use HE Detergent (If Applicable): If you have a high-efficiency
Conclusion
So, there you have it! This simple, yet incredibly effective, DIY washer cleaning trick is a game-changer for anyone looking to maintain a fresh and efficient laundry routine. Forget those expensive, chemical-laden cleaning tablets that promise the world but often fall short. This method utilizes ingredients you likely already have in your pantry – white vinegar and baking soda – to deliver a powerful cleaning punch that tackles grime, mildew, and lingering odors.
Why is this a must-try? Because a clean washing machine translates directly to cleaner clothes. Think about it: if your washer is harboring hidden dirt and buildup, it’s essentially re-depositing that gunk onto your freshly laundered items. This DIY approach ensures that your clothes are truly clean, smelling fresh, and free from any potential irritants. Plus, it extends the lifespan of your washing machine by preventing the accumulation of residue that can lead to mechanical issues down the line.
Beyond the basic recipe, there are several variations you can explore to customize your cleaning routine. For a boost of freshness, add a few drops of your favorite essential oil (tea tree, lavender, or lemon are excellent choices for their antibacterial and deodorizing properties) to the vinegar before adding it to the washer. If you have a particularly stubborn mildew problem, consider pre-treating the affected areas with a paste of baking soda and water before running the cleaning cycle. For front-loading machines, pay special attention to the rubber gasket around the door, as this area is prone to trapping moisture and debris. Wipe it down thoroughly with a vinegar-soaked cloth after each wash to prevent mold growth.
This DIY washer cleaning method is not just about saving money; it’s about taking control of your laundry process and ensuring the best possible results. It’s about using natural, readily available ingredients to achieve a level of cleanliness that rivals, and often surpasses, commercial cleaning products. It’s about contributing to a healthier home environment by reducing your exposure to harsh chemicals.
We wholeheartedly encourage you to give this DIY washer cleaning trick a try. You’ll be amazed at the difference it makes in the cleanliness and freshness of your laundry. And more importantly, we want to hear about your experience! Share your results, any variations you tried, and any tips you discovered in the comments below. Let’s build a community of clean laundry enthusiasts and help each other achieve sparkling clean washing machines and, ultimately, sparkling clean clothes! Don’t delay, give your washer the TLC it deserves and experience the difference a truly clean machine can make. Your clothes (and your nose) will thank you!
Frequently Asked Questions (FAQ)
1. How often should I clean my washing machine using this DIY method?
The frequency of cleaning depends on how often you use your washing machine. As a general guideline, we recommend cleaning your washer at least once a month. If you do a lot of laundry, or if you notice a musty smell, you may want to clean it more frequently, perhaps every two weeks. Regular cleaning prevents the buildup of soap scum, mildew, and other debris that can affect the performance of your machine and the cleanliness of your clothes. For high-efficiency (HE) washers, which use less water, cleaning every month is particularly important to prevent residue buildup.
2. Can I use this DIY cleaning method on both top-loading and front-loading washing machines?
Yes, this DIY washer cleaning method is safe and effective for both top-loading and front-loading washing machines. However, there are slight variations in the process depending on the type of machine you have. For top-loading machines, simply add the vinegar and baking soda directly to the drum. For front-loading machines, add the vinegar to the detergent dispenser and the baking soda to the drum. Also, remember to clean the rubber gasket around the door of front-loading machines regularly to prevent mold growth.
3. What type of vinegar should I use for cleaning my washing machine?
White distilled vinegar is the best choice for cleaning your washing machine. It’s inexpensive, readily available, and has excellent cleaning and disinfecting properties. Avoid using other types of vinegar, such as apple cider vinegar or balsamic vinegar, as they may contain sugars or other additives that could leave a residue in your machine.
4. Is baking soda really necessary for this cleaning method? Can I just use vinegar?
While vinegar is a powerful cleaning agent on its own, baking soda enhances its effectiveness by providing a gentle abrasive action that helps to scrub away stubborn grime and buildup. The combination of vinegar and baking soda also creates a fizzing action that helps to loosen dirt and debris. You can use vinegar alone, but the results may not be as thorough.
5. My washing machine has a self-cleaning cycle. Do I still need to use this DIY method?
Even if your washing machine has a self-cleaning cycle, it’s still a good idea to supplement it with this DIY method. Self-cleaning cycles often rely on high temperatures and harsh chemicals, which may not be as effective at removing all types of buildup. This DIY method provides a more natural and gentle way to clean your machine, and it can help to prevent the need for more aggressive cleaning methods in the future. Use the self-cleaning cycle as directed by the manufacturer, and then use this DIY method in between cycles to maintain a clean and fresh washing machine.
6. I have hard water. Will this DIY cleaning method still work for me?
Yes, this DIY cleaning method can still work for you if you have hard water. In fact, it may be even more important to clean your washing machine regularly if you have hard water, as hard water minerals can contribute to buildup and residue. You may need to use a slightly larger amount of vinegar to combat the effects of hard water. You can also add a cup of borax to the cleaning cycle for extra cleaning power.
7. Can I use bleach instead of vinegar and baking soda?
While bleach is a powerful disinfectant, it’s not the best choice for cleaning your washing machine on a regular basis. Bleach can be harsh on the internal components of your machine, and it can also leave behind a strong odor. Vinegar and baking soda are gentler and more environmentally friendly alternatives that are just as effective at cleaning and deodorizing your washing machine. If you choose to use bleach, be sure to follow the manufacturer’s instructions carefully and use it sparingly.
8. My washing machine smells musty even after cleaning it. What should I do?
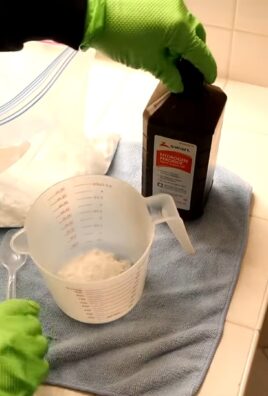
If your washing machine still smells musty after cleaning it, there are a few things you can try. First, make sure that you’re leaving the door or lid open after each wash to allow the machine to air out completely. This will help to prevent the growth of mildew. You can also try running another cleaning cycle with a cup of bleach (if your machine is compatible with bleach) or a cup of hydrogen peroxide. Finally, check the drain hose and make sure that it’s not clogged or kinked. A clogged drain hose can trap water and lead to musty odors.
9. Is this DIY cleaning method safe for septic systems?
Yes, this DIY cleaning method is generally safe for septic systems. Vinegar and baking soda are both natural and biodegradable, so they won’t harm the bacteria in your septic tank. However, it’s always a good idea to check with your septic system manufacturer or a qualified professional if you have any concerns.
10. What if I have a HE washer and I see suds after running the cleaning cycle?
HE washers use very little water, so it’s possible that some baking soda residue might remain after the cleaning cycle, causing suds. If this happens, simply run an extra rinse cycle with plain water to remove any remaining residue. You can also try using slightly less baking soda in the future.


Leave a Comment