

Malunggay Home Garden Benefits: Unlock the secrets to cultivating your own thriving malunggay patch right in your backyard! Have you ever dreamed of stepping outside and harvesting fresh, nutrient-packed leaves for your next meal? Imagine the satisfaction of knowing exactly where your food comes from and the peace of mind that comes with organic, homegrown goodness. This isn’t just about gardening; it’s about embracing a healthier lifestyle and connecting with nature.
Malunggay, also known as moringa, has a rich history deeply intertwined with various cultures around the world. For centuries, it has been revered for its medicinal properties and nutritional value, playing a vital role in traditional medicine systems. From boosting immunity to providing essential vitamins and minerals, malunggay has earned its reputation as a “miracle tree.”
In today’s fast-paced world, many of us are seeking ways to simplify our lives and take control of our well-being. That’s where the malunggay home garden benefits truly shine. Growing your own malunggay allows you to bypass the grocery store and enjoy a constant supply of fresh leaves, packed with antioxidants and essential nutrients. Plus, it’s a fantastic way to reduce your carbon footprint and contribute to a more sustainable lifestyle. I’m excited to share some simple yet effective DIY tricks and hacks that will help you create a flourishing malunggay garden, even if you’re a complete beginner!
Grow Your Own Malunggay: A Beginner’s Guide to a Nutrient-Packed Home Garden
Hey there, fellow gardening enthusiasts! I’m so excited to share my experience with growing malunggay (also known as moringa) right in my backyard. Not only is it incredibly rewarding to harvest your own fresh leaves, but malunggay is also a nutritional powerhouse. Trust me, once you start, you’ll wonder why you didn’t do it sooner! This guide will walk you through everything you need to know, from choosing the right spot to harvesting your bounty.
Why Grow Malunggay?
Before we dive in, let’s talk about why malunggay is such a fantastic addition to any home garden.
* Nutrient Rich: Malunggay is packed with vitamins, minerals, and antioxidants. We’re talking Vitamin C, Vitamin A, potassium, calcium, and so much more!
* Easy to Grow: Seriously, this plant is incredibly resilient and low-maintenance. Perfect for beginner gardeners like I was!
* Versatile: You can use the leaves in soups, stews, salads, or even make malunggay tea. The possibilities are endless!
* Fast Growing: You’ll be surprised at how quickly your malunggay tree will grow, providing you with a steady supply of fresh leaves.
* Environmentally Friendly: Malunggay is drought-resistant and can help improve soil health.
Choosing the Right Location
Okay, so you’re convinced, right? Let’s get started! The first step is finding the perfect spot for your malunggay tree.
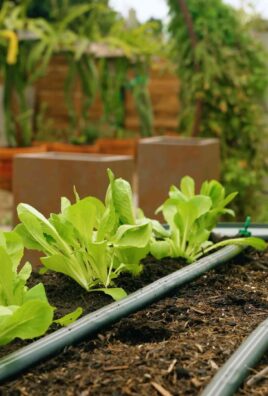
* Sunlight: Malunggay loves sunshine! Aim for a location that gets at least 6-8 hours of direct sunlight each day. The more sun, the better the growth.
* Soil: While malunggay isn’t too picky about soil, it thrives in well-draining soil. Avoid areas where water tends to pool after rain.
* Space: Malunggay can grow into a small tree, so make sure you have enough space. Consider the mature size of the tree when choosing your location. A good rule of thumb is to allow at least 10-15 feet of space around the tree.
* Protection from Wind: While malunggay is relatively sturdy, strong winds can damage the branches. If you live in a windy area, consider planting it near a fence or building for protection.
Starting from Seeds or Cuttings
You have two main options for starting your malunggay garden: seeds or cuttings. I’ve tried both, and here’s what I’ve learned:
* Seeds: Starting from seeds is a bit more time-consuming, but it’s a great way to learn about the plant’s life cycle.
* Cuttings: Using cuttings is faster and easier, especially if you can get your hands on a healthy malunggay branch from a friend or neighbor.
Starting from Seeds:
1. Soaking the Seeds: Before planting, soak the malunggay seeds in warm water for 24 hours. This helps to soften the seed coat and improve germination rates. I usually use a small bowl and just cover the seeds with water.
2. Preparing the Seedling Tray: Fill a seedling tray with a well-draining potting mix. You can also use small pots if you prefer. Make sure the tray or pots have drainage holes.
3. Planting the Seeds: Plant the seeds about 1/2 inch deep in the soil. Gently cover them with soil and water lightly.
4. Providing Warmth and Moisture: Keep the seedling tray in a warm, sunny location. Water regularly to keep the soil moist, but not waterlogged.
5. Transplanting: Once the seedlings have developed a few sets of true leaves (usually after a few weeks), they’re ready to be transplanted into the ground.
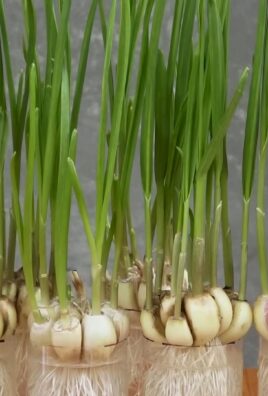
Starting from Cuttings:
1. Selecting a Cutting: Choose a healthy, mature malunggay branch that is about 1-2 inches in diameter and 1-2 feet long.
2. Preparing the Cutting: Remove any leaves from the bottom half of the cutting. This will encourage root growth.
3. Planting the Cutting: Plant the cutting directly into the ground, burying the bottom half in the soil. Make sure the soil is well-draining.
4. Watering and Care: Water the cutting regularly to keep the soil moist. It may take a few weeks for the cutting to develop roots. You can also dip the cut end in rooting hormone to encourage faster root development, but it’s not essential.
Planting Your Malunggay
Whether you started from seeds or cuttings, the planting process is pretty much the same.
1. Digging the Hole: Dig a hole that is twice as wide and as deep as the root ball of your seedling or the bottom of your cutting.
2. Amending the Soil: Mix some compost or well-rotted manure into the soil you removed from the hole. This will provide your malunggay with essential nutrients.
3. Planting: Gently remove the seedling from the seedling tray or pot and place it in the hole. If you’re planting a cutting, simply place it in the hole.
4. Backfilling: Fill the hole with the amended soil, gently patting it down around the base of the plant.
5. Watering: Water thoroughly after planting. This will help to settle the soil and encourage root growth.
Caring for Your Malunggay Tree
Now that your malunggay is planted, it’s time to provide it with the care it needs to thrive.
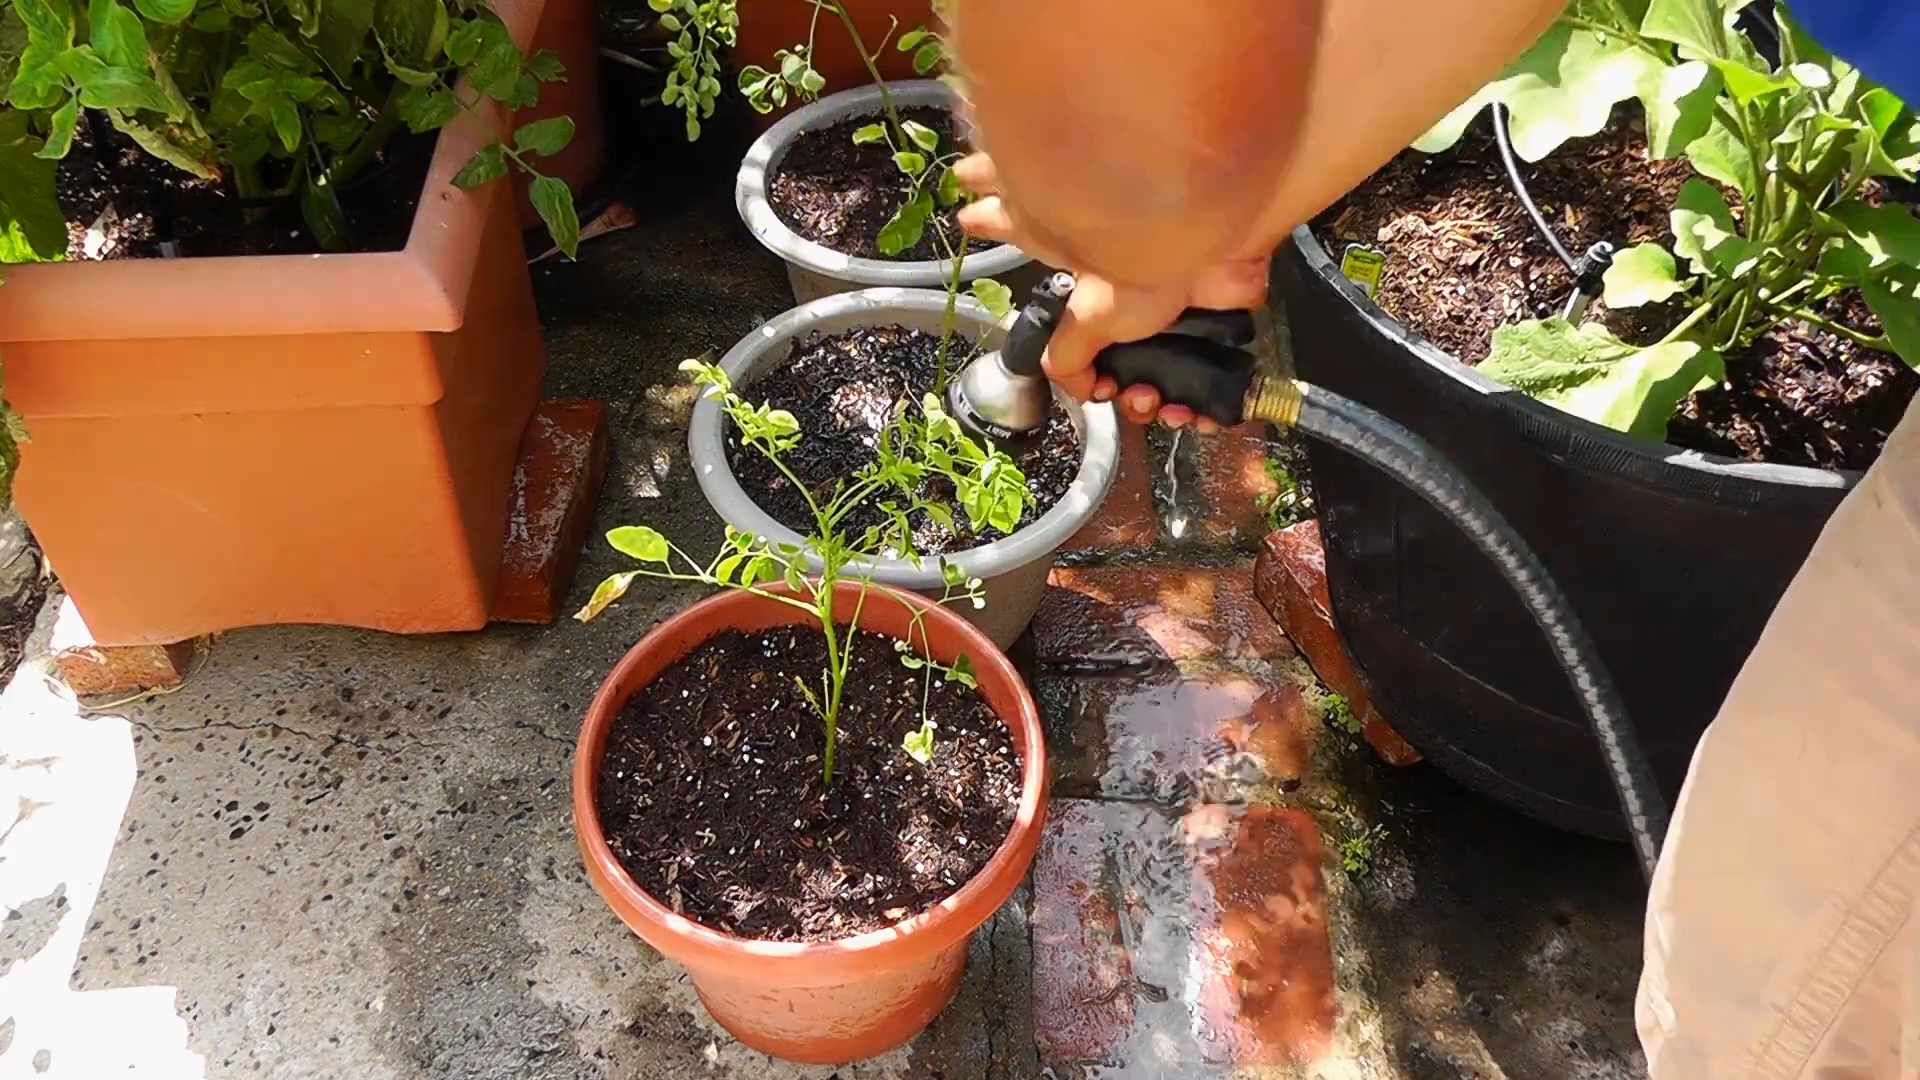
* Watering: Water your malunggay regularly, especially during dry periods. However, avoid overwatering, as this can lead to root rot. I usually water deeply once or twice a week, depending on the weather.
* Fertilizing: Malunggay is a relatively low-maintenance plant, but it will benefit from occasional fertilization. You can use a balanced fertilizer or compost tea. I like to use organic fertilizers whenever possible.
* Pruning: Pruning is essential for maintaining the shape and size of your malunggay tree. It also encourages new growth and leaf production. Prune regularly, removing any dead or damaged branches. You can also prune to control the height of the tree, making it easier to harvest the leaves.
* Pest and Disease Control: Malunggay is generally resistant to pests and diseases. However, it can occasionally be affected by aphids or caterpillars. If you notice any pests, you can try spraying them with insecticidal soap or neem oil.
Harvesting Your Malunggay Leaves
The best part of growing malunggay is harvesting the leaves!
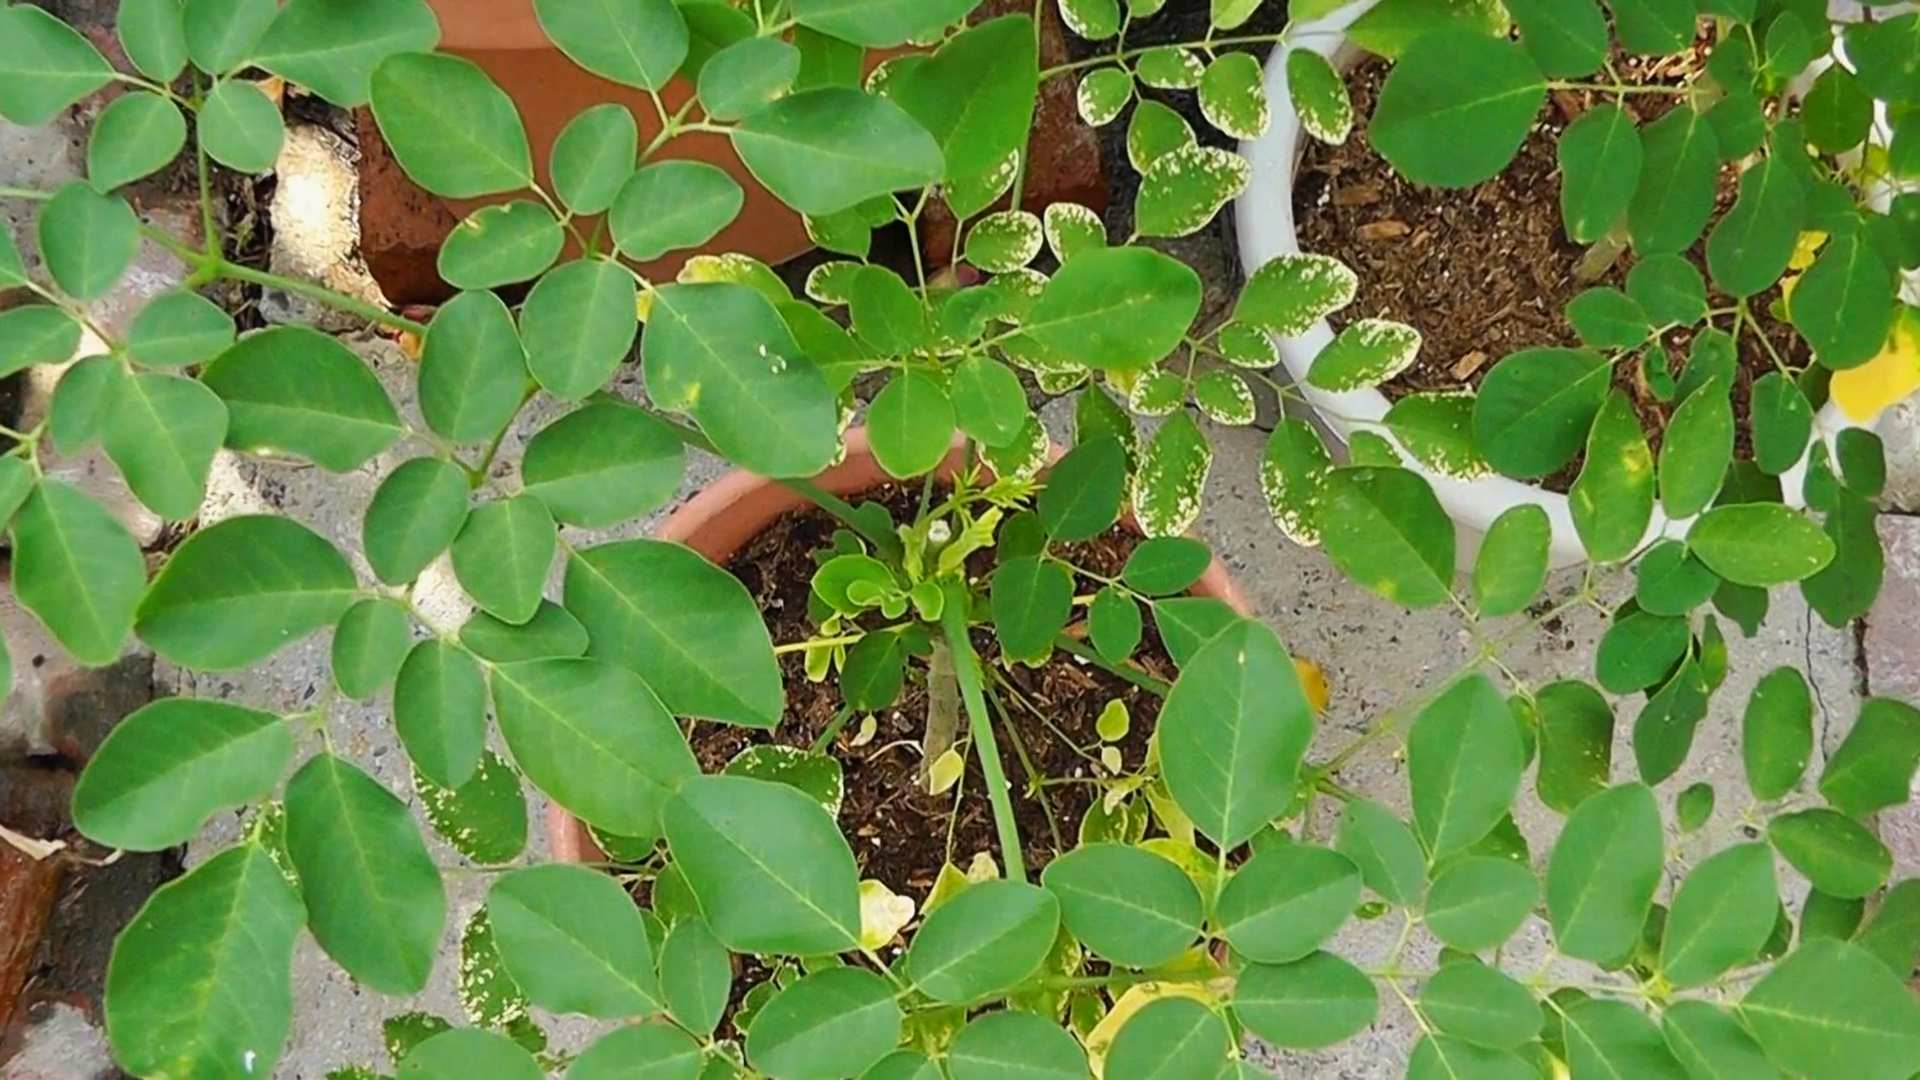
1. When to Harvest: You can start harvesting malunggay leaves as soon as the tree is established and has plenty of foliage. I usually start harvesting when the tree is about 3-4 feet tall.
2. How to Harvest: Simply pluck the leaves from the branches. You can also cut off entire branches, but be sure to leave enough foliage for the tree to continue growing.
3. Frequency of Harvest: You can harvest malunggay leaves regularly, as needed. The more you harvest, the more the tree will produce. I usually harvest a few times a week.
4. Storing the Leaves: Freshly harvested malunggay leaves can be stored in the refrigerator for up to a week. You can also dry the leaves for longer storage. To dry the leaves, spread them out on a tray in a cool, dry place. Once they are completely dry, store them in an airtight container.
Using Your Malunggay Harvest
Now that you have a bountiful supply of malunggay leaves, it’s time to put them to good use!
* Soups and Stews: Add malunggay leaves to your favorite soups and stews for a nutritional boost.
* Salads: Use fresh malunggay leaves in salads for a slightly peppery flavor.
* Smoothies: Blend malunggay leaves into smoothies for a healthy and delicious drink.
* Tea: Make malunggay tea by steeping fresh or dried leaves in hot water.
* Powder: Dry the leaves and grind them into a powder. You can then add the powder to smoothies, soups, or other dishes.
Troubleshooting
Even with the easiest plants, sometimes things don’t go as planned. Here are a few common issues you might encounter and how to address them:
* Yellowing Leaves: This could be a sign of overwatering or nutrient deficiency. Check the soil moisture and adjust your watering schedule accordingly. You can also fertilize with a balanced fertilizer.
* Slow Growth: This could be due to insufficient sunlight or poor soil. Make sure your malunggay is getting enough sunlight and that the soil is well-draining.
* Pest Infestation: As mentioned
Conclusion
So, there you have it! Cultivating your own malunggay home garden isn’t just a trendy project; it’s a gateway to a healthier, more sustainable lifestyle. We’ve explored the myriad benefits, from the readily available source of nutrient-rich leaves to the positive impact on your well-being and the environment. This isn’t just about growing a plant; it’s about investing in your health and contributing to a greener planet, one seed at a time.
The beauty of a malunggay home garden lies in its adaptability. Feel free to experiment with different planting methods. Try container gardening if you’re short on space, or dedicate a corner of your yard to a thriving malunggay tree. Consider companion planting with other vegetables and herbs to create a symbiotic ecosystem that benefits all your plants. You can even explore different varieties of malunggay, each with its unique flavor profile and growth characteristics.
Beyond the leaves, remember that the entire malunggay plant is usable. The flowers can be added to salads or used to make tea, the young pods are delicious in stews, and even the roots have medicinal properties (though use them with caution and consult a healthcare professional). This makes malunggay an incredibly efficient and rewarding plant to grow.
But the real magic happens when you start incorporating fresh malunggay into your daily diet. Add the leaves to your smoothies for a nutritional boost, stir them into your soups and stews for added flavor and vitamins, or simply sauté them with garlic and onions for a quick and healthy side dish. The possibilities are endless!
Don’t just take our word for it – experience the transformative power of a malunggay home garden for yourself. We encourage you to embark on this rewarding journey and discover the joy of growing your own superfood. Start small, be patient, and watch your malunggay tree flourish.
We are confident that you will find that growing your own malunggay is easier than you think, and the rewards are immeasurable. From the satisfaction of harvesting your own food to the peace of mind knowing you’re providing your family with a healthy and sustainable source of nutrients, a malunggay home garden is a gift that keeps on giving.
Once you’ve experienced the benefits firsthand, we’d love to hear about your journey! Share your tips, tricks, and recipes with us in the comments below. Let’s create a community of malunggay enthusiasts and inspire others to embrace the power of homegrown goodness. Let us know what challenges you faced and how you overcame them. Did you try a unique fertilizer? Did you find a particularly delicious way to prepare your malunggay? Your experiences can help others succeed in their own malunggay home garden endeavors.
So, grab some seeds or cuttings, find a sunny spot, and get ready to experience the incredible benefits of a malunggay home garden. You won’t regret it!
Frequently Asked Questions (FAQs)
What exactly is malunggay, and why is it so beneficial?
Malunggay, also known as Moringa oleifera, is a fast-growing tree native to South Asia. It’s often called the “miracle tree” due to its exceptional nutritional profile. The leaves are packed with vitamins (A, C, E, and B vitamins), minerals (calcium, potassium, iron), and antioxidants. These nutrients contribute to a wide range of health benefits, including boosting the immune system, reducing inflammation, improving digestion, and promoting healthy skin and hair. The high antioxidant content helps protect cells from damage caused by free radicals, potentially reducing the risk of chronic diseases. It’s a true superfood that’s easy to grow and incorporate into your diet.
How do I start a malunggay home garden?
Starting a malunggay home garden is relatively simple. You can grow malunggay from seeds or cuttings. If using seeds, soak them in water for 24 hours before planting to improve germination. Plant the seeds in well-draining soil in a sunny location. Cuttings should be taken from mature branches and planted directly into the soil. Malunggay thrives in warm climates and requires minimal watering once established. Ensure the soil is fertile and amend with compost or organic matter for optimal growth. Regular pruning will encourage bushier growth and more leaf production.
What kind of soil and sunlight does malunggay need?
Malunggay prefers well-draining soil that is rich in organic matter. A slightly acidic to neutral pH is ideal. While malunggay can tolerate a variety of soil types, it will thrive in soil that is loose and allows for good root development. As for sunlight, malunggay needs at least 6-8 hours of direct sunlight per day. This will ensure optimal growth and leaf production. If you live in a particularly hot climate, some afternoon shade may be beneficial to prevent the leaves from scorching.
How often should I water my malunggay tree?
Once established, malunggay is relatively drought-tolerant and doesn’t require frequent watering. Water deeply when the soil is dry to the touch, but avoid overwatering, which can lead to root rot. During the rainy season, you may not need to water at all. The key is to monitor the soil moisture and adjust your watering schedule accordingly. Young seedlings will require more frequent watering until they are established.
How do I harvest malunggay leaves?
You can start harvesting malunggay leaves as soon as the tree is established, typically within a few months of planting. Simply pluck the leaves from the branches, or cut off entire branches and strip the leaves. Regular harvesting will encourage new growth and keep the tree productive. It’s best to harvest the leaves in the morning when they are at their peak freshness.
Are there any pests or diseases that affect malunggay?
Malunggay is generally resistant to pests and diseases, but it can occasionally be affected by aphids, caterpillars, or fungal infections. To prevent pest infestations, inspect your tree regularly and remove any pests by hand. You can also use organic pest control methods, such as neem oil or insecticidal soap. To prevent fungal infections, ensure good air circulation around the tree and avoid overwatering.
Can I grow malunggay in a container?
Yes, you can successfully grow malunggay in a container, especially if you have limited space. Choose a large container with good drainage and fill it with well-draining potting mix. Place the container in a sunny location and water regularly. You may need to fertilize the plant more frequently when growing in a container, as the nutrients in the potting mix will be depleted over time.
How can I use malunggay leaves in my cooking?
Malunggay leaves can be used in a variety of dishes. They can be added to soups, stews, salads, smoothies, and stir-fries. The leaves have a slightly earthy flavor that complements many different cuisines. You can also dry the leaves and grind them into a powder, which can be added to smoothies, juices, or baked goods for a nutritional boost. Experiment with different recipes and find your favorite ways to incorporate malunggay into your diet.
Are there any side effects of consuming malunggay?
Malunggay is generally safe for consumption, but some people may experience mild side effects, such as digestive upset or diarrhea, especially when consuming large amounts. It’s best to start with small amounts and gradually increase your intake as tolerated. Pregnant and breastfeeding women should consult with their healthcare provider before consuming malunggay.
Where can I find malunggay seeds or cuttings?
Malunggay seeds and cuttings can be found at local nurseries, garden centers, or online retailers. Make sure to purchase from a reputable source to ensure the quality and viability of the seeds or cuttings. You may also be able to obtain cuttings from friends or neighbors who already have a malunggay tree.
Leave a Comment